 Free shipping on orders over £29,85


← Back to How to make fluorescent resin
For anyone wanting to achieve dazzling, high-impact colour with fluorescent resin, applying the resin in thin layers is key. Fine layers allow the pigment’s intensity to shine through and help create the most striking glow-in-the-dark effects.
Why Thin Layers Matter for Fluorescent Resin
Fluorescent pigments work best when they are close to the surface, as this allows more light to reach and activate the particles. Thicker pours can cause pigment particles to become buried or lose their brightness, resulting in a muted or cloudy finish. By working in thin, even coats—ideally less than 2–3mm per layer—you ensure that light can effectively reach and energise every part of the layer for an even, radiant result.
Tips for Best Results with Fluorescent Pigments
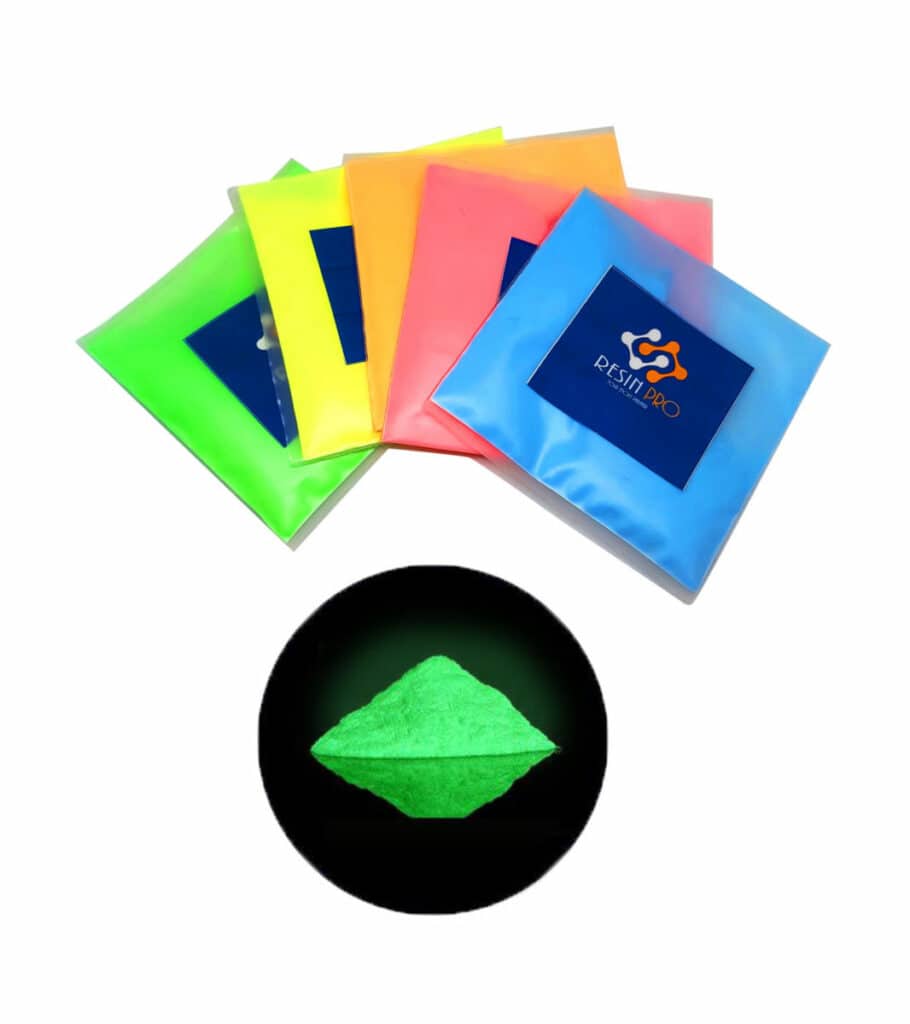
- Mix carefully: Combine fluorescent pigment (like the Fluorescent UV Pigment Powder) with resin at the recommended ratio—usually 20–30% pigment to binder for a vivid effect.
- Use light-coloured bases: Apply resin over white or pale surfaces to enhance colour brightness.
- Build up in layers: Allow each layer to fully cure before adding the next to prevent cloudiness and ensure strong glow properties throughout.
- Consider resin choice: A clear casting resin such as “Trasparente” Epoxy Resin provides an ideal foundation for pigment brilliance.
When Thin Application Really Matters
If you’re making decorative panels, jewellery, or any project where maximum fluorescing effect is desired, keeping pours thin guarantees intense visual impact. Thin layering is also recommended when working with fast-curing UV resins like UV–Creation, avoiding clouding and ensuring clarity.
Related products
Related guides
Applying resin in careful, thin layers is an essential step towards achieving glowing, professional-looking results in your fluorescent resin projects. For even more creative ideas and practical guidance, explore our full guide on how to make fluorescent resin.