 Free shipping on orders over £29,85


How to make fluorescent resin
Fluorescent resin brings art and craft projects alive with radiant colour and a magical glow-in-the-dark effect. This guide shows you, whether a beginner or experienced creator, how to mix and cure resin that glows under UV light or in the dark for jewellery, decorative pieces, or craft embellishments.
Step-by-step guide for resin with a glowing effect
What You’ll Need
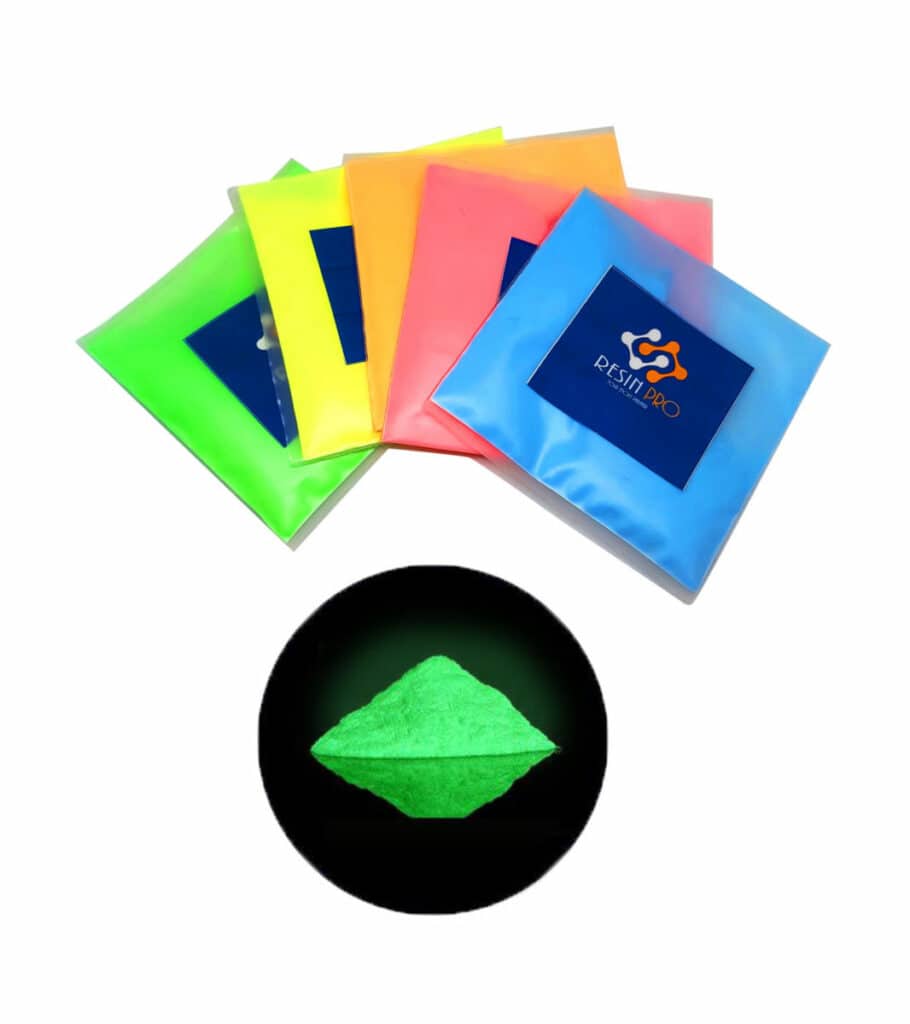
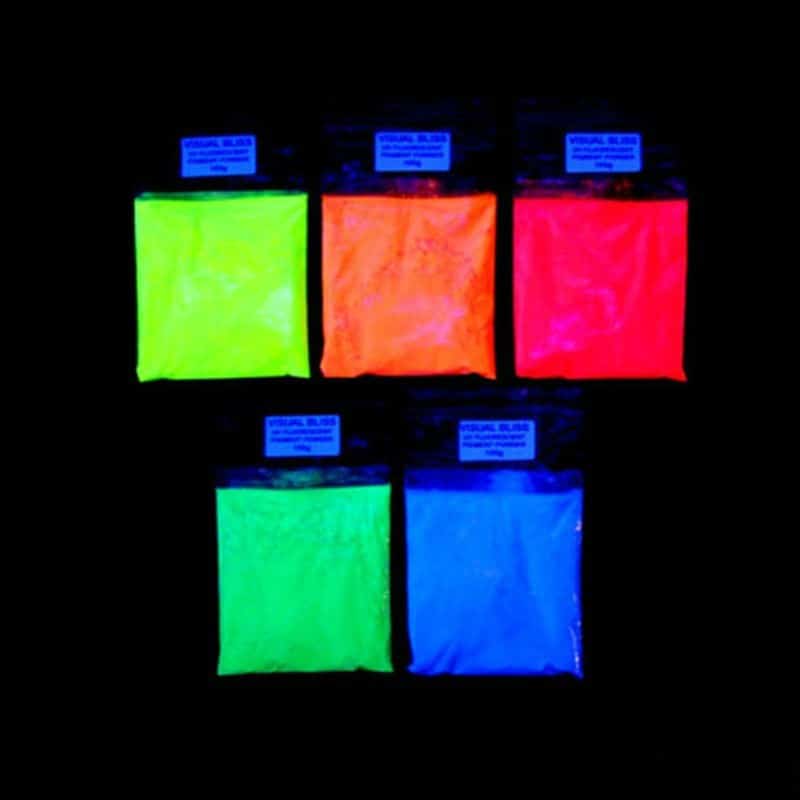
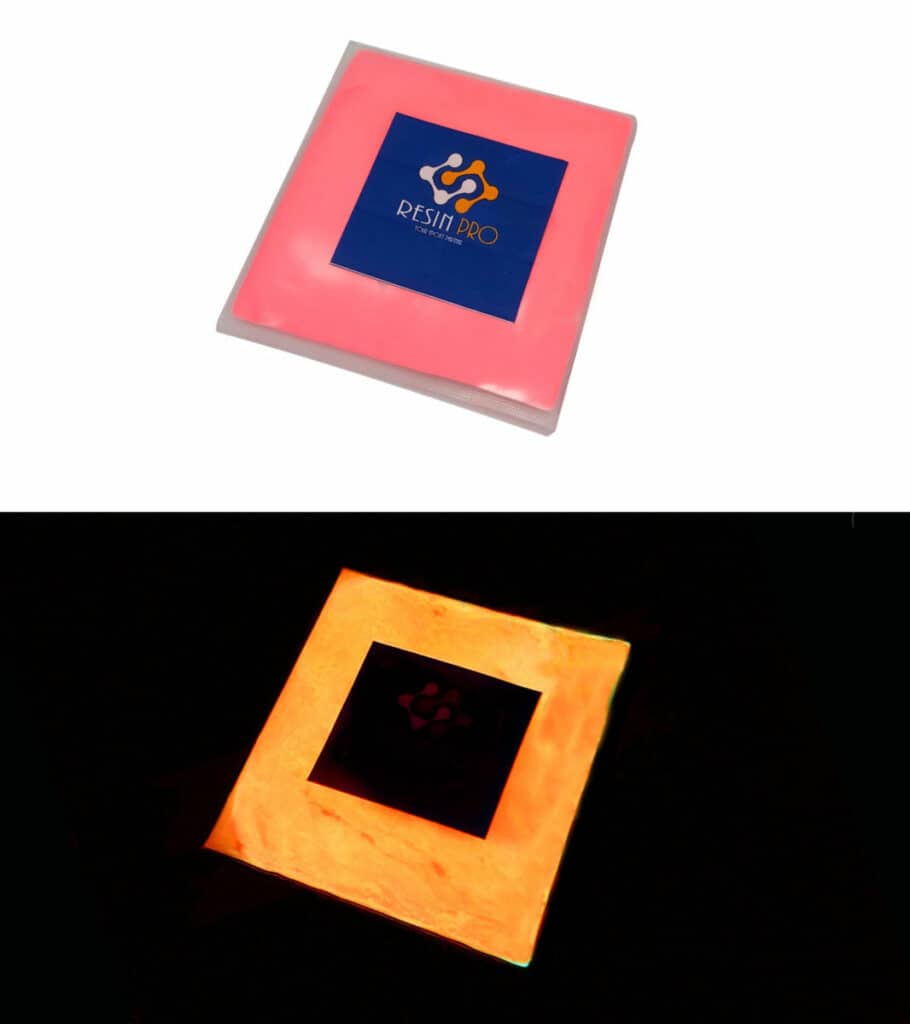
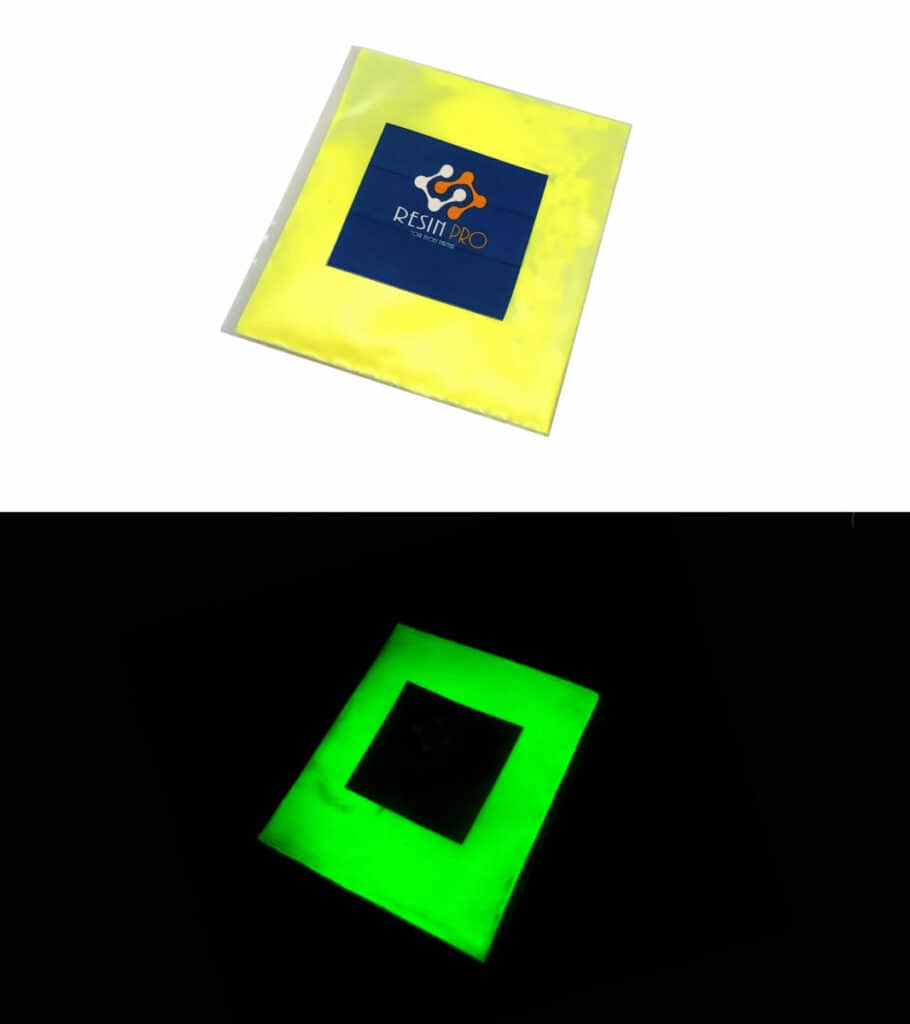
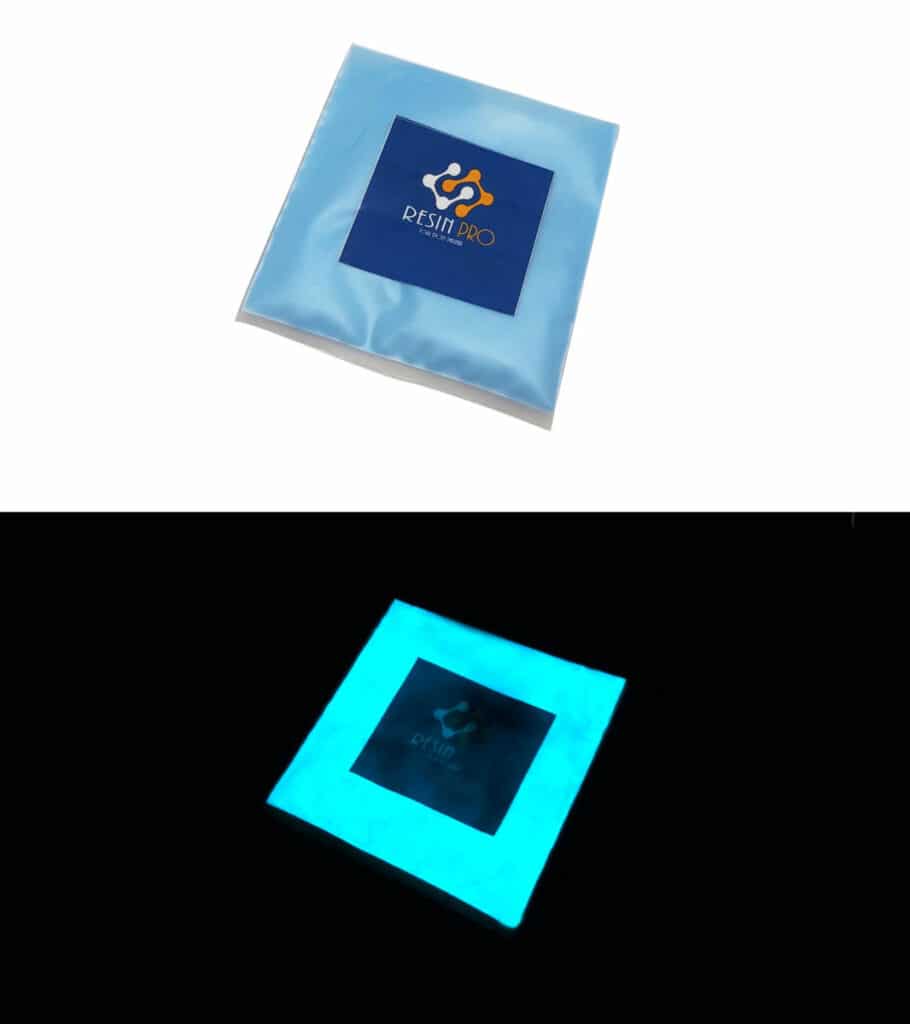
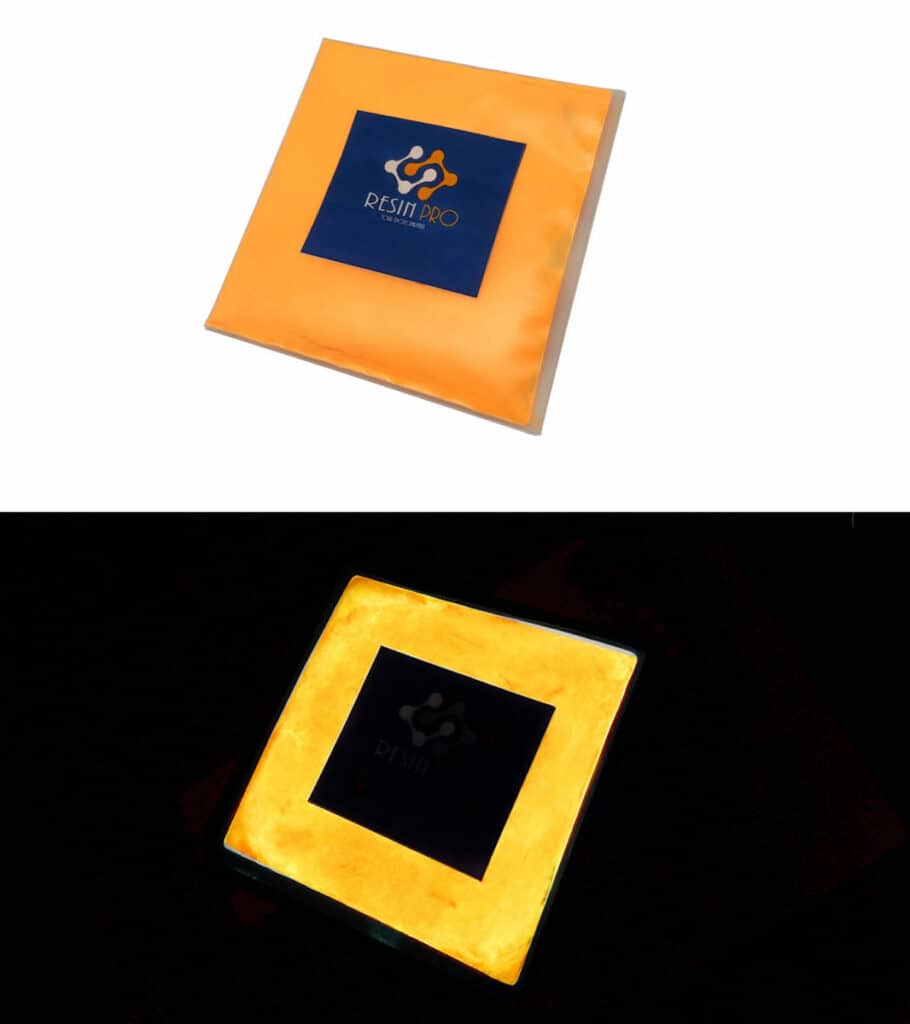
- Fluorescent UV Pigment Powder – Coloured Glow-in-the-Dark Additive for Resin, Paint, and Varnish – for vivid colours and strong glow effects
- Phosphorescent Pigment – Glow-in-the-Dark Additive for Resin, Paint, and Varnish – for white pigments with fluorescent shades
- “UV–Creation” – Fast Acrylic Resin, 3 Minute UV Cure or “Trasparente” – Multipurpose Clear Epoxy Resin for Casting – Up to 2cm – as your clear resin base
- Mixing cups and sticks
- Protective gloves and clothing
- UV lamp (if using UV-curing resin)
- Silicone moulds or casting surface
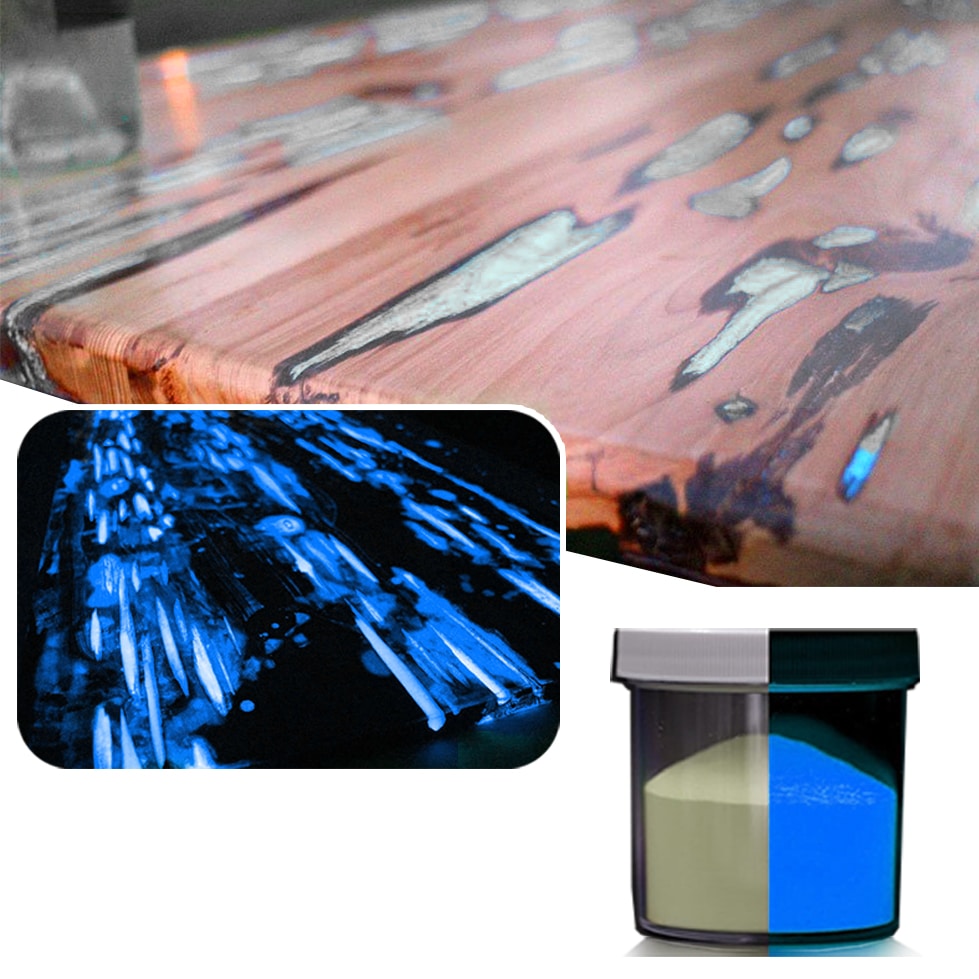
Get Inspired: Fluorescent Resin Project Gallery
Explore a selection of completed fluorescent resin projects showing stunning glow-in-the-dark effects in jewellery, crafts, and decorative art pieces. Notice how different pigments and resin techniques create unique luminous results.
Step 1: Prepare Your Workspace and Materials
Start by setting up a well-ventilated area free of dust and direct sunlight. Protect your work surface with a cover, and make sure you have all materials ready. Wear gloves and eye protection to avoid skin or eye contact when handling resins or pigments. Lay out your silicone moulds or casting trays.
Carefully read through your resin’s instructions, as curing times and mixing methods differ for UV and traditional epoxy resins. Gather all required items to ensure a smooth workflow.
Step 2: Mix the Resin and Fluorescent Pigment
Prepare your chosen resin according to its specific instructions. For best glow effects, use white or light-coloured resin when possible, as these bases help the fluorescent pigment shine most vividly. Measure your resin components precisely and combine thoroughly in a mixing cup.
Add your selected fluorescent or phosphorescent pigment powder to the resin. Careful pigment measurement is crucial – for most intense glow, use 20-30% pigment to binder ratio as recommended. Stir slowly and continuously until the pigment is fully dispersed for an even colour and glow. Avoid introducing excess bubbles, which can scatter light and reduce the glowing effect.
If you’re working with “UV–Creation” – Fast Acrylic Resin, 3 Minute UV Cure, add pigment just before pouring, as the resin cures quickly under UV light. For epoxy resin such as “Trasparente” – Multipurpose Clear Epoxy Resin for Casting – Up to 2cm, you’ll have a longer working time.
Step 3: Pour and Cure the Resin
Slowly pour the mixed, pigmented resin into your moulds or onto your surface, aiming for even distribution. Apply resin in thin layers to maximise pigment visibility and reduce the risk of overheated curing or trapped air. For UV resin, expose your piece to a UV lamp for the recommended 2–3 minutes. With epoxy resins, set the work aside to cure in a dust-free spot, following the manufacturer’s timings (usually 24–48 hours).
If using white phosphorescent pigment, lighter surfaces and layers enhance the glowing effect. Avoid pouring thick layers unless your resin is specified for deep casting, as this can slow or disrupt curing.
Step 4: Finish and Display Your Fluorescent Resin Creation
Once the resin has fully cured and cooled, gently remove it from the mould. Inspect for any sharp edges and sand if necessary. Clean the surface with a soft, dry cloth to reveal the full glow potential.
For optimal luminosity, “charge” your piece by exposing it to sunlight or a strong light source for several minutes before displaying the glowing effect in darkness. If your project will be touched often, a clear sealer can further protect both the resin and pigment.
Tips, Common Mistakes, and Troubleshooting
Ensure pigments are fully dispersed before pouring to avoid streaks or dull spots in your work. Always follow the recommended pigment ratio; using too much pigment can result in a brittle finish or poor curing. Test a small batch if you’re new to working with fluorescent powders, especially when combining with different resins.
If your finished piece doesn’t glow as expected, check for issues such as insufficient pigment, overly thick pours, or inadequate charging under light. Work in low humidity and avoid rushing the mixing process to achieve the brightest, most consistent results.
Expert Insights: Achieving Maximum Glow
Mix thoroughly and use quality light sources to charge your resin creations for the brightest glow. Discover more in our full fluorescent and phosphorescent pigments collection.
- Fluorescent UV Pigment Powder – Coloured Glow-in-the-Dark Additive for Resin, Paint, and VarnishPrice range: £7.75 through £19.85Fluorescent UV Pigment Powder is designed for adding colour and glow-in-the-dark effects to resin and paint in creative DIY projects.
- Phosphorescent Pigment – Glow-in-the-Dark Additive for Resin, Paint, and VarnishPrice range: £7.75 through £12.85Phosphorescent Pigment is designed to add glowing details to resin, paint, or varnish for projects needing visible features in the dark.
 "UV–Creation" – Fast Acrylic Resin, 3 Minute UV CurePrice range: £7.85 through £59.85UV–Creation is a ready-to-use UV resin designed for jewellery makers and crafters seeking fast curing and a clear, glossy finish.
 "Trasparente" – Multipurpose Clear Epoxy Resin for Casting – Up to 2cmPrice range: £8.45 through £948.85"Trasparente" is an ultra-clear epoxy resin designed for casting projects up to 2cm thick, suitable for detailed work in art and woodworking.
Frequently Asked Questions
What is the best ratio of fluorescent pigment to resin?
A 20–30% pigment-to-binder ratio is generally recommended for optimal glow and colour intensity.
What’s the difference between fluorescent and phosphorescent pigments?
Fluorescent pigments glow under UV light, while phosphorescent pigments absorb light and glow slowly in darkness.
How do I charge my fluorescent resin piece for the brightest effect?
Expose your cured resin to sunlight, a UV lamp, or strong artificial light for several minutes to boost luminosity.
Which resin should I use for fluorescent effects?
Clear or light-coloured resins are best, such as UV-curing or multipurpose epoxies designed for transparency.
Can I mix multiple fluorescent pigments for unique colours?
Yes, you can blend different pigments but test a small batch first to ensure compatibility and the desired colour.
What if my resin work doesn’t glow after curing?
Check that pigment was evenly distributed and that the piece has been properly charged under suitable light.