 Free shipping on orders over £29,85

← Back to How to remove resin flooring?

Before tackling the removal of any resin flooring, it’s essential to first understand exactly what you’re dealing with. Assessing the type and condition of your resin floor helps you decide the safest and most effective approach for removal. This guide outlines what to look for and how it influences your next steps.
Identifying Resin Floor Types
Resin floors can be made from materials such as epoxy, polyurethane, or methyl methacrylate. If you’re unsure which type you have, check any leftover packaging or ask your installer. Epoxy floors are often hard and glossy, while polyurethane may feel slightly more flexible. Knowing the resin type helps you choose suitable removal tools and techniques.
Examining Surface Condition and Thickness
Check for visible cracks, chips, or wear patterns. Thicker resin layers or multiple coatings may be tougher to remove. Soft spots could indicate underlying damage or moisture issues. If the floor is largely intact but needs surface smoothing, using fine sanding pads may be a gentler option than scraping.
Selecting the Right Tools for the Job
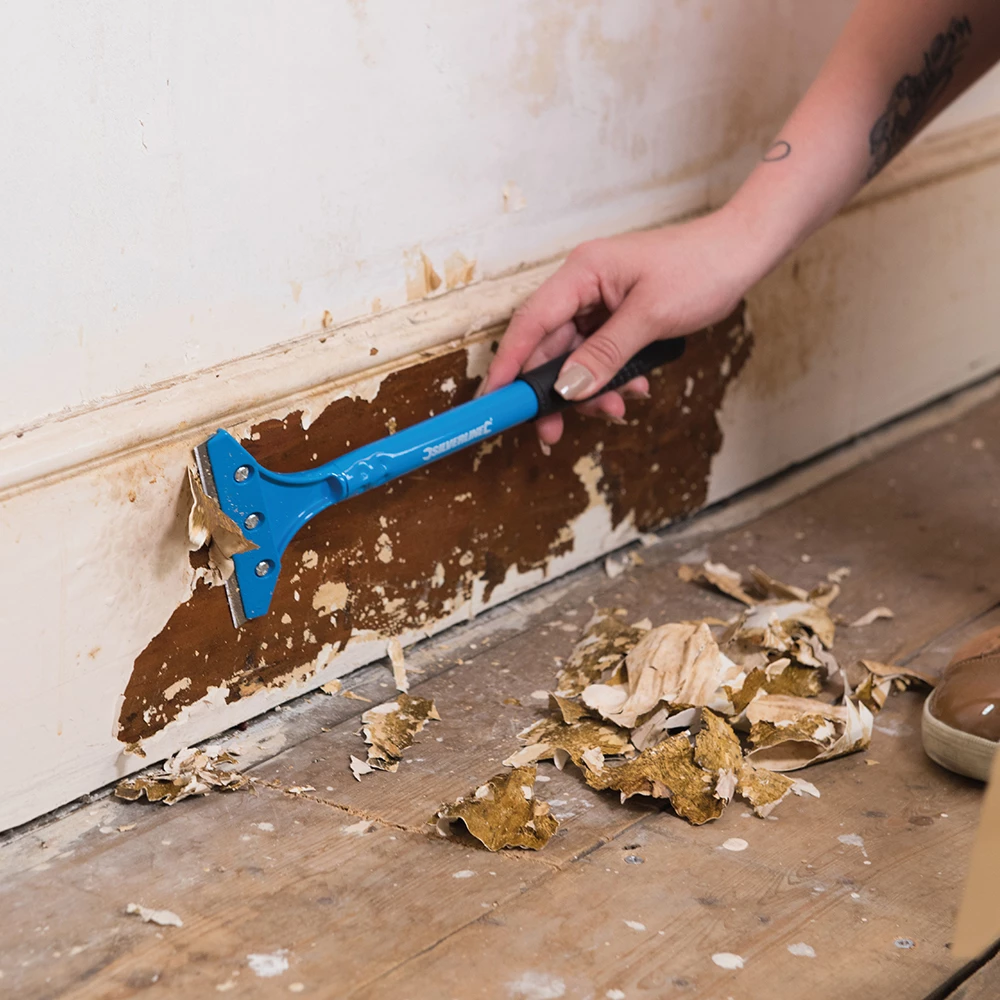
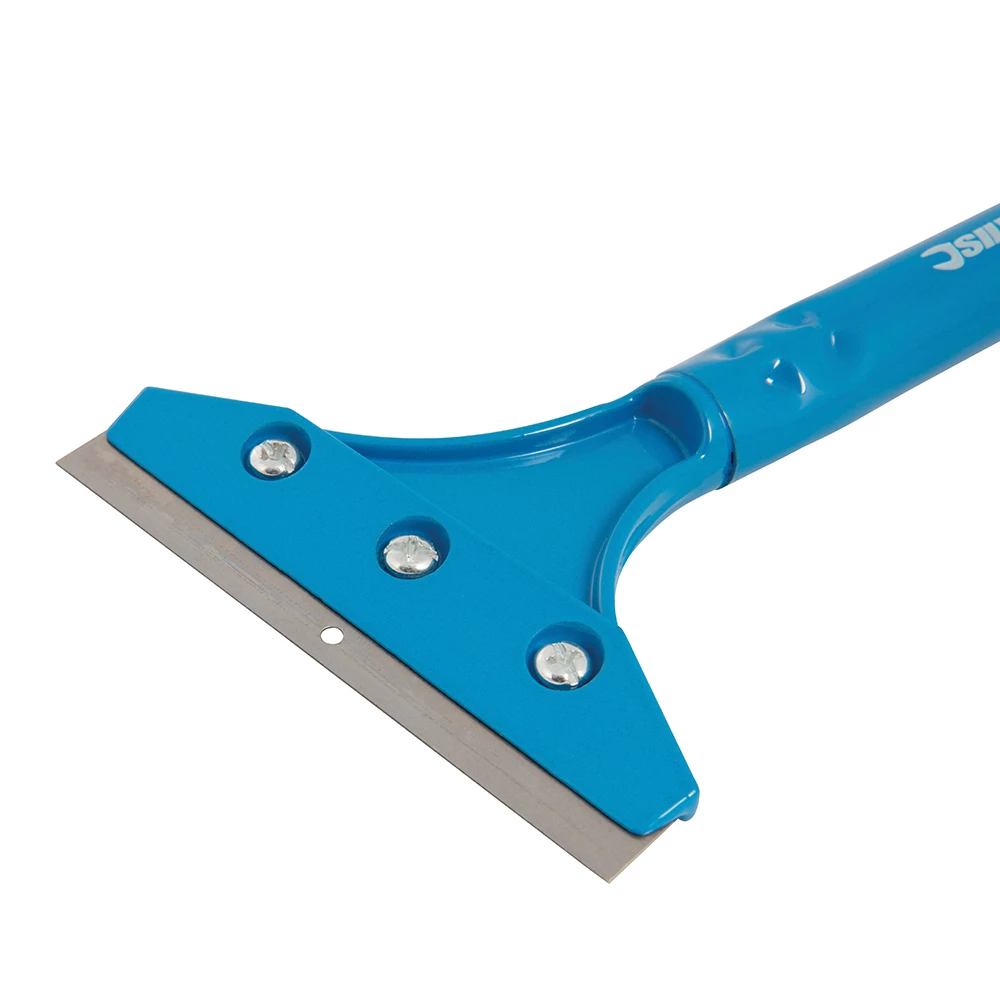
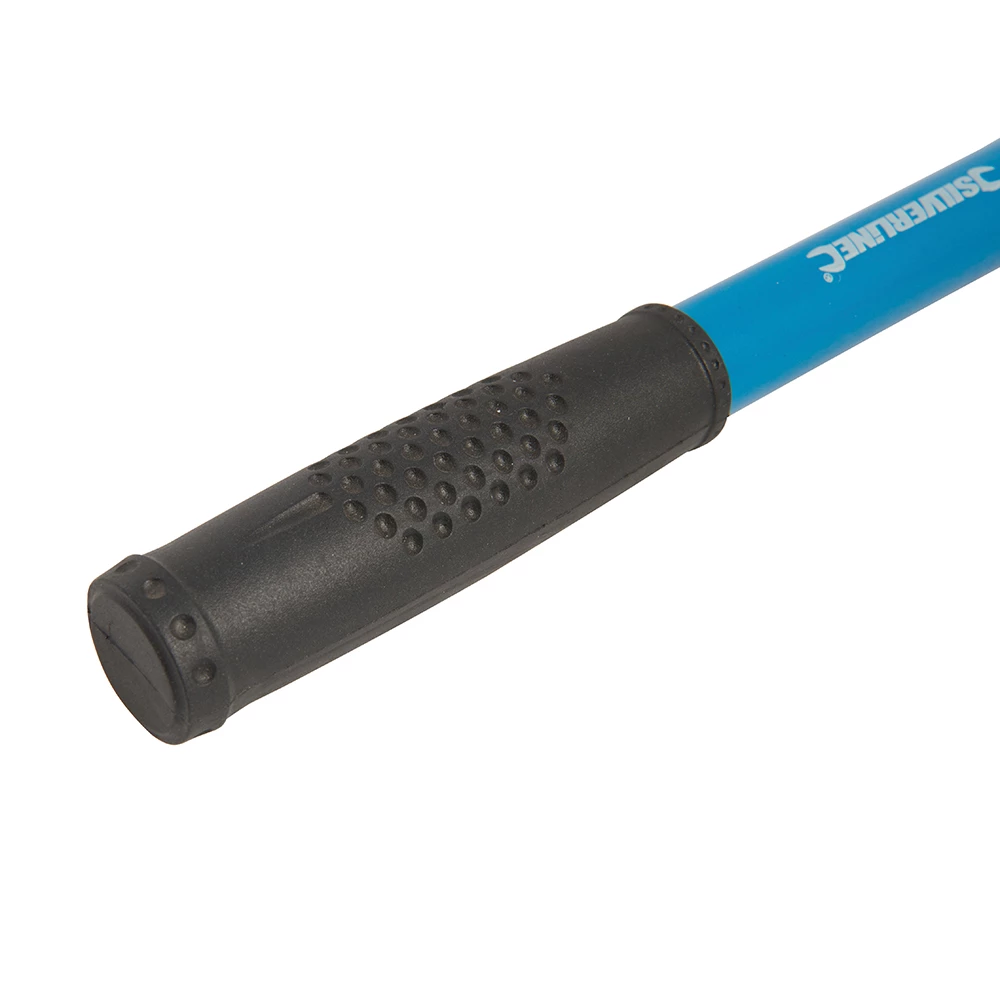
Once you know the floor type and its condition, choose your removal tools accordingly. Manual options, such as the Heavy Duty Scraper for Paint and Epoxy Resin Removal, are ideal for smaller areas or detail work. For large, robust floors, you may need a combination of scraping and sanding to fully remove all coatings.

When This Matters Most
If the resin floor is showing extensive damage, has unknown composition, or covers a sensitive substrate, careful assessment is crucial. Accurate evaluation prevents costly mistakes and ensures you choose the best removal strategy, saving time and effort.
Related products
Related guides
By thoroughly assessing your resin floor before removal, you pave the way for a smoother, safer process. For more detailed step-by-step advice on removal, see our full guide on how to remove resin flooring.