 Free shipping on orders over £29,85

← Back to How to create special effects with epoxy resin
Achieving inspiring special effects with epoxy resin art begins with the right surface preparation. Taking the time to set up properly helps guarantee crisp lines and smooth, professional results.
Clean and Dust-Free Foundations
Before pouring or manipulating your resin, thoroughly clean your substrate—whether it’s canvas, wooden panel, or another material. Remove any trace of dust, oils, or residue with a lint-free cloth and gentle cleanser, then allow the surface to dry completely. This ensures the resin adheres evenly and that pigments and additives can spread without interruption, key for achieving effects like blooming cells and lacing.
Work Area Preparation
Banish dust by working in a clean, enclosed space if possible, or cover your piece while it cures to prevent airborne particles settling in the epoxy. Laying down protective sheets beneath your working area makes post-creation clean-up easier and protects against accidental drips.
Using Special Effect Additives
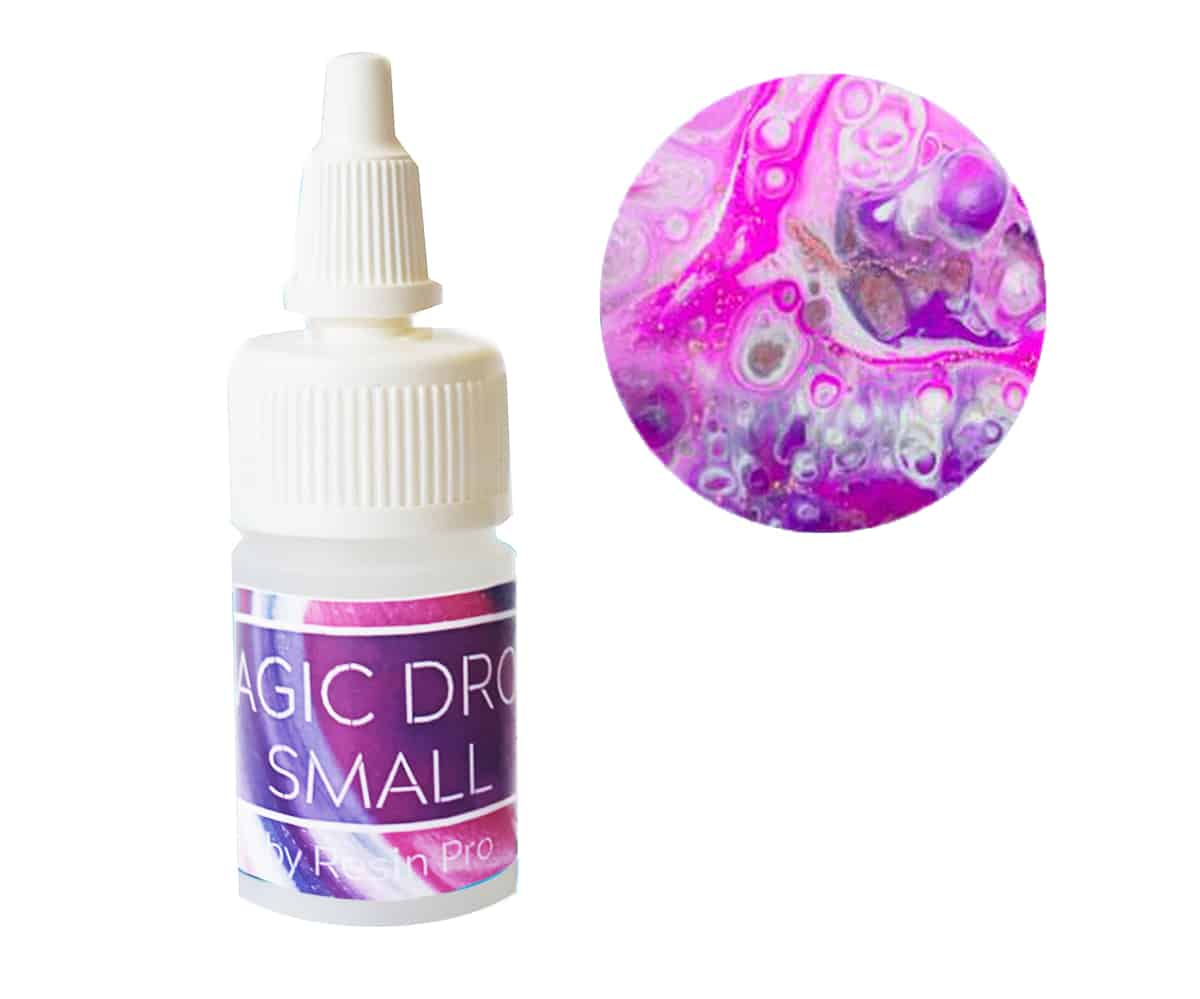
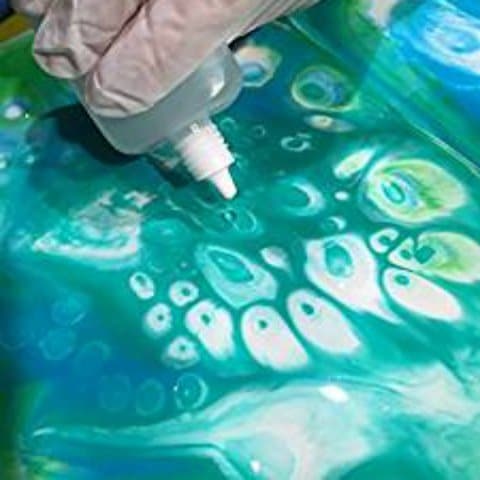
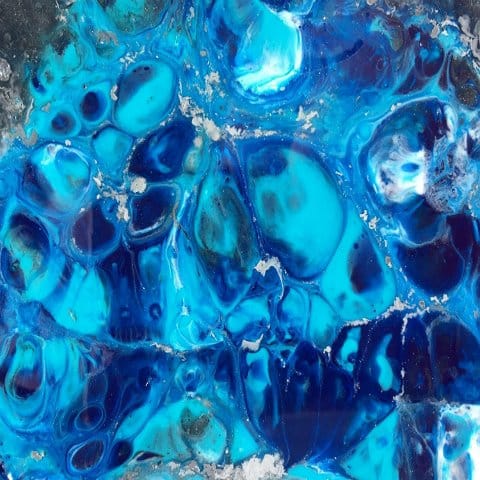
Once your surface is spotless, you’re ready to explore creative additives. For instance, “Magic Drops” – Cell Effect Additive for Resin Art 15ml produces striking cells and lacing by interacting with wet resin. Always add such additives according to instructions, and be sure the base is free of contaminants for the best performance.

When Surface Prep Matters Most
Preparation is crucial if you want sharp, defined effects or are working with transparent resins where imperfections are obvious. Meticulous prep protects your time and materials from avoidable mistakes.
Related products
Related guides
A smooth, debris-free surface gives your resin art the ideal start for dynamic special effects. For more ideas and techniques, return to our main guide on how to create special effects with epoxy resin.