 Free shipping on orders over £29,85

How to create special effects with epoxy resin
Unlock dynamic patterns, cells and waves in resin art projects
Achieving captivating special effects in epoxy resin opens up endless artistic possibilities, from stunning lacing and blooming patterns to realistic ocean waves and colourful Petri effects. Whether you’re an absolute beginner or an experienced resin artist, this comprehensive guide will show you how to create these effects confidently and safely, elevating your artwork with professional finishes and striking visual depth.

What You’ll Need
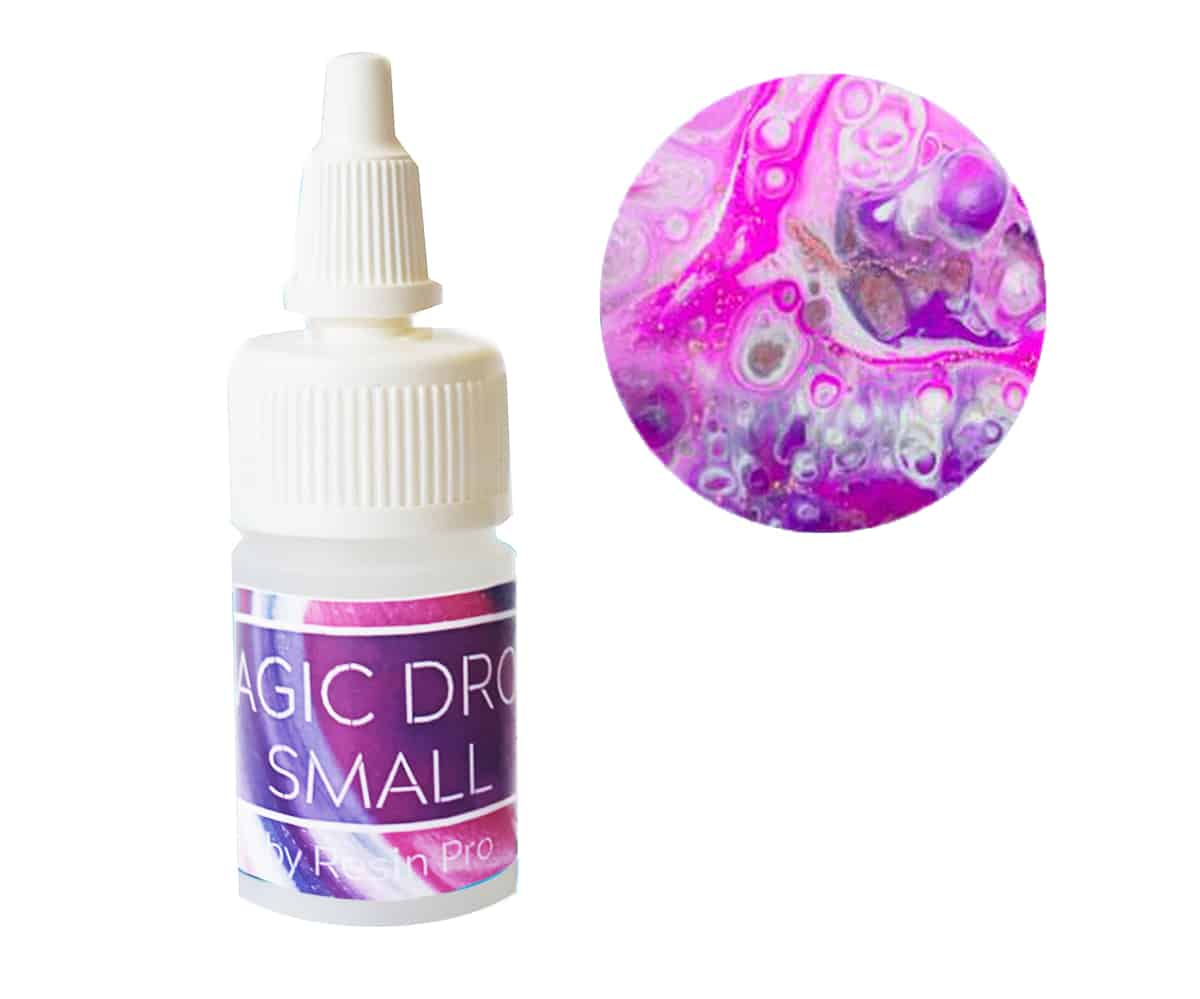
- “Magic Drops” – Cell Effect Additive for Resin Art 15ml – essential for forming cells, lacing, and blooming effects in your resin creations.
- “Resi-Blast” – Cell Effect Additive for Resin Art, 25ml – perfect for crafting captivating cell patterns through droplet techniques.
- Petri Resin Art Starter Kit – Create Stunning Petri Effect Art at Home – a full toolkit for creating deep, flowing Petri dish effects in resin, ideal for decorative or jewellery projects.
- “Sea” – Resin Kit for Creating Ocean Art, 1.7kg Epoxy, Pigments & Canvas – includes all you need to design layered wave effects and marine scenes with realistic ocean pigments and special additives.
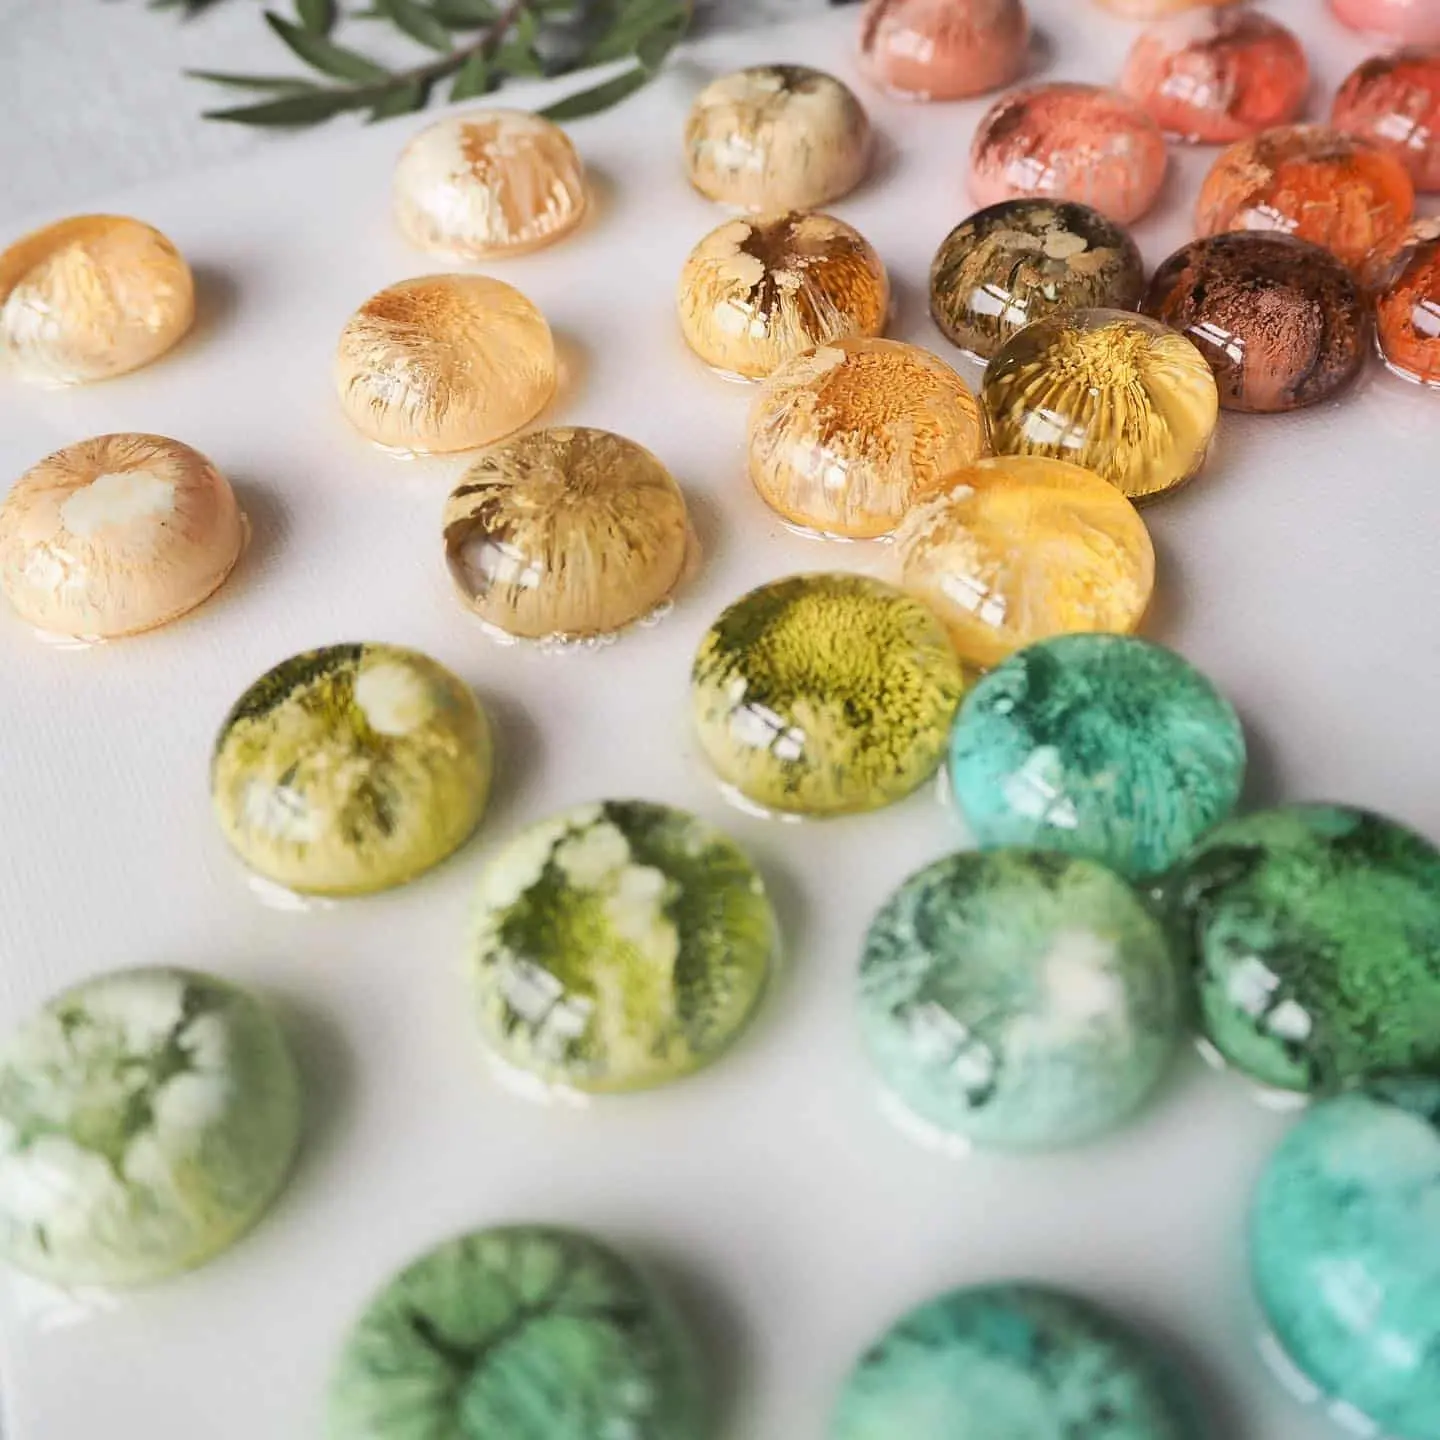
Special Effects in Action
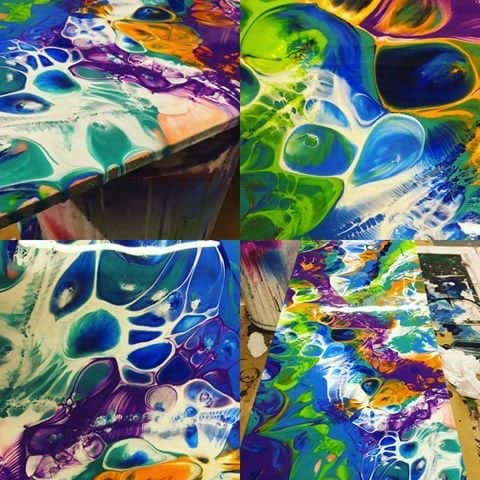
See stunning cell, wave and Petri dish effects come to life in real resin art. Explore gallery examples for creative inspiration and unique techniques.
Step 1: Clean and Prepare Your Materials
Successful resin effects start with preparation. Choose a dust-free, well-ventilated workspace, and wipe down all surfaces to remove debris. Lay out your containers, stir sticks, gloves and moulds or canvases before you begin mixing resin. For Petri or ocean effects, make sure your moulds and mixing jars are spotless to avoid particles that could spoil the outcome. Always wear gloves and protective clothing, and read the safety instructions that come with your chosen kit or additive.
Clean and prepare your materials first to ensure your results are smooth and free from unwanted marks or dust.

Step 2: Control Your Pour and Blending Technique
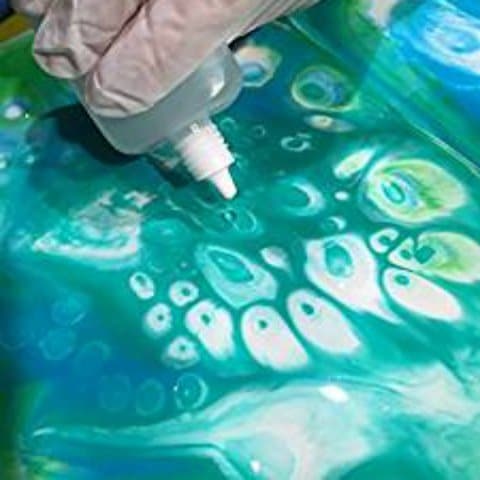
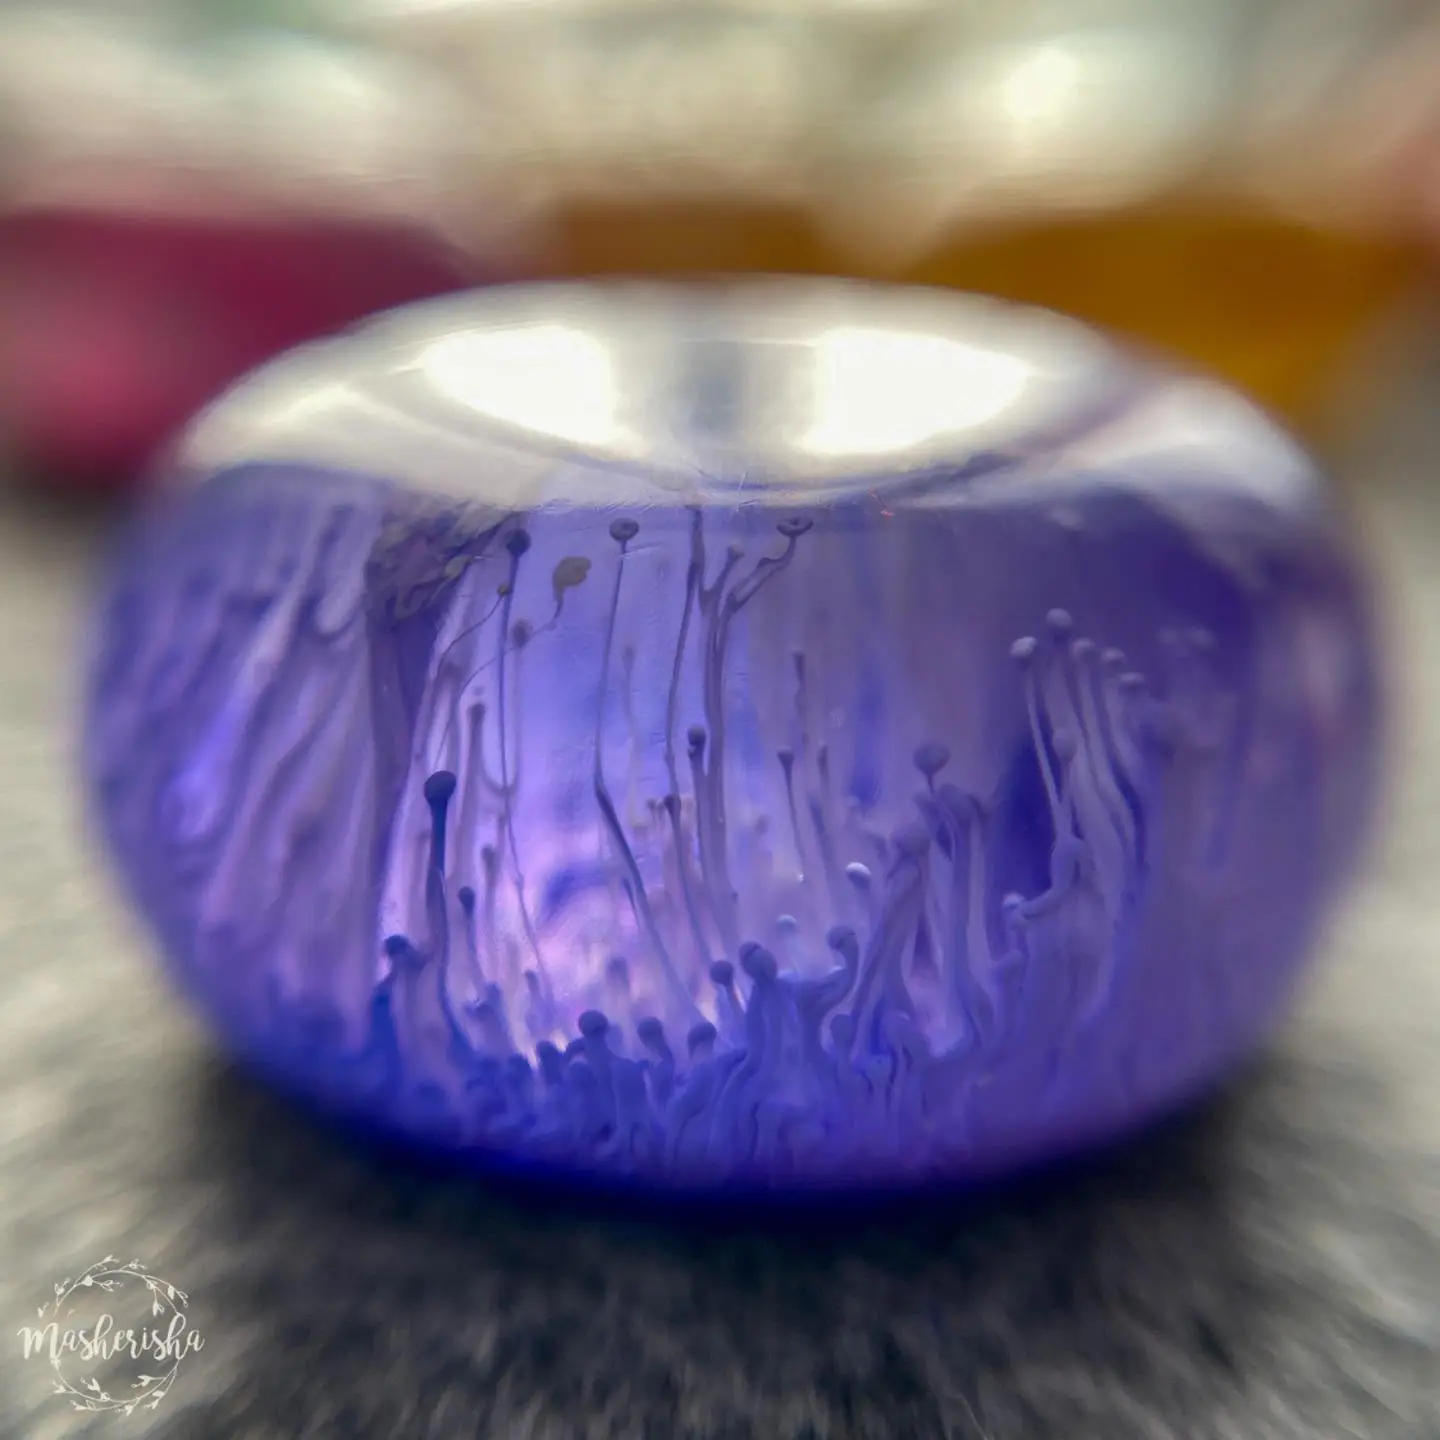
Special effects in epoxy resin are highly dependent on how you pour and blend your mixture. Pour your resin slowly to prevent bubbles, and work in manageable layers, especially when creating wave or cell effects. Add drops of colour or specific additives according to the required effect: for example, to create intricate cells and blooms, introduce a few drops of “Magic Drops” – Cell Effect Additive for Resin Art 15ml onto the wet resin and observe the concentric movement. For ocean art, apply a blend of transparent blue and white pigments, then incorporate wave powder for natural-looking water textures.
Blend gently to avoid over-mixing, which can muddy colours or diminish defined patterns. Each type of effect may have a preferred method, so follow instructions for the specific kit or additive you’re using.
Control your pour and blending technique for sharp, vibrant results.
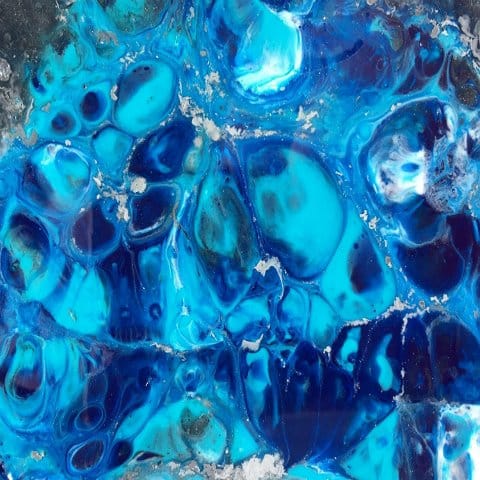
Step 3: Experiment with Additives for Different Effects
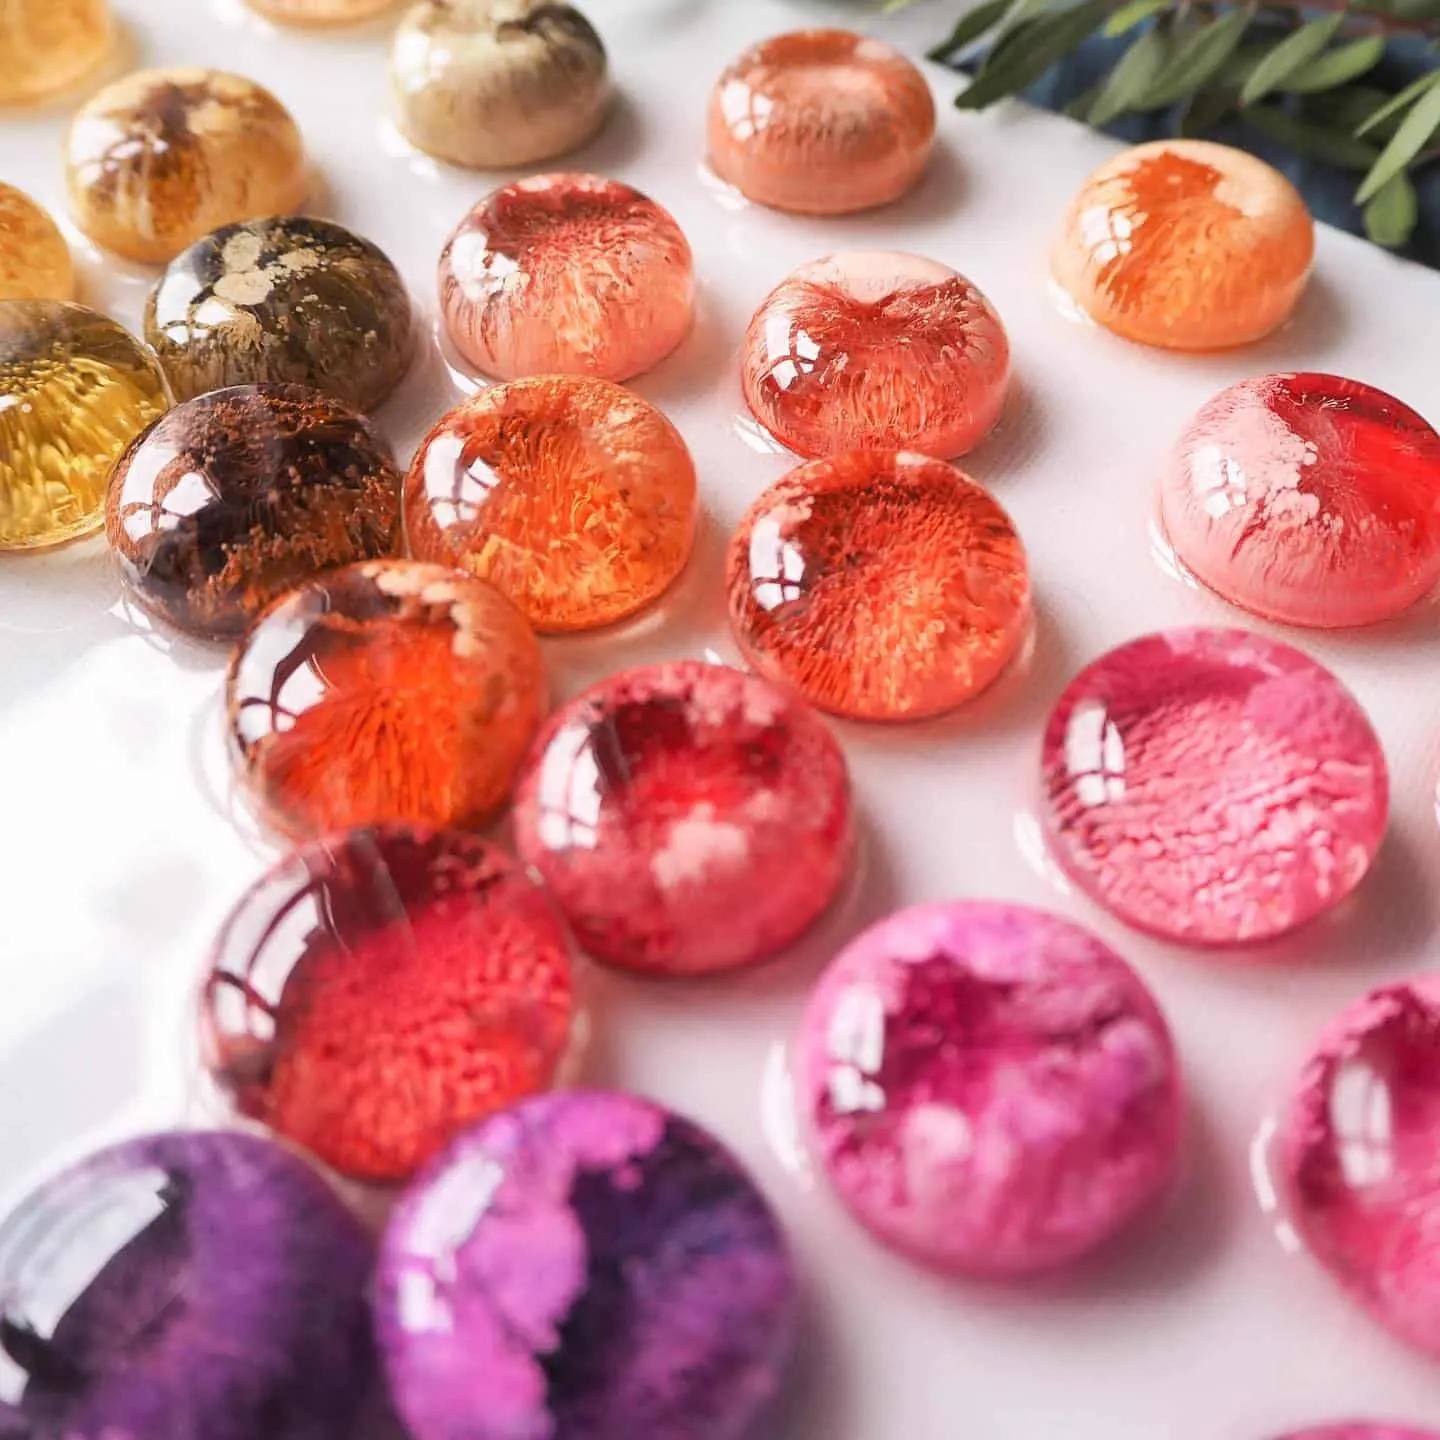
To achieve dynamic patterns, experiment with the timing and placement of additives. For example, dropping “Resi-Blast” – Cell Effect Additive for Resin Art, 25ml onto freshly poured, pigmented resin can produce blooming cell structures and organic separation lines. When using the Petri Resin Art Starter Kit – Create Stunning Petri Effect Art at Home, layer white alcohol ink after coloured inks in each mould cavity, allowing the colours to interact and create beautifully diffused “Petri dish” effects inside your resin pieces.
Start with small drops and space them out; the physical chemistry between the additive and the wet resin will do the creative work for you.
Experiment with additives for different effects, adjusting drop size and placement for each unique technique.
Step 4: Allow for Sufficient Curing Time
Once your effects are set and patterns emerged, let your resin cure in a dust-free environment according to the manufacturer’s advice. Quick handling can distort waves, cells, or Petri designs, so resist the urge to move the piece too soon. Typical full curing for decorative projects is 24–72 hours, depending on temperature and resin type. Curing in a warm (but not hot) room helps avoid surface clouding or tackiness, particularly with thicker ocean or layered effects as found in the “Sea” – Resin Kit for Creating Ocean Art, 1.7kg Epoxy, Pigments & Canvas.
Patience pays off with crisp, high-gloss results and long-lasting effects. Allow for sufficient curing time to ensure your art retains its defined layers and brilliance.
Tips and Common Mistakes
Keep your workspace clean, test new additives on small sample pieces before a big project, and always follow safety and mixing guidelines. Watch out for over-mixing, which can blur patterns, and avoid moving your work too early to prevent distortion. If you’re layering colours, wait until each pour is slightly set before adding the next to retain pattern definition. Use protective equipment, and measure resin and hardener accurately for consistent curing.
Remember, different effects react to timing, temperature, and the specific resin formula, so keep notes to refine your technique over time.

Maximise Your Resin Art Results
Get the most from each kit and additive by testing different colour combinations, pouring patterns and additive placements for signature results.
- "Magic Drops" – Cell Effect Additive for Resin Art 15mlOriginal price was: £8.45.£6.45Current price is: £6.45."Magic Drops" additive enables creating cells and blooming effects in resin art using a safe, odourless formula.
- "Resi-Blast" – Cell Effect Additive for Resin Art, 25ml£21.95"Resi-Blast" is designed for creating cell patterns with epoxy resin, suitable for adding special effects in resin art projects.
- Petri Resin Art Starter Kit – Create Stunning Petri Effect Art at Home£55.85This kit includes epoxy resin, mould, inks and tools to create resin artworks featuring unique Petri effects suitable for decoration and jewellery.
- "Sea" – Resin Kit for Creating Ocean Art, 1.7kg Epoxy, Pigments & Canvas£47.45Resin kit including epoxy, pigments and wave additive for ocean-themed art, designed to create layered wave effects.
Frequently Asked Questions
How long should resin art with special effects cure before moving?
Most resin art should cure 24–72 hours undisturbed for maximum clarity and to preserve sharp patterns.
What is the best way to create cells with epoxy resin?
Use a specialised additive like Magic Drops or Resi-Blast on wet resin, applying small drops for organic cell shapes.
Is the Petri Resin Art Starter Kit beginner-friendly?
Yes, the kit comes with clear instructions and is ideal for those new to resin art.
Which resin art kit is best for creating ocean wave effects?
Choose a dedicated kit like the "Sea" Resin Kit, which contains both pigments and additives for layered wave effects.
How should I prepare my surface for special effects in resin art?
Clean all surfaces thoroughly and ensure a dust-free work area to achieve smooth, flawless effects.
How can I prevent colours from blending into a muddy effect?
Use minimal blending after adding pigments and avoid over-mixing to keep colours vibrant and effects defined.