 Free shipping on orders over £29,85


← Back to How to speak the resin again?
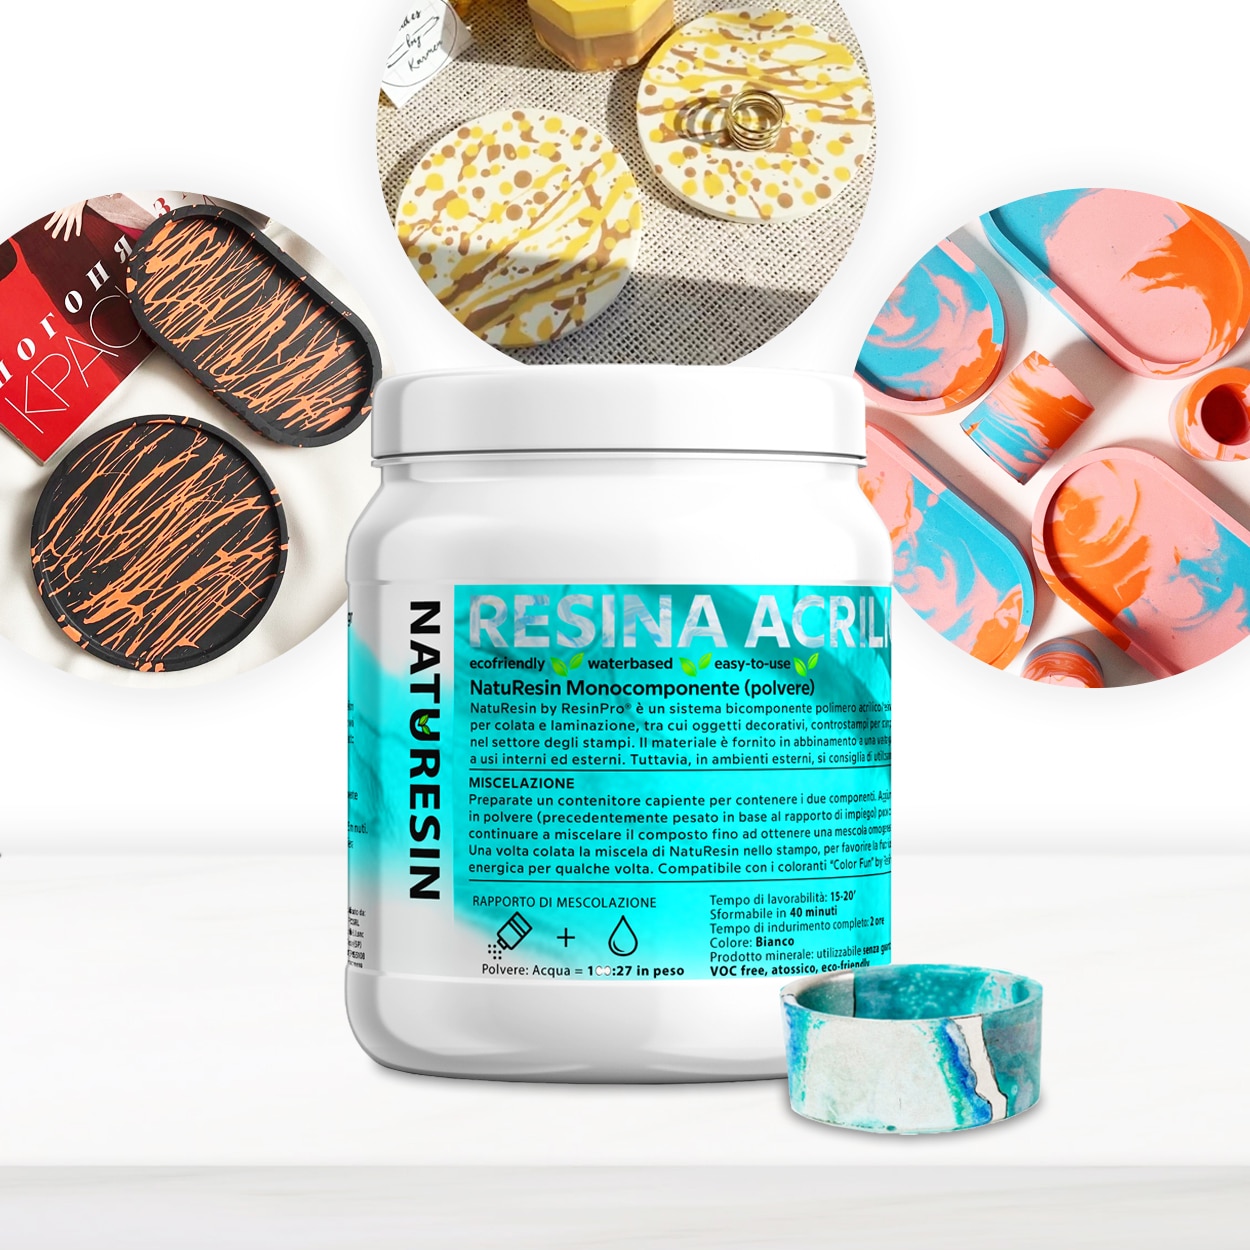
Exploring resin art offers countless ways to customise your creations. Whether you’re making home décor, jewellery, or functional art, resin can be tailored to reflect your own style and imagination.
Finishing: Sanding, Polishing, and Surface Prep
Once your resin has cured, you can shape and refine it in several ways. Most cured resins can be sanded to smooth sharp edges, level out surfaces, or remove unwanted marks. Use progressively finer sandpaper for a sleek finish—start with a coarse grit and move up to a very fine grit for best results. Once sanded, many projects benefit from a gentle polish to bring out an attractive sheen.
Some beginners prefer all-in-one resin kits like the River-Table Complete Kit, which includes polishing pads and cream for a professional finish.
Decorating with Colour and Paint
Customising resin projects by adding colour is extremely popular. After curing, you can paint designs directly onto mineral resin surfaces with acrylics or use metallic pigments and mica powders for unique highlights. For a subtle tint or layered effect, mix colourants into the resin before pouring—ideal for geode coasters or swirling patterns. If you want to try this out, the Resin Geode Coaster Starter Kit comes with colourants and moulds to inspire creativity.
When Customisation Matters Most
- Home décor: Personalise trays, coasters, and flower pots to suit your interior.
- Jewellery: Add pigments or paint tiny designs for truly one-of-a-kind pieces.
- DIY gifts: Create meaningful and bespoke resin crafts for special occasions.
Related products
Related guides
Customising your resin projects puts your own touch on every piece, whether you’re creating art for yourself or gifts for others. For more advice and in-depth guides on working with mineral and epoxy resins, visit our main How to speak the resin again? page.