 Free shipping on orders over £29,85


← Back to How do you achieve the Petri dish effect on resin?

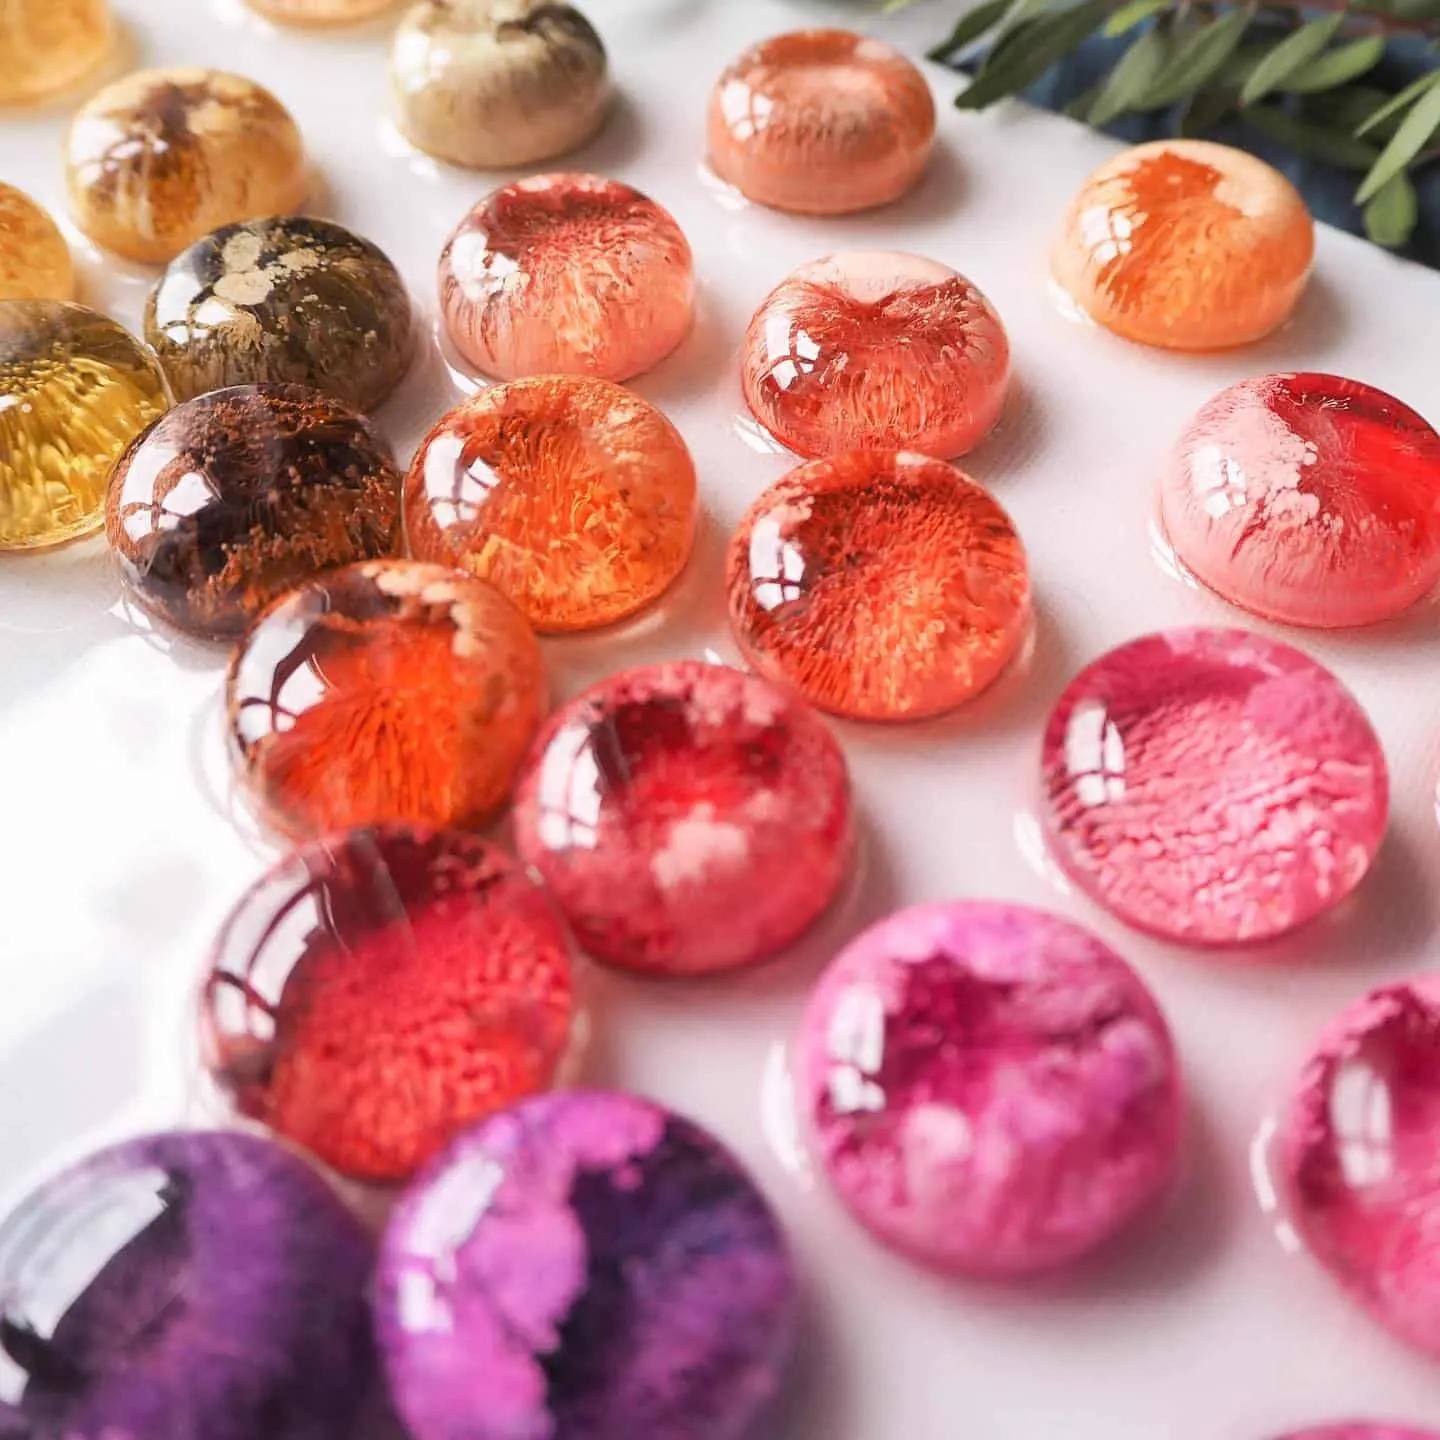
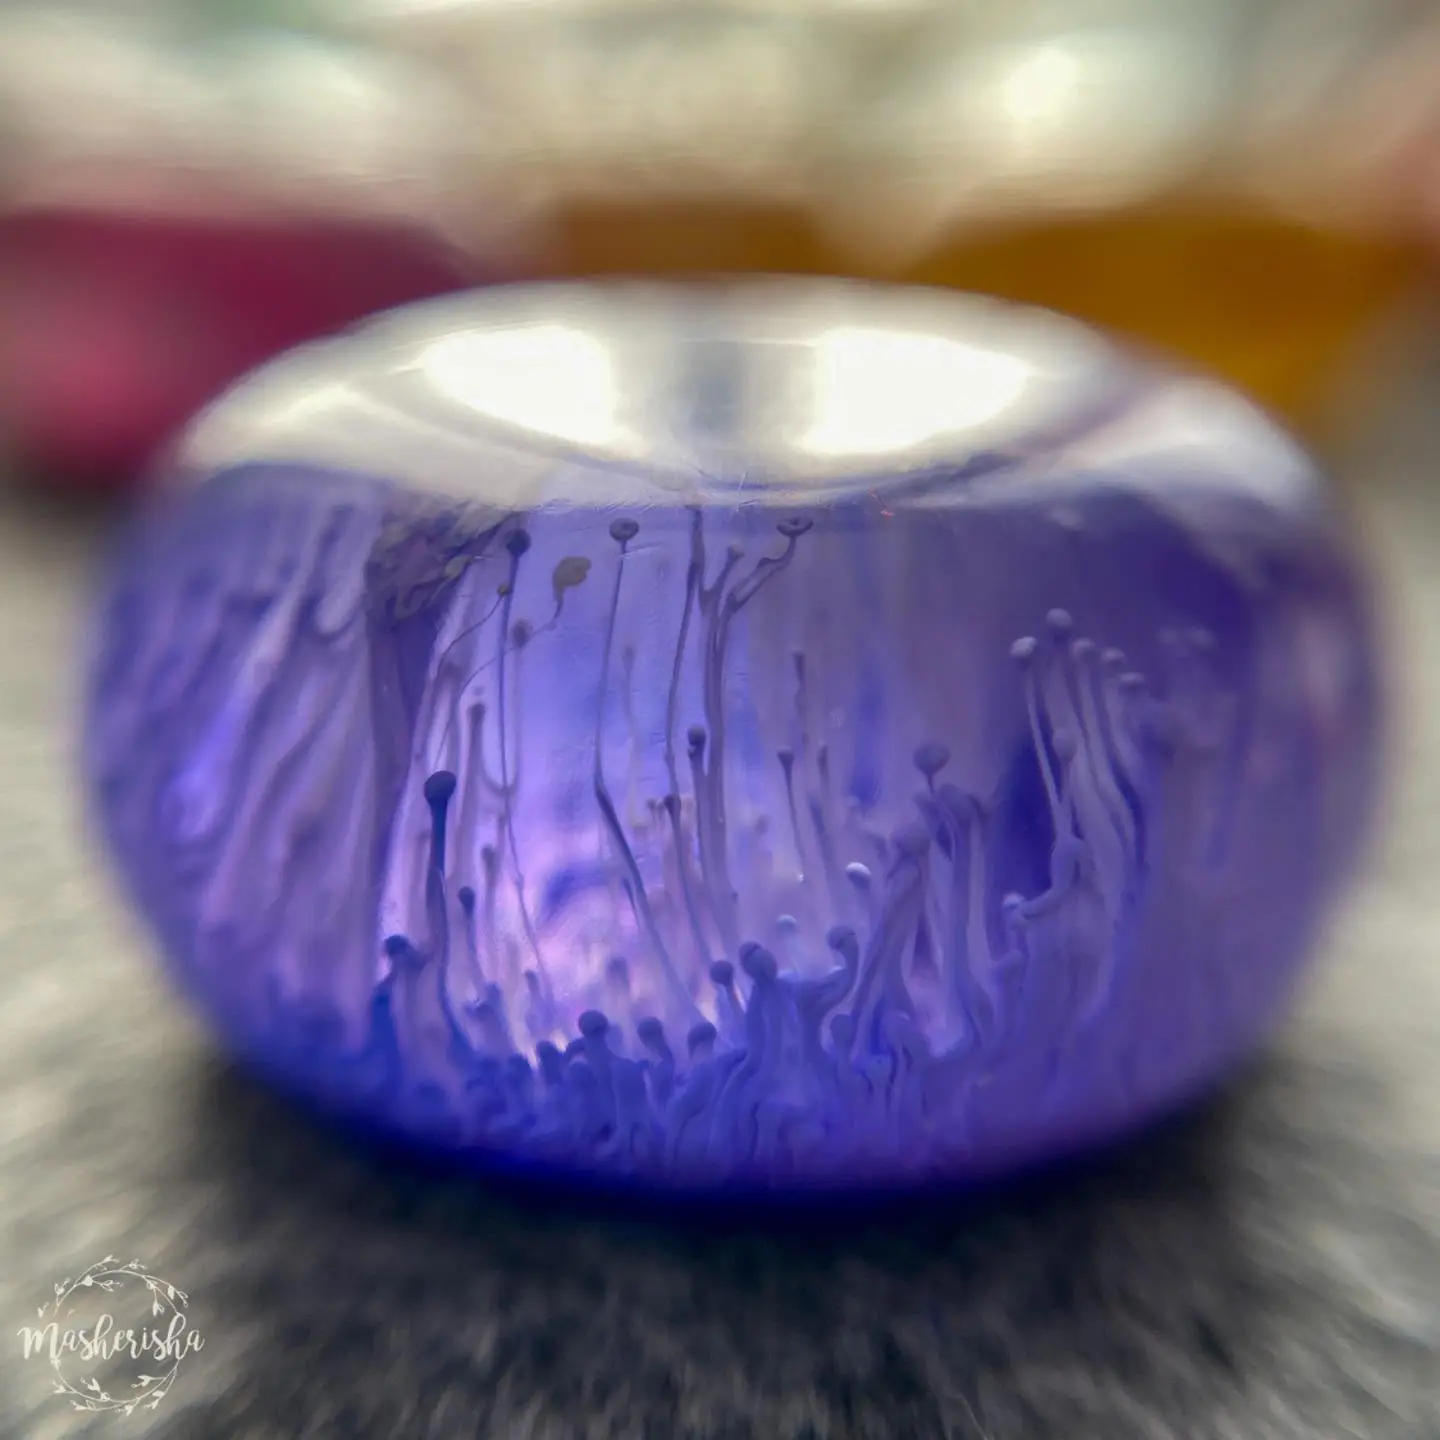
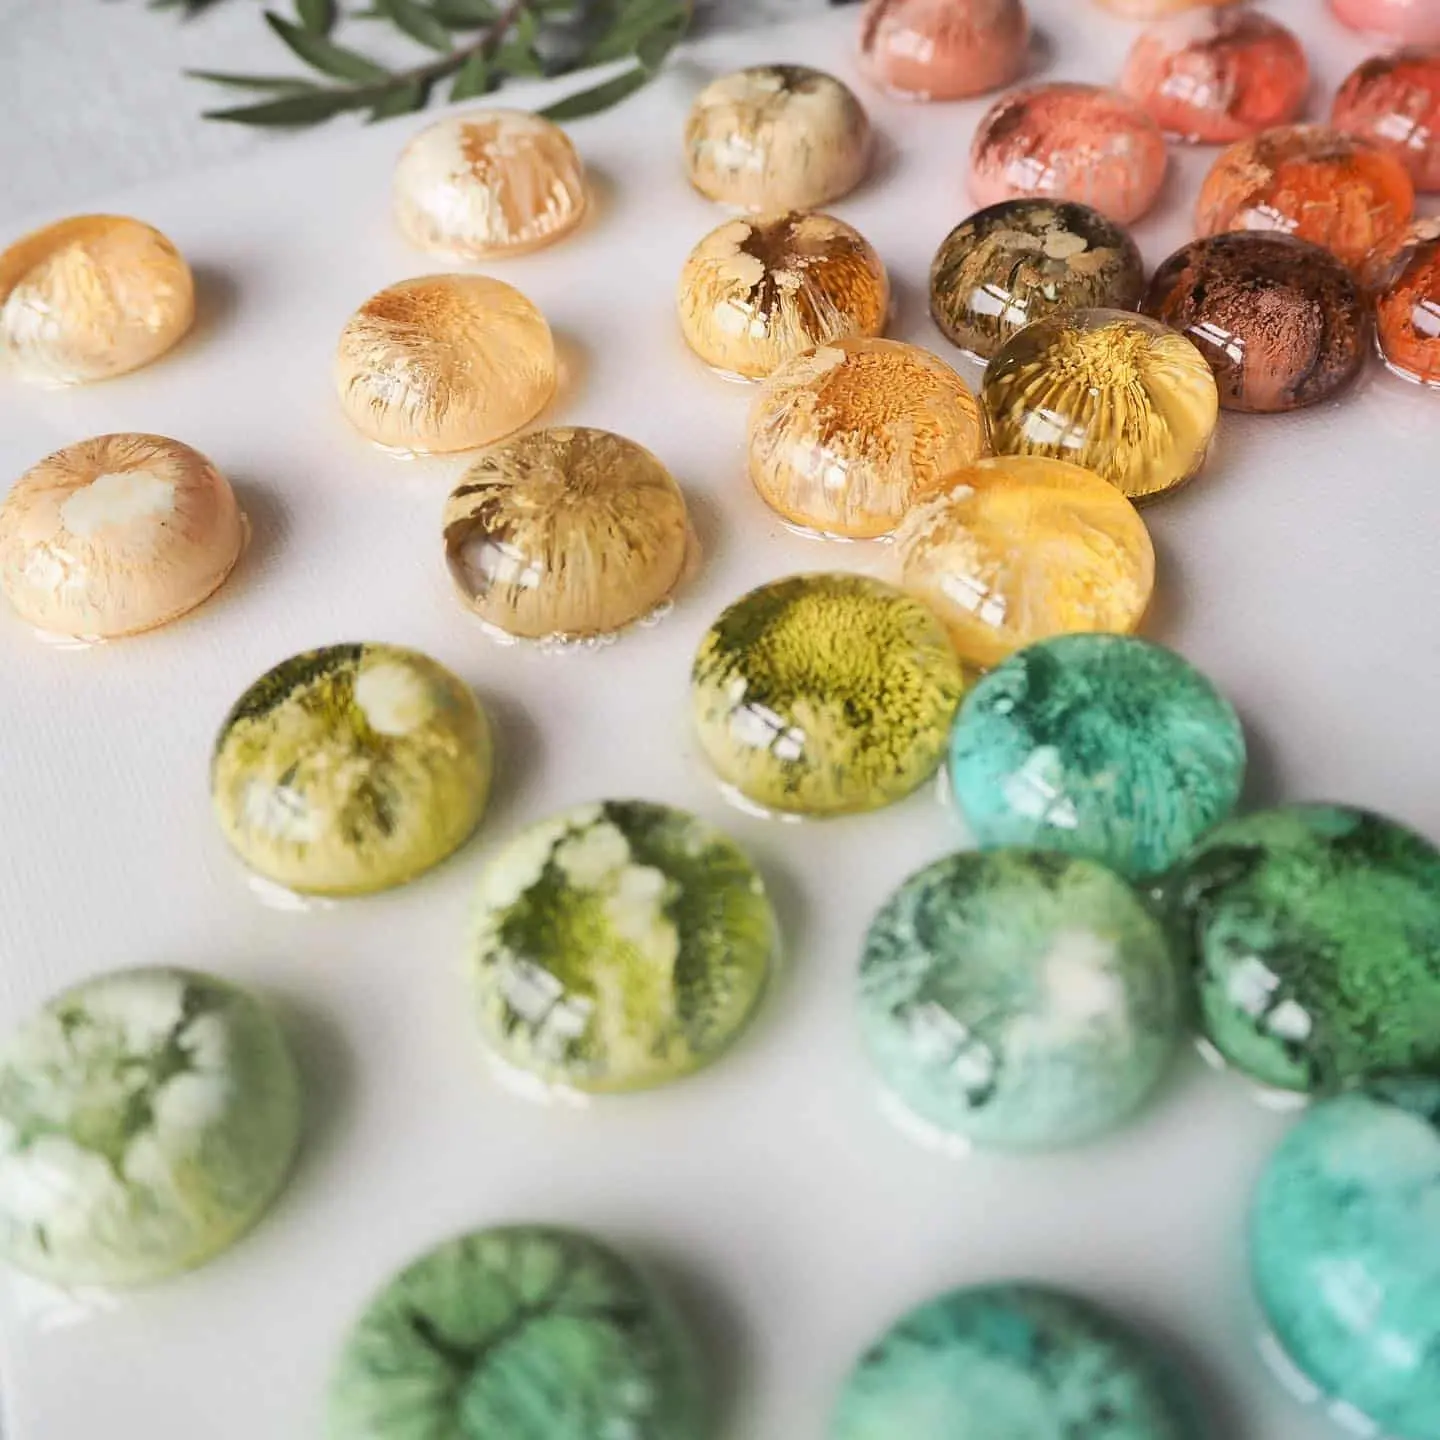
Resin art can be extremely rewarding, but the creative process can go awry—especially when dust or mistakes find their way into your Petri dish resin design. Don’t worry: there are straightforward solutions for rescuing your piece and ensuring polished final results.
Dealing with Dust and Small Imperfections
Discovering a stray dust particle or hair in your resin is frustrating, but in most cases it isn’t the end of your artwork. If the mark is minor and only on the surface, wait for the resin to cure fully (usually 24–48 hours in a dust-free space). Once hard, you can gently sand away the imperfection with fine-grit sandpaper. Afterwards, consider polishing or applying a clear topcoat to restore a glossy finish.
What to Do if Your Design Goes Wrong
If inks have blended unpredictably or large flaws occur, there are ways to recover your piece without starting over. For significant issues like smudged patterns, consider recasting: pour a new layer of resin, or even demould and use your item as a base for another creative try. Products like the Petri Resin Art Starter Kit provide everything you need to return to the process and experiment with colour placement, timing, and ink effect to achieve the look you want.
When Careful Cleaning Matters Most
- Resin is especially prone to attracting dust and debris during curing. Always cover your projects with a clean box or container to minimise risk.
- Keep your workspace and tools (like moulds and mixing sticks) spotless before starting.
- If rescuing a piece, use only refined sanding tools and always finish with a clean, dry cloth.

Related products
Related guides
While cleaning mistakes in Petri dish resin art can be disheartening, most issues are fixable with a little patience and care. For more on perfecting the Petri dish effect from start to finish, see our full guide on the process.