 Free shipping on orders over £29,85


How do you achieve the Petri dish effect on resin?
Step-by-step guide for mesmerising organic patterns in resin art


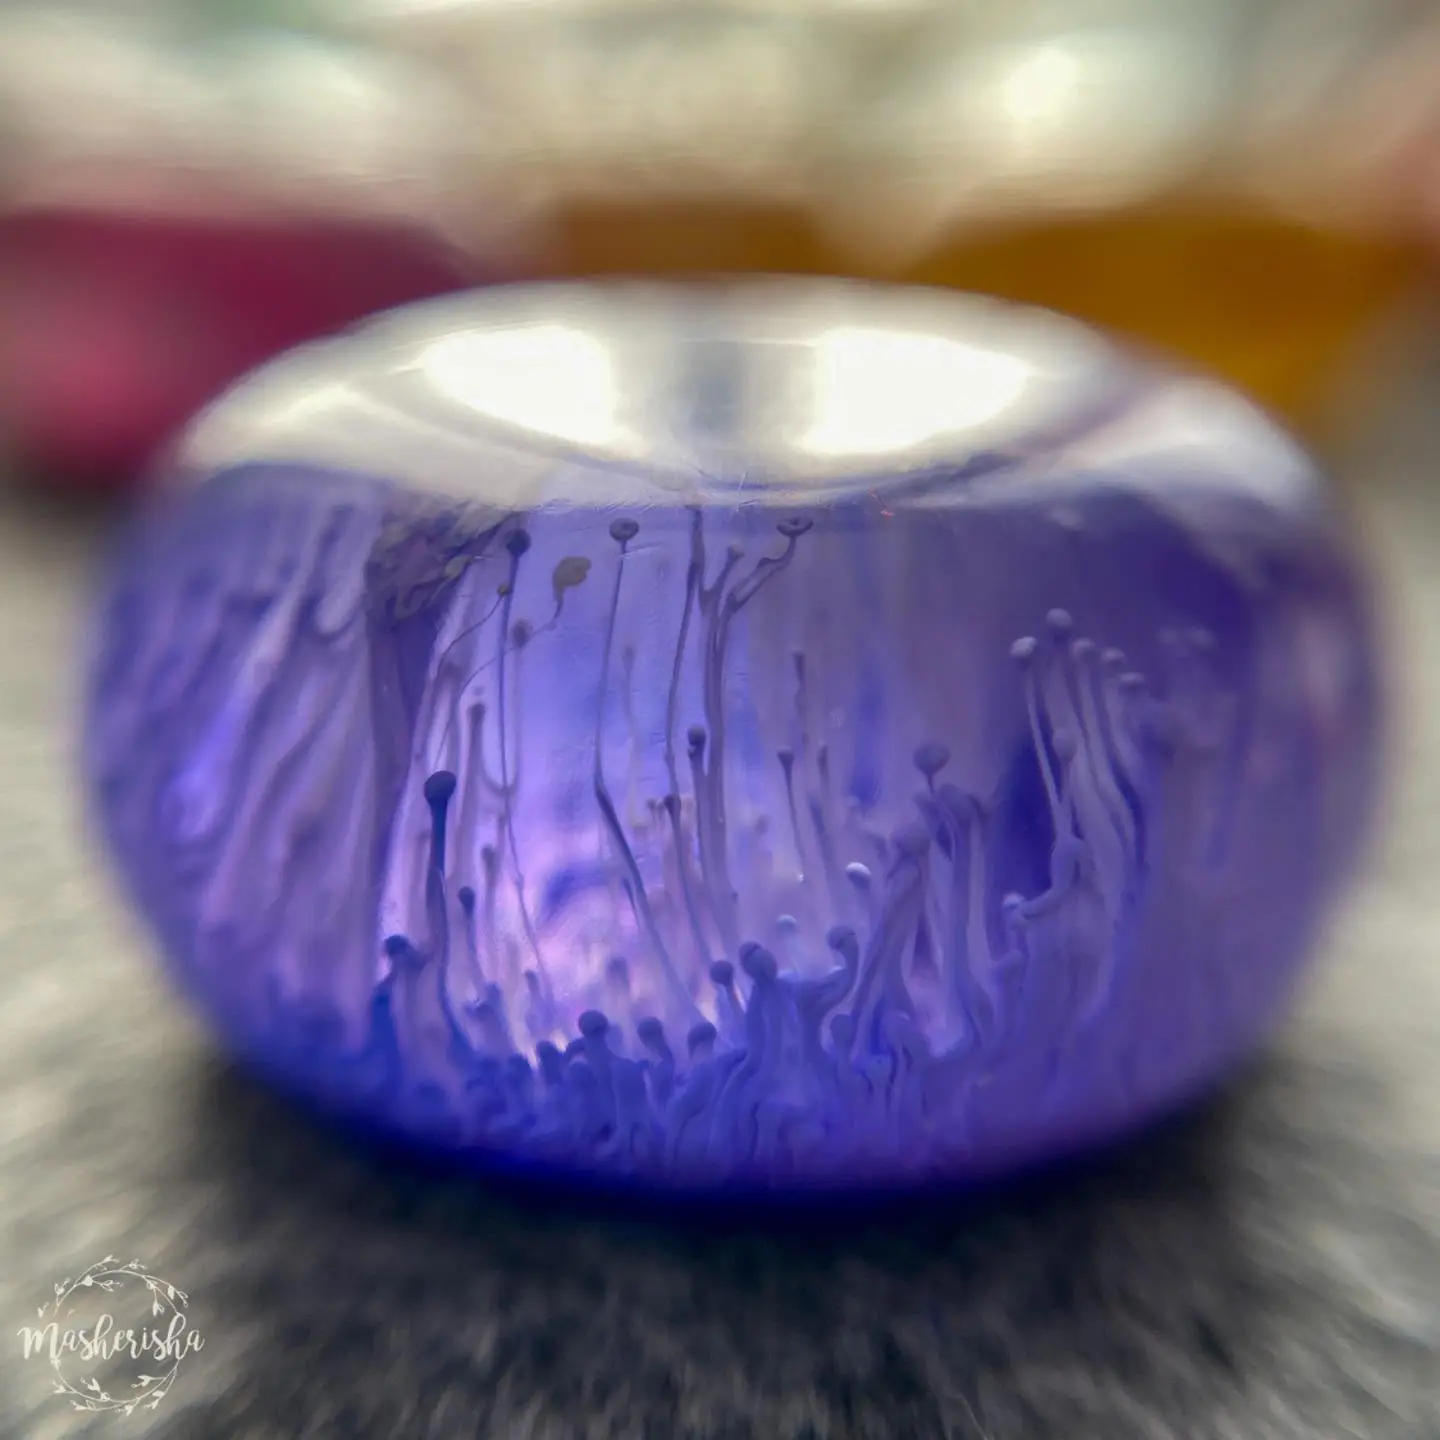
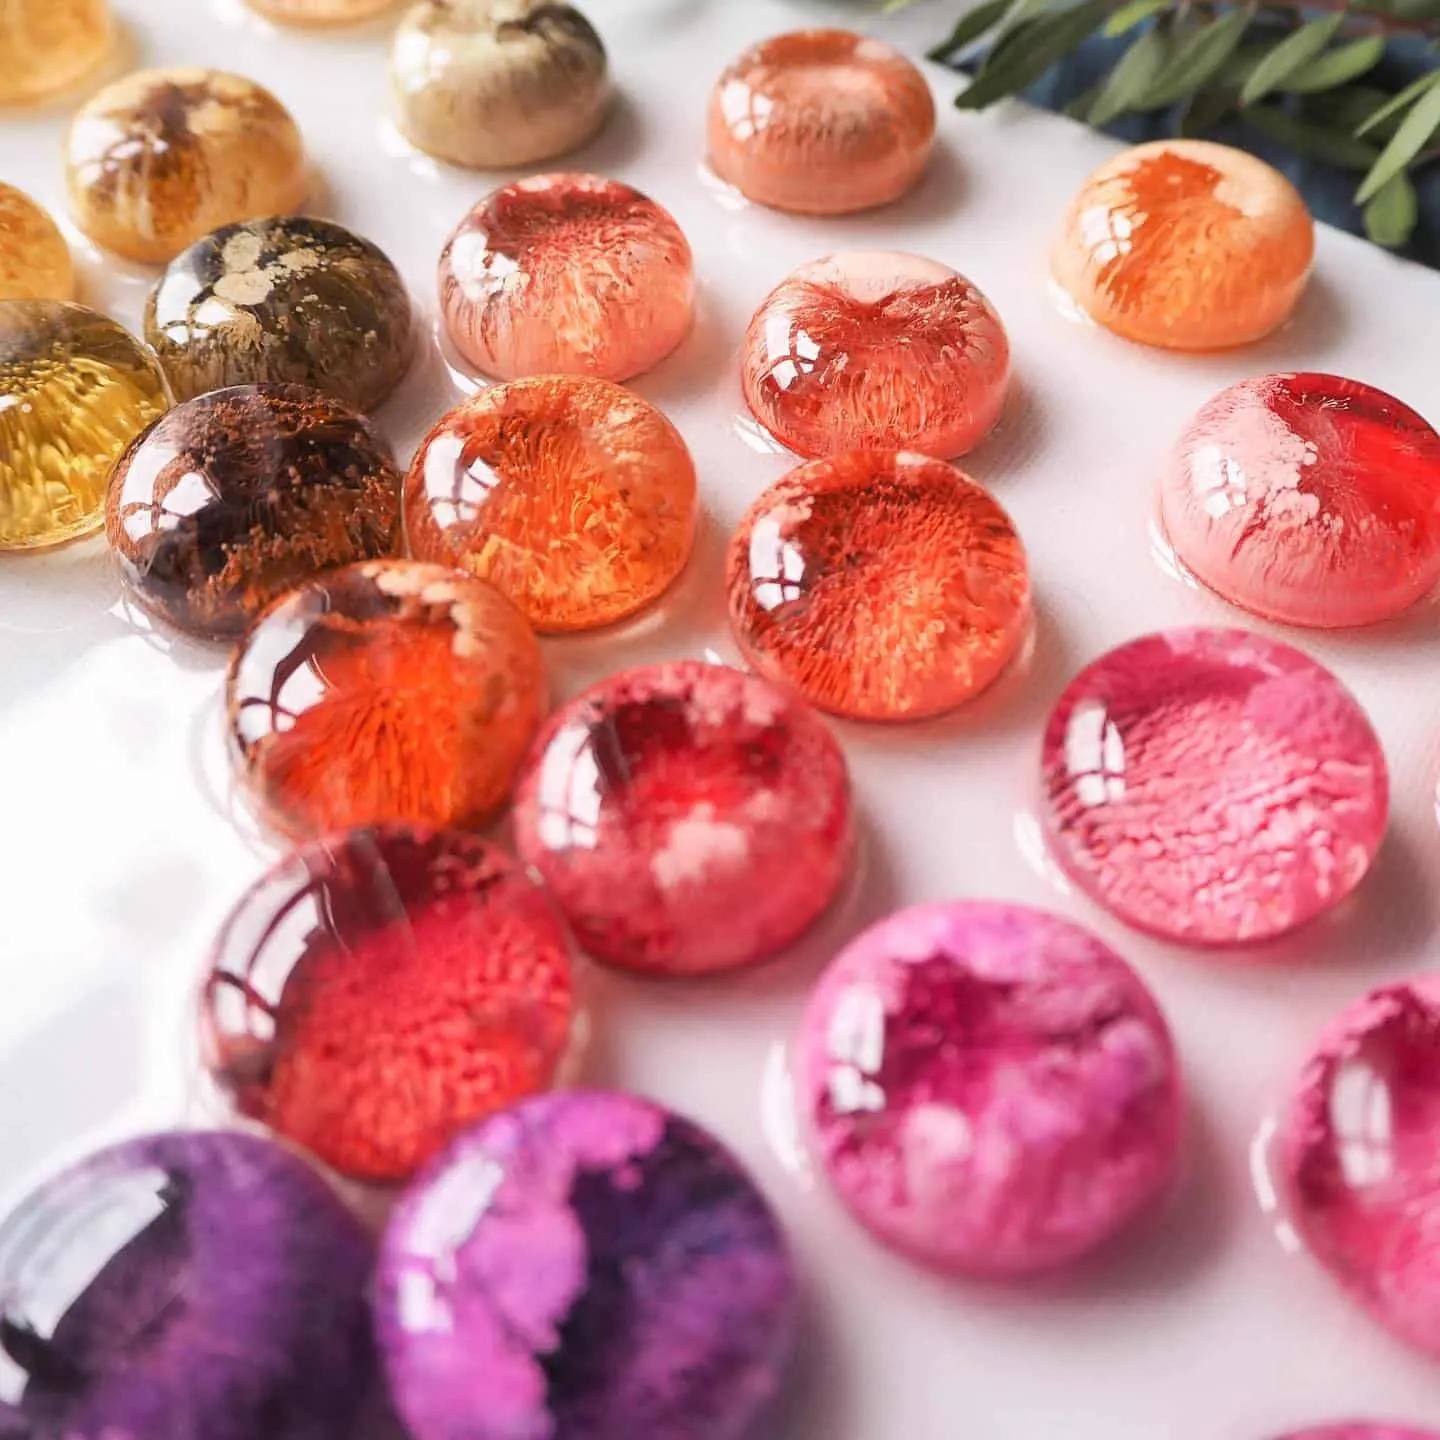
The Petri dish effect transforms clear resin into a captivating show of drifting colour, with organic patterns that evoke blooming cells. If you’re looking to elevate your resin art with this fascinating finish, this guide walks you through the process, techniques, and what to avoid—whether you’re a beginner or an experienced creative.
What You’ll Need
- Petri Resin Art Starter Kit – Create Stunning Petri Effect Art at Home: A convenient option for beginners with epoxy, mould, inks, and tools included.
- “Petri Art” – Set of Alcohol Ink: Specially formulated inks for achieving the Petri style colour effect.
- “Jacquard Pinata” – White Alcohol Ink for Petri Art, 118.29ml: Essential for the signature ‘blooming’ cell patterns.
- “Resi-Blast” – Cell Effect Additive for Resin Art, 25ml (optional): Can help intensify and enhance cell formation for advanced results.
- Nitrile gloves, mixing sticks, a silicone mould, and a dust-free workspace.

Materials for Stunning Petri Dish Resin Effects
Petri Resin Art Starter Kit offers an all-in-one package for those new to the technique, ensuring you have every essential tool and ink at hand. For artists wanting to explore colour variations or expand on their kit, sets like “Petri Art” – Set of Alcohol Ink and Jacquard Pinata White Alcohol Ink provide a wealth of creative options.
Step 1: Prepare Your Workspace and Safety
Begin by clearing a flat, dust-free surface and setting out your tools and protective equipment. Since resin and alcohol inks give off fumes and can be sticky, always work in a well-ventilated area and wear gloves. Place your silicone mould where it won’t be disturbed and cover surrounding areas to protect them from splashes or spills.
Check all required materials—resin, inks, moulds, and mixing tools—are within reach. Carefully read the instructions for your chosen resin, noting mixing ratios and curing times.
Step 2: Mix and Pour Your Resin
Accurately measure and mix your epoxy resin according to the manufacturer’s instructions. Stir thoroughly but slowly to minimise bubbles. Once well-blended, pour the resin into your mould to the desired thickness. Avoid overfilling the mould, as this can make later ink application less predictable.
Allow the poured resin to sit undisturbed for a few minutes. This helps trapped air bubbles rise to the surface; you can pop them with a heat gun or a gentle breath if necessary. Now the resin is ready for inks—timing is crucial for the Petri dish effect.

Step 3: Wait for the Right Viscosity
For the Petri pattern to form, the resin must reach the correct thickness—not too fluid, not too firm. This usually takes 20–30 minutes, but check your specific resin and room temperature. In warmer rooms, this window may arrive sooner. Wait for the right viscosity: when the resin moves less freely, the inks will sink more slowly and form distinct patterns.
Waiting too little or too long can reduce clarity or cause the inks to sit on the surface. Test with a cocktail stick—gently touch the resin to sense the resistance without disturbing the surface.
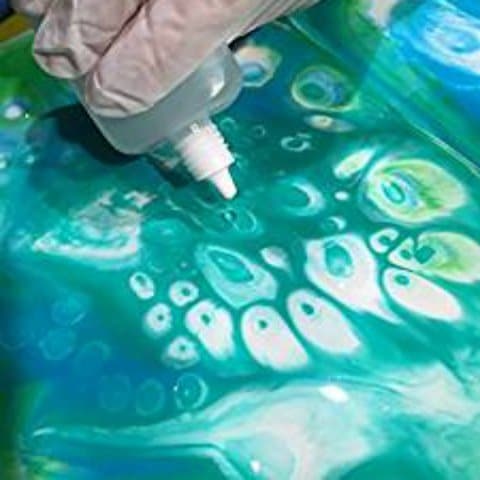
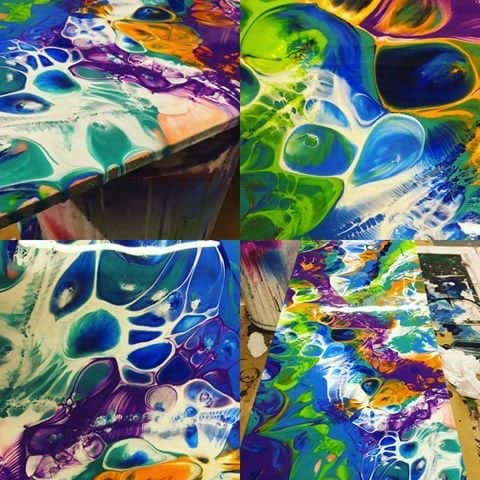
Step 4: Apply Inks and Create the Petri Effect
Using a dropper or nozzle, add drops of coloured alcohol ink from the “Petri Art” – Set of Alcohol Ink onto the surface of the resin in your chosen pattern. Immediately after, add a drop of white alcohol ink—such as “Jacquard Pinata” – White Alcohol Ink for Petri Art, 118.29ml—directly on top of each coloured drop. The white ink will gently push the colour downward, creating the organic, blooming cell shapes characteristic of the Petri effect.
You can experiment with additional layers, spacing, or the optional use of “Resi-Blast” – Cell Effect Additive for Resin Art, 25ml to promote more vigorous cell formation. Avoid overloading the resin with ink, as too much pigment can muddle or blur the effect. Shake inks before application and allow the inks to spread naturally without stirring.
Step 5: Curing and Demoulding
Once you’re happy with your design, cover the mould to prevent contamination from dust or insects—this is essential for a clear, glossy finish. Leave the resin to cure flat and undisturbed for 24–48 hours, or as directed by your resin manufacturer. Prevent dust contamination by using a box or a large bowl as a cover.
When fully cured, carefully demould your artwork. If desired, lightly sand edges or finish with an additional resin clear coat. Clean tools and workspace promptly with suitable solvents or wipes before resin hardens.
Tips and Troubleshooting
The most breathtaking Petri effects are born from patience and precision. Timing the ink application is the commonest pitfall—too soon and colours run; too late and patterns cannot form. Shake inks before application to disperse pigment, and never stir after dropping onto resin. Cleanliness is key: keep dust at bay and always use clean equipment to avoid inclusions.
If patterns fail to appear, consider room temperature or resin thickness—both influence how inks behave. With experience, you’ll learn how subtle adjustments affect results, making every pour unique.
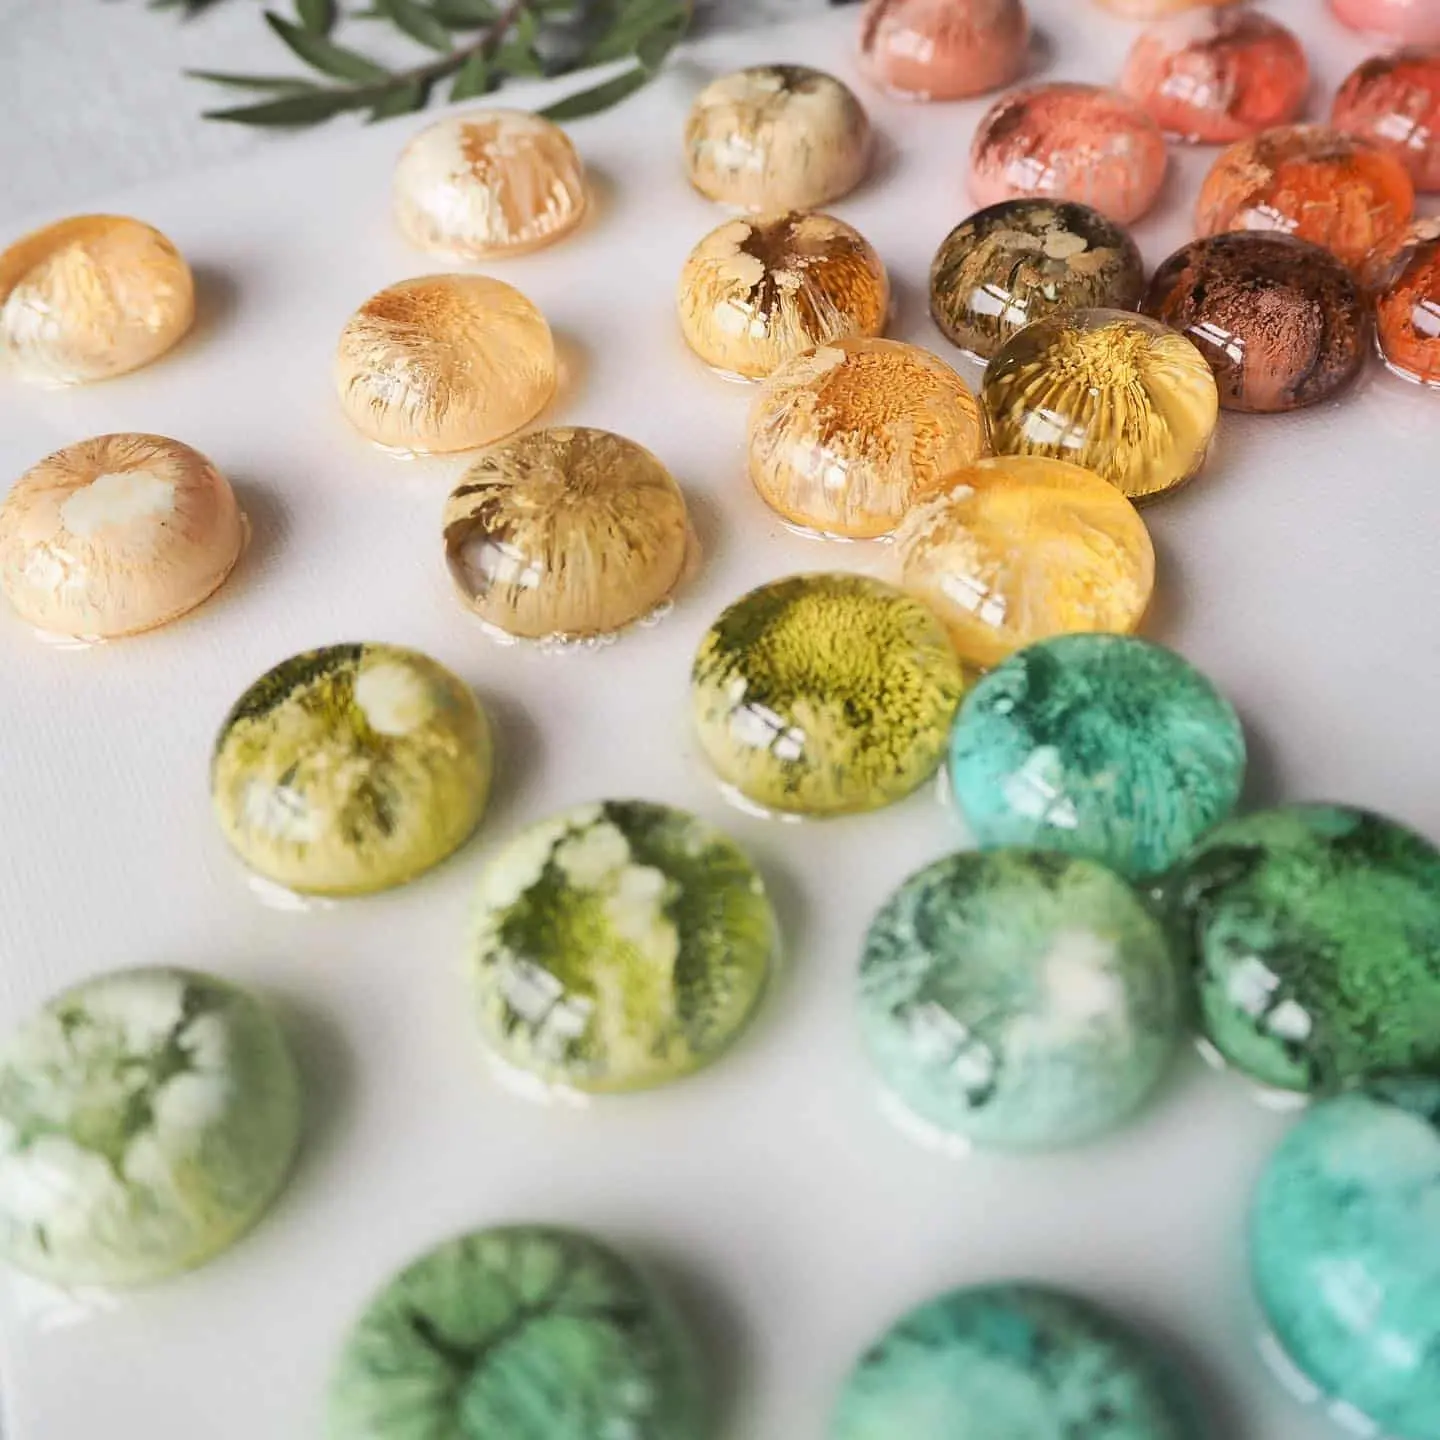
Visual Inspiration for Petri Dish Resin Art
Every Petri dish effect outcome is a one-off, influenced by timing, ink choice, and room conditions. Look to example pieces or experiment with different ink colour combinations, layering approaches, and resin depths to produce truly personalised, eye-catching results.
- Petri Resin Art Starter Kit – Create Stunning Petri Effect Art at Home£55.85The Petri Resin Art Starter Kit contains materials for creating decorative resin art with flowing colours and distinct Petri effects.
- "Petri Art" – Set of Alcohol InkPrice range: £14.95 through £19.95"Petri Art" – Set of Alcohol Ink is designed for creating Petri dish effects in epoxy resin using translucent colours and white ink.
- "Jacquard Pinata" – White Alcohol Ink for Petri Art, 118.29ml£16.95"Jacquard Pinata" white alcohol ink is designed for creating the Petri Art effect in resin craft.
- "Resi-Blast" – Cell Effect Additive for Resin Art, 25ml£21.95Resi-Blast is a 25ml additive for epoxy resin art designed to create cell effects and bloom patterns in resin projects.
Frequently Asked Questions
What causes the Petri dish effect in resin art?
It is created when dropped white alcohol ink pushes coloured inks down through resin, forming organic, cell-like patterns.
Which resin and inks are best for the Petri dish effect?
Epoxy resin kits designed for Petri art and specially formulated alcohol inks, especially those including white ink for cell effects, produce the most striking results.
When should I apply the alcohol inks for optimal Petri patterns?
Wait until the resin is moderately viscous—usually 20–30 minutes after pouring—so inks sink slowly, creating crisp cell structures.
Can I use additives like Resi-Blast to boost the Petri effect?
Yes, Resi-Blast can intensify cell creation and expand blooming effects, but use it sparingly to avoid overblending colours.
Do I need a specific mould shape for Petri effect resin art?
Silicone half-sphere and coaster-style moulds work particularly well, but any shallow silicone mould can be used for interesting results.
What if my design goes wrong or dust lands in the resin?
Minor dust can be sanded once cured; for major mishaps, you can re-cast or add a new resin layer to refine the finished piece.