 Free shipping on orders over £29,85


How do you apply resin to make a statue?
Expert guide for detailed, durable resin statue casting

Creating resin statues offers artists, makers, and craft enthusiasts the chance to replicate and immortalise intricate details in a durable form. This guide explains how to apply resin for statue making, from picking moulds to curing, so you achieve crisp, lasting results every time.
What You’ll Need
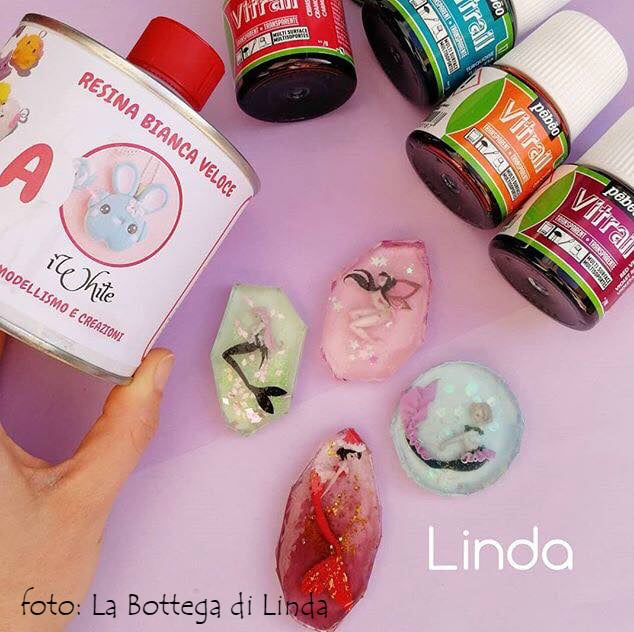
- “IWhite” – Polyurethane Casting Resin – White, Fast-Curing Two-Part System: A versatile, detail-capturing resin for rapid statue prototyping.
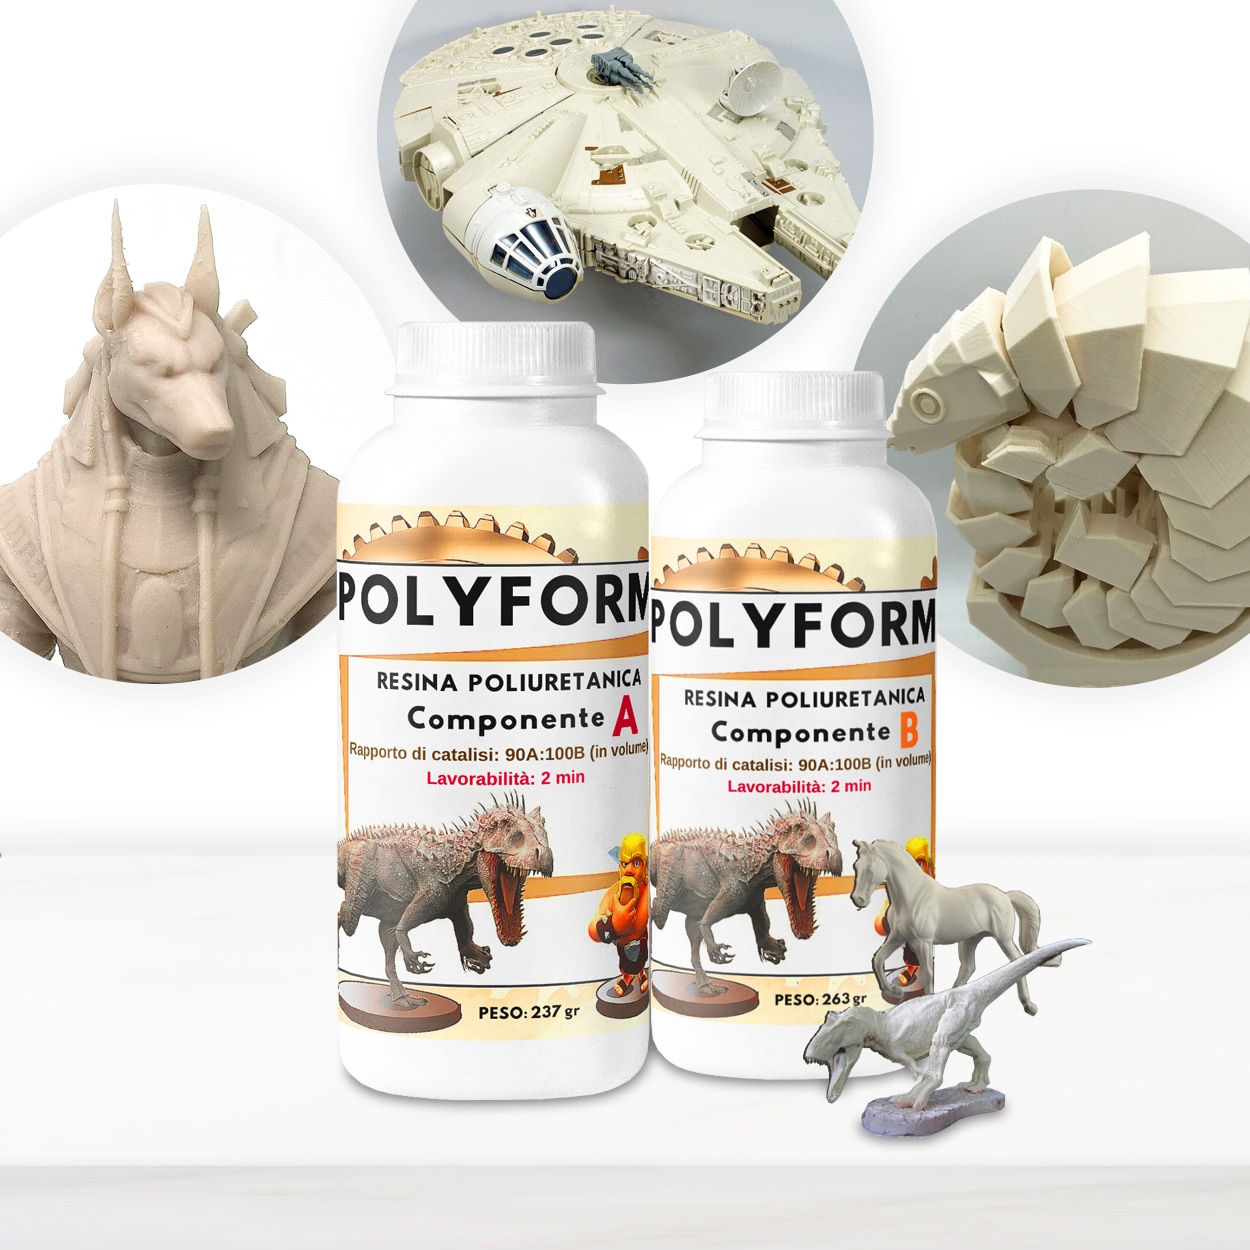
- “Polyform” – Polyurethane Casting Resin, Beige, Fast-Setting for Prototyping: Ideal for fast, robust castings using silicone moulds.
- “Epoxytable 10-Ten” – Deep Pour Epoxy Resin for Tables, Up to 10cm Casting: For deep pours in large or translucent artistic statue works.
- “EpoxyTable 5-Five” – Deep Pour Epoxy Resin for Tables and Large Projects – Up to 5cm: Suitable for medium-depth pours requiring clarity and strength.
- High-quality silicone or flexible mould (suited to statue detail)
- Mixing cups, stirrers, and digital scales
- Protective gloves, eyewear and a well-ventilated workspace
- Release agent (if required by the mould)
- Acrylic paints or powder pigments (for post-casting colour if desired)

Gallery: Resin Statue Projects and Mixing Process
Browse examples of resin statues created with polyurethane and epoxy resins. See the difference in surface finish and clarity possible with each casting technique, and preview the mixing steps for precision in your own projects.

Step 1: Prepare the Mould and Work Area
Choose a suitable mould for fine detail. Silicone moulds are preferred for statues because they are flexible and hold surface textures well. Inspect the mould for damage or dust, and clean thoroughly to avoid contamination in your resin cast. If recommended, lightly apply mould release agent to aid demoulding and preserve intricate features. Set up your workspace in a well-ventilated area, cover surfaces, and don PPE before you begin mixing resin.
Step 2: Measure and Mix Your Resin System
Read the instructions for your chosen resin carefully. Mix your resin precisely by weight as even small deviations can affect cure and finish. For highly detailed statues with rapid turnaround, “IWhite” – Polyurethane Casting Resin is a reliable choice. Alternatively, for batch casting or more robust results, consider “Polyform” – Polyurethane Casting Resin.
Whether you use polyurethane or deep-pour epoxy like “Epoxytable 10-Ten”, always follow the recommended mix ratio—often by weight—and mix in a clean container. Mix slowly but thoroughly to minimise air entrapment. Scrape the sides and bottom of your mixing container to ensure full incorporation of both parts.
Step 3: Pour and Cast the Resin
Resin sets quickly, especially fast-curing systems like “IWhite” or “Polyform”, so pour immediately after mixing. Pour resin slowly to reduce air bubbles. Start at one point and let the flow push air out of the mould. For complex statues, gently tip or tap the mould to encourage bubbles to rise and escape. If you’re using EpoxyTable 5-Five for medium-depth pours, work steadily as you have a longer open time before the resin gels.
For deep and clear artistic castings, Epoxytable 10-Ten offers excellent clarity even at thickness up to 10cm, making it suitable for larger statues needing a glass-like finish.
Step 4: Curing, Demoulding, and Finishing
Allow full cure for best strength. Each resin requires a different curing time—often between 30 minutes (for “IWhite” or “Polyform”) to several hours for deep pour epoxies. Don’t rush; premature demoulding can compromise surface detail or cause warping. Once cured, carefully remove the statue from the mould. If needed, trim away excess flash with a sharp blade and sand lightly.
Paint or decorate your statue if desired, using acrylics or pigments. Polyurethane castings can be coloured during pouring or after curing. For best results, allow all painting to fully dry before handling the finished piece.
Tips, Common Mistakes, and Troubleshooting
Use gloves and protective eyewear every time you handle resin—uncured resin can irritate the skin and eyes. Measure resin and hardener with a digital scale for accurate results. Under- or over-mixing are common causes of incomplete cures or tacky finishes. Work at room temperature (ideally above 10°C) to ensure proper flow and curing. If you notice bubbles after pouring, use a toothpick or gentle tapping to encourage their release, especially around undercuts or fine detail regions.
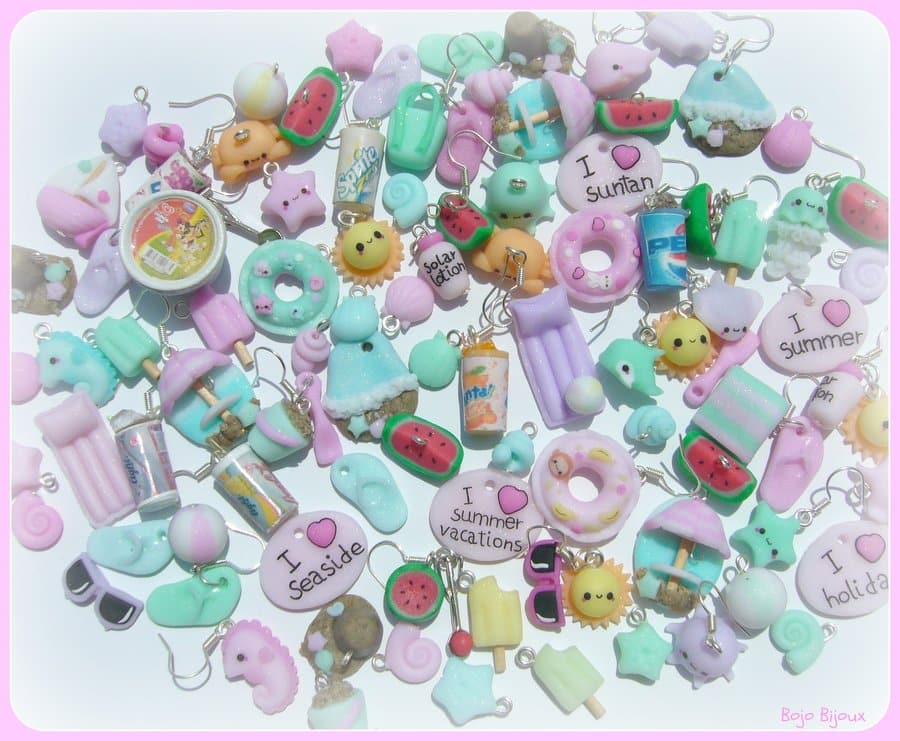
Finishing and Decorative Examples
View outcomes of painted and unpainted resin statues. Notice how details shine with correct mould preparation and resin choice. Decorative techniques such as dry brushing, patina, and embedded pigments enhance your final result.

- “IWhite” – Polyurethane Casting Resin – White, Fast-Curing Two-Part SystemPrice range: £24.00 through £36.95IWHITE is a fast-curing polyurethane resin suitable for detailed casting and rapid prototyping in making statues.
- “Polyform” – Polyurethane Casting Resin, Beige, Fast-Setting for PrototypingPrice range: £15.95 through £141.95Polyform is a beige polyurethane casting resin designed for fast, detailed prototyping suitable for model making and small batch casting.
 “Epoxytable 10-Ten” – Deep Pour Epoxy Resin for Tables, Up to 10cm CastingPrice range: £35.95 through £351.95“Epoxytable 10-Ten” is designed for deep pour applications up to 10cm, suitable for tables and artistic projects requiring clarity and depth.
 "EpoxyTable 5-Five" – Deep Pour Epoxy Resin for Tables and Large Projects – Up to 5cmPrice range: £17.95 through £1,154.95"EpoxyTable 5-Five" is suitable for deep pouring tasks like tables and large artistic projects under the theme of resin application for statues.
Frequently Asked Questions
Which resin is best for detailed statue casting?
Polyurethane casting resins like “IWhite” capture fine details and cure quickly, making them ideal for intricate statue work.
Can I colour or paint resin statues?
Yes, most polyurethane and epoxy resins can be coloured with pigments before pouring or painted after curing.
How do I prevent bubbles in my resin casting?
Pour slowly, use a detail-capturing mould, and tap or tilt the mould to release trapped air bubbles before the resin sets.
Is protective gear required when working with resin?
Always wear gloves and protective eyewear when handling unmixed resin; work in a ventilated space for safety.
How long does resin take to cure in statue casting?
Cure times vary: polyurethane often cures in 30 minutes, deep pour epoxy can take several hours to fully harden.
What moulds are best for resin statues?
High-quality silicone moulds offer the best detail, flexibility, and easy demoulding for resin statue projects.
Can resin statues be used outdoors?
Some resins, especially those with UV filters, can be used outdoors, but additional sealing may extend lifespan in harsh environments.