 Free shipping on orders over £29,85


How do you make a resin pearl?
Step-by-step guide to crafting beautiful resin jewellery pearls.
Resin pearls add an elegant, custom touch to jewellery, décor, and crafts. This guide explains how you can handcraft striking resin pearls—achieving a lustrous finish and round symmetry—using accessible materials and straightforward techniques. Whether you’re a DIY enthusiast or exploring resin jewellery for the first time, you’ll learn how to create eye-catching pearls with professional results.
What You’ll Need
- “UV–Creation” – Fast Acrylic Resin, 3 Minute UV Cure: Fast-curing, clear resin for jewel-quality pearls
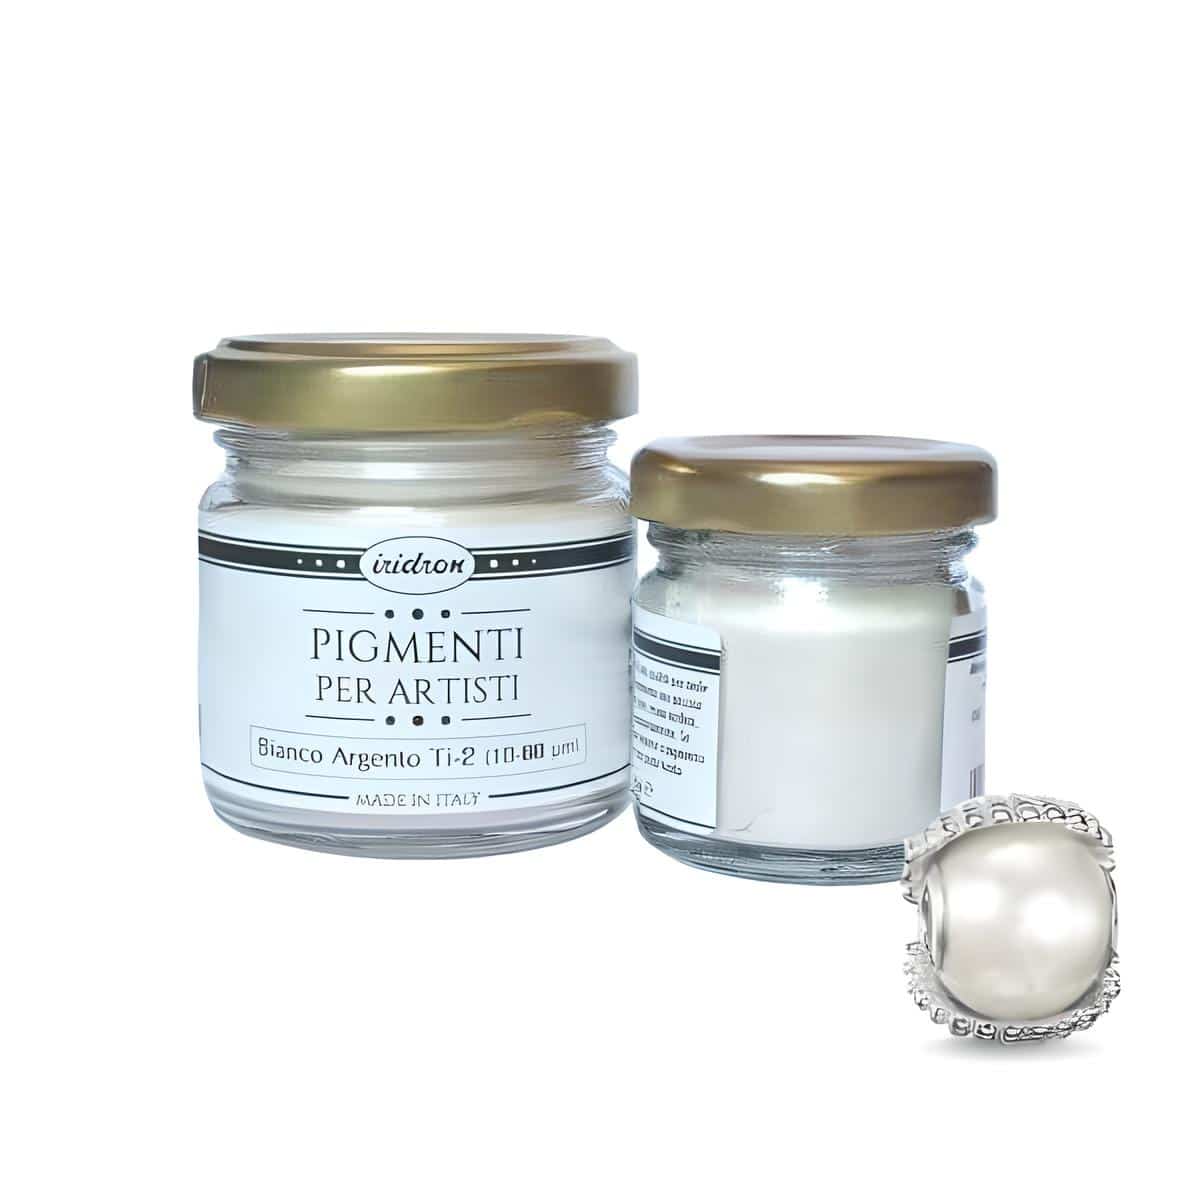
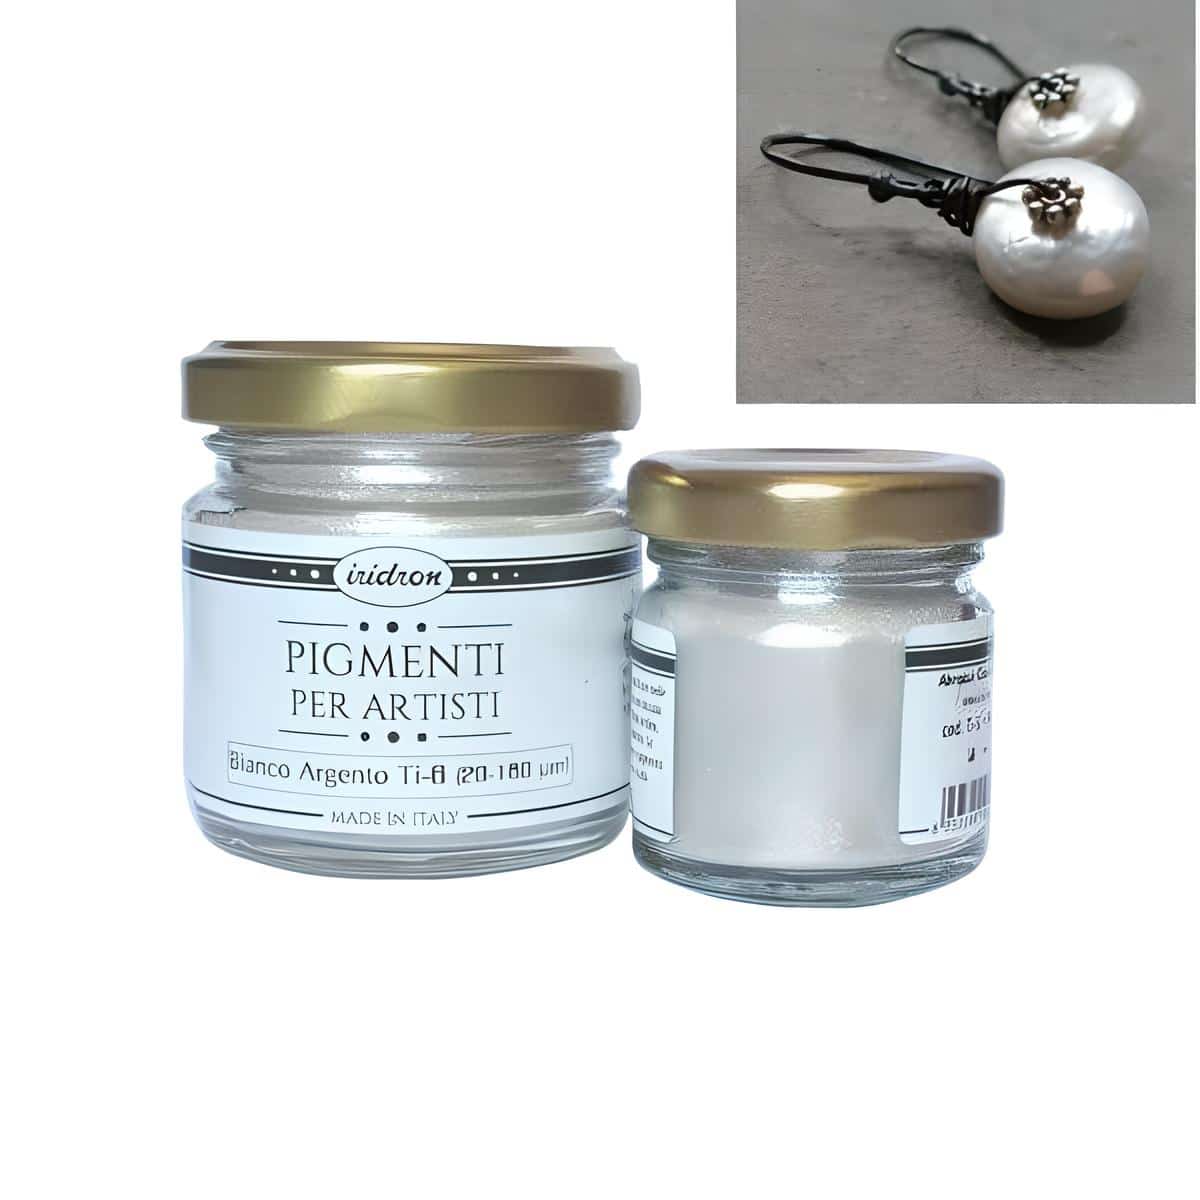
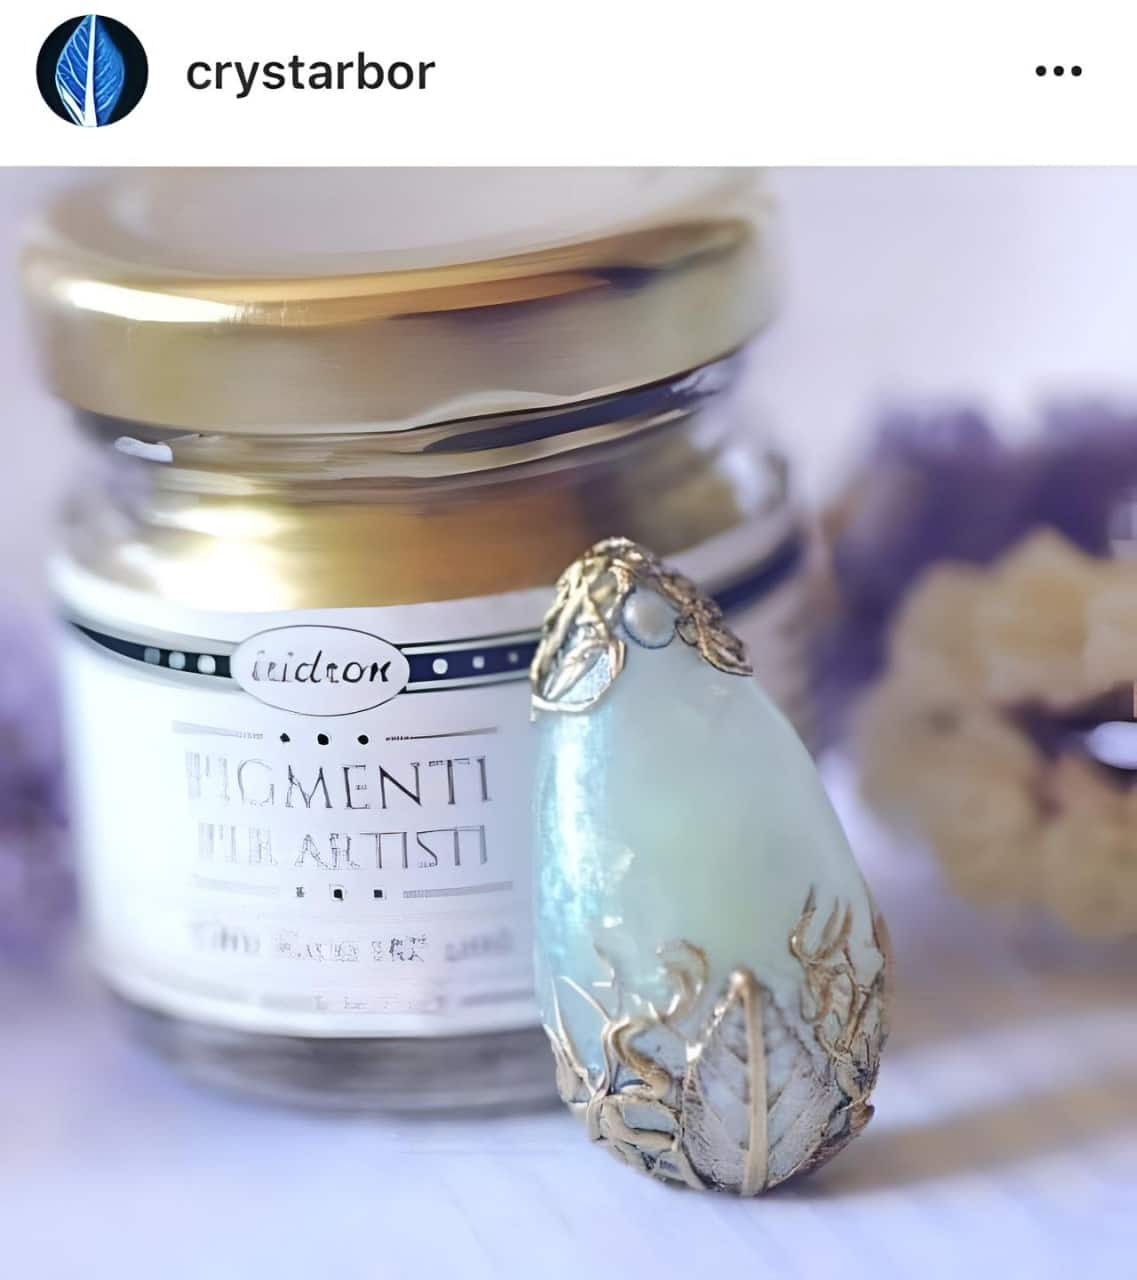
- “Iridron” – Pearline Pigments, 25ml: Pearlescent pigments to give your pearls a lustrous, mica effect
- Metallic Pearl Glitter for Crafts and DIY, 10g: For added sparkle or iridescence
- Small pearl-shaped silicone moulds (available at most craft shops)
- Disposable cups and stirring sticks
- Nitrile gloves and a dust-free workspace
- UV curing lamp (for UV resin)
- Polishing cloth or micro-abrasive pads (for the finishing touch)
Resin Pearl Colour Inspiration
Experiment with different ratios of pearline pigment to resin for subtle pastels or bold, shimmering effects. Combining pearlescent pigments and metallic pearl glitter can produce unique, one-of-a-kind pearls for standout jewellery creations.

Step 1: Prepare Your Workspace and Moulds
Prepare your workspace thoroughly first to ensure a clean, dust-free area. Any debris or dust can mar the surface of your resin pearls, so lay out your tools and line your work surface with non-stick paper or a silicone mat. Make sure your silicone moulds are clean and fully dry; a release spray can also help with the demoulding process.
Wearing gloves will protect your hands from any resin spills, and having good ventilation is important when working with resins and pigments.
Step 2: Mix Resin with Pearlescent Pigments
Work precisely when mixing resin and pigments. If using a fast-curing UV resin, such as “UV–Creation” – Fast Acrylic Resin, 3 Minute UV Cure, pour the required amount into a disposable cup. Add a small amount of “Iridron” – Pearline Pigments, 25ml to achieve your desired pearly shimmer. Stir gently but thoroughly to ensure the pigment is evenly suspended in the resin; this is essential for a consistent, lustrous colour.
If you wish to introduce sparkle, add a pinch of Metallic Pearl Glitter for Crafts and DIY, 10g and mix only enough to spread the glitter throughout—over-mixing can create bubbles.
Step 3: Fill the Mould Carefully
Pour resin into the mould with care to avoid introducing air bubbles. Slowly fill each cavity of your pearl-shaped mould just to the brim. Tapping the mould lightly on the work surface will help raise any trapped bubbles to the surface where you can gently pop them with a toothpick.
Take your time with this step, as careful filling and bubble removal are crucial for achieving that flawless, rounded pearl look. Avoid overfilling, as this can create edges that must be trimmed later.

Step 4: Cure and Demould
Cure completely before demoulding. Place the filled moulds under a UV lamp if using UV resin; follow your product’s guidelines, typically curing for 2–3 minutes. Ensure the pearls are fully hardened and free from tackiness before gently removing from the mould. If using a two-part epoxy instead, allow for its recommended full cure time.
After demoulding, inspect for any sharp edges, trimming as needed with a craft blade. The pearls are now ready for a professional finish.

Step 5: Polish and Finish Each Pearl
Polish and finish for a flawless pearl. Use a micro-abrasive pad or a soft polishing cloth to gently buff the surface of your resin pearls, bringing out the lustre and clarity of your pigment effect. This step enhances the pearl’s natural shine and ensures a smooth, touchable finish for jewellery or decorative use.
If desired, you can drill a small hole to turn your pearl into a bead or pendant.
Tips, Troubleshooting, and Common Mistakes
Avoid over-mixing, as excessive stirring may introduce bubbles. Always clean your moulds thoroughly between uses for the best finish. If pearls look cloudy, ensure you used enough pigment and that curing was complete. For a stronger iridescent effect, experiment with blending multiple pearlescent shades or adding a little extra glitter—but do so carefully, as too much can reduce transparency.
Perfect Your Resin Pearl Technique
Test batches with varying pigment and resin combinations on scrap moulds before moving to your final project. This helps you fine-tune for clarity, colour, and shine, ensuring each resin pearl is polished and ready for display or wear.

- “Iridron” – Pearline Pigments, 25ml£5.45“Iridron” Pearline Pigments are mica-based and suited for glazing with transparent resins, offering varied chromatic effects.
- "UV–Creation" – Fast Acrylic Resin, 3 Minute UV CurePrice range: £7.85 through £59.85"UV–Creation" is a fast-curing acrylic resin suitable for jewellery making, offering ready-to-use, clear, glossy results without mixing.
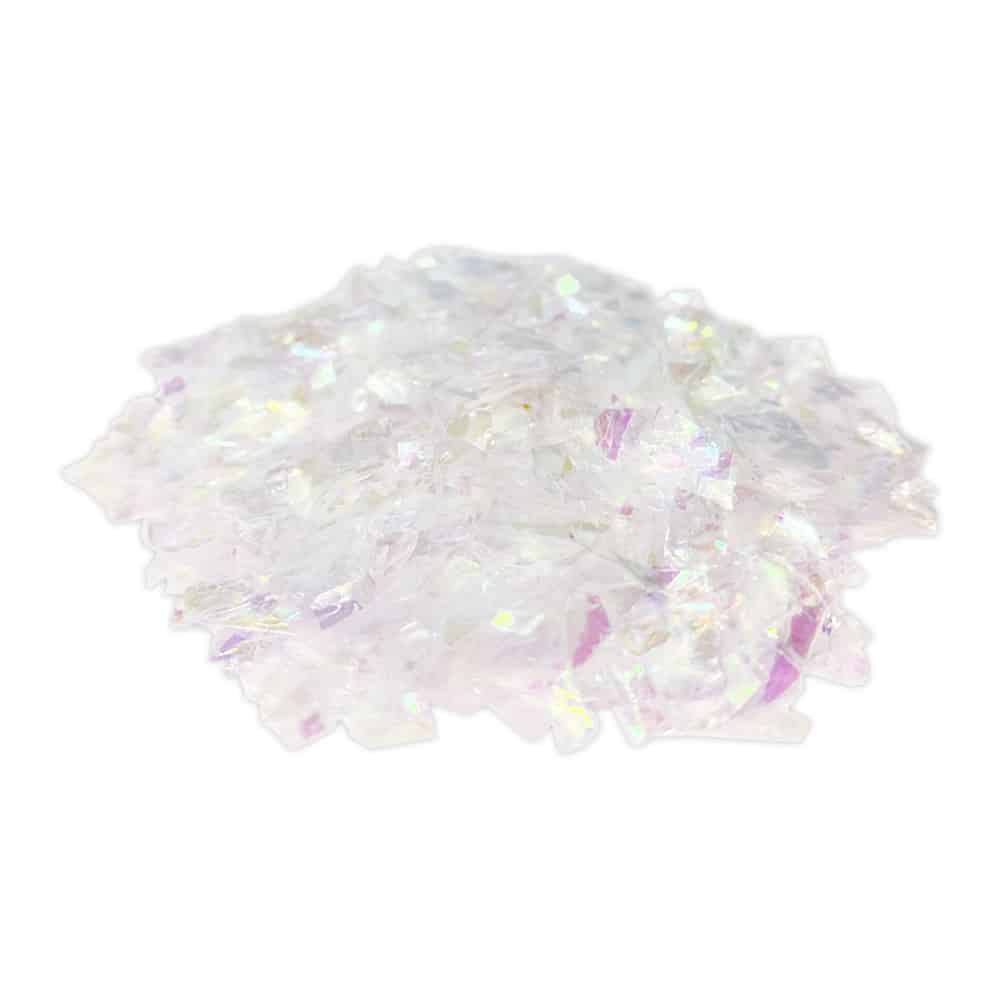 Metallic Pearl Glitter for Crafts and DIY, 10g£2.85Metallic Pearl Glitter is suitable for adding a radiant finish to resin craft projects within the theme How do you make a resin pearl?
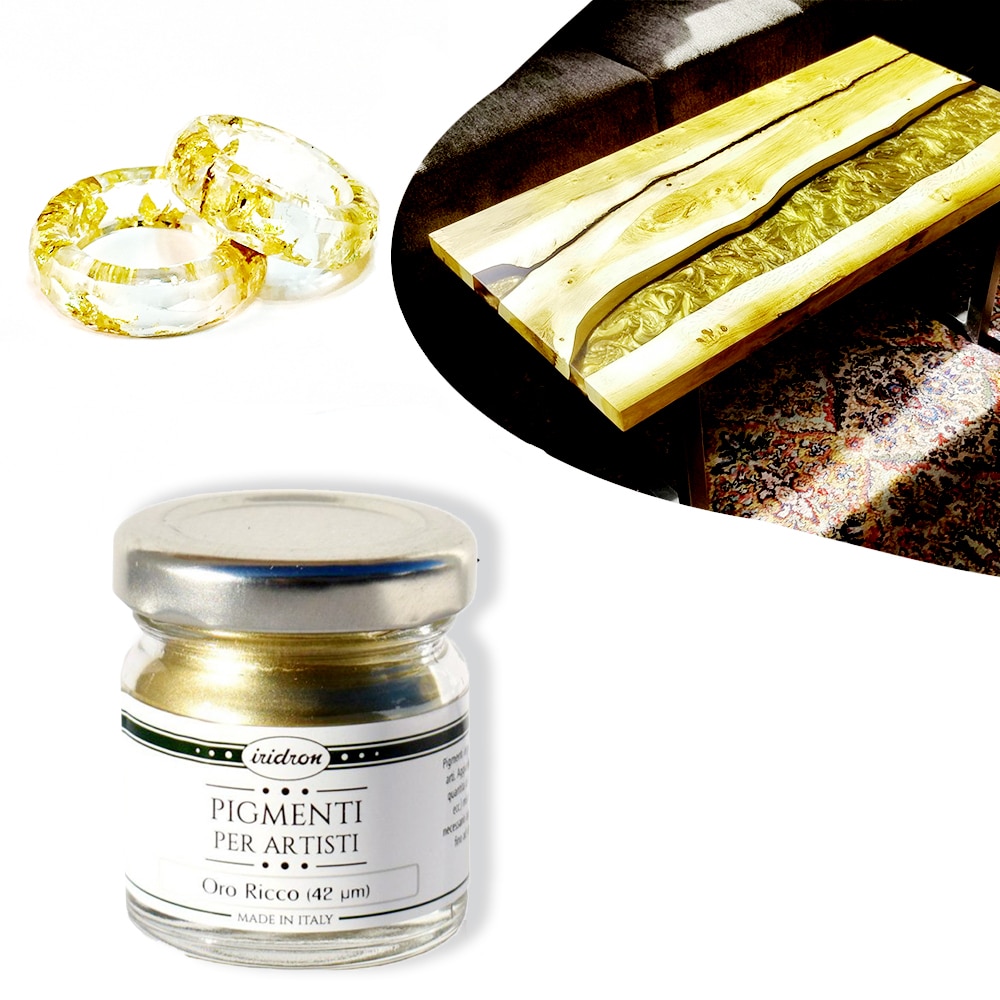 "Iridron" – High-gloss Floating Metallic Pigments for Art, Resin, and RestorationPrice range: £5.85 through £15.45"Iridron" pigments offer a high-gloss metallic finish with a floating effect, suitable for art, resin, and restoration projects.
Frequently Asked Questions
How many moulds do I need for resin pearls?
For efficiency, use several moulds so you can produce multiple pearls at once without waiting for curing between each.
Why are my resin pearls cloudy or lack shine?
Cloudiness is often caused by insufficient pigment, incomplete mixing, or curing. Ensure the resin is fully cured and well-mixed.
How can I avoid bubbles in my resin pearls?
Pour resin slowly, tap the mould to release bubbles, and use a toothpick to pop any on the surface before curing.
Can I use UV resin or epoxy resin for pearls?
Both types work, but UV resin is quicker. Use pearl-compatible pigments and follow curing times for the chosen resin.
What pigments give a realistic pearl effect?
Mica-based pearlescent pigments and fine metallic glitters create authentic, shimmering pearl finishes in resin.
Do I need to use a release spray with resin pearl moulds?
A release spray helps, but clean, dry silicone moulds usually demould well. Try a small amount for easy release.