 Free shipping on orders over £29,85


← Back to How do you make a resin pearl?
After moulding your resin pearl, a key step is perfecting its polish and finish. Achieving a flawless surface transforms your piece from simple craft to eye-catching treasure. Here’s how to create that luminous, smooth look and make your resin pearls stand out.
Step-by-Step Polishing for Resin Pearls
Begin by gently sanding your cured resin pearl, if necessary. Start with a fine-grit sandpaper (such as 1000 grit) and soak both the pearl and the sandpaper in water. Carefully sand away any rough edges, residue or imperfections in a circular motion, keeping the area wet to reduce scratches.
Once the surface feels even, progress to finer grits (up to 3000 or 5000 grit) for a silky smooth finish. Always rinse and dry the pearl thoroughly between each sanding stage.
Buffing and Final Glazing
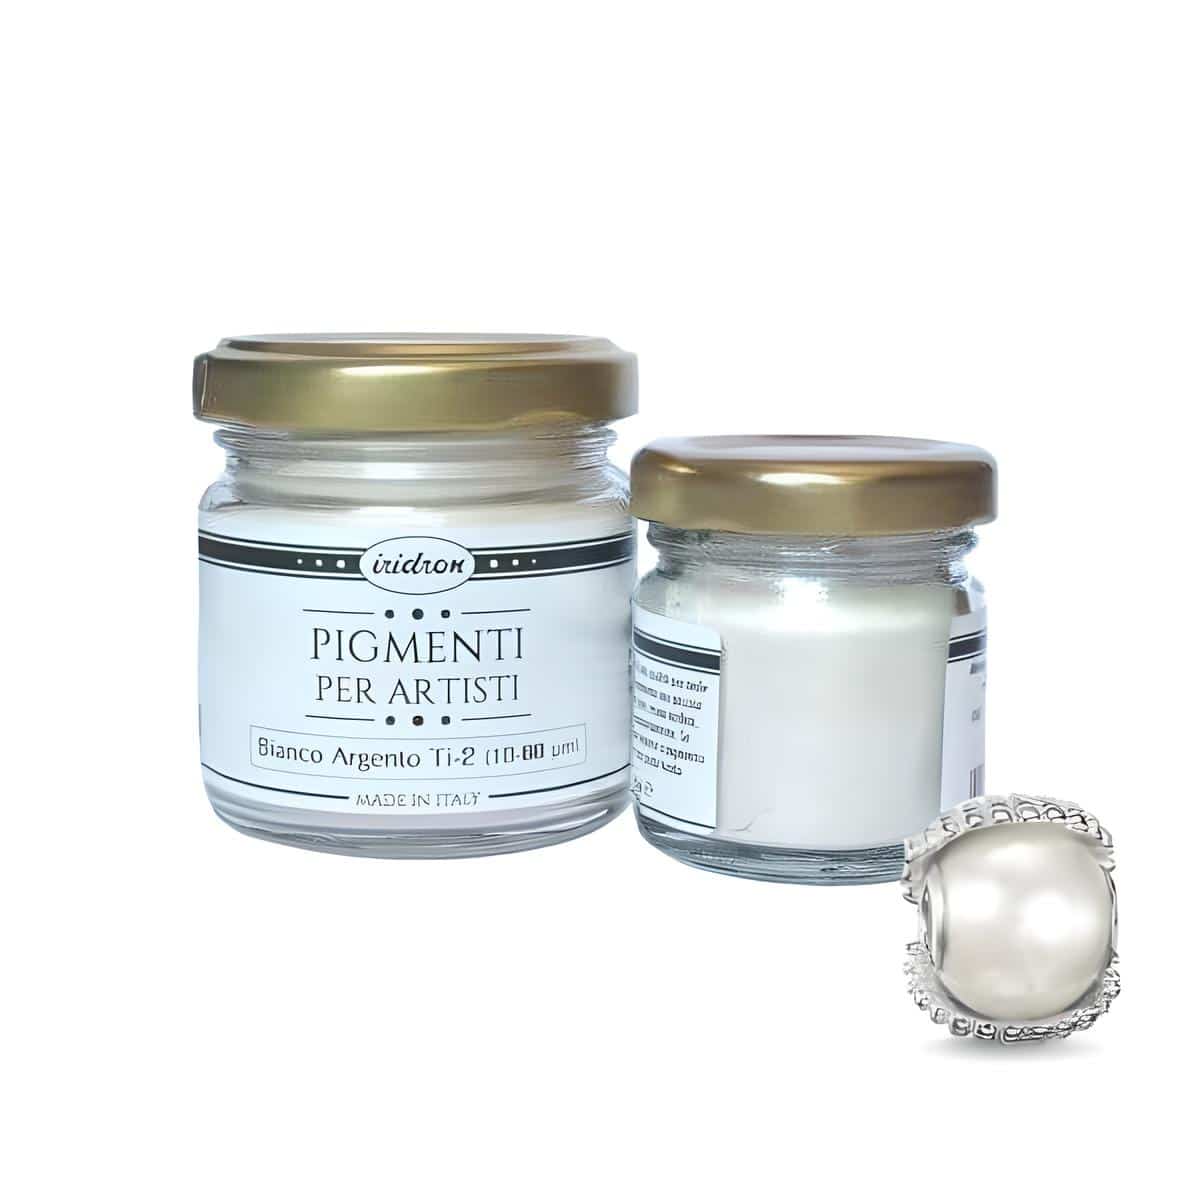
After sanding, buff the pearl with a soft microfibre cloth or a polishing pad. Apply a gentle, plastic-safe polishing compound in small amounts and rub in a circular motion until the surface gleams. If your resin is crystal clear or coloured with pearlescent pigments such as Iridron – Pearline Pigments, glazing with a thin layer of clear UV resin can enhance depth and shine. Cure under a UV lamp for a hard, glossy finish.
When an Impeccable Finish Matters
A flawless polish is especially important for jewellery or beads that catch the light or make direct contact with skin. Imperfections can dull the effect of pigments or glitters, so taking the extra time with sanding and buffing ensures your handmade resin pearl achieves a radiant, professional quality.
Related products
Related guides
Perfect polishing and finishing are what transform a homemade resin pearl into a stunning, showcase-worthy piece. To explore more about creating your own unique pearls and the best pigments to achieve different effects, see our full guide on how to make a resin pearl.