 Free shipping on orders over £29,85


How do you paint a resin tank?
A clear step-by-step guide to achieving a durable painted resin tank


Painting a resin tank can transform its appearance and prolong its lifespan, whether you are refreshing a water container, model scenery element, or custom enclosure. Achieving a smooth, lasting finish on resin requires thorough preparation and careful application—this guide covers the essential steps, common pitfalls, and tips for success. No specialist prior experience is needed, just attention to detail and the right approach.
What You’ll Need
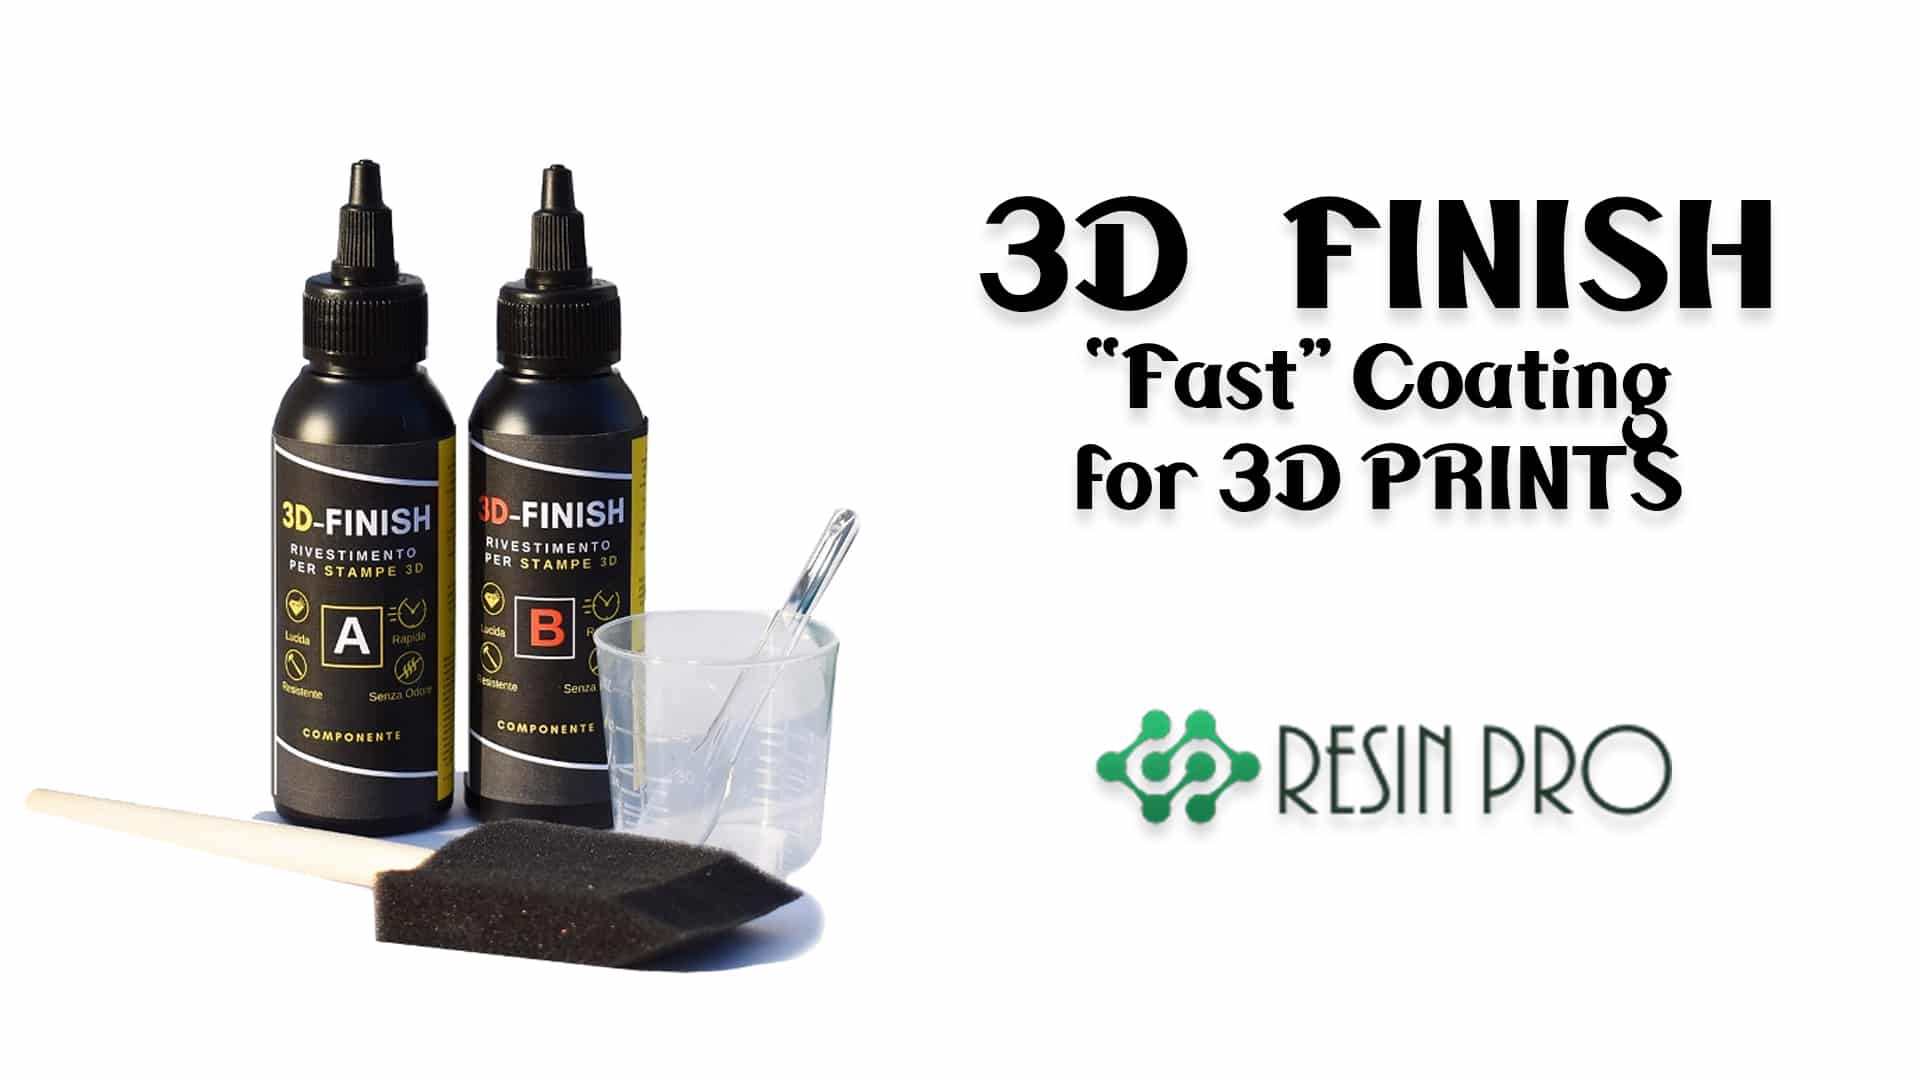
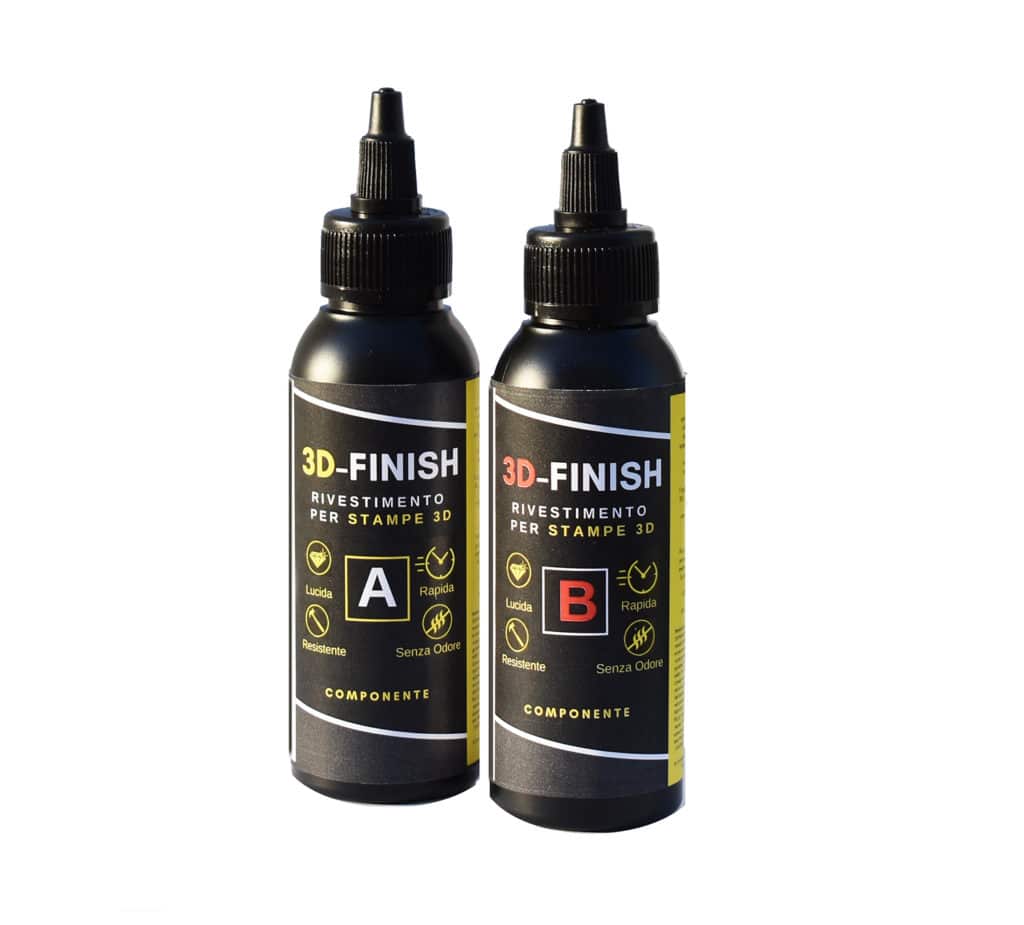
- “3D Finish” – Fast Coating Epoxy Resin for 3D Prints: A finish resin to create a smooth, paintable surface if the tank requires filling or layer sealing.
- 12-Piece Artists Paint Brush Set for Epoxy Resin Art & DIY Projects or 5-Piece Disposable Paint Brush Set for Art, Crafting & DIY Projects: Brushes for precise coating and painting applications.
- Scraper for Paint & Dry Resin Removal – 10 Double-Sided Blades: For preparing or cleaning the resin surface if existing paint or residue is present.
- Fine-grit sandpaper (400–800 grit)
- Mild soap or cleaning solution
- Protective gloves and mask
- Your chosen compatible paint (acrylics recommended for most resin objects)
Surface Preparation in Action
Professional surface preparation is the vital first step in painting any resin tank. This ensures maximum paint adhesion and a flawless finish. Begin by fully cleaning and smoothing the surface—using tools like a Scraper for Paint & Dry Resin Removal – 10 Double-Sided Blades can save considerable time when dealing with old coatings or stubborn residue.
Step 1: Prepare and Clean the Resin Surface
Preparation is everything when painting resin. Ensure the tank is completely clean and free of dust—even minor contaminants can undermine paint adhesion. Wash the surface thoroughly with mild soap and water, then rinse and let it dry fully. If the resin tank has old paint, residues, or hardened drips, use a Scraper for Paint & Dry Resin Removal – 10 Double-Sided Blades to gently remove stubborn material without gouging the underlying resin. Avoid scraping too aggressively; let the tool do the work and keep the blade angled shallow to the surface.
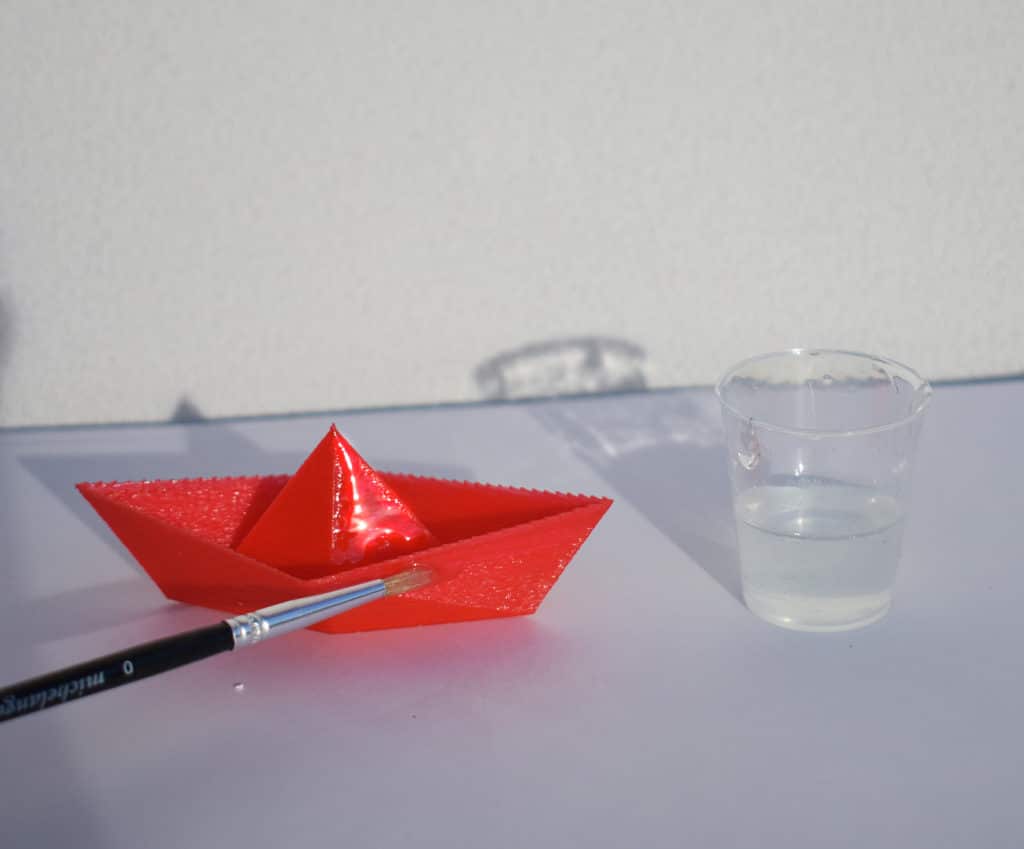
Once clean, inspect for defects. If the resin is newly cast or has texture (e.g., pronounced layer lines or uneven spots), you may wish to apply a thin layer of finishing resin, such as “3D Finish” – Fast Coating Epoxy Resin for 3D Prints, to fill minor irregularities and achieve a perfectly smooth, paintable surface. Allow the coating to cure according to the product instructions before proceeding.
Step 2: Sand for a Smooth, Paintable Finish
When the tank is clean and dry, sand the surface lightly with fine-grit sandpaper (400–800 grit). Sanding helps paint adhere and removes shine for an even finish. Sand gently to avoid scratching the resin—the goal is subtle abrasion, not scuff marks. Wipe away all sanding dust with a lint-free cloth or slightly damp towel.
If you’ve used a finish resin coat, double-check that it’s fully set before sanding and follow manufacturer guidance for sanding and further handling.
Step 3: Apply Primer (If Required) and Paint
Not all resin tanks require a primer, but using one is recommended for best paint adhesion—especially on surfaces that will be handled or exposed to moisture. Choose a primer compatible with both epoxy resin and your chosen paint. Let the primer dry fully before moving on.
Once primed, use a steady hand and a quality brush set, such as the 12-Piece Artists Paint Brush Set for Epoxy Resin Art & DIY Projects or the 5-Piece Disposable Paint Brush Set for Art, Crafting & DIY Projects, to apply several light coats of acrylic or compatible paint. Allow each layer to cure fully before adding more—this prevents smudging and ensures a durable, even finish. Multiple thin coats are far superior to one heavy layer; adjust brush style and size according to the contours and detail of your resin tank.
Step 4: Cure, Protect, and Maintain
After the final coat, let the tank cure undisturbed as per your paint or resin instructions. Most finishes reach handling strength within a few hours, but full durability develops over several days. For tanks exposed to moisture or frequent handling, consider applying a final clear resin or varnish layer for protection. Test a small area to confirm compatibility.
To maintain a professional look, avoid bumping or touching the painted surface during curing. If using any sealing resin coat, follow the product’s specific instructions regarding mixing ratios, curing times, and safety measures.
Tips, Troubleshooting, and Common Mistakes
- Test compatibility of paint and resin on a small area first—not all paints adhere equally to every resin or sealer.
- Never rush drying or curing steps—impatience is the biggest cause of surface flaws and chipping.
- Wear protective gloves and mask when sanding or applying chemicals—protect your hands and lungs from dust and fumes.
- For large, flat surfaces, use larger brush sizes for efficiency; switch to detail brushes for edges and intricate areas.
- If streaking occurs, thin the paint slightly or switch brush types for a smoother application.
Practical Paint Application Tips
Using the right brush and technique is key to long-lasting results on resin surfaces. For smooth and even coverage, select a suitable size from a 12-Piece Artists Paint Brush Set for Epoxy Resin Art & DIY Projects. Take your time with multiple thin coats for a vibrant, chip-resistant finish.
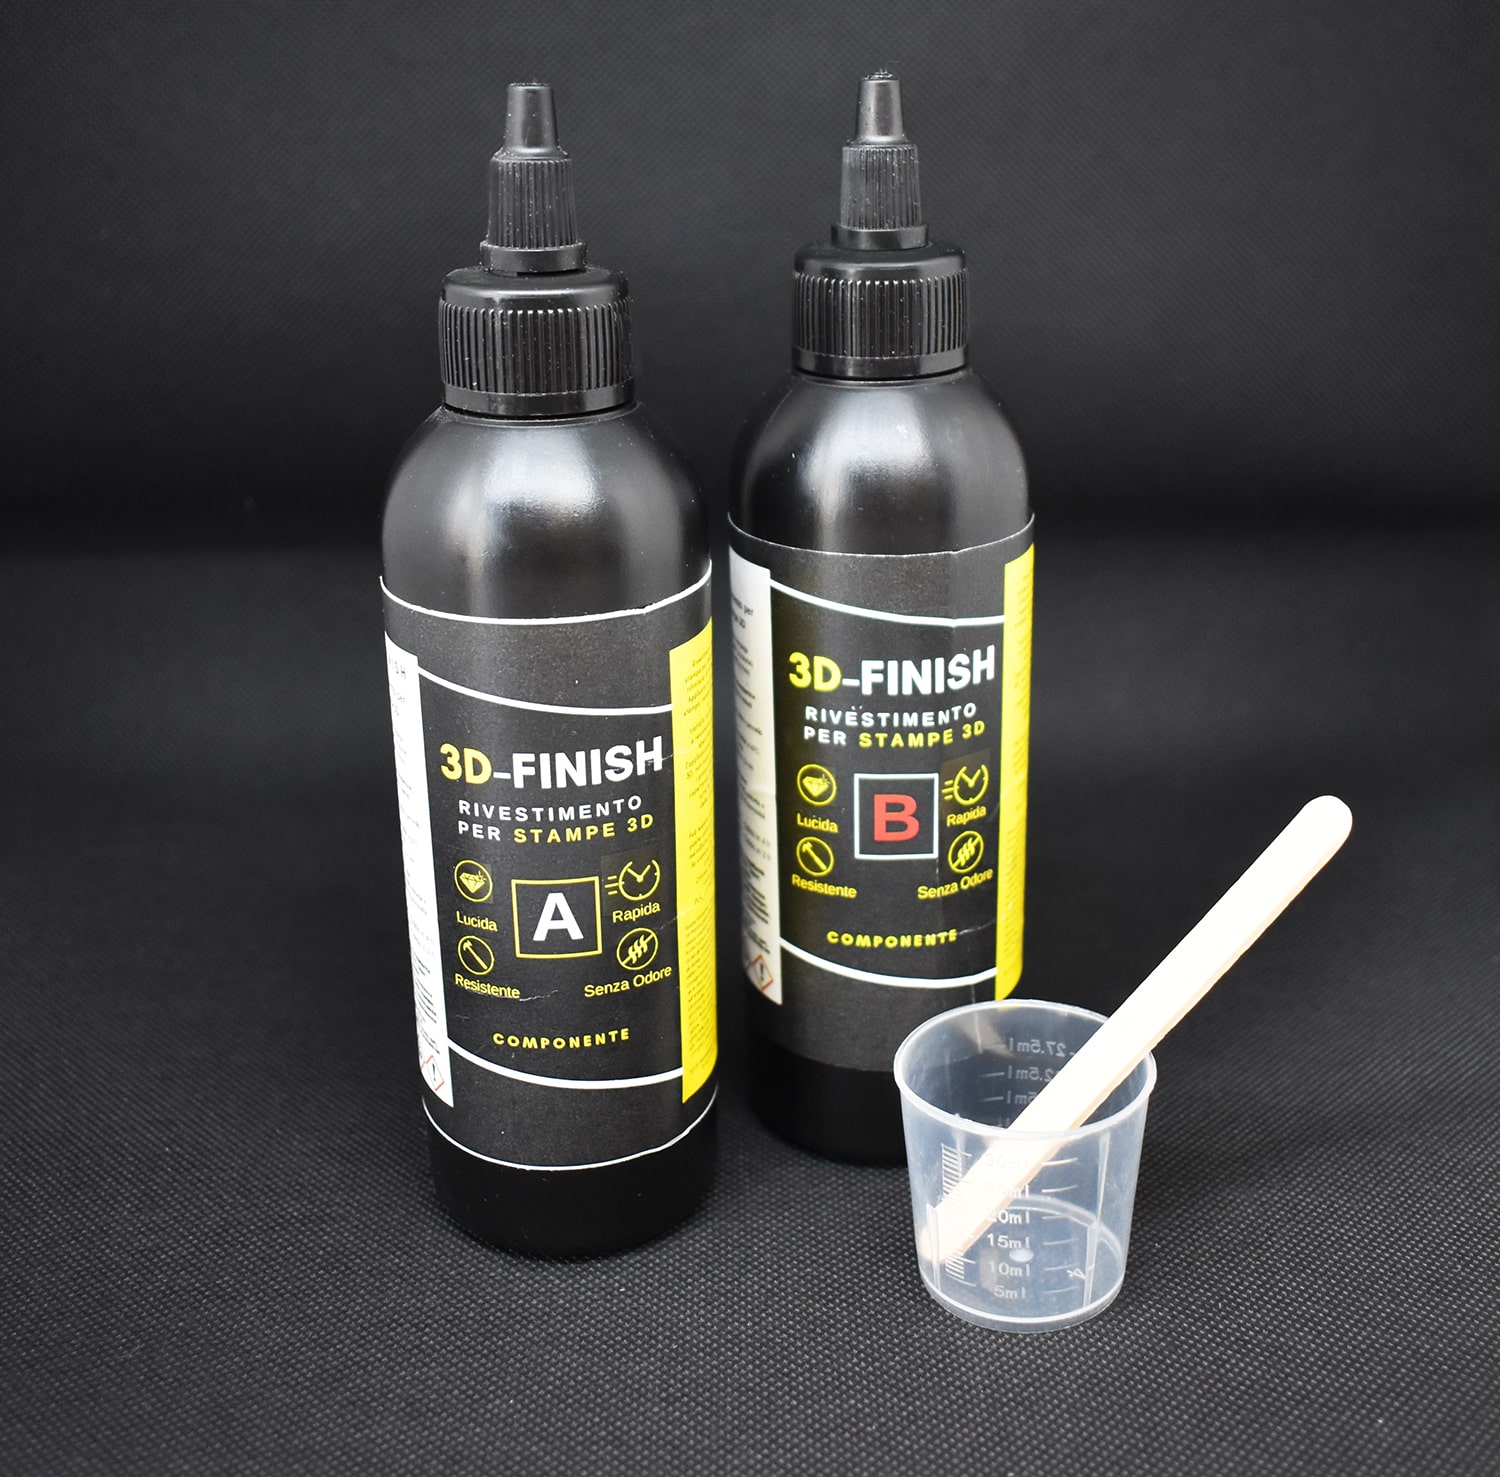
- "3D Finish" – Fast Coating Epoxy Resin for 3D PrintsPrice range: £13.95 through £19.95"3D Finish" is a fast coating epoxy resin for 3D prints designed to enhance appearance and strength while preserving fine details.
- 12-Piece Artists Paint Brush Set for Epoxy Resin Art & DIY Projects£6.95A 12-piece brush set designed for epoxy resin art, suitable for artists and DIY enthusiasts working on resin projects.
 5-Piece Disposable Paint Brush Set for Art, Crafting & DIY Projects£6.45A set of 5 disposable paint brushes designed for detailed painting and crafting including epoxy resin projects.
 Scraper for Paint & Dry Resin Removal – 10 Double-Sided Blades£4.95The Scraper for Paint & Dry Resin Removal has 10 double-sided blades and supports efficient paint removal for professionals and DIY users.
Frequently Asked Questions
How do I prepare a resin tank for painting?
Clean the tank thoroughly to remove dust, grease, and residue. Sand lightly for better paint adhesion before applying any coatings.
What paint type is best for resin tanks?
Acrylic paints are commonly recommended for resin, but always test on a small area first to check compatibility and adhesion.
Do I need to use a primer before painting a resin tank?
Primer is optional but strongly advised for best results, especially on smooth surfaces or if the tank will be exposed to moisture.
How can I ensure a smooth, paintable resin surface?
Apply a finishing epoxy resin, sand gently once cured, and always remove dust before painting for a flawless look.
How long should I let a painted resin tank cure?
Allow each coat to fully dry, and leave the final coat to cure for several days for the most durable result.
How do I avoid smudges and streaks when painting resin?
Apply multiple thin coats and let each dry completely before proceeding. Use the correct brush for your paint type and project size.
How do I safely remove old paint from a resin tank?
Use a scraper gently on smooth surfaces and avoid abrasive pads that may scratch the resin beneath.