 Free shipping on orders over £29,85


How do you paint resin?
Professional tips for prepping, colouring, and finishing resin artwork

Painting resin opens a world of creative possibilities—from delicate translucent effects in jewellery to stunning ocean art and smooth, durable finishes on 3D prints. Done properly, painting resin allows you to achieve vibrant colours, custom tints, or a flawless base for your artwork. Whether you are a hobbyist, artist, or DIY enthusiast, this guide shows how to approach painting resin with confidence, ensuring longevity and professional-looking results every time.
What You’ll Need
- “Art Pro” – Clear Epoxy Resin for Artists and Surface Coating – For creating or recoating a smooth, paintable surface.
- “3D Finish” – Fast Coating Epoxy Resin for 3D Prints – Ideal for prepping and smoothing 3D-printed objects before painting.
- “Magic Crystal” – Transparent Resin Colour 45ml – For tinting clear resin with brilliant transparent hues.
- Free Step-by-Step Resin Ocean Art Lesson by Natalia Natirum – Optional resource to learn advanced artistic techniques.
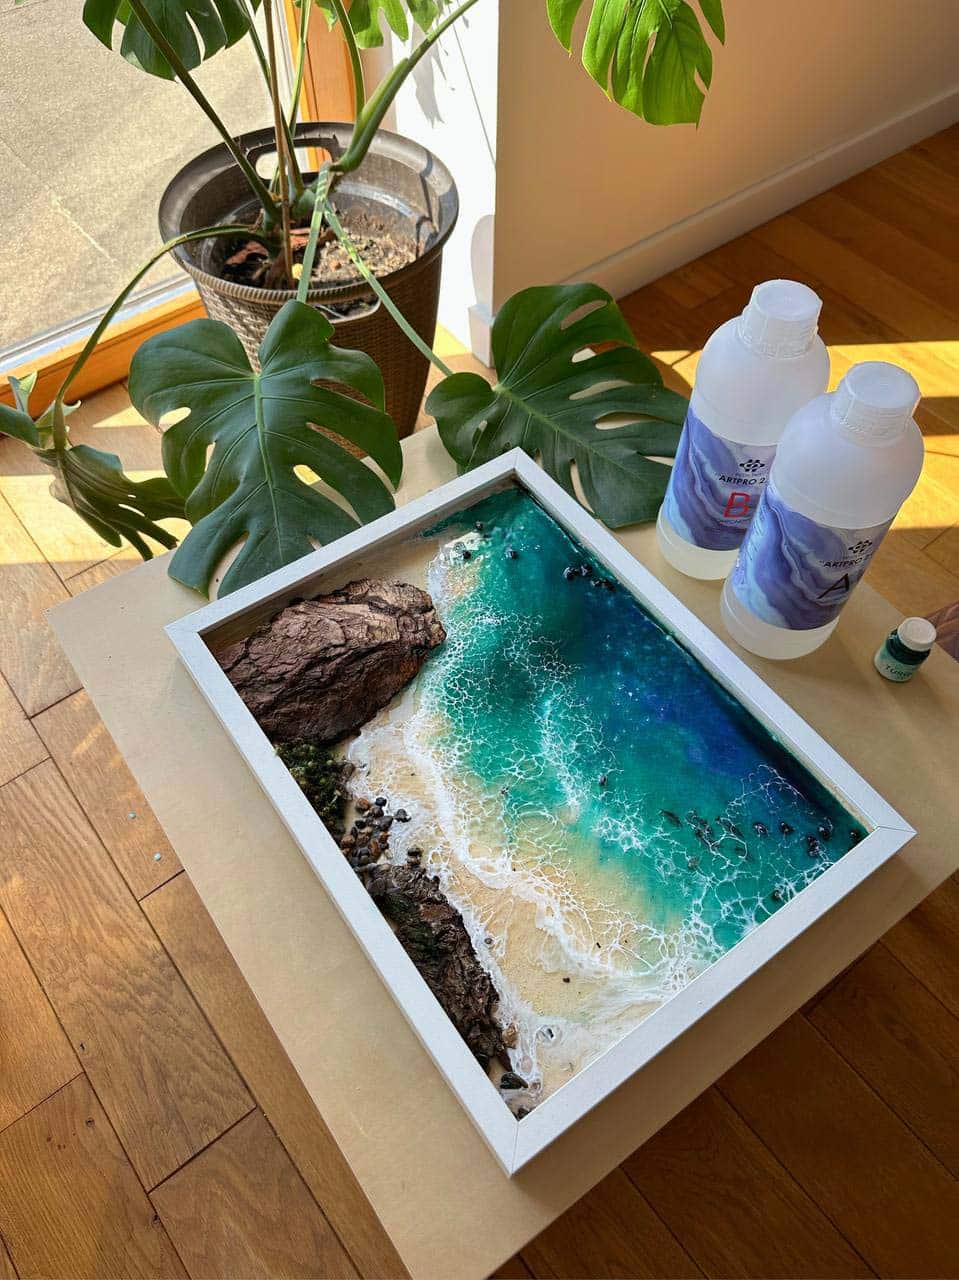
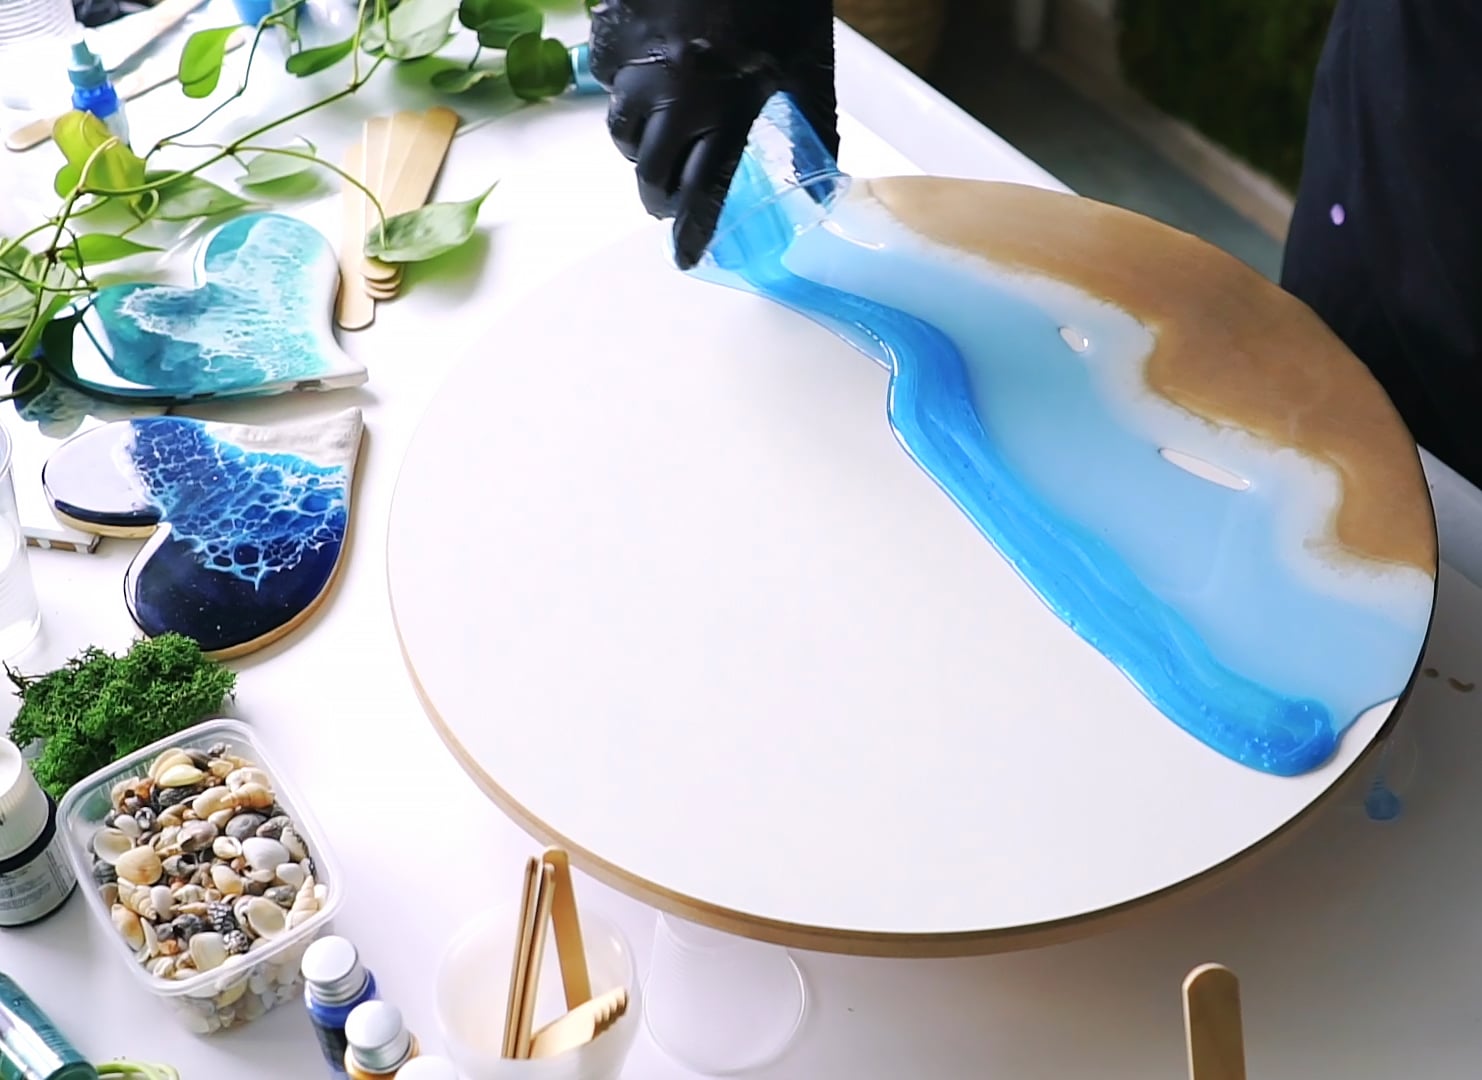
Visual Inspiration for Painted Resin Art
Explore examples of resin pieces finished with tints, transparent dyes, and layered colours. Notice how surface preparation and precise pigment use result in professional-looking, high-gloss projects.
Select a Clean, Smooth Surface
The quality of your painted resin finish starts with the right surface. For raw resin sculptures, castings, coasters, or 3D-printed objects, inspect your item for dust, oil, or rough patches. Clean with a lint-free cloth and, if necessary, lightly sand the surface with fine grit sandpaper to promote paint or pigment adhesion. Avoid using household cleaners that could leave residues—microfibre cloths and isopropyl alcohol work best.
For 3D-printed objects that require a perfectly smooth and paintable finish, applying a thin coat of “3D Finish” – Fast Coating Epoxy Resin for 3D Prints can help hide print lines and enhance future layers of paint or resin colours.
Prepare the Resin or Substrate
Once clean, ensure your resin piece is fully cured before painting or colouring—handling uncured resin can result in imperfections. If you are creating a new poured layer to paint on, mix your resin according to the manufacturer’s instructions and pour it onto a level, dust-free surface. Allow it to cure fully, as premature painting may cause cloudiness or affect colour adhesion.
When creating artistic projects like resin ocean art, choose a surface material such as MDF or a sturdy canvas board that can support the weight of the resin. Always protect your workspace and wear gloves to prevent skin contact with resin and pigments.
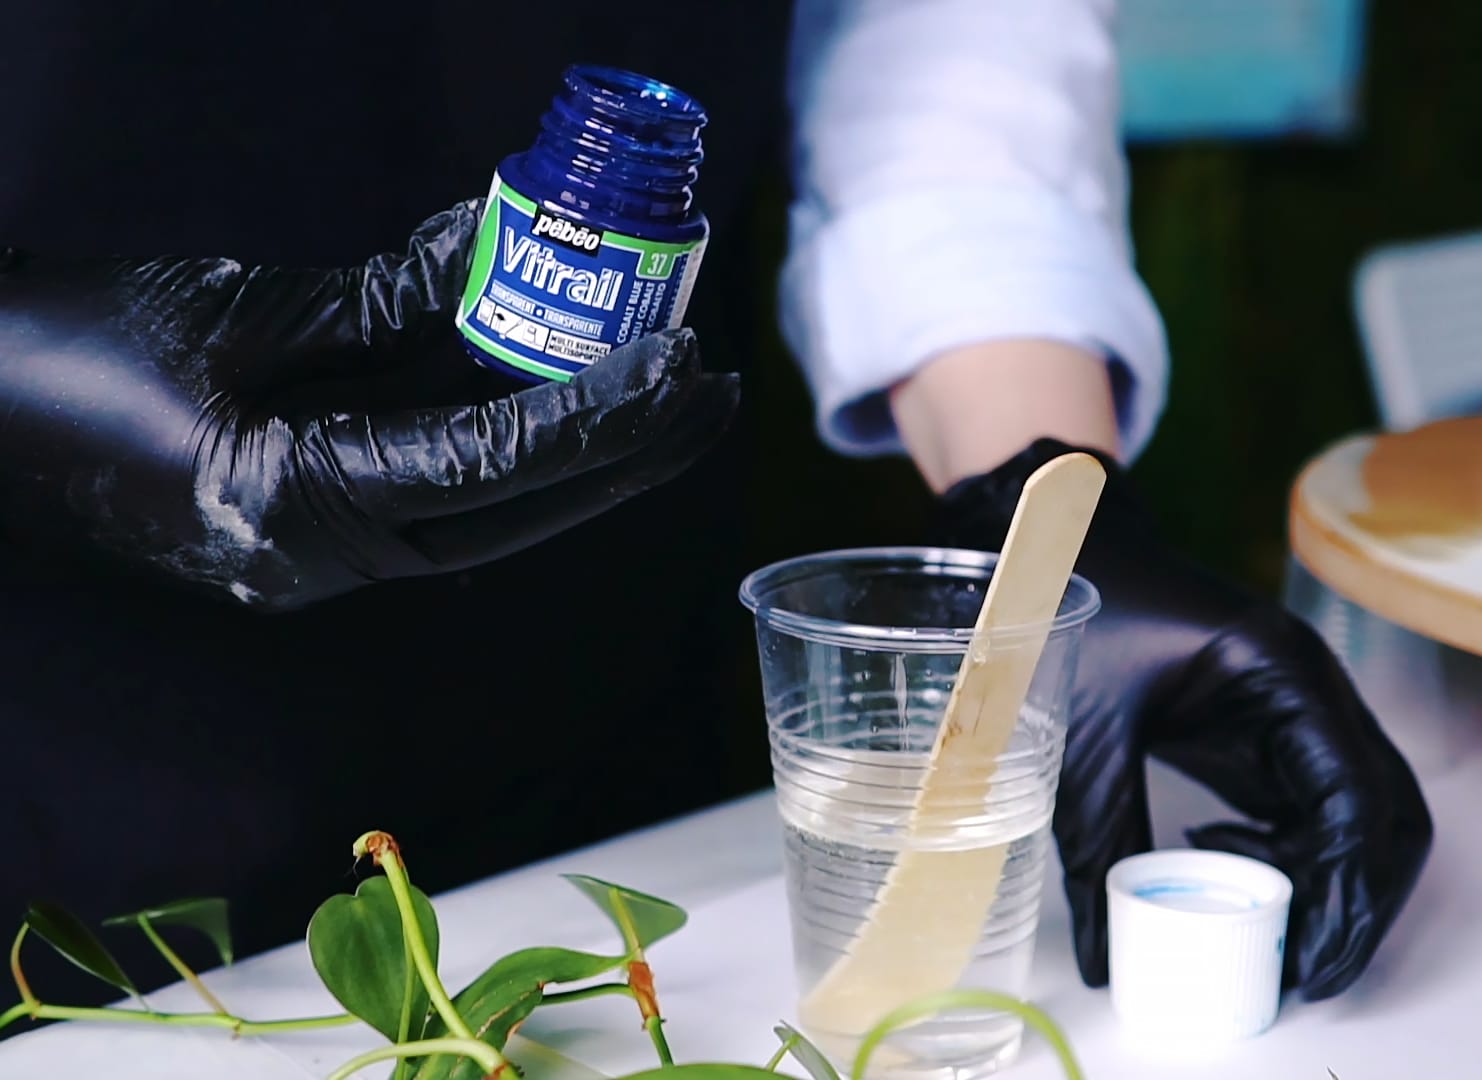
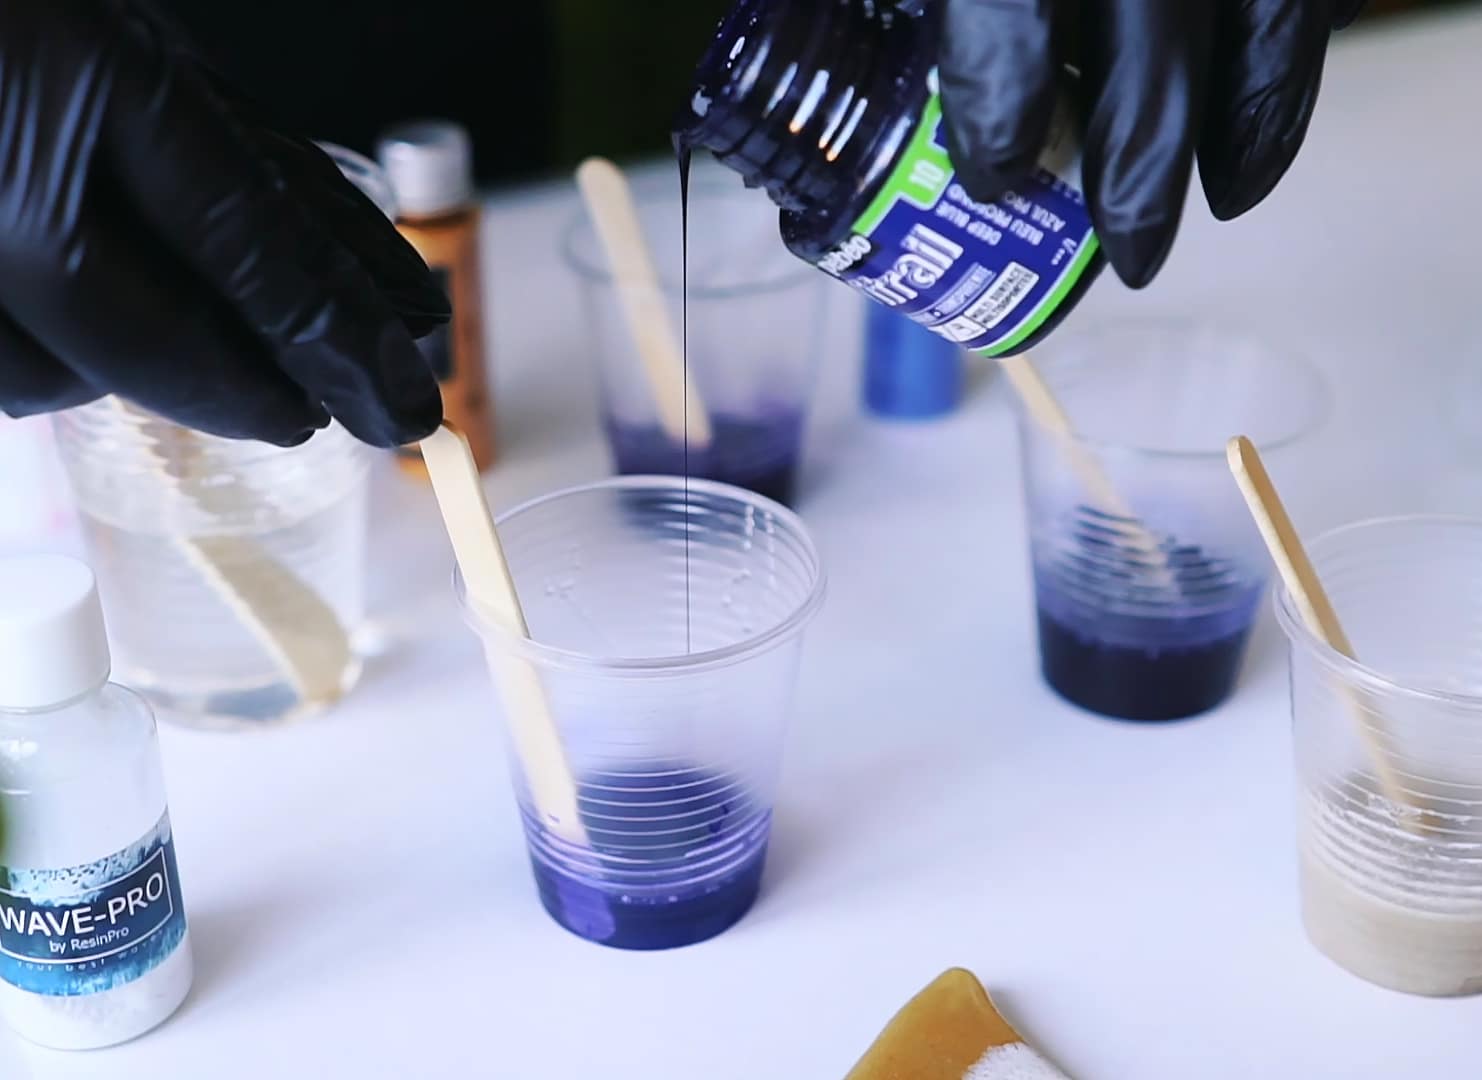
Mix and Apply Pigments or Colours
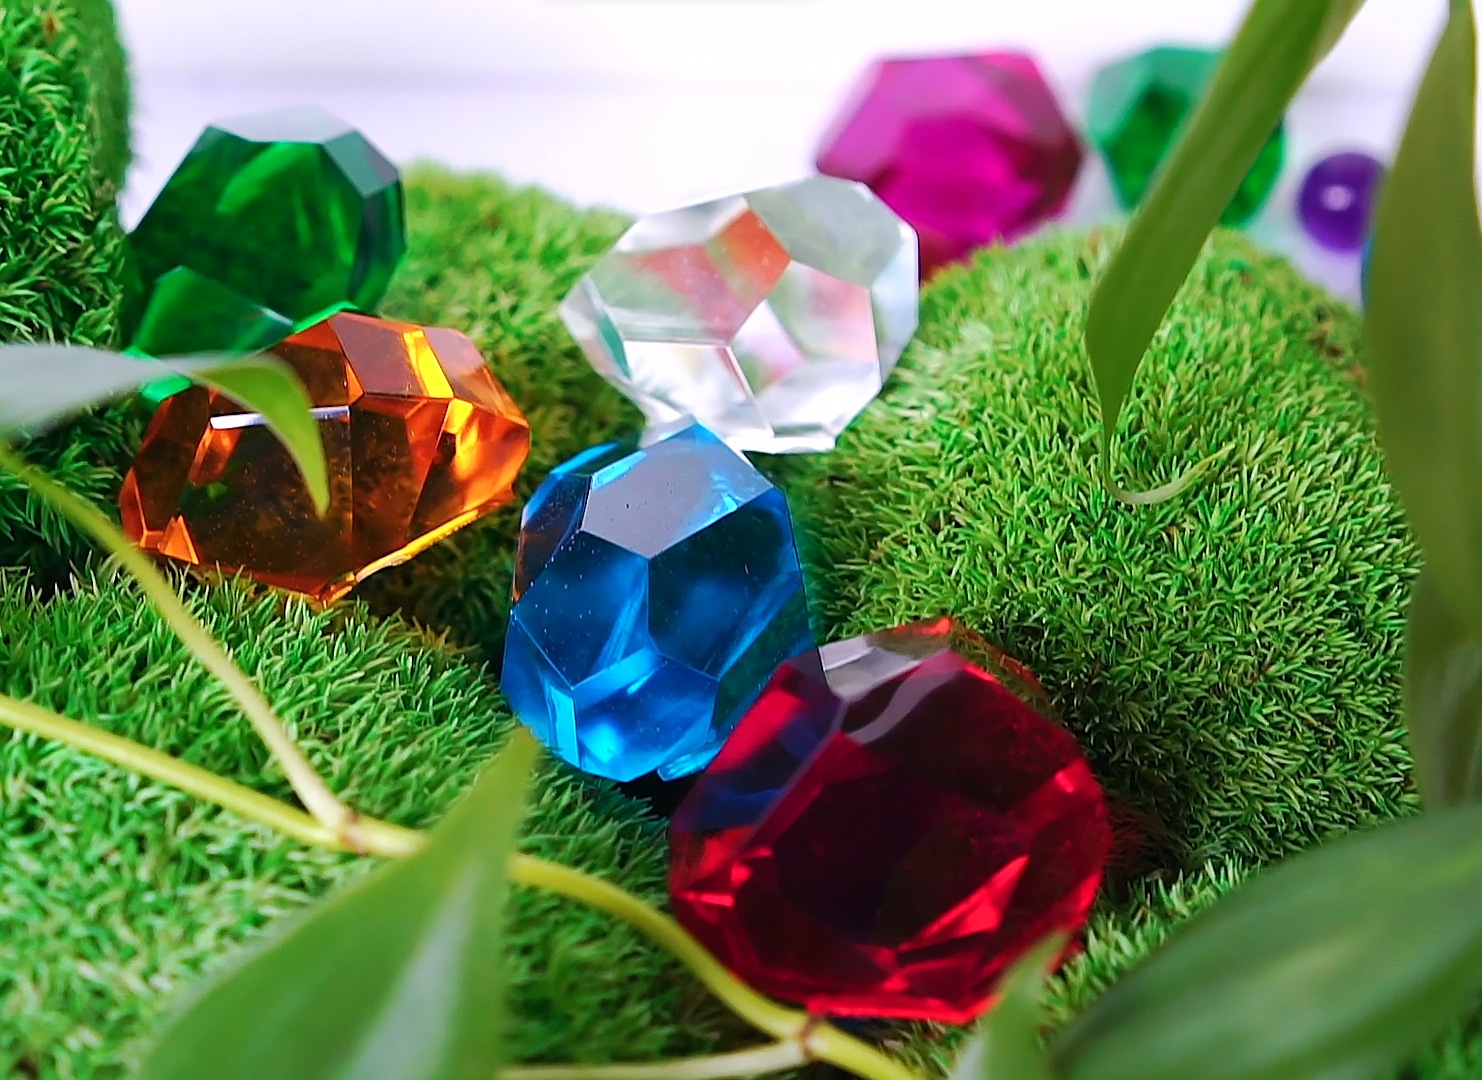
For tinted resin effects, thoroughly mix your resin first, then add pigment or dye sparingly until you achieve your desired colour intensity. Transparent dyes, such as “Magic Crystal” – Transparent Resin Colour 45ml, are ideal for creating glass-like or gemstone visual effects. Stir the colour in gently to avoid introducing excess air bubbles, and always test on a small batch before large pours.
If your goal is to hand-paint details atop a cured resin surface, use acrylic paints or resin-compatible colours. Apply in thin, even layers, letting each one dry fully. Do not rush this stage—proper layering establishes depth and prevents muddiness or streaks in your finished design.
Layer, Finish, and Seal Your Artwork
For best results, work in multiple thin coats, whether adding new resin layers or painting directly onto the substrate. Allow each coat to cure or dry completely as per the product’s guidelines. A final protective layer of clear resin, such as “Art Pro” – Clear Epoxy Resin for Artists and Surface Coating, can be poured as a glossy topcoat over cured paint, enhancing vibrancy and protecting against scratches or yellowing.
When exploring advanced techniques or for inspiration, refer to the Free Step-by-Step Resin Ocean Art Lesson by Natalia Natirum for a shake-up of styles, including blending, layering, and wave-like effects achieved within poured resin art.
Tips, Common Mistakes, and Troubleshooting
- Work in a dust-free environment to prevent particles from marring your finish.
- Allow adequate curing time between steps to avoid peeling, dullness, or colour migration.
- Test your colours before a full pour to ensure you achieve the desired transparency or shade.
- If using pigments, be careful not to use too much, as excessive colouring can affect resin cure or clarity.
- If bubbles persist, gently warm the surface or use a heat gun briefly to help them rise to the top and pop.
Showcase of Advanced Techniques and Finishes
View advanced resin artworks utilising multiple colouring and sealing steps. Delve into ocean-inspired surfaces and custom tints to see how painting resin can achieve depth and luminosity.
- "Magic Crystal" – Transparent Resin Colour 45ml£4.65"Magic Crystal" transparent resin dye offers vibrant, glass-like colours designed for creating clear resin jewellery and gemstone effects.
- Free Step-by-Step Resin Ocean Art Lesson by Natalia NatirumOriginal price was: £99.00.£0.00Current price is: £0.00.Free Step-by-Step Resin Ocean Art Lesson provides a straightforward guide suitable for creating resin art within the theme of how to paint resin.
 "Art Pro" – Clear Epoxy Resin for Artists and Surface CoatingPrice range: £31.15 through £388.85"Art Pro" clear epoxy resin is designed for artistic surface coatings offering durable, high-gloss finishes suitable for painters and crafters using…
 "3D Finish" – Fast Coating Epoxy Resin for 3D PrintsPrice range: £12.85 through £18.85"3D Finish" is designed for coating and repairing 3D prints, preserving fine details with a paintable and polishable surface.
Frequently Asked Questions
What types of paint work with cured resin?
Acrylic paints adhere well to cured resin, especially when the surface is scuffed or coated with a suitable primer.
How can I get transparent, glass-like colour in resin?
Use transparent dyes such as Magic Crystal mixed with clear resin to achieve glass-like coloured effects.
Do I need to sand the resin before painting?
Light sanding can help paint adhere better to cured resin, but clean away dust thoroughly before painting.
How do I avoid bubbles when painting or pouring resin?
Mix slowly, warm resin before pouring, and use a heat gun to release surface bubbles for a smooth finish.
How long should I wait between resin or paint layers?
Wait for each resin layer to fully cure, usually 12–24 hours, before applying further paint or coatings.
Can I use any pigment or dye in clear resin?
Use pigments and dyes formulated for resin, as generic paints can interfere with curing and clarity.