 Free shipping on orders over £29,85


How do you polish epoxy resin objects?
Step-by-step guide to achieving a flawless, glossy resin finish


If you want a truly professional, glass-like sheen on your epoxy resin pieces—from jewellery to tables—using the right approach will make all the difference. This guide breaks down how to effectively polish epoxy resin objects, ensuring clarity, gloss and a flawless surface, no matter your experience level.
What You’ll Need
- “Ebonite Abralon” – Sanding Pads 360-4000 Grit for Resin and Wood – for graded sanding from rough to smooth
- “Epoxy Polish” – Epoxy Resin Polishing System – for achieving high-gloss and scratch-free finish
- 1200W Polisher for Sanding and Buffing – Variable Speed, D-Handle – optional, but recommended for larger objects and best results
- Microfibre cloths and polishing pads (clean and soft)
- Protective gloves and eye protection

Essential Tools and Workspace Setup
Arrange all necessary tools, pads, and protective equipment before beginning. Clear a well-lit, dust-free area for best visibility and to prevent unwanted debris from settling on freshly polished resin. Prepare a bowl of clean water and lint-free towels for wet sanding and quick clean-ups.

Step 1: Sand the Resin Surface Smooth
Start by ensuring your cured resin is fully set (typically 48-72 hours post-pour). Begin sanding with a coarse grit—such as 360—to level out uneven areas, remove surface imperfections, or get rid of any matte spots from moulds. Gradually move through higher grits: 600, 1000, up to 4000, always cleaning the surface and pad between changes. Wet sanding can help reduce dust and create a more even, scratch-free result. Work from low to high grits for best results and never skip more than one grit in sequence to maintain a consistent finish.
For optimal, evenly-distributed pressure, using “Ebonite Abralon” – Sanding Pads 360-4000 Grit for Resin and Wood makes this process easier—especially for curved or detailed items.
Step 2: Apply Polishing Compound
Once the surface is perfectly smooth, clean away all sanding residue. Dab a small amount of polishing compound onto the resin and spread it in a thin, even layer. For standard or light-coloured resin objects, use a polish designed for epoxy resin; for black or dark surfaces, select a dedicated dark-surface compound to avoid white residue. Always use clean, dedicated pads for each polish to prevent cross-contamination or dulling of the finish.
For transparent or light objects, “Epoxy Polish” – Epoxy Resin Polishing System is suitable. For dark or black pieces, try “Carbon Polish” – Polishing System for Dark and Black Surfaces, 250ml.
Step 3: Buff to a High Gloss
Buff the polish firmly across the resin surface using circular motions. For small, shaped pieces, a microfibre cloth by hand can work, but for consistent, brilliant results—especially on larger surfaces—a rotary or variable speed polisher allows greater gloss and less effort. Employ a soft pad and keep the tool moving to avoid heat build-up. Polish in a dust-free area for the cleanest possible finish.
The 1200W Polisher for Sanding and Buffing – Variable Speed, D-Handle lets you tailor speed for extra control, making it easier to achieve a mirror-like shine.

Step 4: Clean and Inspect the Surface
Wipe away any polish residue using a clean microfibre cloth. Examine the object under good lighting to check for haze or swirl marks. If any imperfections remain, repeat the previous steps focusing on the affected area. Thorough cleaning at this stage prevents fingerprints or streaks from dulling your finish.

Tips, Common Mistakes, and Troubleshooting
Don’t rush the sanding stages; lingering scratches from coarse grit will appear after polishing and are hard to remove once sealed in. Use even, gentle pressure—over-aggressive polishing can produce heat damage or introduce swirl marks. Always keep sanding and polishing pads clean, and avoid contamination with dirt or other compounds. If your surface stays cloudy, it often means insufficient sanding or excess polish hasn’t been buffed out fully—simply repeat the final two steps as needed.
Showcase: Before and After Polishing Resin
Notice how a careful sanding and polishing process restores shine, transparency, and colour depth to epoxy resin. Polished pieces look clearer and feel smoother, free from cloudiness or light scratches that distract from your project’s quality.

- "Epoxy Polish" – Epoxy Resin Polishing SystemPrice range: £17.85 through £44.85"Epoxy Polish" offers a system designed to restore a mirror-like shine to resin projects with ease and compatibility for various surfaces.
- "Ebonite Abralon" – Sanding Pads 360-4000 Grit for Resin and Wood£3.95"Ebonite Abralon" sanding pads support polishing of epoxy resin with a range of grits and wet or dry use for careful finishing.
 1200W Polisher for Sanding and Buffing – Variable Speed, D-Handle£85.951200W Polisher designed for sanding and polishing epoxy resin objects with variable speed and sturdy grip.
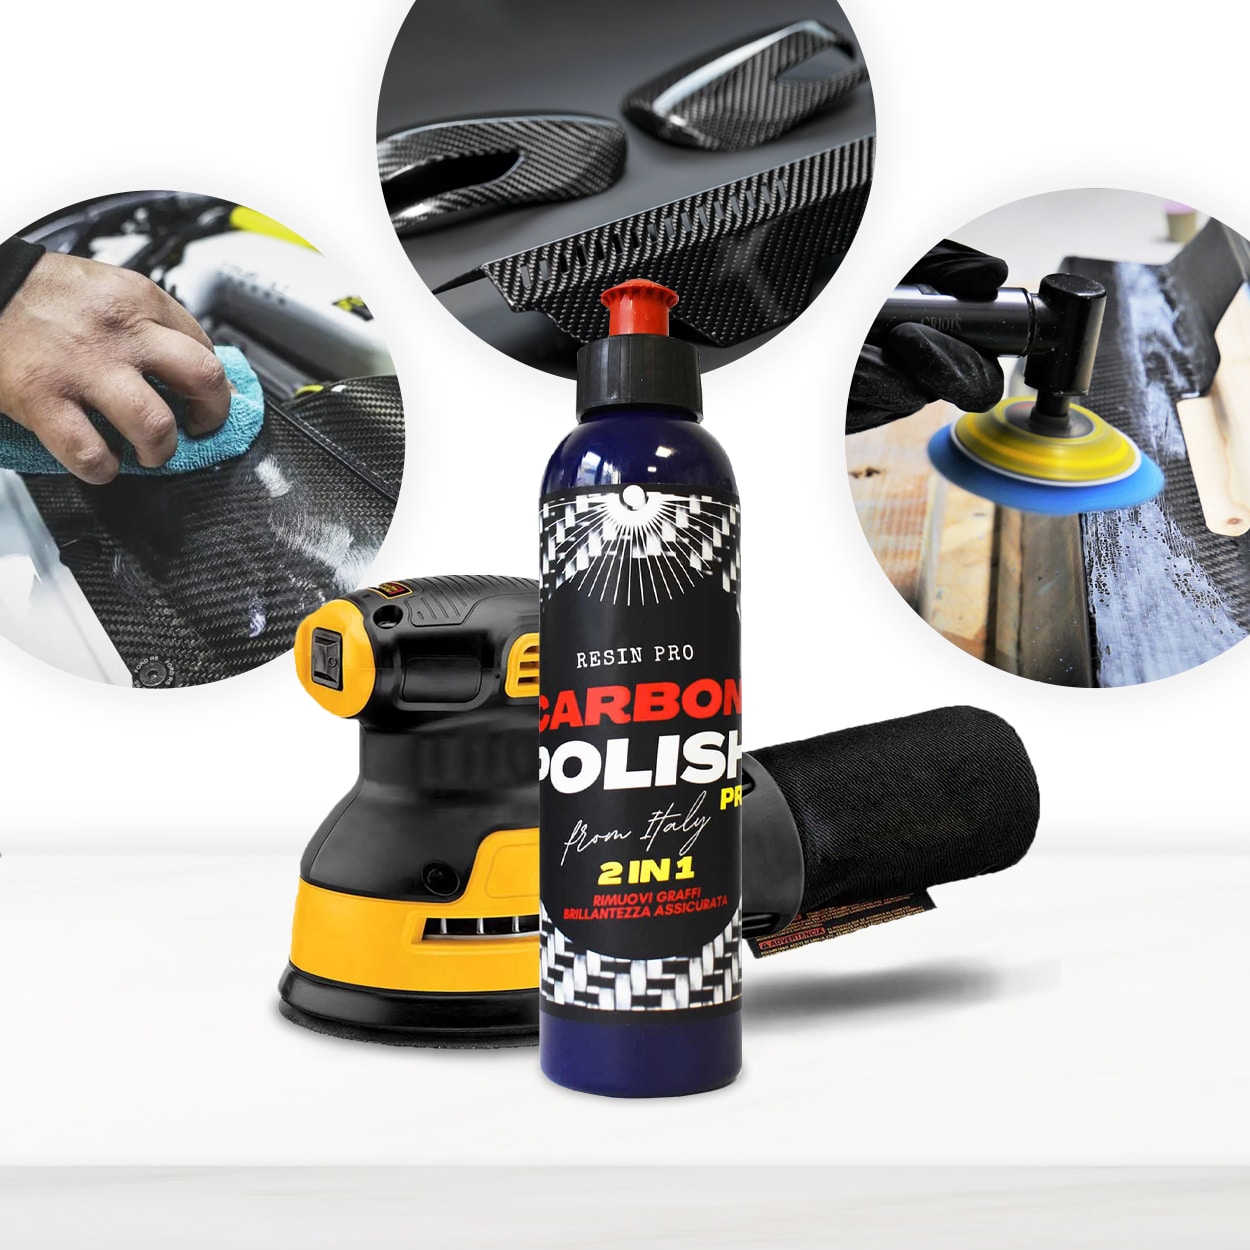 "Carbon Polish" – Polishing System for Dark and Black Surfaces, 250mlPrice range: £17.85 through £44.85Carbon Polish is designed for polishing dark and black surfaces including epoxy resin projects, providing a finish without typical white residue.
Frequently Asked Questions
What grit sanding pads should I use on epoxy resin?
Start at 360 grit and increase through 600, 1000, 2000, and up to 4000 for a perfect, scratch-free base before polishing.
What’s the best polish for clear or black epoxy?
Use a standard epoxy polish for clear or light resin, and a non-whitening dark-surface compound for black or dark resin pieces.
Can I polish resin without a machine?
Yes, hand-polishing works on small items, but larger surfaces are easier and glossier with a rotary or variable speed polisher.
How do I remove cloudiness after polishing resin?
Cloudiness usually means more sanding is needed. Re-sand with finer grit, then polish and buff thoroughly.
How do I avoid swirl marks while polishing?
Use clean, correct polishing pads and move in overlapping circles. Always keep pads free of dust and use appropriate compounds.
Is DIY epoxy resin polishing as good as professional?
With proper sanding, the right polishing products, and patience, DIY polishing can match professional finishes.