 Free shipping on orders over £29,85


How do you prepare a base for resin?
Practical steps for a flawless resin base every time


Properly preparing a base for resin work is crucial to achieving professional, bubble-free, and even results. Whether you’re creating a river table, resin art panel, or decorative surface, getting the groundwork right sets the stage for a beautiful finish. This guide walks you through the essential steps to ensure your base is ready, reducing the risk of leakage, warping, or adhesion problems.

What You’ll Need
- “River-Table” – Complete Kit for Creating Your First Epoxy Resin Table: Includes epoxy resin, sealant, release film, and instructions for beginners.
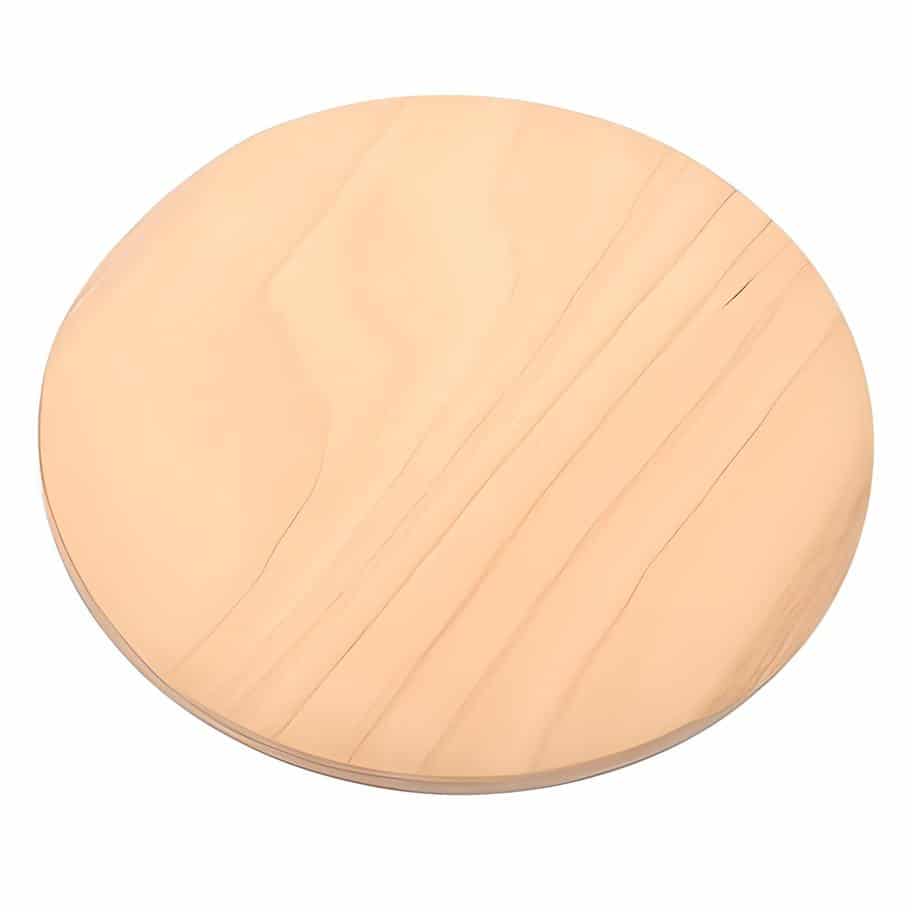
- MDF Board Base for Epoxy Resin Table and Art Projects: Provides a sturdy and flat surface for resin pourings.
- “Geode O” – Table Base for Epoxy Resin Art – Wood Support for Resin Projects: Suits a range of resin art and craft projects requiring a robust wooden support.
- “Geode U” – Wooden Table Base for Epoxy Resin Projects – Lightweight & Versatile: Easy to handle, ideal for artists needing a movable base.

Visual Guide: Resin Base Preparation Essentials
Explore images of properly prepared MDF boards and wooden supports, showcasing both sealed and unsealed surfaces ready for resin. Notice neat edges, release film application, and professional workspace set-up with all materials within easy reach. These visuals clarify each stage of base preparation for any resin project.
Step 1: Select the Right Surface
Choose a stable and suitable surface for your project—this is fundamental for lasting results. MDF boards are a favourite among resin artists because they offer a flat, solid foundation that won’t flex or warp once the resin is poured. For art pieces or decorative tables, sturdy wooden bases such as the “Geode O” or “Geode U” are well suited, providing both support and convenience due to their available sizes and formats.
Consider the intended final use, size, and weight of your resin project when selecting your base. Avoid surfaces that are rough, uneven, or made from untreated wood that can absorb resin and cause uneven curing.

Step 2: Seal and Protect the Base
Seal porous materials carefully to prevent resin leakage. Most wooden or MDF surfaces are naturally absorbent, which can lead to unwanted bubbles or the resin soaking through. Use a compatible primer, PVA glue, or, when using an all-in-one kit like the “River-Table” – Complete Kit for Creating Your First Epoxy Resin Table, follow the included sealing instructions and apply any included silicone or sealant along all joins and corners.
Double-check every edge and seam—especially if you’re constructing custom formwork—to eliminate gaps. Never skip this step, as proper sealing ensures your project remains leak-free and your resin stays where it should.
Step 3: Ensure Level and Secure Positioning
Level and secure your base before pouring resin. Resin is self-levelling, so any tilt in your base will result in an uneven surface or pooling. Use a spirit level on your chosen MDF board or wooden table base and adjust until perfectly horizontal. Secure the base on a sturdy, vibration-free workplace to prevent shifting during curing.
Avoid disturbances during the curing process, and if needed, use painter’s tape or temporary clamps to maintain the setup.


Step 4: Add a Release Layer or Film
Protect against stuck resin by using a release agent or film if your base is part of the mould or is supporting a removable resin layer. Kits like the “River-Table” – Complete Kit for Creating Your First Epoxy Resin Table include a special release film that covers your formwork, ensuring the finished piece lifts out cleanly and without damage. For DIY projects, commercial release sprays or carefully applied masking tape can also serve this purpose.
This step is especially important for reusable moulds or when working with precious base materials you’d like to preserve.
Step 5: Perform a Test Run
Test your set-up with a small amount of resin first, especially on large projects or with new material combinations. A minor pour will highlight any potential leaks, surface defects, or adhesion problems before you commit to a full project pour. This preventative check can save you time, money, and frustration in the long run.
If any issues arise, address them—re-seal, re-level, or adjust support—before starting the main resin pour.


Tips, Common Mistakes, and Troubleshooting
- Be patient with prep work; rushing leads to leaks or uneven surfaces.
- Don’t forget to wear gloves and work in a dust-free environment for the cleanest finish.
- If bubbles develop, address them before full curing with a heat gun or torch.
- Double-check all measurements for custom formwork—precision now prevents costly errors later.
Project Inspiration: Secure and Creative Resin Bases
View finished resin tables and art pieces created upon well-prepared bases, highlighting smooth pours, vibrant colours, and flawless separation from supports. Observe the difference that careful prep can make, inspiring confidence for your own resin castings on reliable, robust foundations.

- "River-Table" – Complete Kit for Creating Your First Epoxy Resin TablePrice range: £198.45 through £467.45"River-Table" kit provides materials and instructions suitable for creating a wood and resin table with included epoxy resin and sealing components.
- MDF Board Base for Epoxy Resin Table and Art ProjectsOriginal price was: £26.45.£18.95Current price is: £18.95.MDF Board Base offers a stable and sturdy surface, suitable for various resin projects in line with resin base preparation.
- "Geode O" – Table Base for Epoxy Resin Art – Wood Support for Resin ProjectsPrice range: £18.45 through £23.45"Geode O" table base provides sturdy wooden support ideal for various resin art and crafting techniques.
 "Geode U" – Wooden Table Base for Epoxy Resin Projects – Lightweight & VersatileThe Geode U wooden table base is designed for epoxy resin projects, offering a robust and lightweight foundation suitable for various resin…
Frequently Asked Questions
What is the best surface material for resin casting?
Sturdy, flat MDF or sealed hardwood bases are commonly recommended for smooth resin results.
Why do I need to seal my wooden or MDF base?
Sealing prevents resin from soaking in or leaking through porous surfaces, ensuring a level, bubble-free finish.
How can I prevent resin leaking from my base?
Carefully apply compatible sealant or silicone to all seams and corners before pouring.
Do I need to check if my base is level?
Yes, use a spirit level to ensure even resin distribution and a smooth cured surface.
Do I need a release agent or film for resin work?
A release film or spray is recommended if the base or form needs to be removed cleanly after curing.
Should I test the setup before committing to a full resin pour?
A test pour with a small amount of resin helps identify leaks or problems in advance, saving time and materials.
Should my base be permanent or a removable mould?
This depends on your project—art panels may use permanent bases, while river tables and slabs often use removable formwork.