 Free shipping on orders over £29,85


How do you resin a wooden box?
A step-by-step guide for a flawless resin finish on wood


Adding resin to a wooden box gives your craft project a professional, high-gloss finish that’s durable and truly eye-catching. Whether you want to personalise a gift, create stunning storage solutions, or simply enhance the beauty of natural wood, learning how to resin a wooden box expands your creative repertoire. This guide walks you through the essential techniques and top tips for achieving a smooth, clear resin layer on wooden boxes of any shape or design.
What You’ll Need
- Square Wooden Box for Crafts 10x10x3.7cm – Ideal for Epoxy Resin Projects – a sturdy, customisable blank for resin art
- Heart Wooden Box for DIY, 11.3×11.3x5cm or Wooden Deer Box for Epoxy Resin Crafts, 11.3×11.3x5cm – for alternative shapes and display options
- Wooden Resin Coaster Starter Kit – Create Beautiful Handmade Coasters at Home – useful for its resin, colourants, gloves, and mixing tools
- Epoxy resin (ensure it’s suitable for craft/wood use)
- Mixing cups and sticks (if not included in your kit)
- Nitrile gloves
- Protective surface covering (such as a silicone mat or plastic sheet)
- Fine sandpaper
- Masking tape
- Clean, dry paintbrush
- Optional: Acrylic paints or wood stains, mica powder, or decorative inclusions

Inspiration: Resin-Coated Wooden Boxes
Explore resin art possibilities with different box shapes. Try a square, heart, or rustic deer silhouette for unique decorative results. Personalise with vibrant pigments, inclusions, or metallic highlights for one-of-a-kind gifting or display pieces.
Step 1: Prepare Your Wooden Box
Begin by ensuring your wooden box is clean, dry, and free from any dust or oil. A smooth surface helps the resin adhere beautifully. Sand the box lightly with fine-grit sandpaper to create an even base, then wipe away all dust with a hardly damp cloth and allow it to dry fully. If you want to decorate your box with acrylic paints or wood stains, do so at this stage and let it dry thoroughly before resining.
Mask off any areas you do not wish to coat with resin, such as the inside of the box or hinge fittings. Masking tape is ideal for protecting edges and helping achieve a neat finish.

Step 2: Seal the Wood (Optional but Recommended)
Sealing prevents air bubbles from rising out of the wood into your resin layer, which can cause unsightly pinholes or cloudiness. Lightly brush a thin layer of mixed epoxy resin, or a dedicated wood sealer, over the wooden surfaces you plan to coat. Allow this layer to cure according to the resin manufacturer’s instructions before moving to the main pour.
If you’re using a starter kit such as the Wooden Resin Coaster Starter Kit – Create Beautiful Handmade Coasters at Home, use a small portion of the resin included for this sealing stage.
Step 3: Mix and Pour Your Resin
Measure your resin and hardener according to the product instructions (ratios matter!). Wear gloves and mix thoroughly in a clean container, scraping the sides as you go. If you wish to tint, add colourants or mica powder at this stage, stirring until fully blended for beautiful, even colour.
Slowly pour the resin over your prepped box, starting from the centre and working outwards, letting it self-level. Use a wooden stick or gloved finger to guide the resin over edges. Pour in stages if a thicker coat is needed, allowing partial curing between layers to prevent runs or pooling.
Step 4: Remove Bubbles and Refine the Finish
After pouring, bubbles may rise to the surface. Gently use a heat gun or craft torch, swept lightly across the resin, to pop these bubbles. Let the box sit undisturbed on a level surface, covered to keep off dust while the resin cures.
Check regularly during the initial setting period and remove any stray bits or correct minor drips with a clean stick or brush. Full curing may take several hours to a day, depending on your resin formulation.

Step 5: Unmask, Finish, and Enjoy
Once the resin is fully cured, gently peel away your masking tape to reveal crisp edges. If needed, lightly sand any roughness from drips or overspill, then wipe clean. The result is a beautifully resin-coated wooden box ready for use or display.
This process applies to classic craft blanks such as the Square Wooden Box for Crafts 10x10x3.7cm – Ideal for Epoxy Resin Projects, as well as creatively shaped options like the Heart Wooden Box for DIY, 11.3×11.3x5cm and Wooden Deer Box for Epoxy Resin Crafts, 11.3×11.3x5cm.
Tips, Common Mistakes and Troubleshooting
- Dust is your enemy – Always cover your work while curing to prevent debris from landing on the resin.
- Seal before you pour – Unsealed wood can release bubbles or absorb too much resin.
- Watch your working temperature – Too cold can prevent resin from curing; too hot may cause rapid setting or yellowing.
- Avoid over-pouring – Thin layers reduce drips and cure more evenly.
- Let the resin cure fully before handling for the best finish.
Resin Techniques for a Professional Finish
Key to a smooth finish: Use a clean, dust-free space. Adjust pour thickness according to your box’s details, and always monitor curing conditions for the clearest, most durable results.

- Square Wooden Box for Crafts 10x10x3.7cm – Ideal for Epoxy Resin ProjectsOriginal price was: £10.45.£5.09Current price is: £5.09.Square Wooden Box designed for epoxy resin projects with compact size and durable wood, fitting a crafting theme focused on resining wooden items.
- Heart Wooden Box for DIY, 11.3×11.3x5cmOriginal price was: £13.95.£4.95Current price is: £4.95.A compact wooden box designed for displaying epoxy resin art, crafted for stylish presentation and various uses.
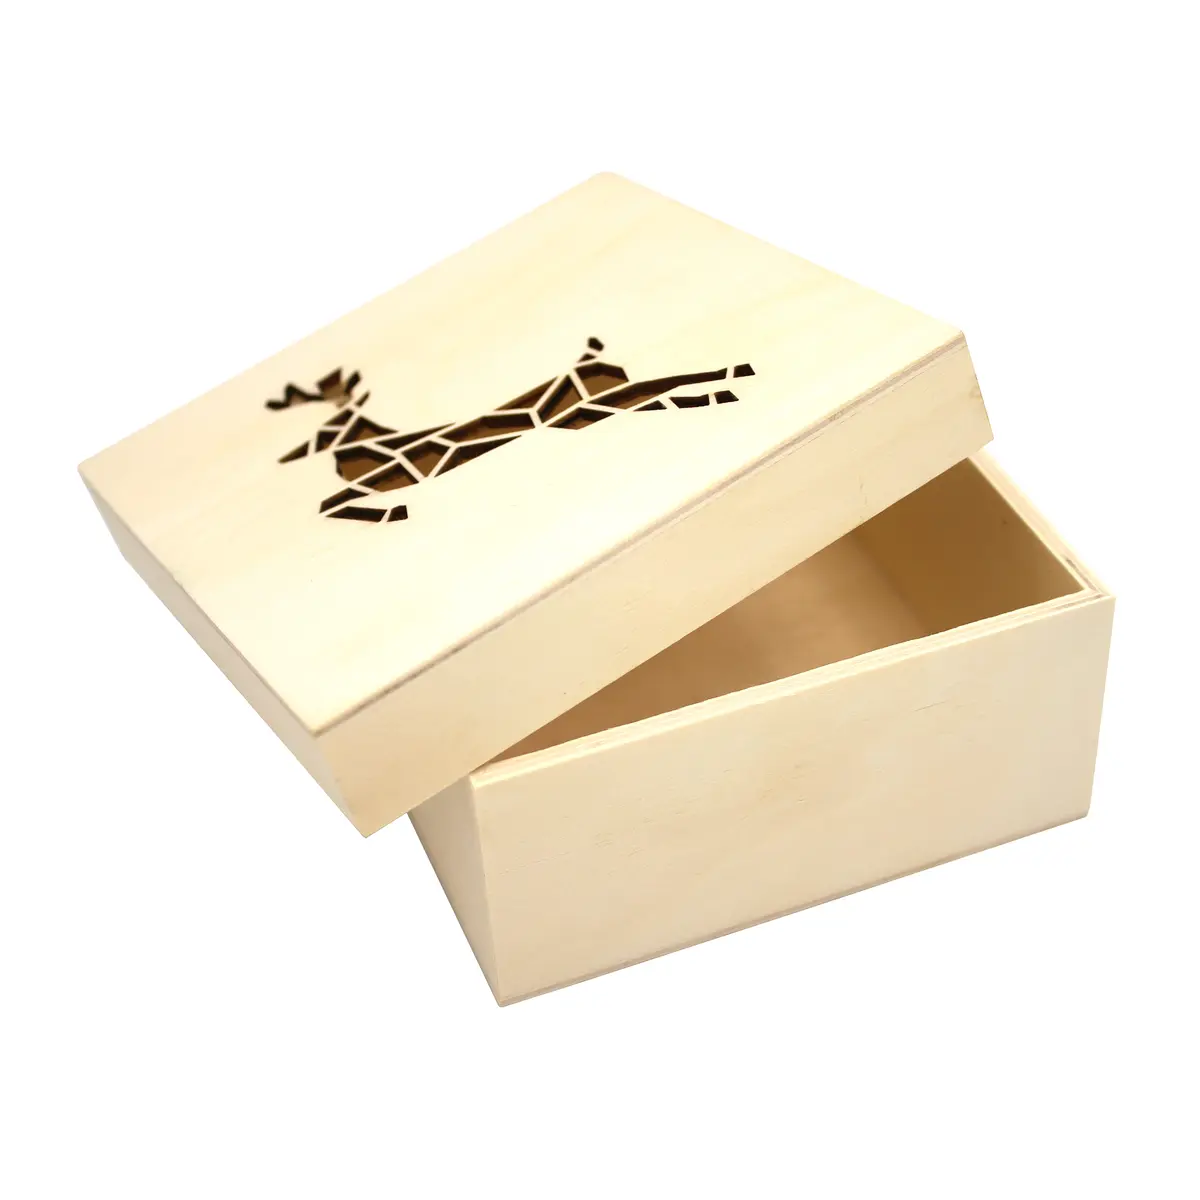 Wooden Deer Box for Epoxy Resin Crafts, 11.3×11.3x5cmOriginal price was: £13.95.£4.95Current price is: £4.95.The Wooden Deer Box is a small, durable wooden base suited for epoxy resin projects within the theme of resin coating wooden boxes.
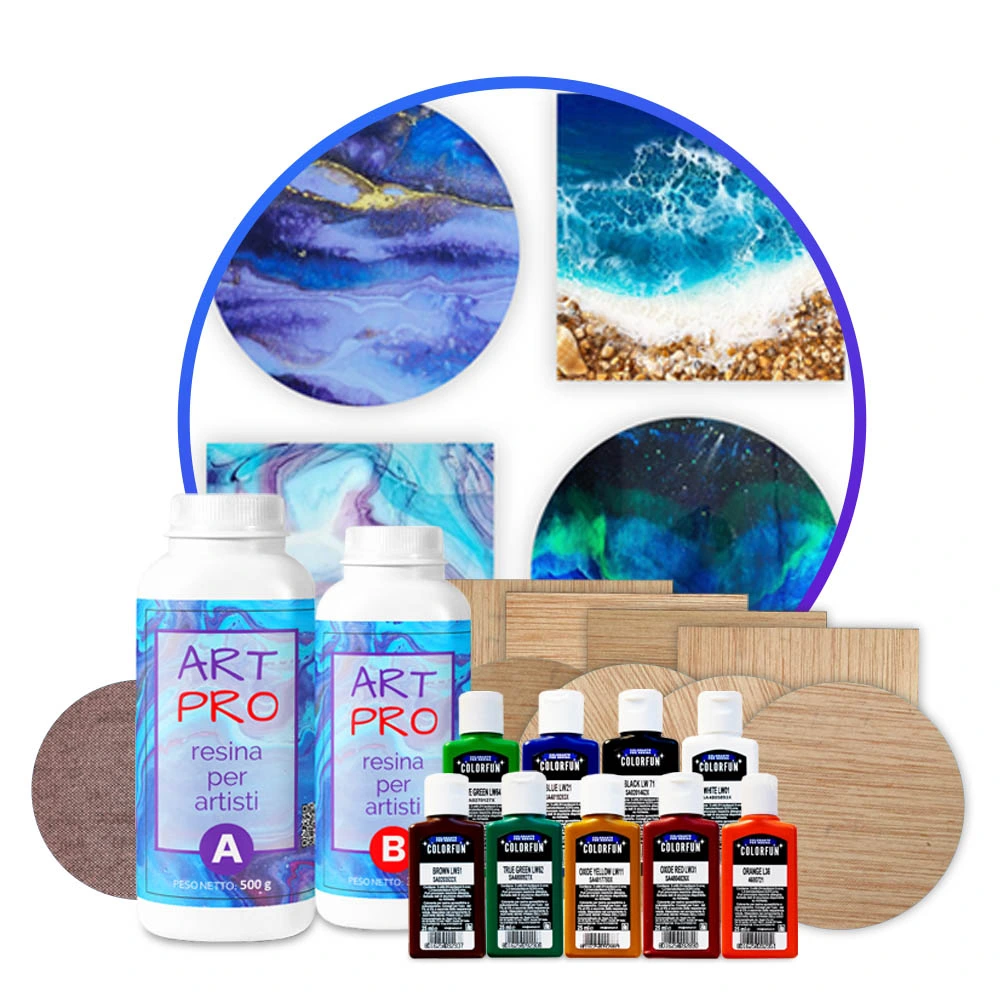 Wooden Resin Coaster Starter Kit – Create Beautiful Handmade Coasters at Home£50.85A complete kit for making elegant wooden resin coasters at home with step-by-step instructions suitable for beginners.
Frequently Asked Questions
What type of resin is best for coating wooden boxes?
Epoxy resin is recommended for its excellent clarity, durability, and strong adhesion to wood surfaces.
Can I decorate the wooden box before applying resin?
Yes, apply paints or stains first and ensure they are completely dry before sealing and coating with resin.
Does wood need to be sealed before applying resin?
Sealing is advised to reduce air bubbles and prevent excessive absorption, ensuring a smooth, glossy result.
Can I use any wooden box for resin art?
Most untreated wooden boxes work well as long as the surface is clean, dry, and sanded for preparation.
How do I prevent or remove bubbles when resining wood?
Seal the wood first, stir resin slowly, and carefully pop bubbles with a heat gun or torch after pouring.
Any tips for resining boxes with grooves or details?
Pour resin in thinner coats and guide it into grooves with a brush or stick for an even finish.