 Free shipping on orders over £29,85


How do you sand epoxy resin?
Expert sanding steps for crystal-clear resin surfaces


Achieving a perfectly smooth and clear surface on epoxy resin projects—be it tables, artistic creations, or jewellery—requires a careful sanding process. This guide is designed for artists, crafters, and DIY enthusiasts looking to elevate their resin work with professional-grade finishing techniques that eliminate imperfections and prepare for final polishing.
What You’ll Need
- “Ebonite Abralon” – Sanding Pads 360-4000 Grit for Resin and Wood – For fine, progressive sanding and an even satin finish.
- Dry Sanding Discs Kit 150mm – Assorted Grits for Resin and Wood – Useful for initial smoothing and bulk material removal.
- 150mm Sanding Paper Discs – Assorted Grits for Resin & Wood Finishing, 10pcs – Ideal for dust-free dry sanding of larger areas.
- A4 Waterproof Sanding Paper Assorted Grits Pack of 4 for Crafting and Woodworking – For both wet and dry sanding, especially smaller, intricate details.
- Water (for wet sanding), soft cloths, a sanding block or rotary tool (optional), and personal protective equipment.
Essential Sanding Tools & Grit Selection
Choosing the correct abrasive is the key to flawless epoxy resin sanding. Wet and dry papers, flexible pads, and sanding discs each serve distinct purposes—progressing through grits from coarse to very fine is essential for smooth results. Tailor your choice based on the size and detail of your project for both comfort and finish quality.
Step 1: Choose the Right Grit and Prepare Your Workspace
Begin by assessing your epoxy resin surface. If there are major bumps, drips, or casting lines, start with coarser abrasives. For new pieces with only minor surface imperfections, a medium grit is suitable. Ensure your workspace is well-ventilated, dust-free, and set up with all materials to hand. If working indoors, use a dust mask and eye protection.
For efficient preparation, consider using Dry Sanding Discs Kit 150mm – Assorted Grits for Resin and Wood for larger resin castings, providing coverage and rapid removal of surface irregularities.
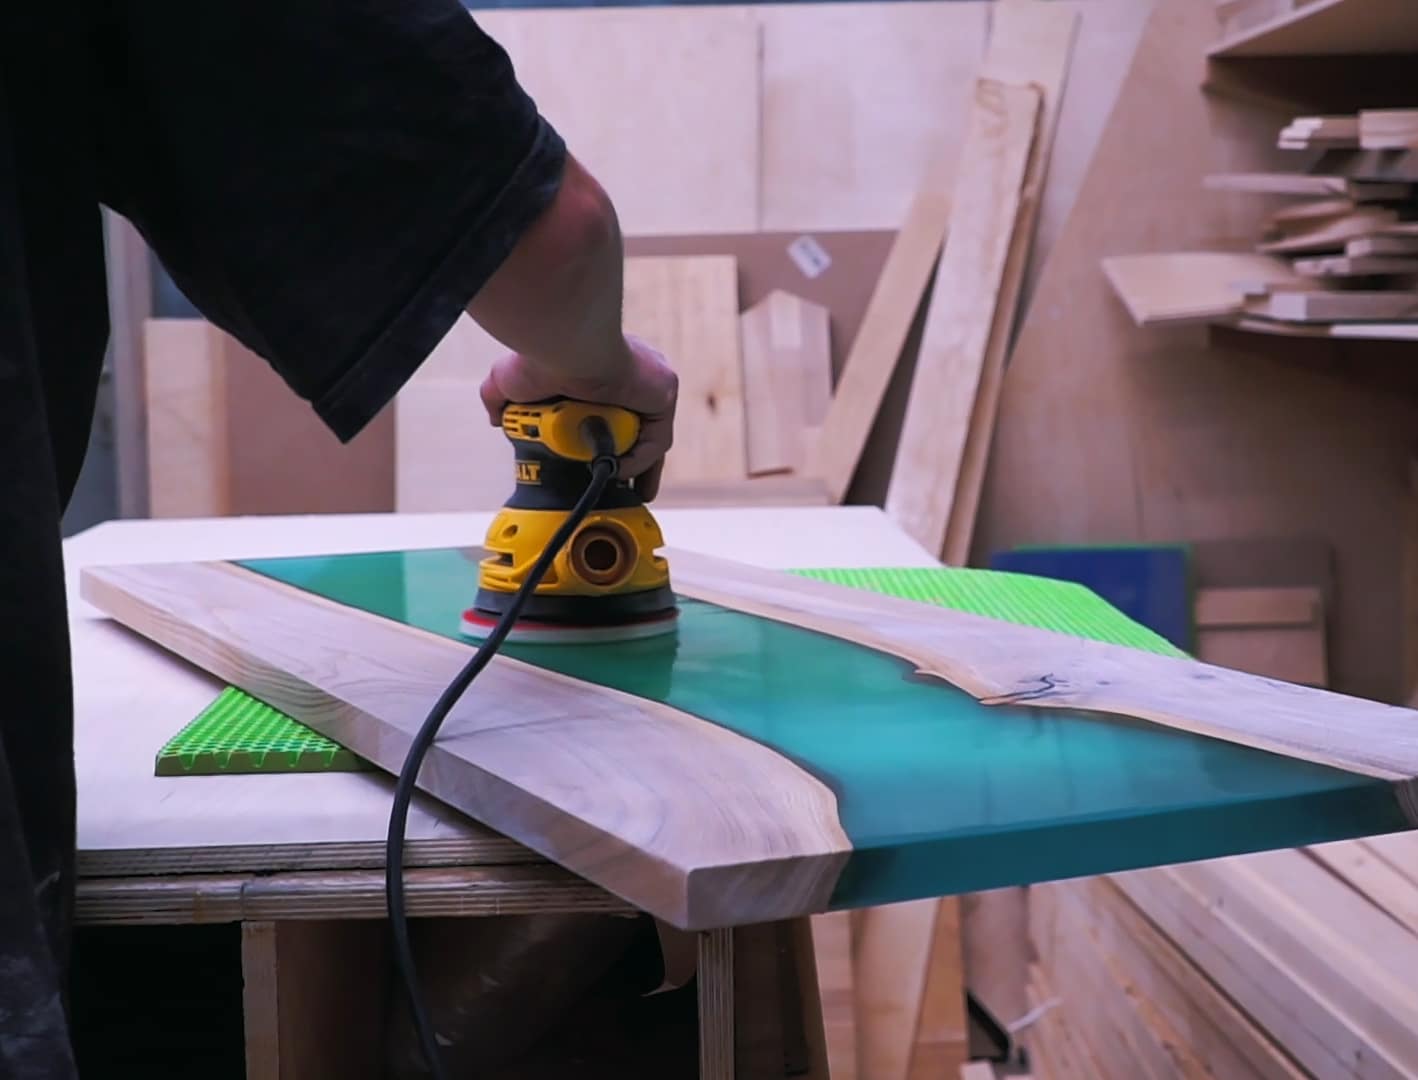
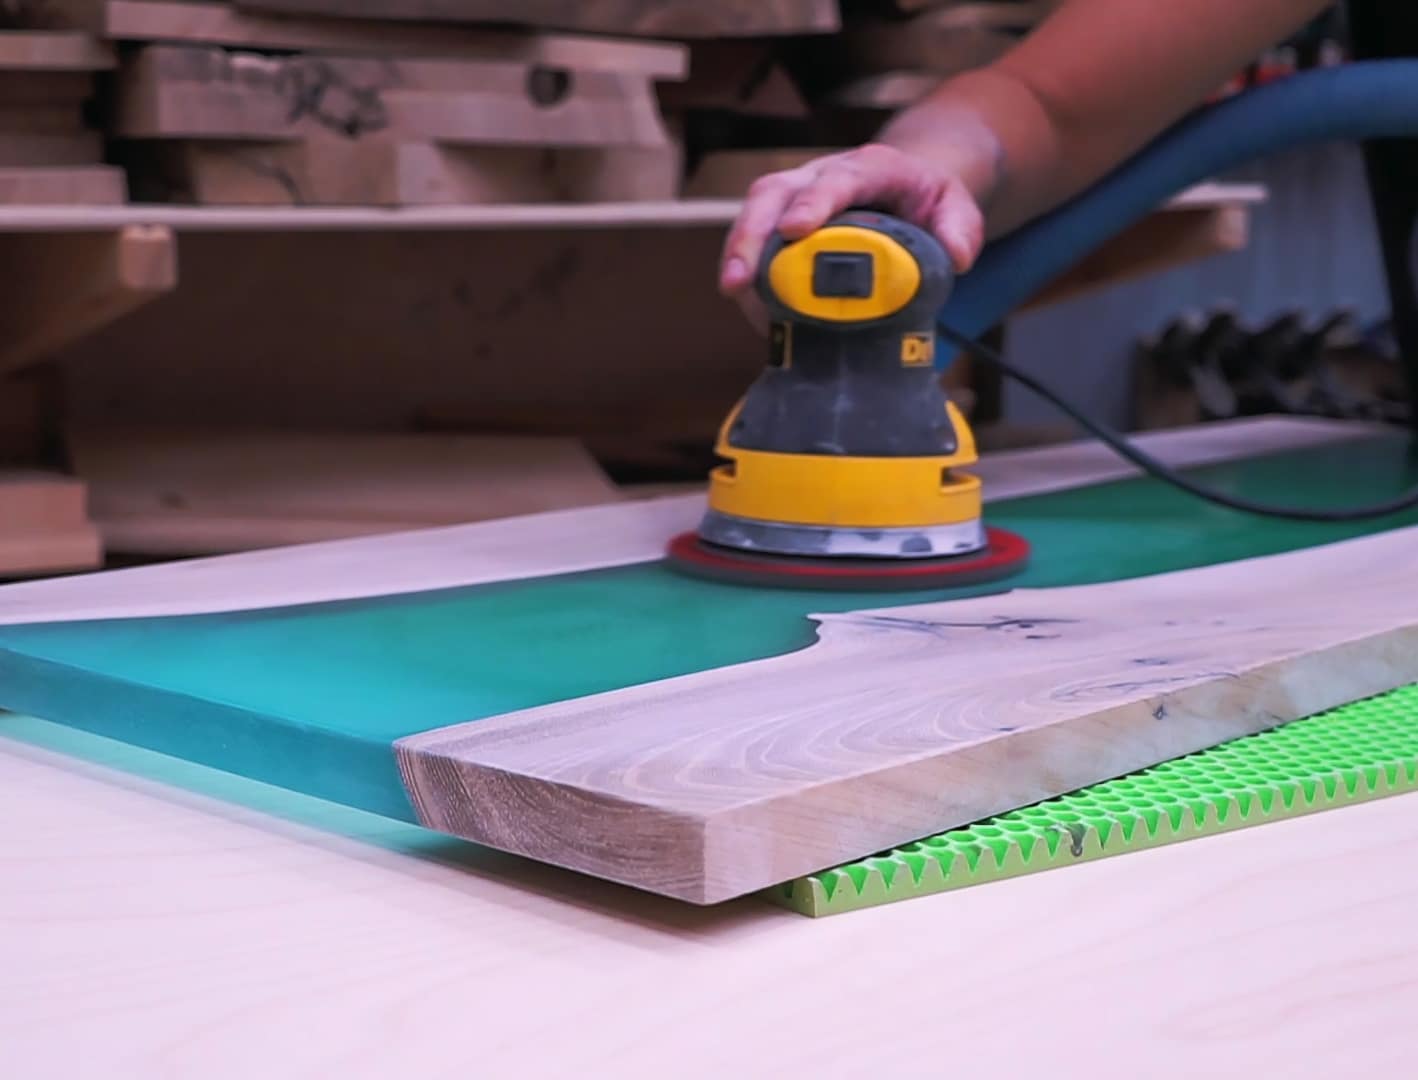
Step 2: Begin Sanding with Initial Grit
Attach your chosen abrasive—either sanding disc or sheet—to a sanding block, rotary polisher, or by hand. Start sanding in circular or back-and-forth motions, depending on the project shape. Use light, even pressure to avoid creating valleys or flat spots. Persist until the surface is evenly dull and existing marks are removed.
If you’re working with detailed or contoured resin projects, “Ebonite Abralon” – Sanding Pads 360-4000 Grit for Resin and Wood offer flexibility and controlled sanding pressure for a consistent scratch pattern.
Step 3: Progress Through Finer Grits
Once the surface is uniformly matte and imperfections are addressed, move to the next finest grit. Clean the surface thoroughly before each new grit to eliminate loose debris that could reintroduce scratches. Gradually work up through the grits, never skipping more than one size between steps.
Consider switching to A4 Waterproof Sanding Paper Assorted Grits Pack of 4 for Crafting and Woodworking when transitioning from dry to wet sanding. Wet sanding greatly minimises dust and further reduces the risk of scratching for a higher-clarity finish.
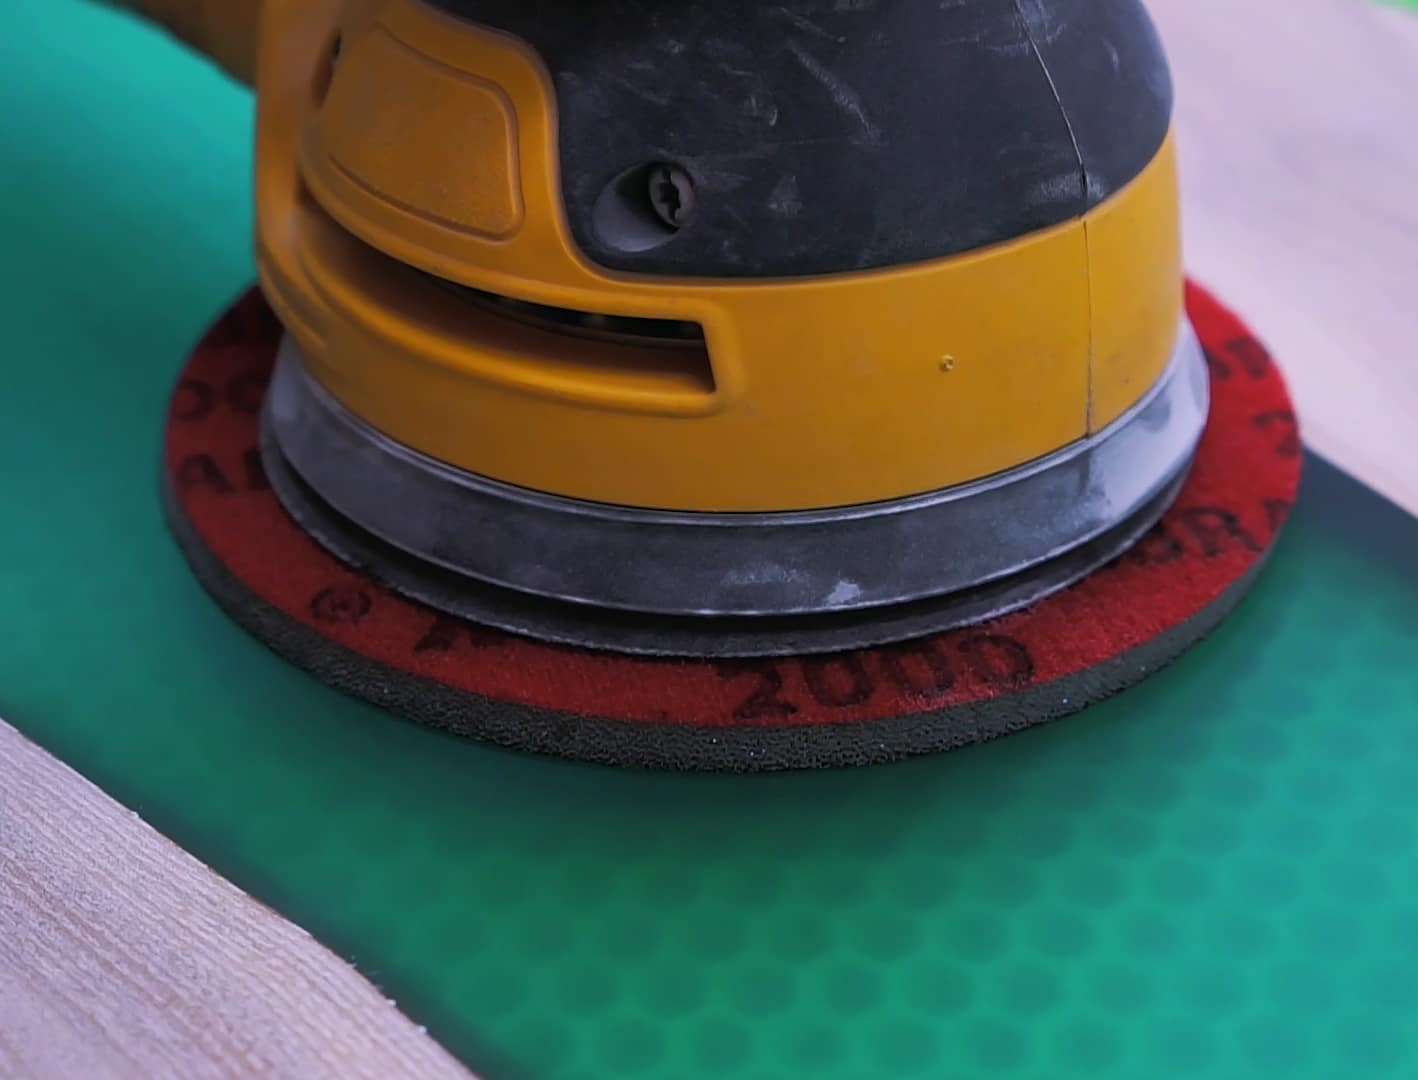
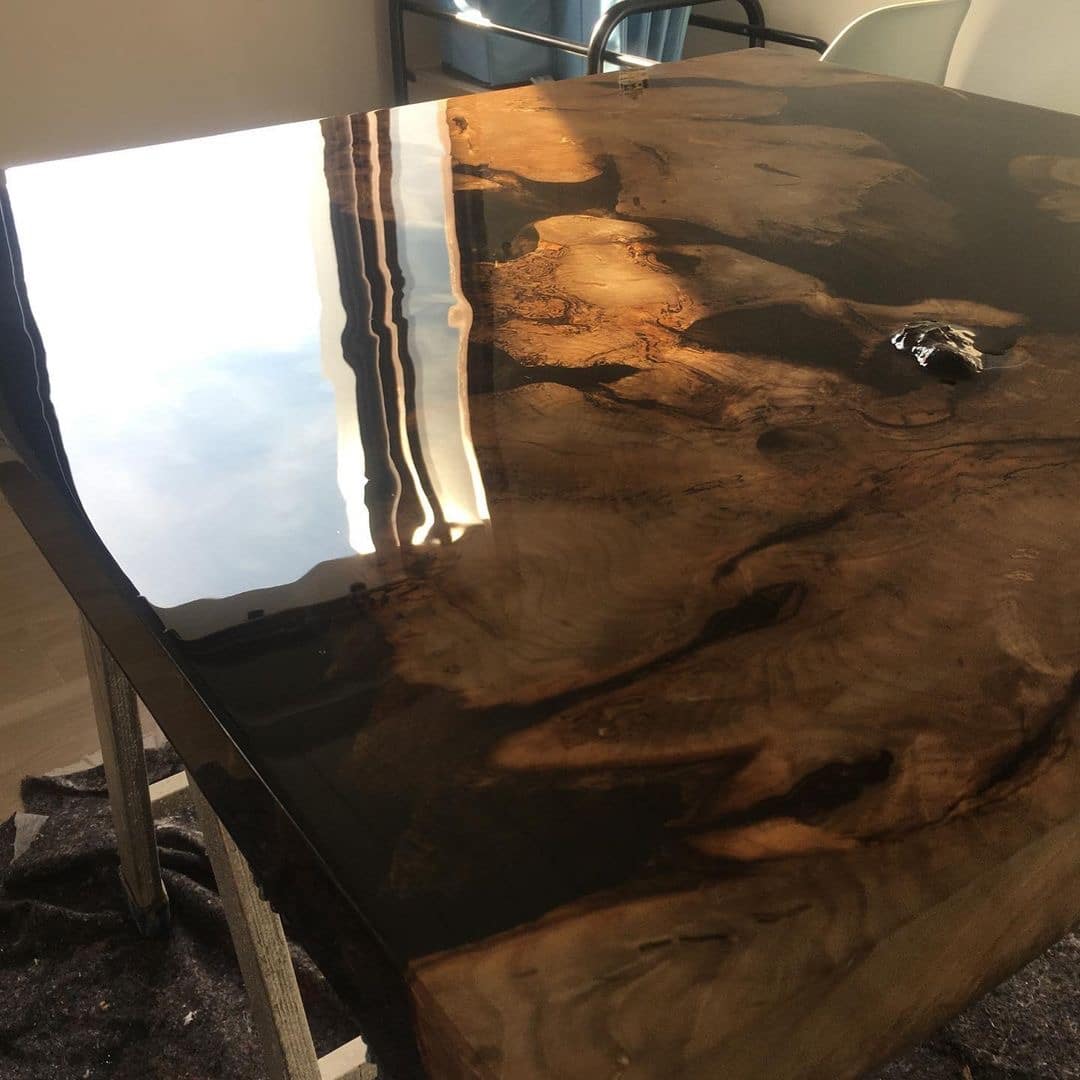
Step 4: Finishing and Preparing for Polish
After the final sanding stage (often up to 2000 or even 4000 grit for optical clarity), your resin should look consistently frosty with no visible scratches or marks. Rinse the piece thoroughly and dry with a lint-free cloth.
For larger surfaces, 150mm Sanding Paper Discs – Assorted Grits for Resin & Wood Finishing, 10pcs are ideal, thanks to their dust extraction design which keeps the workspace cleaner during the sanding process.
Tips, Common Mistakes, and Troubleshooting
Always start with the right grit for your resin project. Beginning with too fine a grit will not remove surface issues, while starting too coarse leaves deeper scratches that are hard to erase. Wet sanding minimises dust and reduces scratches—frequently rinse your abrasive and resin to avoid clogging and blemishes. Apply even pressure to avoid uneven sanding marks. Never skip grit levels if striving for a crystal-clear finish. Clean between grit changes to ensure flawless results. If you spot stubborn cloudy patches, revisit earlier grit stages with gentle pressure and plenty of lubrication.
Common Sanding Challenges: Solutions in Practice
Uneven textures or dull patches are usually the result of skipped grits, uneven pressure, or insufficient cleaning between steps. Regularly inspect your progress in good light; don’t rush the process. With patience and the right materials, your resin projects will emerge perfectly smooth and ready for polishing.
- "Ebonite Abralon" – Sanding Pads 360-4000 Grit for Resin and Wood£4.15"Ebonite Abralon" sanding pads provide versatile grits for detailed finishing on epoxy resin and wood.
- Dry Sanding Discs Kit 150mm – Assorted Grits for Resin and Wood£7.45Dry Sanding Discs Kit 150mm offers assorted grits suitable for sanding epoxy resin and wood for a controlled professional finish.
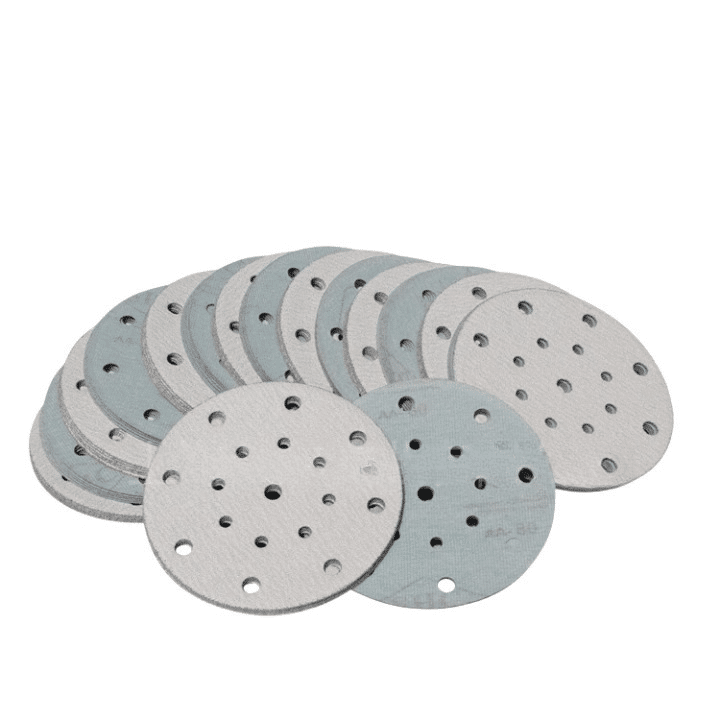 150mm Sanding Paper Discs – Assorted Grits for Resin & Wood Finishing, 10pcs£9.45Assorted grit sanding discs designed for resin and wood finishing, suitable for sanding in crafting and repair.
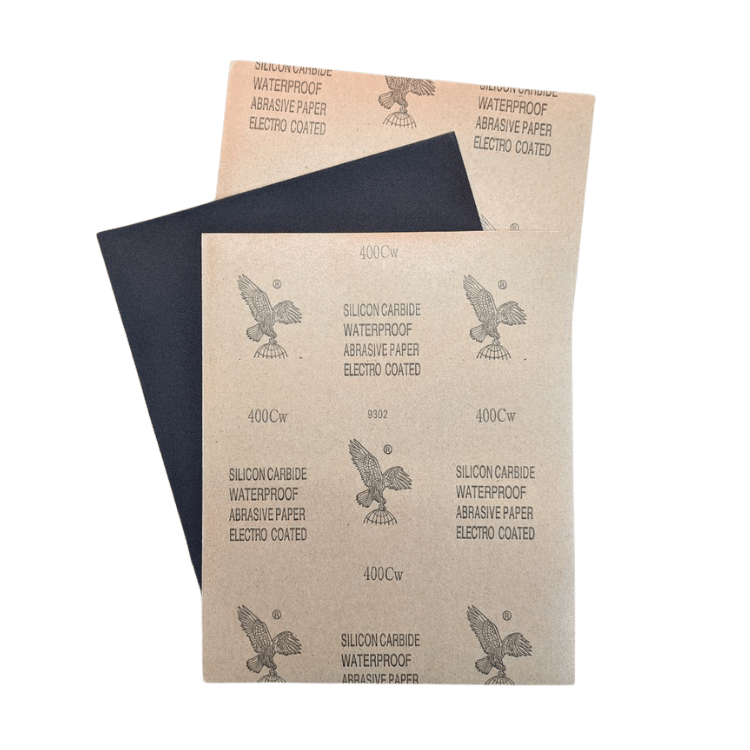 A4 Waterproof Sanding Paper Assorted Grits Pack of 4 for Crafting and Woodworking£7.45A4 Waterproof Sanding Paper offers versatile grits in a waterproof design for precise sanding in resin and woodworking projects.
Frequently Asked Questions
What grit paper should I use for epoxy resin?
Begin with 120–320 grit for initial smoothing, progressing through finer grits up to 2000 or 4000 for optical clarity.
Should I use wet or dry sanding on epoxy resin?
Start with dry sanding for heavy material removal, then use wet sanding for finer grits to reduce dust and enhance clarity.
How can I avoid scratches when sanding resin?
Progress gradually through grit levels and clean the surface between each grit to minimise fine scratches.
Is hand or machine sanding better for epoxy resin?
Hand sanding offers more control for small or delicate pieces, while power tools are efficient for large surfaces.
How do I remove cloudiness after sanding epoxy?
Cloudiness usually indicates unfinished sanding; repeat the final grit stage or polish for better transparency.
Should I clean resin between sanding steps?
Yes, always clean away residue before switching grits to prevent reintroducing scratches to the surface.