 Free shipping on orders over £29,85


How do you smooth an epoxy resin table?
Step-by-step guide for a flawless, polished resin surface


Creating an epoxy resin table is a rewarding achievement, but achieving a flawless surface requires careful smoothing and finishing. This in-depth guide will take you through each step to transform rough resin work into a stunning, glossy table surface worthy of any professional setting.

What You’ll Need
- “Ebonite Abralon” – Sanding Pads 360-4000 Grit for Resin and Wood: Sanding pads in various grits for manual or machine sanding.
- Mirka Sanding Interface Pad 150mm x 10mm – For NET Sanding Discs: Provides a soft, consistent surface for refined sanding.
- “Epoxy Polish” – Epoxy Resin Polishing System: Professional polishing compound for a high-gloss finish.
- Clean, lint-free microfibre cloths and water spray bottle
- Rotary polisher or pad holder (optional but makes polishing easier)
- Dust mask and gloves for safety

Essential Smoothing Tools for Resin Tables
Sanding and polishing tools play a crucial role in achieving a flawless finish. Quality sanding pads and polishing systems allow for progressive smoothing, while interface pads help maintain even pressure for optimal surface results.
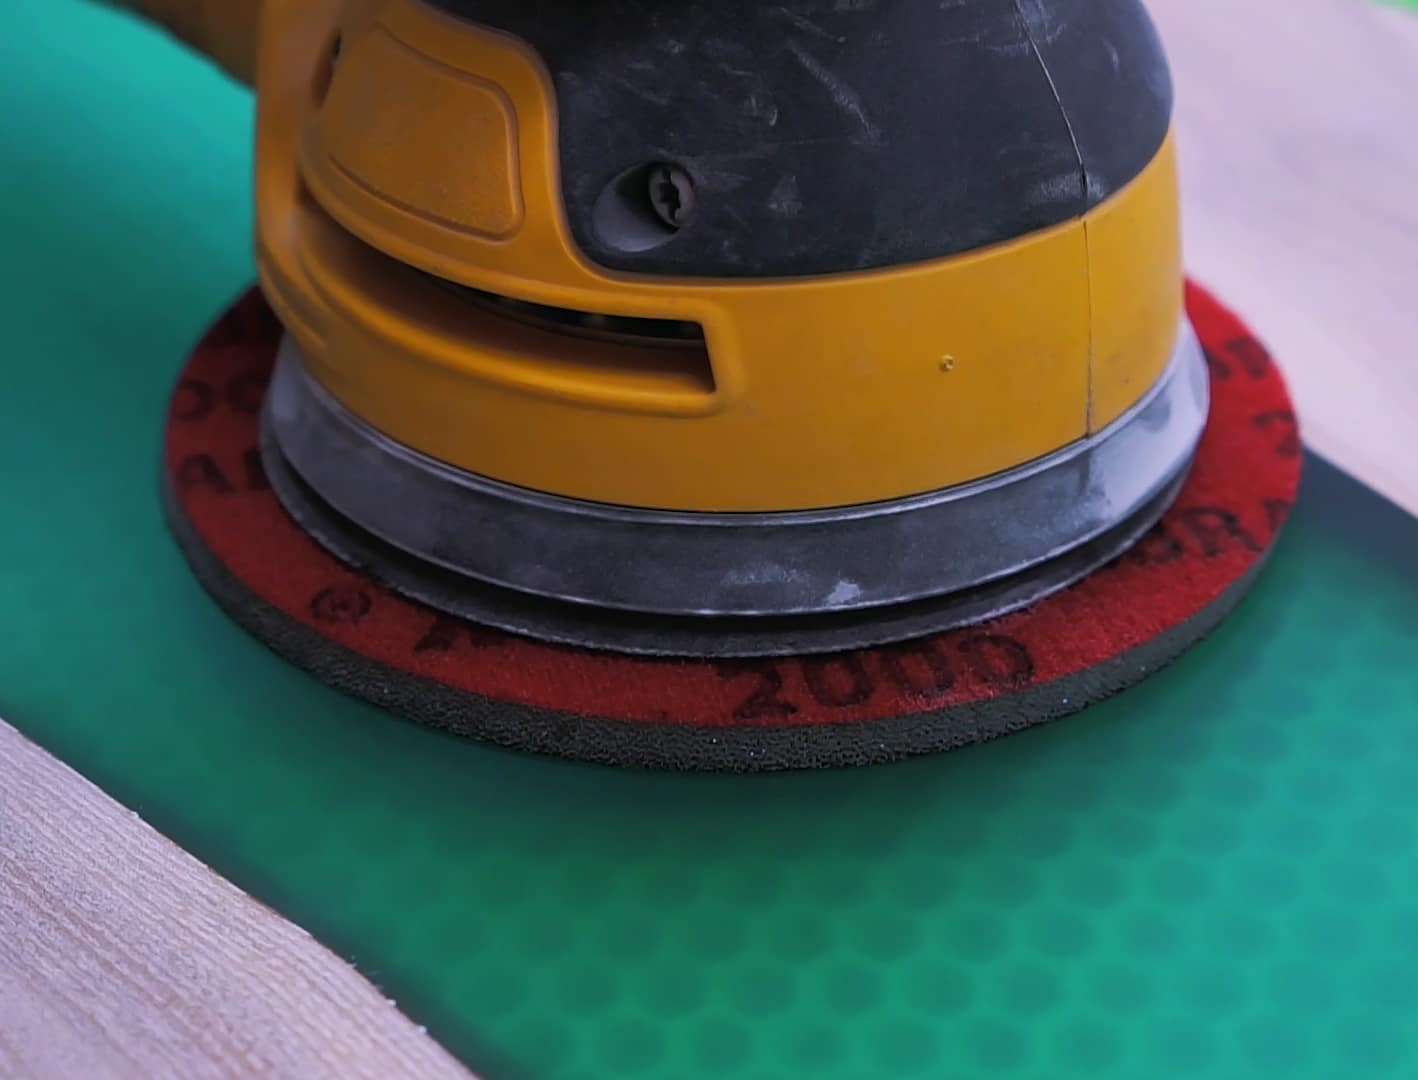
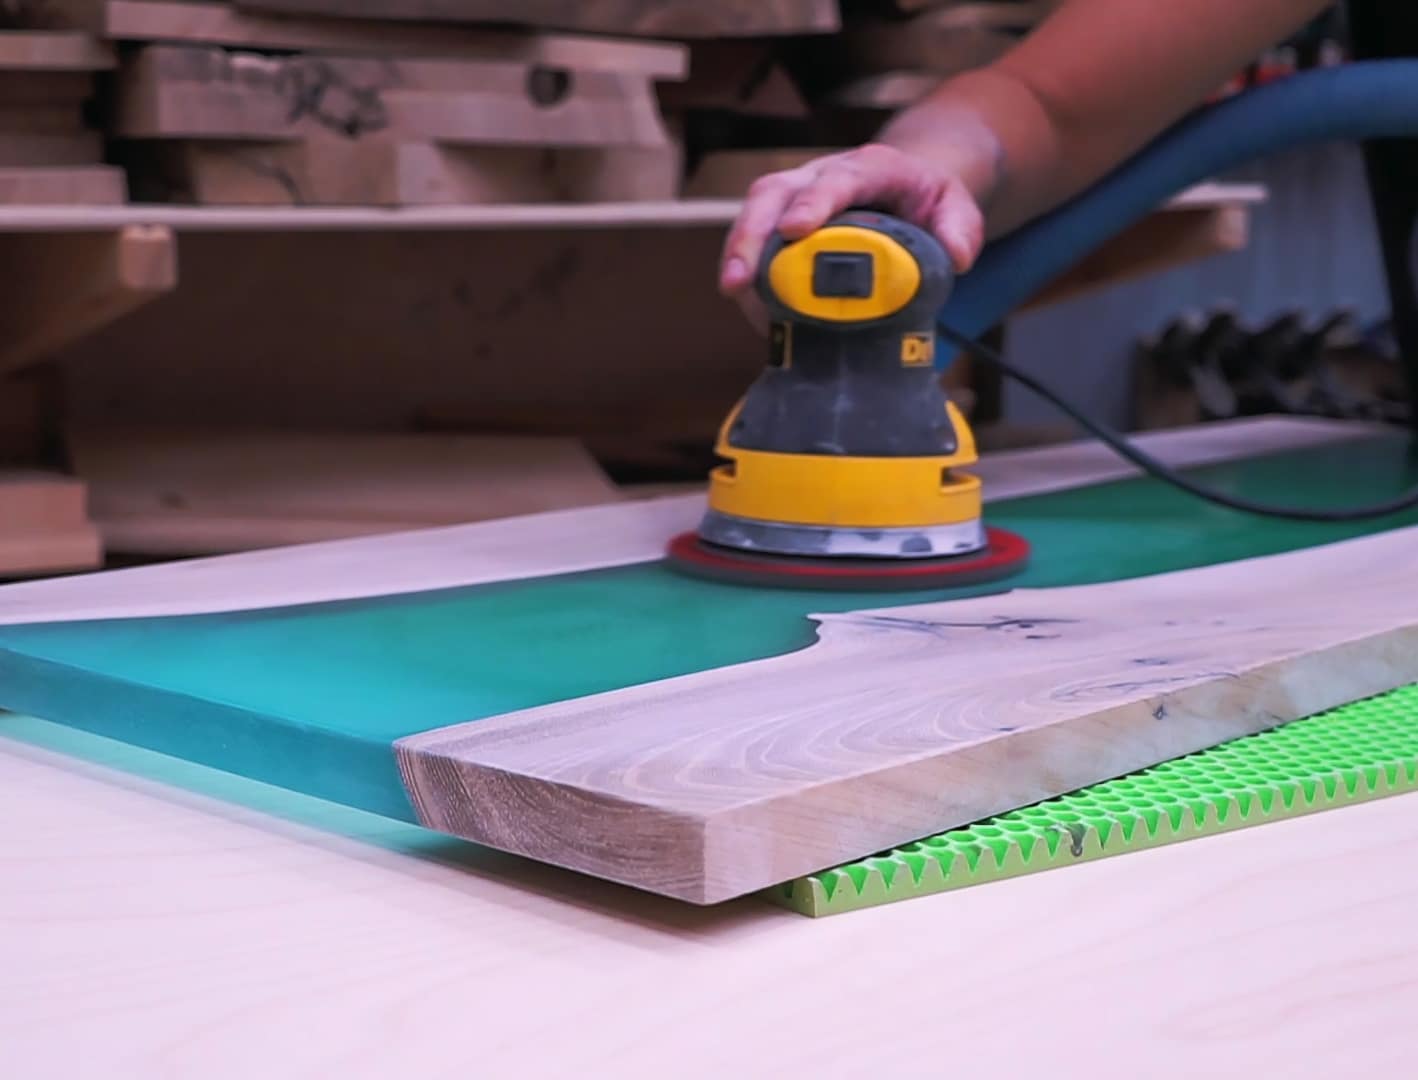
Step 1: Sand the Surface Smooth
The first stage in smoothing an epoxy resin table is sanding. Start with a coarse grit (such as 360) if the surface is uneven or has any visible imperfections. Make sure the table is fully cured and free of dust. Sand in even, overlapping strokes, checking regularly to ensure you are removing blemishes evenly across the surface. Always sand with gentle, uniform pressure to avoid creating dips or waves in the resin.
Progress through higher grits methodically—for example, moving from 360 to 600, then up to 1000, 2000, and finally 4000 for a satin-smooth result. Wet sanding, where you lightly mist the surface with water, can help reduce dust and improve the final finish. Between each grit, thoroughly wipe away residue to prevent contamination. Ebonite Abralon Sanding Pads are well-suited for both wet and dry use and ensure even pressure with their foam backing.
If you are using a machine sander, the Mirka Sanding Interface Pad can make the process gentler and more effective by helping the sanding pads conform to any subtle curves or inconsistencies, reducing the risk of gouges.


Step 2: Buff and Polish to a Glossy Finish
Once the surface feels perfectly smooth to the touch and appears uniformly dull (without glossy or shiny spots), it is time to polish. Apply a small amount of quality resin polishing compound to a clean pad or polishing sponge. Work the polish into the surface in circular movements using even pressure. Manual polishing is possible, but for best, mirror-like results, use a rotary polisher at a low to medium speed.
The Epoxy Polish – Epoxy Resin Polishing System is designed for this final step, removing fine scratches and enhancing the natural brilliance of your table. Buff until you see the shine develop, and continue working until swirl marks disappear. If residue clouds the finish, continue buffing or use a microfibre cloth to remove excess product and reveal the gloss below.
Step 3: Inspect, Clean, and Finish
Wipe the table thoroughly with a clean, dry microfibre cloth to remove any remaining polish. Inspect under good lighting for any imperfections—if you notice dull patches or micro-scratches, repeat gentle sanding with a high grit (e.g., 4000), then reapply the polish as needed. Clean-up is vital to avoid dust or residue marring your work, especially before your table’s first use.
If you are preparing multiple tables or want to minimise future sanding and polishing, consider lining your mould or frame with a specialist glossy release film during casting. This can help create a much smoother, ready-to-polish surface from the beginning, significantly reducing the total work required.
Tips, Common Mistakes, and Troubleshooting
- Achieve smoothness with patience, never rush sanding between grits.
- Always keep the surface clean between steps to avoid scratches.
- For deep scratches, start with lower grit and progress methodically.
- Sanding should always end with a fine grit for best polishing results.
- Check progress frequently, adjusting your sanding method if swirls or unevenness persist.
- Use protective equipment (mask, gloves) to avoid inhaling dust or skin irritation.
Pro Tip: Minimising Polishing Effort
Try a glossy release film during casting to produce a naturally smooth epoxy finish. This reduces the need for intensive sanding and polishing after demoulding.

- "Epoxy Polish" – Epoxy Resin Polishing SystemPrice range: £18.95 through £47.45"Epoxy Polish" is an epoxy resin polishing system designed to restore a mirror-like shine with ease, suitable for professionals and DIY users.
- "Ebonite Abralon" – Sanding Pads 360-4000 Grit for Resin and Wood£4.15Ebonite Abralon Sanding Pads offer versatile sanding for epoxy resin and wood surfaces, suitable for detailed finishing work.
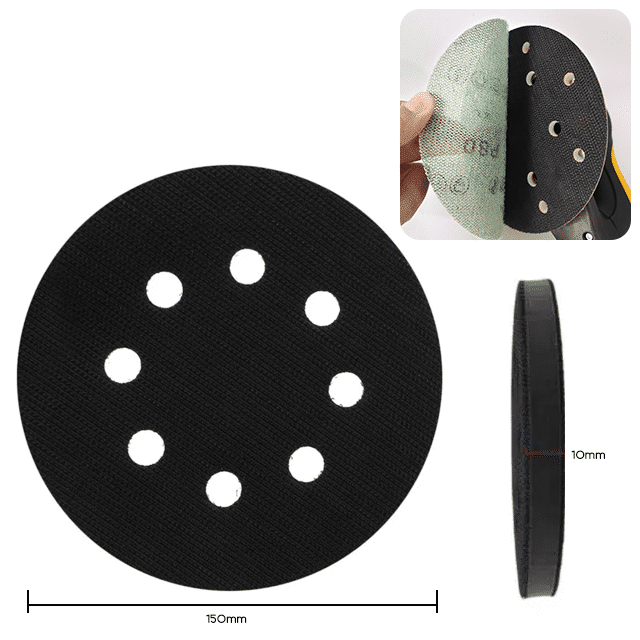 Mirka Sanding Interface Pad 150mm x 10mm – For NET Sanding Discs£6.45Mirka Sanding Interface Pad 150mm x 10mm is designed for smoothing surfaces including epoxy resin, suitable for polishing and sanding projects.
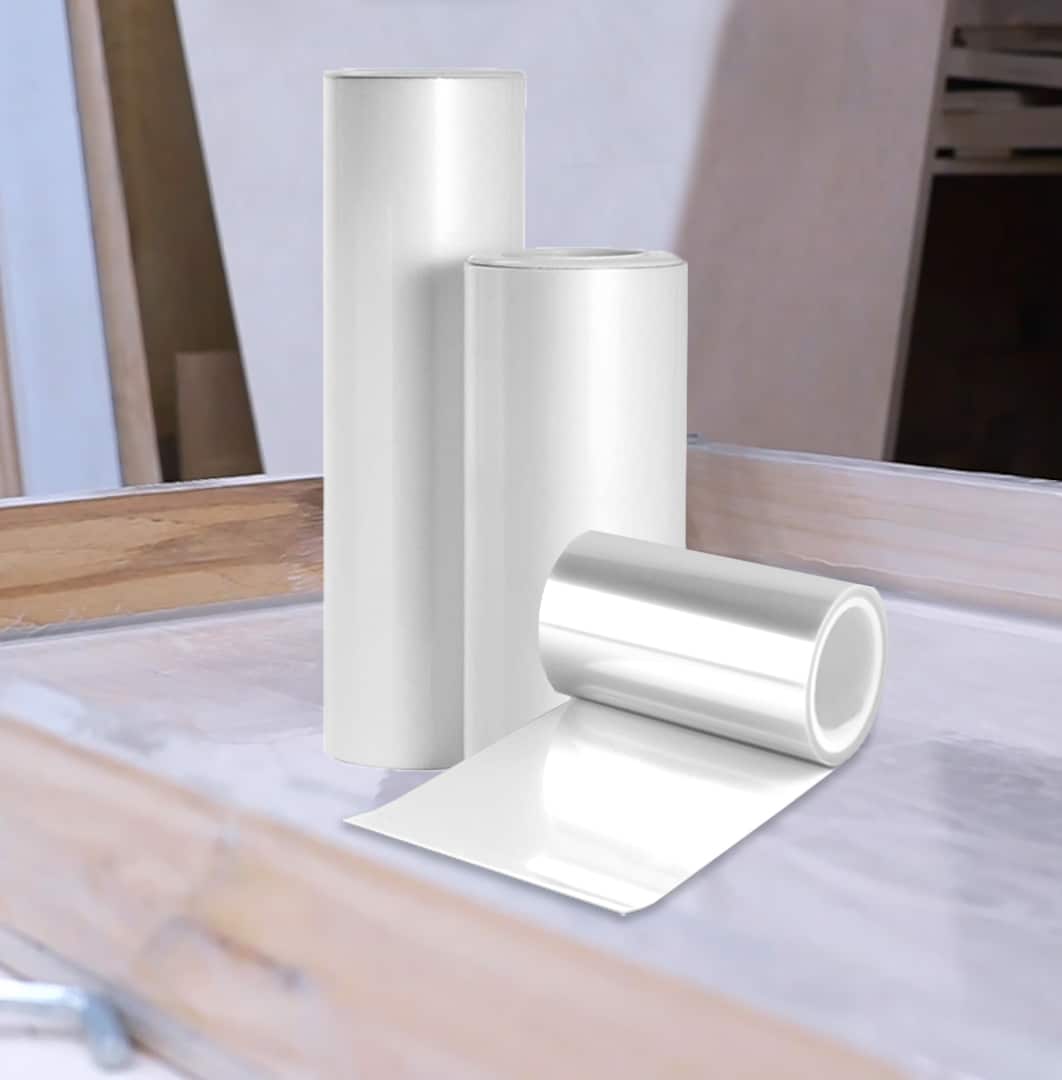 "Shiny Shield" – Glossy Release Film for Resin ProjectsPrice range: £3.45 through £12.95Shiny Shield is a self-adhesive glossy film designed for epoxy resin moulds, providing a flat, high-gloss finish suitable for smoothing resin tables.
Frequently Asked Questions
Do you need to sand an epoxy resin table?
Sanding is recommended to smooth imperfections and prepare the surface for polishing, ensuring a truly glossy and even finish.
How do I polish an epoxy resin table to a high gloss?
Buff the sanded surface with a resin-specific polish and a suitable pad. Continue polishing until the desired shine is achieved.
How do I remove scratches from an epoxy table?
Use progressively finer sanding pads, starting with the lowest grit that will remove the scratch, then finish with polishing compound.
Why does my epoxy table look cloudy after polishing?
A cloudy finish often results from incomplete polishing or residue. Keep buffing and ensure all excess polish is removed for clarity.
Can I use release film for a smoother epoxy table surface?
Yes, using a glossy release film during casting creates a more even surface, reducing sanding and polishing needed after curing.
What grit sandpaper is best for smoothing epoxy resin?
Work from coarse to fine, typically ending with 2000–4000 grit for a satin finish before polishing for gloss.