 Free shipping on orders over £29,85

How to attach a resin figurine?
Step-by-step guide to strong, invisible resin figurine joins

Attaching a resin figurine properly ensures a lasting, sturdy bond that preserves both the appearance and structural integrity of your creation. Whether repairing a broken figure or assembling resin parts for crafting, the right method prevents visible joins and helps avoid damage. This guide covers careful surface preparation, best practices for adhesives, and finishing touches for a seamless result.
What You’ll Need
- “ICreation” – Fast Epoxy Resin, 6h Demoulding, Transparent Gloss Finish – A fast-curing, crystal-clear epoxy ideal for invisible bonds.
- “One-2-One” – Epoxy Resin for Handcraft, 1:1 Mixing Ratio – User-friendly, non-toxic resin for precise attachment.
- “Mixer Nozzle” – For Mixing Epoxy Glue, 50ml, Araldite 2000 Series Compatible – For controlled blending of epoxy adhesives in cartridge form.
- Multifunction Rotary Tool with 43-Piece Accessory Kit for Crafting and DIY – For cleaning and roughening surfaces before bonding.
- Lint-free cloths, isopropyl alcohol, gloves, masking tape, and clamps or elastic bands.

Choosing Tools for Strong Figurine Bonds
Selecting the right adhesive and preparation tools is essential for durable, invisible joins on resin figurines. Epoxy resins with a transparent finish work well for clear bonds, while a rotary tool ensures precise surface prep for superior adhesion. Use purpose-designed mixing nozzles to avoid bubbles and streamline cartridge application.
Step 1: Prepare the Surfaces for Bonding
Before applying any adhesive, it’s crucial to ensure all surfaces to be joined are spotless, dry, and slightly roughened for maximum grip. Start by removing dust, grease, or old adhesive residues with a lint-free cloth and isopropyl alcohol. Allow everything to dry completely. For the best adhesion, gently roughen each bonding area using fine sandpaper or a rotary tool like the Multifunction Rotary Tool with 43-Piece Accessory Kit for Crafting and DIY, especially for glossy or very smooth resin pieces. Wipe away any sanding debris thoroughly.
Step 2: Ensure Precise Alignment and Safety
Wear gloves and protective eyewear to avoid contact with adhesives or resin dust. Fit and dry-fit the pieces first to check for correct alignment—misalignment is difficult to correct once the adhesive sets. Secure areas near the joint with masking tape if needed, to prevent excess glue fouling visible surfaces. Prepare all tools and set up your workspace in a well-ventilated area to ensure safe and accurate work.
Step 3: Mix and Apply the Adhesive Correctly
Mix your chosen adhesive thoroughly, adhering precisely to the recommended mixing ratio. For epoxy resins such as ICreation – Fast Epoxy Resin or One-2-One – Epoxy Resin for Handcraft, measure out the correct amounts and blend until a uniform mixture is achieved. If using a 50ml epoxy cartridge, fit a Mixer Nozzle – For Mixing Epoxy Glue, 50ml, Araldite 2000 Series Compatible to ensure even, bubble-free application. Apply only a thin, even layer of resin or glue to one surface; too much can lead to overflow and unsightly joins.
Step 4: Join the Pieces and Cure
Hold or clamp the parts together exactly as intended until the adhesive sets. Do not disturb or reposition during curing as any movement may weaken the bond or create a visible seam. Refer to the working and cure times for your chosen resin—fast epoxy resins such as ICreation allow for demoulding in as little as six hours, while others may need longer to reach full strength. Remove any tape once the adhesive has set but before it achieves full hardness, to avoid pulling or damaging the edges. Allow the joint to cure fully before handling the figurine.

Finishing Touches and Clean-up
After curing, inspect the join for any excess residue or surface blemishes. Fine sandpaper or your rotary tool can be used to gently smooth and blend the edges. Use a soft, clean cloth to buff the area for a crisp finish. If needed, touch up the joint with a minimal amount of resin or paint for truly invisible repairs. Store unused resin safely and clean all tools promptly as per product guidelines.
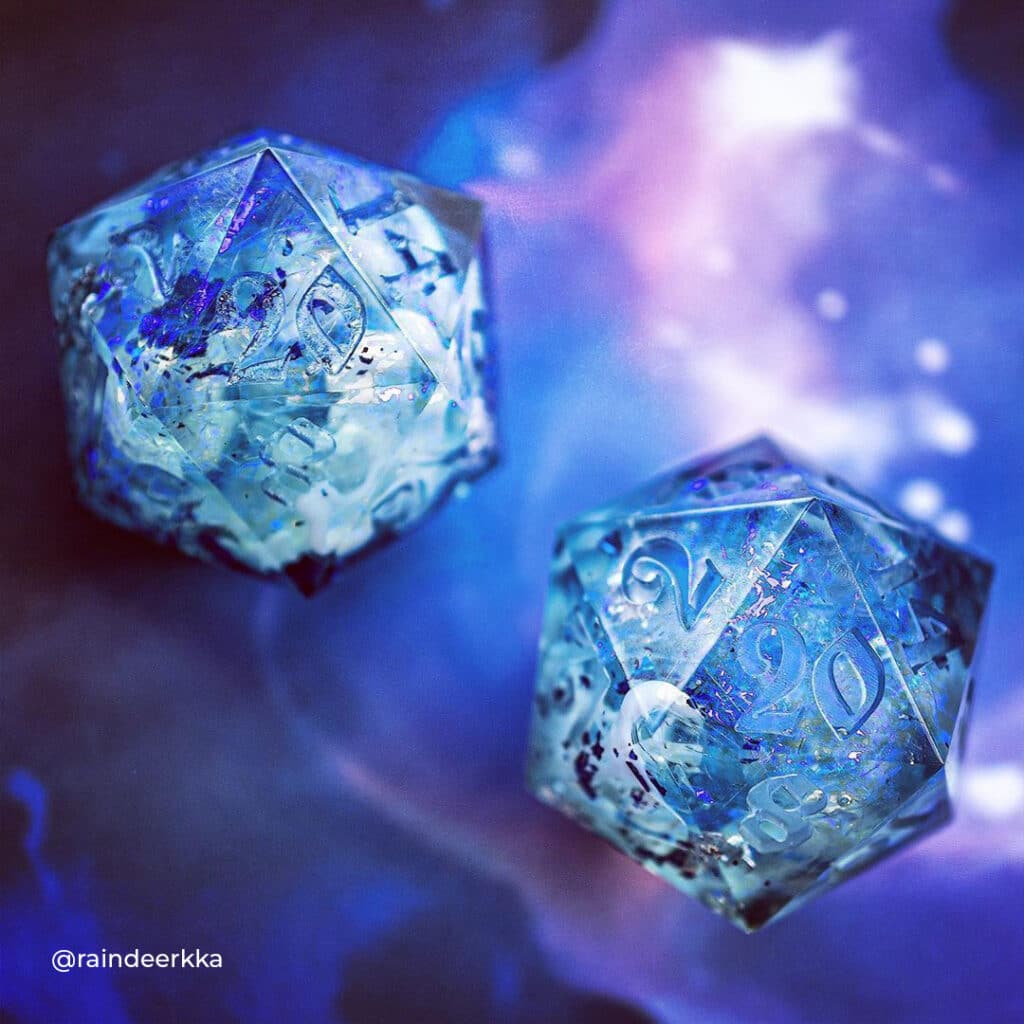
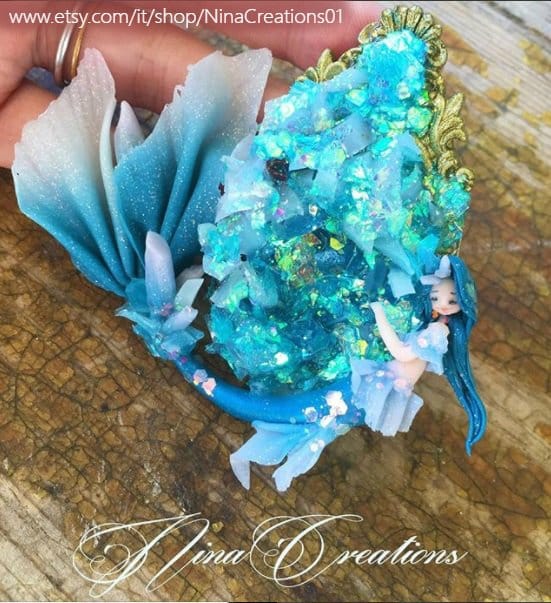
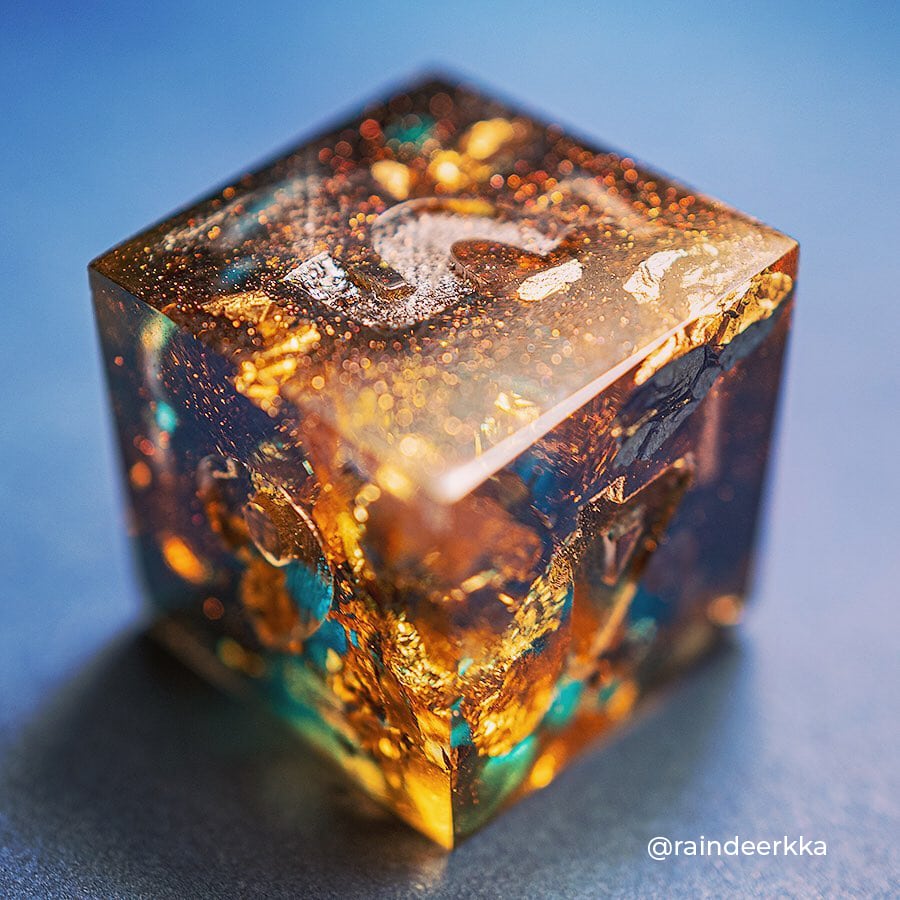
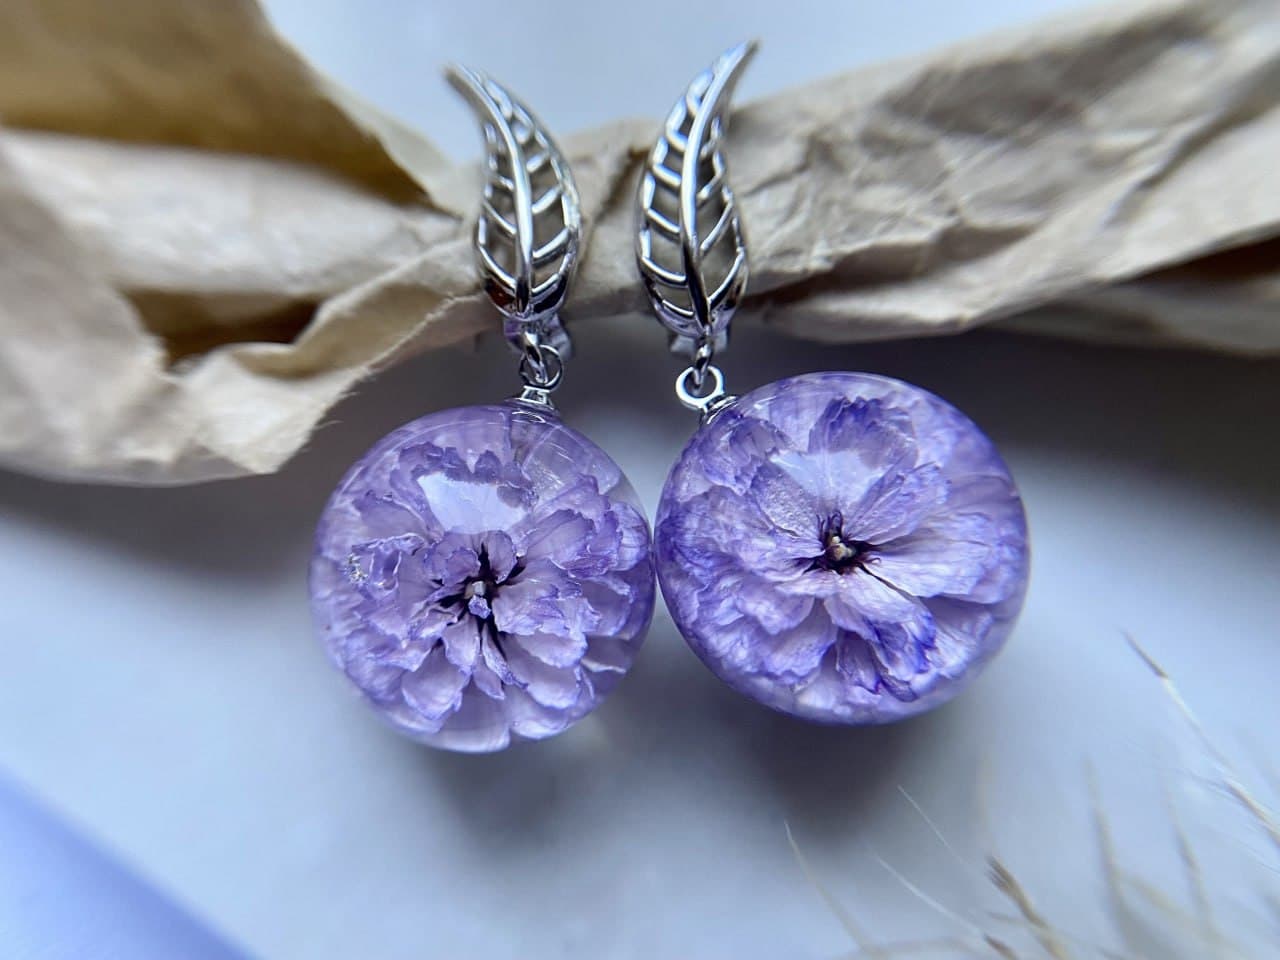
Visual Guide to Attaching Resin Figurines
See examples of resin figurines joined with high-quality adhesives, highlighting clean, seamless connections and tips for accurate surface finishing. Notice how correct mixing and clamping techniques produce an almost invisible repair while maintaining structure and detail.
Tips, Common Mistakes, and Troubleshooting
Work patiently—rushing the process can lead to misaligned joins or sticky residue. Always use the recommended mixing ratios for your chosen adhesive. Avoid using too much resin as overflow can be tough to remove. For the neatest finish, clamp discreetly and remove excess glue immediately with a cloth. If the joint is weak, repeat the preparation and bonding process for a stronger hold. For best results, match your resin type and method to the specific requirements of your figurine’s material and size.
- "ICreation" – Fast Epoxy Resin, 6h Demoulding, Transparent Gloss FinishPrice range: £19.40 through £52.85"ICreation" fast epoxy resin offers a transparent, glossy finish with quick curing, suitable for jewellery and decorative crafts.
- "One-2-One" – Epoxy Resin for Handcraft, 1:1 Mixing RatioPrice range: £14.85 through £56.85"One-2-One" epoxy resin is suitable for beginners and experienced crafters seeking a clear, medium viscosity resin for decorative projects.
 "Mixer Nozzle" – For Mixing Epoxy Glue, 50ml, Araldite 2000 Series Compatible£1.45This epoxy mixer nozzle is designed for Araldite 2000 series 50ml cartridges to support mixing epoxy glue.
 Multifunction Rotary Tool with 43-Piece Accessory Kit for Crafting and DIY£34.15The Multifunction Rotary Tool is designed for creative and DIY projects, offering versatile applications with a 43-piece accessory kit.
Frequently Asked Questions
What is the best adhesive for attaching a resin figurine?
Clear epoxy resins provide a strong, durable, and virtually invisible bond, especially between resin parts.
How can I align resin figurine parts precisely?
Dry-fit the parts and use masking tape or gentle clamps to hold them steady before final fixing.
How long does resin adhesive take to cure?
Fast-setting epoxies can set in 6–12 hours, but always check the specific product instructions for full strength.
How do I remove excess epoxy from figurine joins?
Wipe away spills immediately with a clean cloth, or gently sand cured excess with fine sandpaper.
Why did my resin figurine bond fail?
Surface contamination, poor mixing, or misalignment can cause weak bonds. Repeat surface prep and adhesive application.
What is the best way to finish a resin figurine join?
Once cured, sand the join lightly and, if needed, touch up with paint or a minimal layer of resin for a flawless look.