 Free shipping on orders over £29,85

← Back to How to create resin crystal?
Avoiding bubbles is essential for achieving a glass-like clarity in resin crystal projects. While some air pockets are common, careful preparation and technique can greatly reduce them, helping your creations shine.
Tips for Minimising Bubbles During Mixing
The way you mix your resin and hardener directly affects the quantity of trapped air. Always stir slowly and consistently, using a gentle folding motion rather than vigorous mixing. This not only helps blend the components but also prevents excess air from being introduced. For best results, use a mixing stick and avoid lifting it in and out of the mixture repeatedly.
Pouring and Setting for Clarity
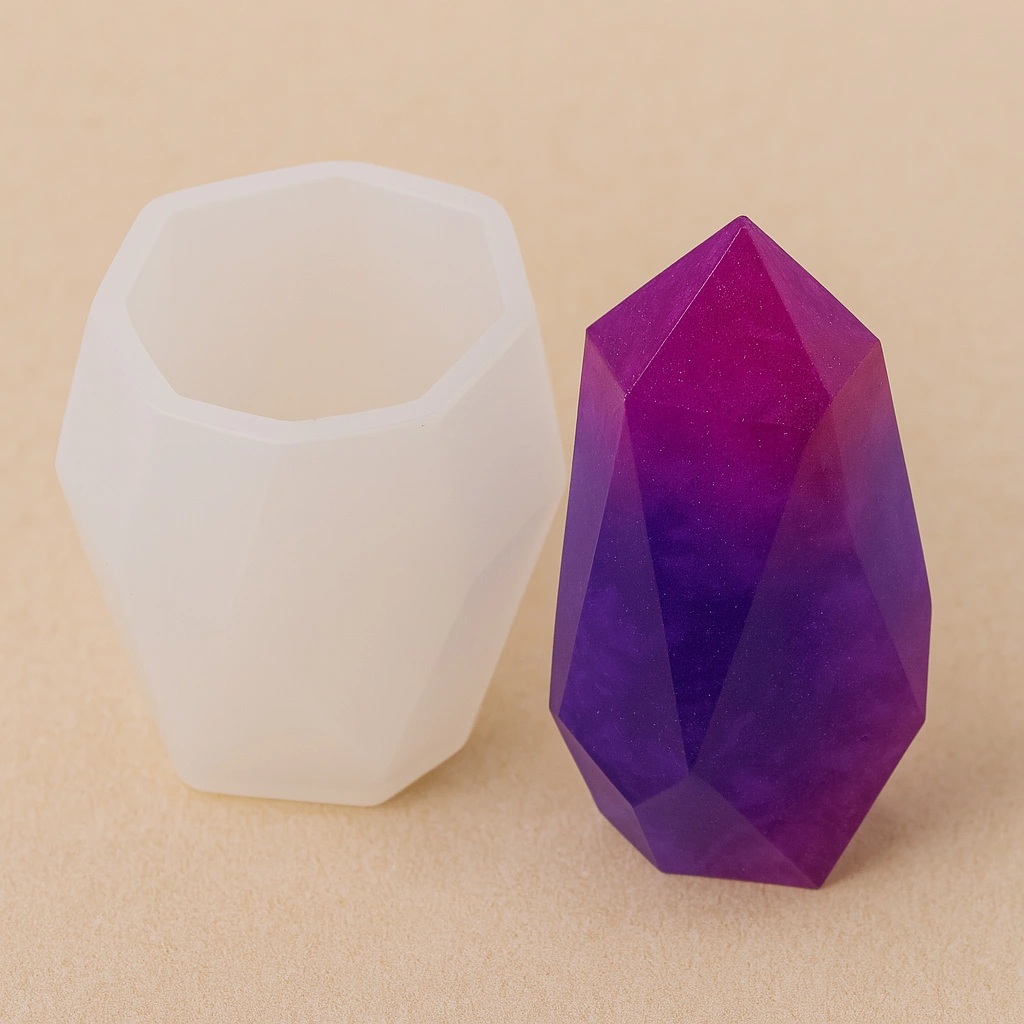
Once your resin is fully blended, pour it gently into your chosen mould—such as the “Large Crystal” – Silicone Mould. Aim for a slow, steady stream, pouring close to the mould to avoid splashing. After filling, tap or lightly flex the mould to help release trapped bubbles and level the mixture. Cover the mould with a dust cover as it cures to prevent airborne particles, which can attract additional bubbles or imperfections.
Choosing the Right Products
Using a mould made from high-quality silicone, like the “Diamond” – Crystal Shaped Silicone Mould 5×3.5cm, helps with easy bubble release and clean demoulding. Opt for a resin formulated for clarity, such as “Icrystal” – Clear Epoxy Resin, which is designed for bubble-free, transparent finishes when poured appropriately.
When Bubble Prevention Matters Most
Bubble control is particularly important for projects where crystal clarity or precision is the focus—such as jewellery, decorative gems, or casting items in clear resin. For such pieces, extra care in mixing, pouring, and mould choice makes a significant difference to the final result.
Related products
Related guides
With these practical steps, you’ll achieve beautifully clear resin crystals every time. Ready for more tips? Discover the full process for stunning resin crystal creations in our resin crystal guide.