 Free shipping on orders over £29,85


How to colour resin objects?
Step-by-step guide to colourful resin creations and art


Adding colour to resin objects opens a world of creative possibilities, from jewellery and art panels to casting vibrant or translucent pieces. This guide takes you through the essential steps for safely and effectively colouring resin, helping you achieve professional-quality results every time—whether you’re after glass-like transparency or bold, solid hues.
What You’ll Need
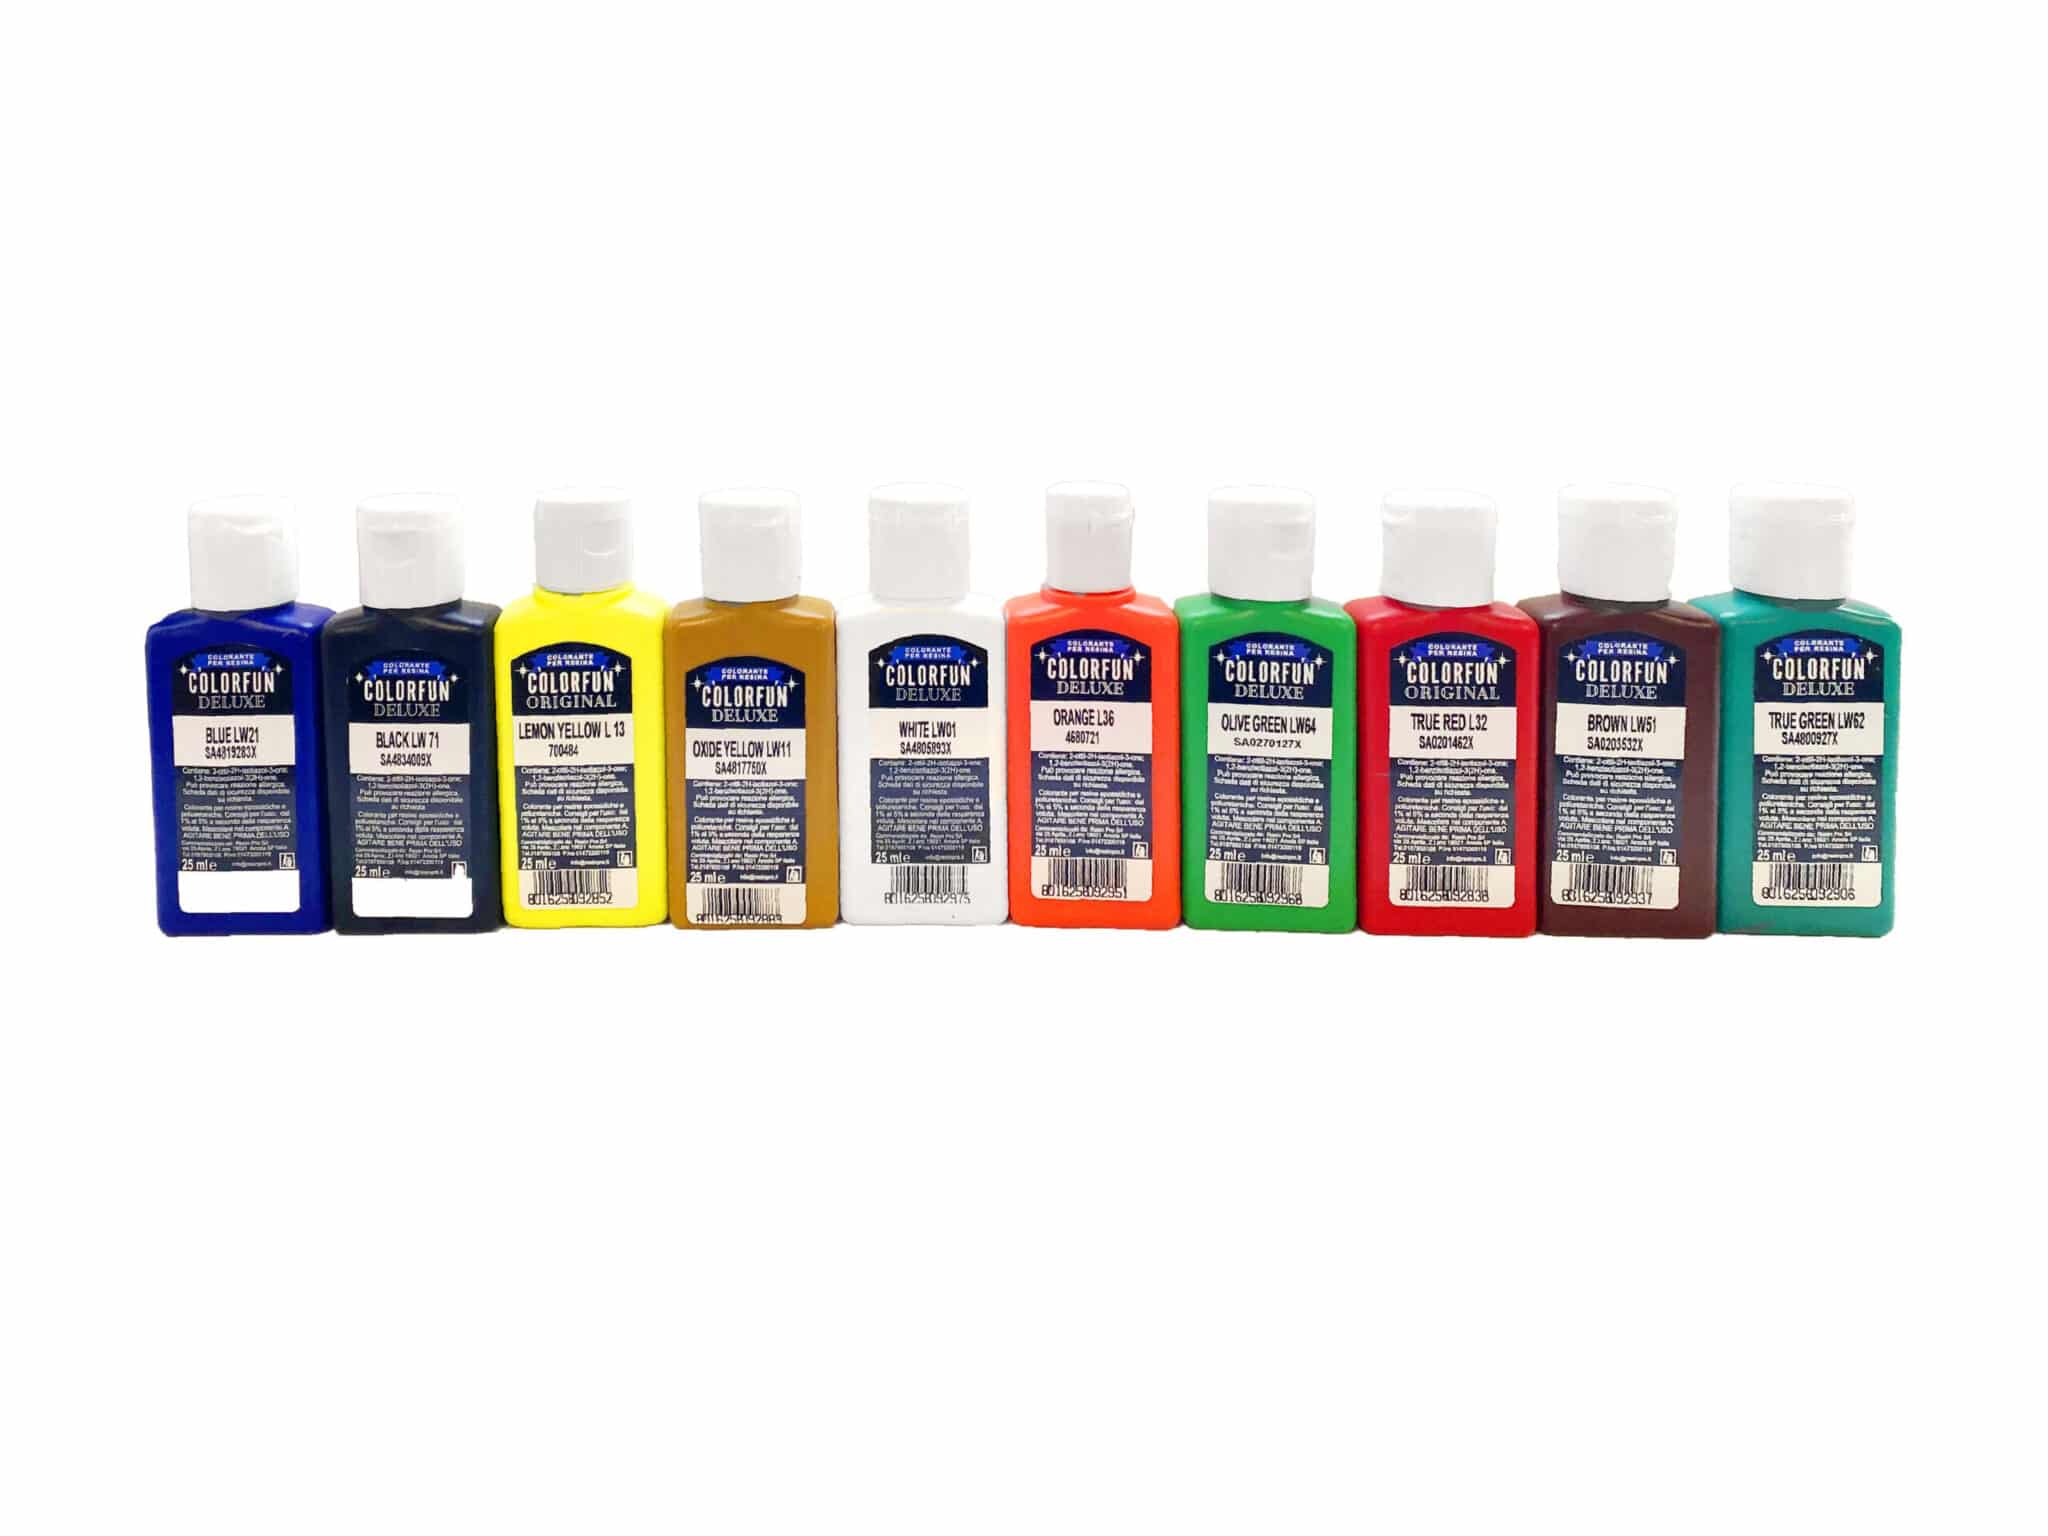
- “Colourfun Set” – Liquid Epoxy Resin Colourant Set for Solid Colour Effects – for achieving bright, vibrant or opaque resin finishes
- “Magic Crystal” – Transparent Resin Colour 45ml – ideal for jewel-like, glassy effects or crystal projects
- “Colourfun” – Liquid Epoxy Resin Colourant 25-100ml – High coverage – offering easy blending for saturated or stained-glass shades
- “Magic Crystal” – Set of 5 Transparent Colourants, 5 x 45ml – perfect for combining custom transparent hues
- Epoxy or UV resin (compatible with your chosen colourants)
- Mixing sticks or spatulas
- Disposable cups for blending
- Protective gloves and work surface covering
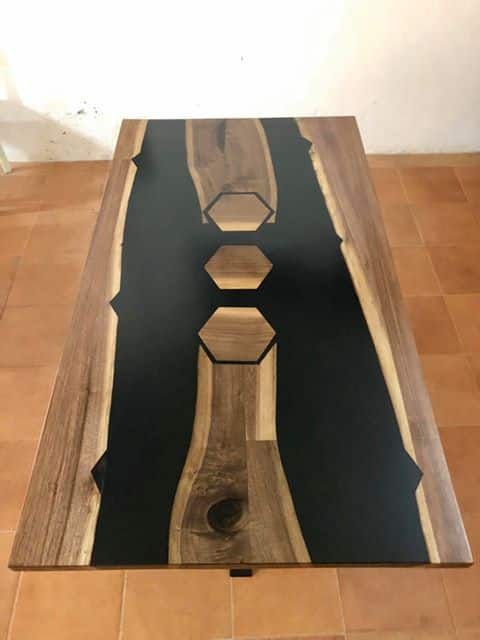
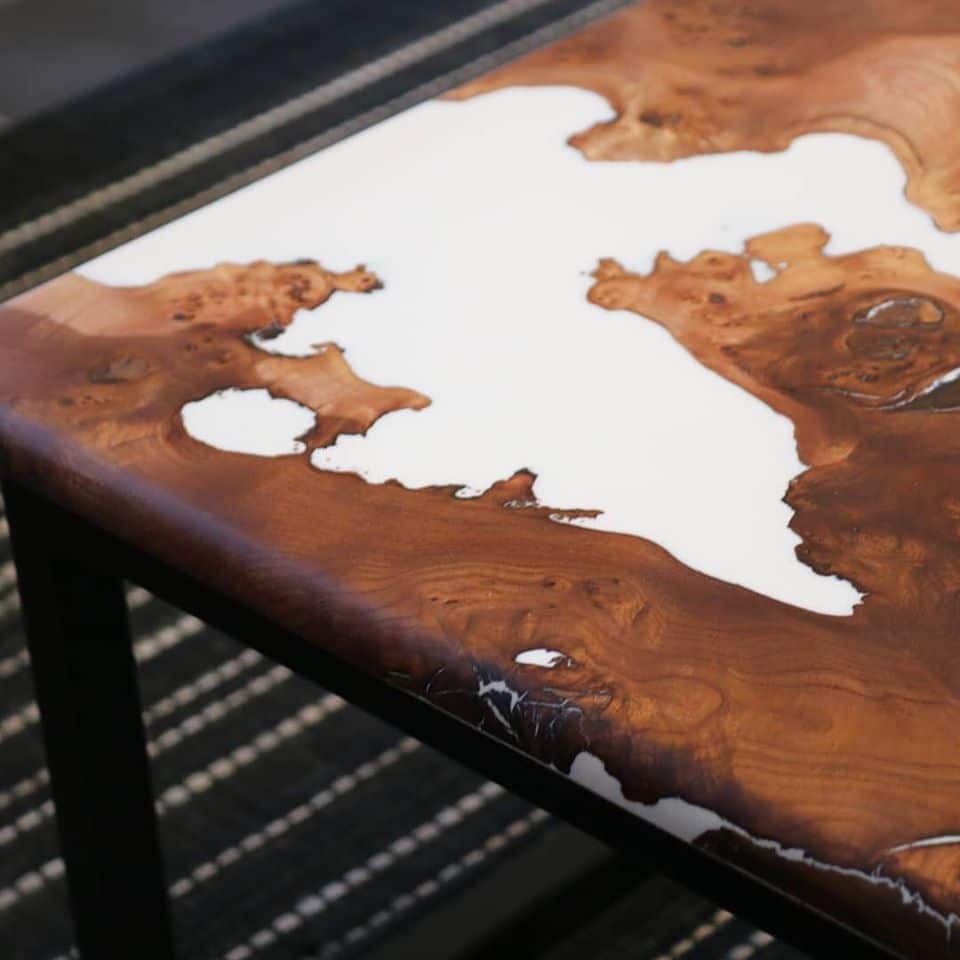
Resin Colourant Effects in Action
Observe how subtle drops of pigment can achieve everything from shimmering translucent tones to bold, opaque finishes in resin art and cast objects. Experimenting with blend ratios and pigment types enables limitless creativity for both beginners and professionals.
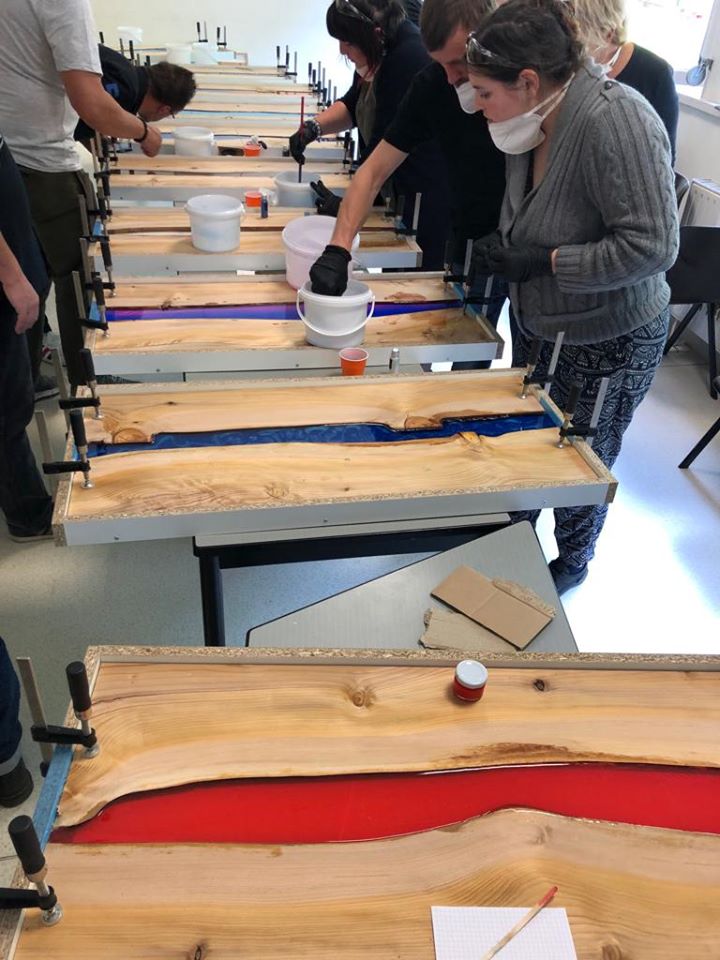
Step 1: Prepare Your Workspace and Safety Gear
Before you begin, set up a clean, dust-free workspace free from direct sunlight. Resin and pigment can stain surfaces and skin, so Wear gloves and work in a ventilated area. Protect your table or worktop with plastic or disposable sheeting, and gather all the materials you’ll need within easy reach. This not only supports safety but also ensures your colouring process stays controlled and efficient from start to finish.
Step 2: Mix Your Resin Components
Measure the resin and hardener according to your product’s instructions, mixing them thoroughly in a disposable cup. Accurate ratios are crucial—incorrect proportions can cause curing issues or affect the way the colour disperses. Continue stirring until the blend is homogenous, being careful not to introduce excessive air bubbles, which might cloud transparent effects. Allow a minute for most surface bubbles to rise before proceeding.
Step 3: Add Your Chosen Colourant
Pick the colourant type based on your project’s effect. Less is more—start with a drop or a small amount, blending it thoroughly before adding more. For vibrant or opaque results, you might choose the “Colourfun Set” – Liquid Epoxy Resin Colourant Set for Solid Colour Effects. For crystal-clear looks or subtle tints, use “Magic Crystal” – Transparent Resin Colour 45ml or the “Magic Crystal” – Set of 5 Transparent Colourants, 5 x 45ml for more complex hues.
When blending, Mix thoroughly but gently to prevent streaks or unmixed pigment, ensuring an even tone throughout the resin. Never exceed manufacturer colourant limits; over-pigmenting can inhibit resin curing or cause cloudiness, especially with transparent finishes.
Step 4: Test Your Colour and Pour
Before pouring the tinted resin into your final mould or project, Test before your main pour by sampling a small amount on a disposable surface. This mini-pour lets you check both colour intensity and clarity after the resin settles. Adjust if needed, keeping in mind the final cast may appear deeper in colour than your test sample, especially for thicker objects.
Once you’re satisfied, pour the coloured resin slowly into your mould, avoiding splashes or drips. Watch for air bubbles, especially if you’ve created a highly transparent piece—these can be removed with a gentle burst from a heat gun or torch, taking care not to burn the resin.

Step 5: Curing, Demoulding, and Finishing Touches
Allow the resin object to cure as directed by your resin’s manufacturer, undisturbed and at a stable temperature. Avoid moving the mould until fully set. Once cured, demould your object carefully. Any sharp edges can be sanded and, if needed, finished with a clear coat of resin for extra gloss. Your coloured resin piece is now ready to be displayed, gifted, or used in further creative projects!
Tips and Common Mistakes When Colouring Resin
Avoid over-pigmenting: Excess pigment can cause resin to remain tacky or lose its clarity. For vibrant results, rely on high-quality colourants, not simply adding more.
Test each new combination when experimenting with blended shades. Always use colourants specifically designed for resin—other types can introduce moisture or chemical incompatibilities. Patience with mixing and curing will deliver the best clarity and longevity for your creations.
Creative Resin Colour Inspiration
Layer multiple transparent hues or swirl opaque tints to design unique patterns. Whether you prefer the stained-glass look or dynamic marbled effects, resin colourants put full personalisation at your fingertips.
- "Colourfun Set" – Liquid Epoxy Resin Colourant Set for Solid Colour EffectsPrice range: £13.45 through £48.15The COLOURFUN Set offers intense, translucent colours designed for transparent epoxy resin projects with smooth, even mixing.
- "Magic Crystal" – Transparent Resin Colour 45ml£4.65"Magic Crystal" Transparent Resin Colour is designed for vibrant, clear resin effects suitable for crystal-like creations.
 "Colourfun" – Liquid Epoxy Resin Colourant 25-100ml – High coveragePrice range: £3.65 through £9.85"Colourfun" liquid colourant for resin allows vivid or stained-glass effects and blends easily without changing resin properties.
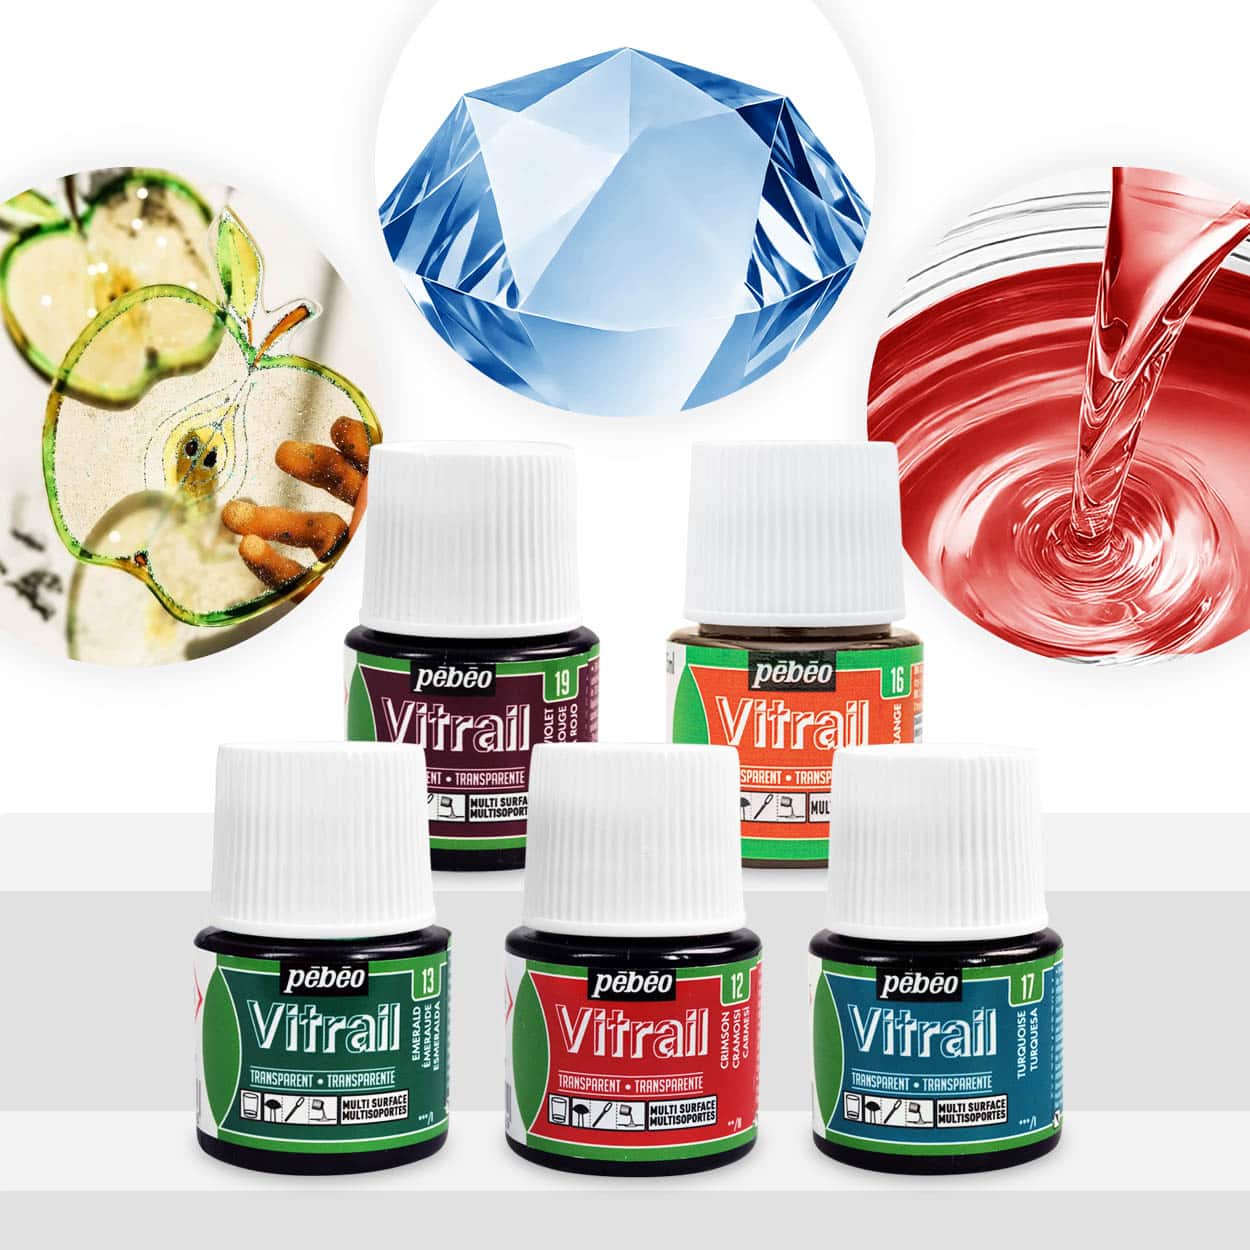 "Magic Crystal" – Set of 5 Transparent Colourants, 5 x 45ml£18.85The "Magic Crystal" set offers five transparent colourants designed for custom resin crystals with clearly visible hues.
Frequently Asked Questions
Which resin colourant is best for a translucent effect?
Transparent pigment dyes, like the Magic Crystal range, are ideal for achieving clear, glass-like resin effects.
Can I mix different resin dyes together?
Yes, you can combine compatible resin dyes to create custom shades. Always test compatibility before a main pour.
How much pigment should I use in resin?
Start with minimal pigment—usually below 5% of the resin's weight. Using too much can affect curing and clarity.
Will colouring resin make it opaque?
It depends on the pigment type and amount. Opaque colourants or high concentrations create solid effects; transparent dyes allow clear results.
Can I use normal paint to colour resin?
Regular paints are not recommended as they can react badly with resin or prevent curing. Use dedicated resin pigments for best results.
Why is my resin colour cloudy?
Cloudiness can result from over-mixing, too much pigment, or using incompatible dyes. Stick to resin-specific pigments and mix gently.