 Free shipping on orders over £29,85

How to colour resin with nail polish?
Colouring resin with nail polish is a creative experiment that gives you a quick, accessible way to produce custom and eye-catching shades in your resin projects. Whether you are looking for special pearlescent swirls, marbled effects, or simply want to recycle a favourite nail varnish, this guide is for hobbyists and crafters interested in alternative and traditional colouring methods. We’ll walk you through the technique, address common challenges, and suggest resin-specific alternatives for the best results.
Step-by-step guide for unique effects and reliable results


What You’ll Need
- Clear or white epoxy resin of your choice
- Nail polish – any colour or special effect topcoat
- Disposable mixing cups and stirrers
- Nitrile gloves and protective covering
- Silicone moulds or casting surface
- Pipette or dropper for accurate dosing
- Paper towels and cleaning alcohol
- Optional: “Colourfun Set” – Liquid Epoxy Resin Colourant Set for Solid Colour Effects for comparison or additional resin-safe colouring
Purpose-made colourants offer longer-lasting, stable results and are far less likely to affect resin curing than nail polish. If colour reliability and ease of mixing are a priority, explore transparent or opaque dyes designed specifically for epoxy resin. For bold, even effects, we recommend considering the Colourfun Set or Magic Crystal colourants as alternatives or complements to nail polish techniques.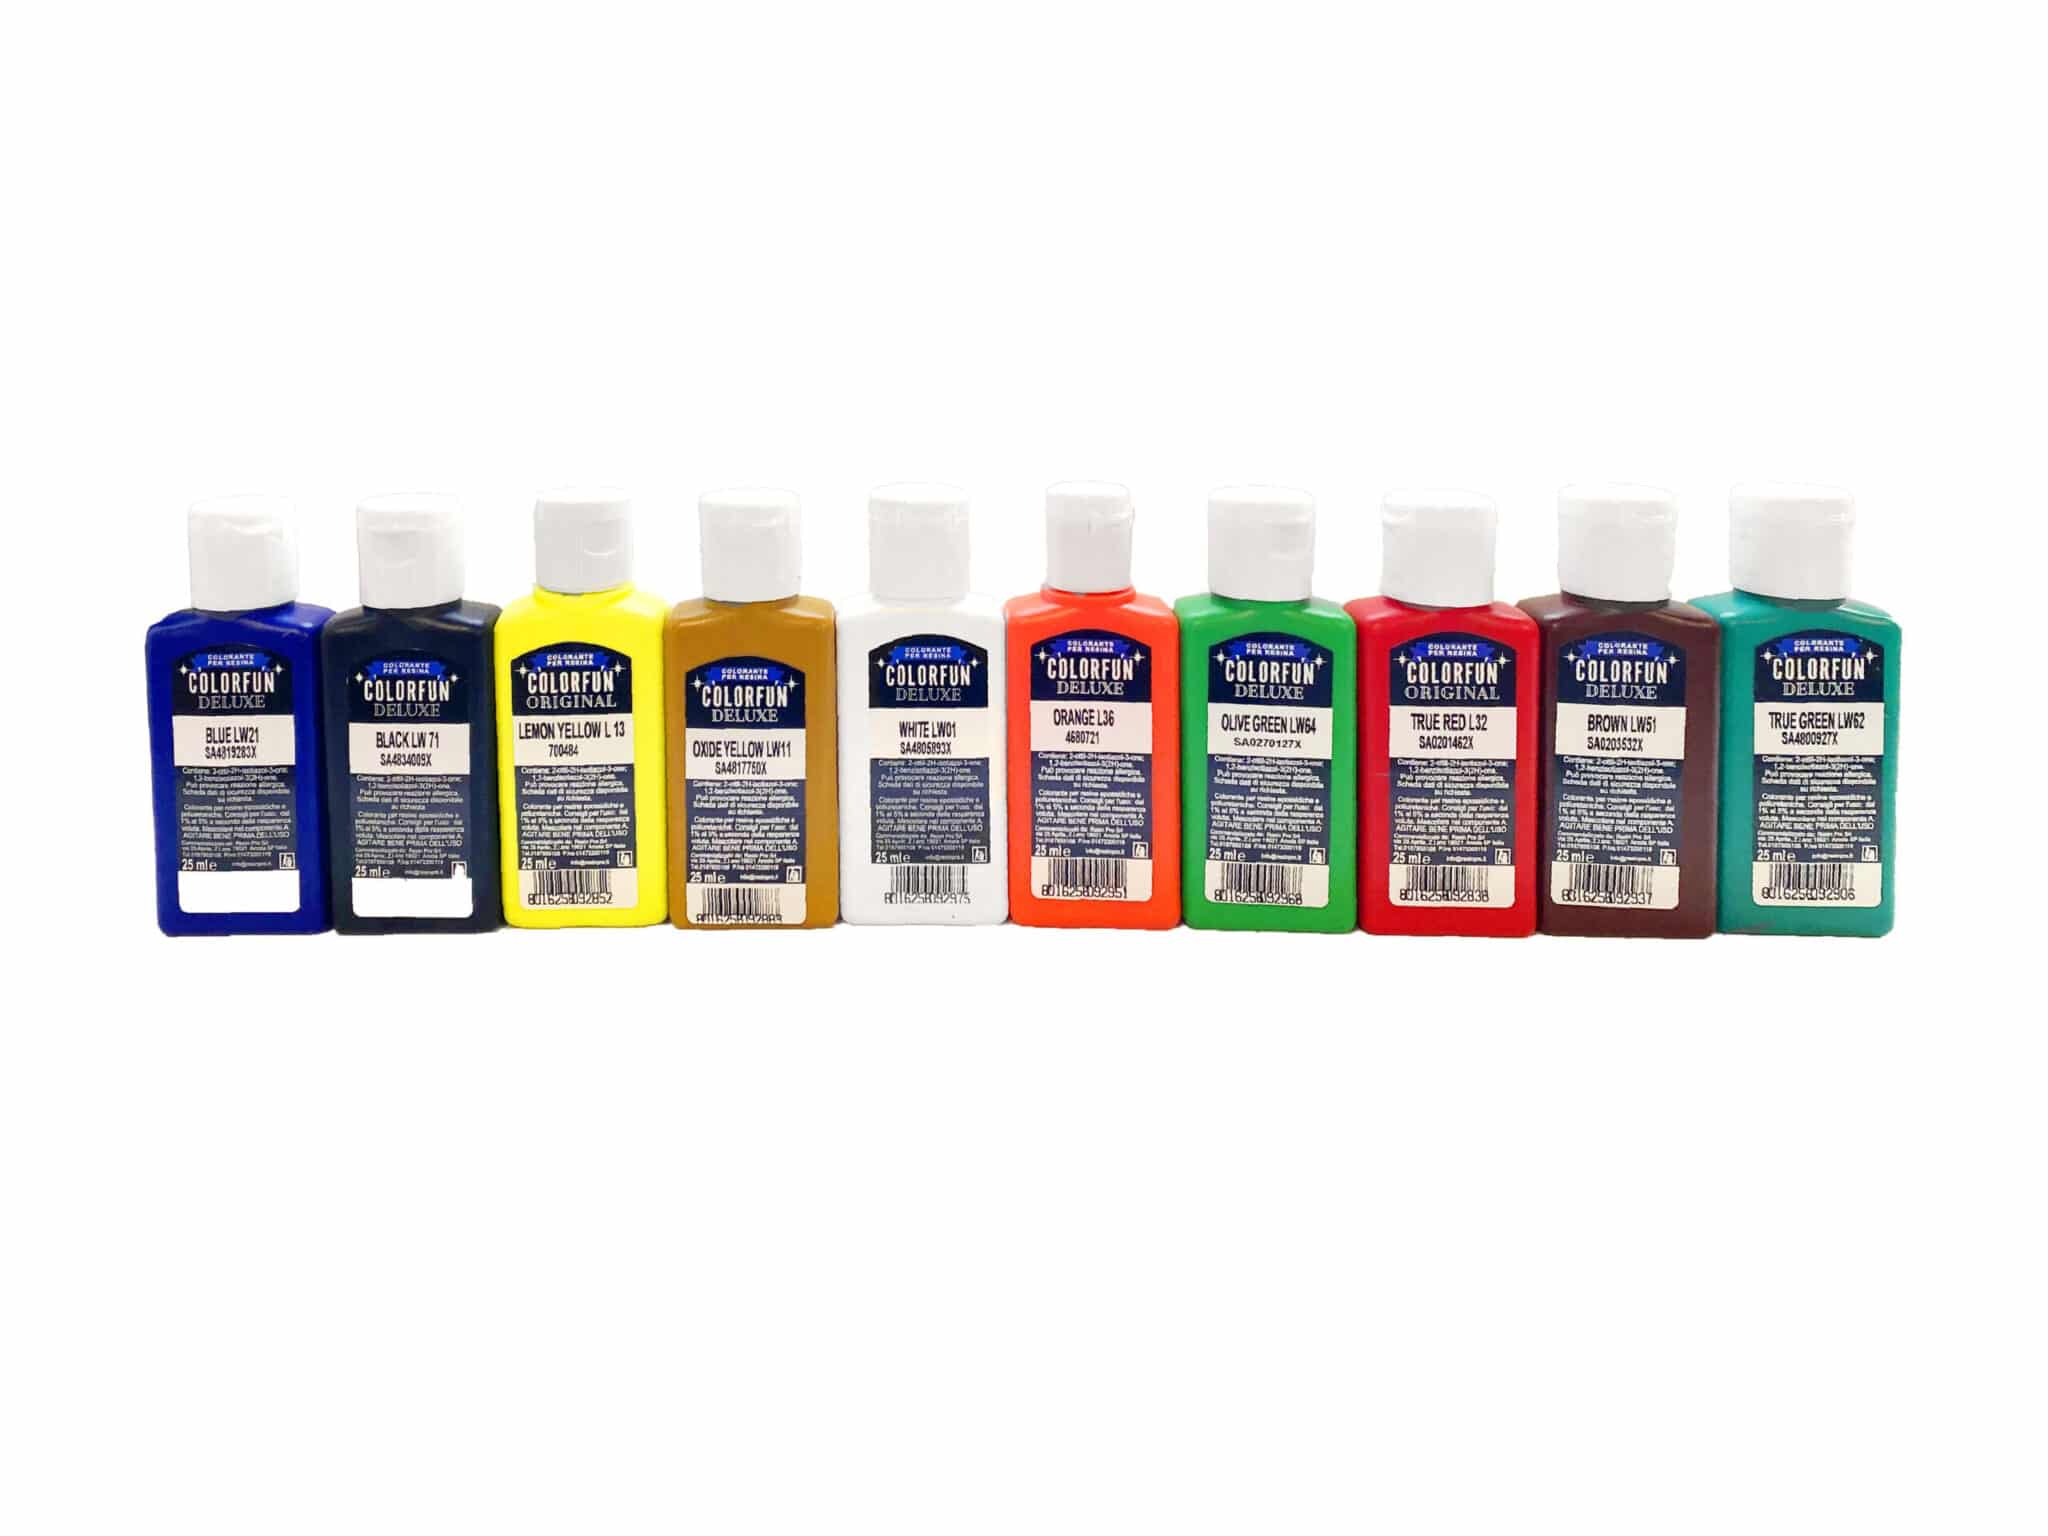
Comparison: Nail Polish vs Resin-Specific Colourants
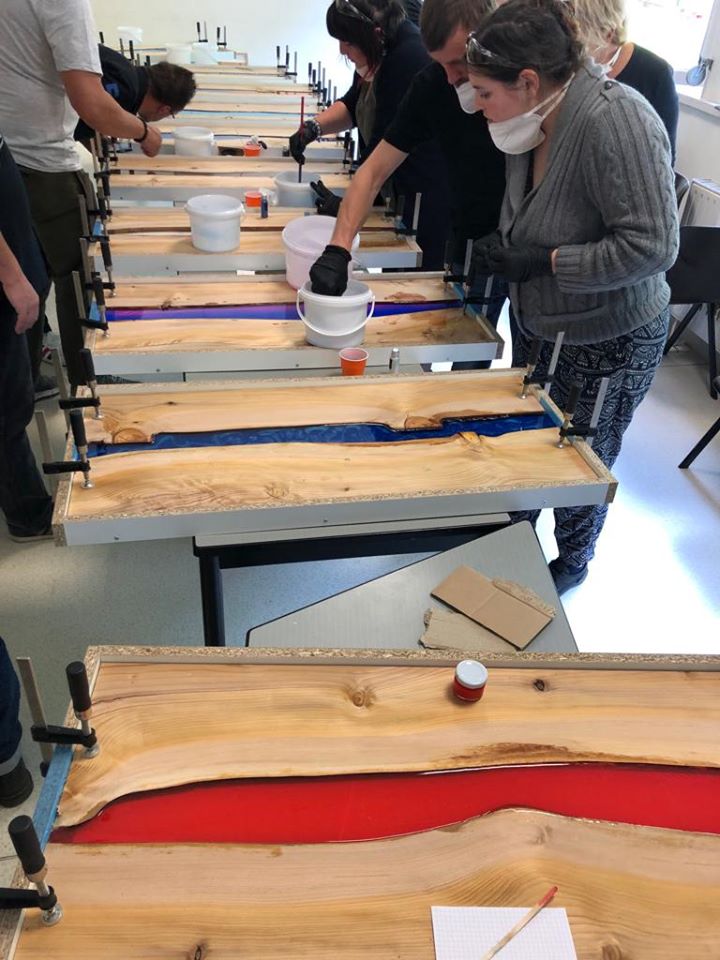
Step 1: Prepare Your Workspace
Before mixing resin and nail polish, line your workspace with a disposable sheet and don gloves to avoid any sticky clean-up. Nail polish has a strong odour and is flammable, so make sure your area is well-ventilated and away from open flames. Gather all your tools and materials within easy reach. This preparation is especially important because once resin and nail polish combine, the curing process begins and timing becomes crucial.
Always use nail polish in a well-ventilated space and keep containers closed when not in use to minimise fumes and evaporation.
Step 2: Mix Resin and Add Colour
Combine your resin and hardener as per manufacturer’s instructions. Ensure you have completely blended the two components to prevent incomplete curing. Once your resin is ready, add nail polish in very small quantities—a few drops at a time per 50-100ml of resin. Stir slowly to minimise bubbles and observe how the colour integrates.
Nail polish will often create marbled or streaky effects rather than uniform colouring. Test your ratio with a small batch, as too much polish can interfere with resin curing. For reliable, vibrant, and even results, purpose-made options like the “Colourfun” – Liquid Epoxy Resin Colourant 25-100ml – High coverage are specially formulated to disperse completely and keep clarity or opacity as desired.
Step 3: Create Special Effects and Pour
Swirl the mixture gently to encourage unique effects—metallics, glitters, and holographic nail polishes can add depth and shimmer. For specific transparent or gemstone-inspired finishes, you might achieve superior clarity with a dedicated dye like “Magic Crystal” – Transparent Resin Colour 45ml. Pour the coloured resin into your moulds or casting surface and use a toothpick to drag through colours for creative designs.
Purpose-made resin colourants offer superior colour stability and clarity compared to most polish additives, and they require less product for intense effects.
Step 4: Allow to Cure and Demould
Pour the resin and allow it to cure undisturbed for the recommended period, usually 24–48 hours, depending on your resin choice. Avoid moving the moulds, as shifting can blur your patterns or introduce new bubbles. If you notice a sticky or soft finish, it may indicate excess nail polish or incomplete mixing. Professional products designed for resin, such as the “Petri Art” – Set of Alcohol Ink, are formulated not to interfere with curing and offer more predictable outcomes.
Once fully set, demould your piece gently and inspect the final colouration and effects. If needed, polish or sand edges to refine the finish.

Tips, Mistakes and Reliable Alternatives
Be mindful that not all nail polishes are compatible with epoxy resin; some may prevent proper curing or result in cloudiness. Always test a small amount before committing to larger projects. If using nail polish, avoid exceeding more than 5% by volume compared to resin to reduce risk of tackiness. For uniformly vivid, crisp colours or reliable transparency, explore purpose-specific colourants in our dyes and pigments range.
Remember, certain specialty effects—like the Petri Art technique—can only be achieved with alcohol inks designed for resin. These professional alternatives expand your colour palette and guarantee compatibility, so your time and materials aren’t wasted on failed cures.
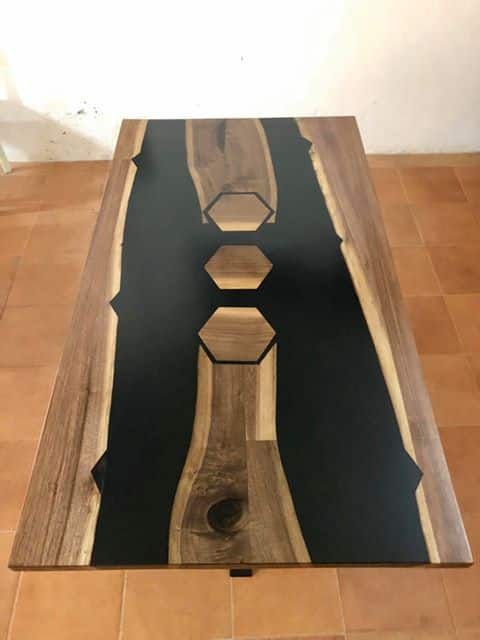
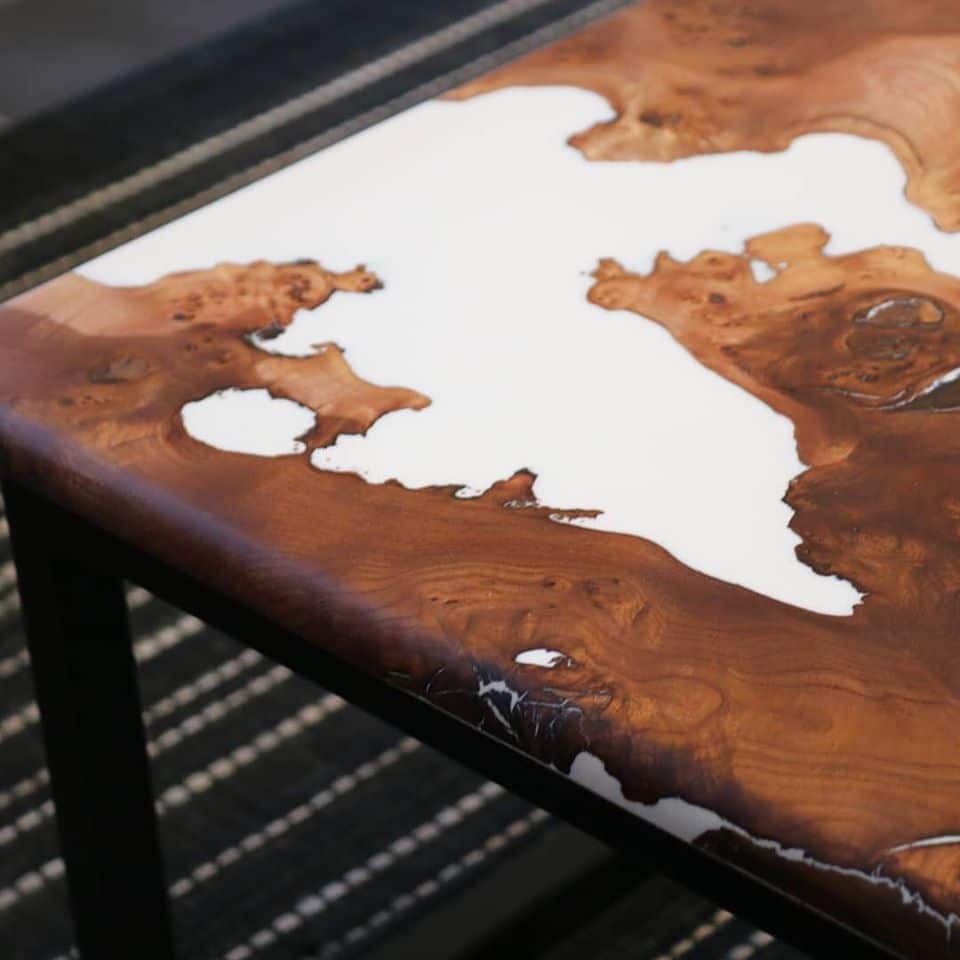
From marbled jewellery to vibrant coasters, resin pieces coloured with both nail polish and resin-specific pigments display beautiful, individual effects. Experiment with small batches and discover which look you prefer—whether it’s swirling nail polish patterns or pristine, glass-like transparency with premium resin dyes.Showcase: Examples of Coloured Resin Projects
- "Colourfun Set" – Liquid Epoxy Resin Colourant Set for Solid Colour EffectsPrice range: £13.45 through £48.15The "Colourfun Set" offers intense translucent colours for transparent epoxy resin projects with even mixing and high concentration.
- "Colourfun" – Liquid Epoxy Resin Colourant 25-100ml – High coveragePrice range: £3.65 through £9.85"Colourfun" Liquid Epoxy Resin Colourant offers vibrant, highly concentrated pigments for varied colour effects suited to resin art and professional…
 "Magic Crystal" – Transparent Resin Colour 45ml£4.65"Magic Crystal" Transparent Resin Colour offers vibrant, clear shades suitable for creating geode and crystal effects with lasting clarity.
 "Petri Art" – Set of Alcohol InkPrice range: £13.85 through £18.85"Petri Art" – Set of Alcohol Ink is designed for use with epoxy resin in simple creative techniques relevant to the theme of colouring resin with…
You can use many nail polishes, but results and curing can vary. Test a small batch, as some formulas may interfere with resin setting. Excess nail polish can disrupt curing. Limit the ratio to a few drops per 100ml resin and mix thoroughly for best results. Use purpose-made resin colourant like liquid dyes for even distribution. Nail polish tends to create streaks or swirls, not solid colour. Resin colourants are designed for compatibility and stable results. Nail polish offers creative effects but may risk curing problems. Purpose-made liquid colourants, transparent dyes, and alcohol inks designed for resin ensure vibrant, stable results without curing issues. Yes, glittery nail polish creates sparkling effects in resin, but always test in small batches as some types can affect curing. Work in a well-ventilated area, wear gloves, and avoid excess nail polish to minimise fumes and maintain curing integrity.Frequently Asked Questions
Can I use any nail polish to colour resin?
Why is my resin not curing with nail polish?
How can I achieve a uniform colour in resin?
Is nail polish or resin colourant better for resin?
What are professional alternatives to nail polish in resin?
Can I use glitter nail polish in resin?
What safety tips should I follow when using nail polish to colour resin?