 Free shipping on orders over £29,85


How to create a mould for resin?
Step-by-step guide for crafting silicone moulds at home.


Crafting a custom mould for resin unlocks unlimited creative possibilities, from jewellery and keepsakes to decorative panels and functional shapes. This guide takes you through each stage of the process, ensuring reliable results whether you’re a beginner or already have some experience with resin art. Creating your own moulds allows you to cast unique pieces that simply aren’t possible with off-the-shelf solutions.
What You’ll Need
- “Pure Mould” – Translucent Liquid Silicone Rubber for Mould Making: Translucent platinum-based silicone rubber designed for detailed and reusable moulds.
- Model or master object (item to be moulded)
- Enclosure or container (to hold silicone around your model)
- Mixing cups and stirring sticks
- Release agent (optional, for non-silicone objects)
- Protective gloves and a drop sheet or tray

Essential Tools for Mould Making
Setting up your workspace with the right tools and protective equipment makes mould creation smoother and safer. Ensure good ventilation and wear gloves to protect your skin from silicone.

Select the Right Model or Object
Begin by choosing a model or master object that you wish to replicate in resin. This can be anything from an existing ornament to a sculpted figure or decorative piece. Ensure the model is clean and free from dust, oil, or loose material, as any imperfections will transfer to your mould, impacting the quality of your final cast. Take into account size limits based on your container and how flexible you need your finished item to be. If your model has undercuts, consider whether a flexible mould will be required for easy demoulding.
Prepare and Contain the Model
Place your model inside an enclosure that leaves space around all sides for the silicone to flow. Sturdy food storage containers or custom-built acrylic walls sealed with hot glue are useful. Seal any joins in the container to prevent leaks. If the model is made from porous material (like wood or plaster) or if there are intricate details, apply a release agent to avoid the silicone bonding to the master object or creating bubbles. Secure your model in position—if it’s lightweight, you may need to glue it to the base to stop it floating.
Mix and Pour the Silicone
Carefully follow the instructions for your chosen mould-making compound. For most resin applications, “Pure Mould” – Translucent Liquid Silicone Rubber for Mould Making is ideal; it mixes easily 1:1 by weight and offers a sufficient pot life for detailed work. Put on gloves, pour equal parts into a clean mixing vessel, and stir slowly to minimise bubbles. Once thoroughly blended, pour the silicone in a thin stream from one corner of the container—this helps trap fewer air bubbles as it rises to surround the model. Gently tap or vibrate the container if needed to help bubbles escape before the silicone sets.

Demould and Finish Your Mould
Let the silicone cure for the manufacturer’s recommended time (for “Pure Mould”, expect 3–8 hours depending on ambient conditions). Once it has fully set and feels firm yet flexible, gently remove the container walls and carefully extract your model. Trim any excess silicone (called ‘flash’) with sharp scissors or a craft blade. Clean the newly finished mould with mild soap and water if required, ensuring it’s completely dry before its first use with resin.

Tips, Common Mistakes and Troubleshooting
Always measure and mix your silicone by weight for best results—incorrect ratios can result in a soft or tacky mould. Avoid pouring silicone too quickly or forcibly, as this traps bubbles. If your model floats or shifts during pouring, fix it securely beforehand. Patience during demoulding is key; premature removal can tear the mould. When using your mould for resin casts, let each cast cure fully before demoulding to prolong the life of your silicone and ensure sharp details.
Safeguarding Your First Cast
Handling your silicone mould with care extends its life. Always allow both the silicone and your resin cast to fully cure before any handling. Store your moulds flat, out of direct sunlight or heat for best results.

- "Pure Mould" – Translucent Liquid Silicone Rubber for Mould MakingPrice range: £22.85 through £158.85"Pure Mould" is a translucent liquid silicone rubber suitable for mould making compatible with resins, plaster and cement.
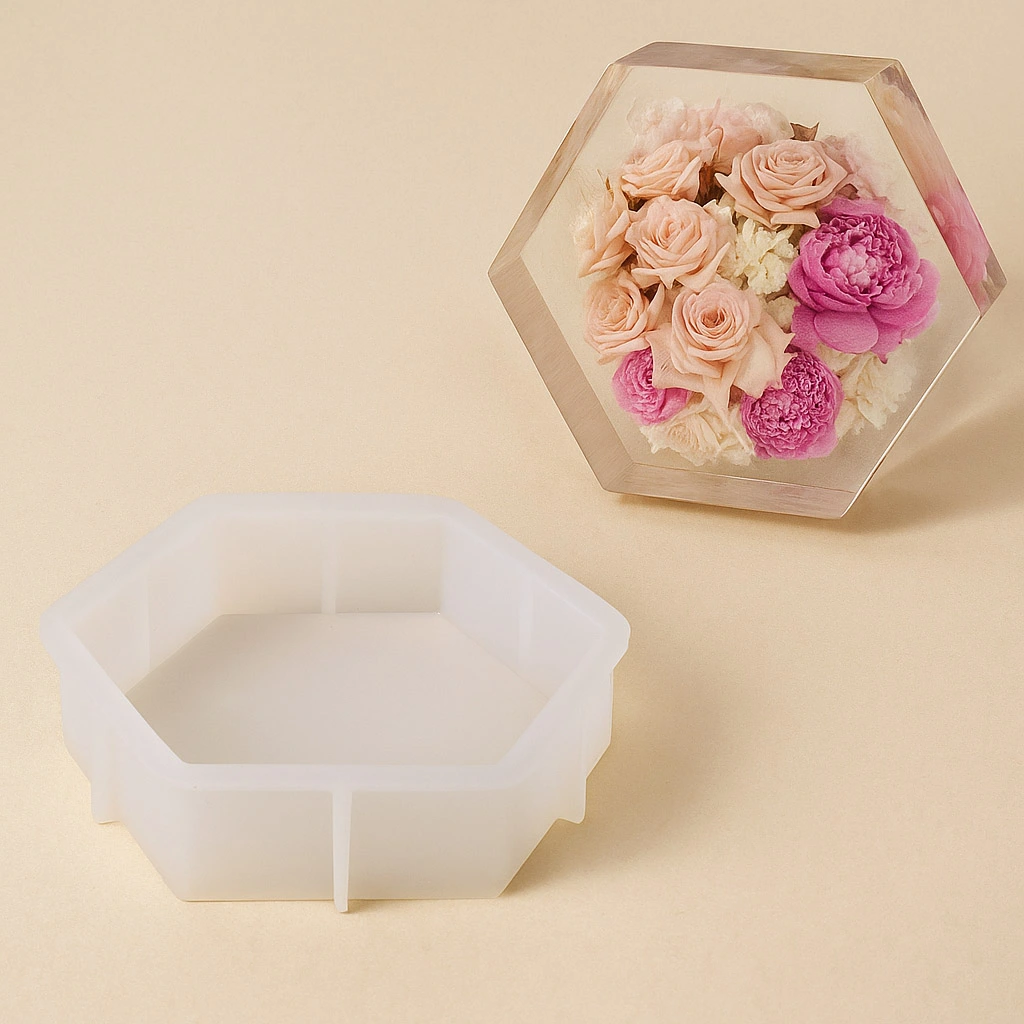 "Silicone Hexagons Mould" – For Creating with Epoxy Resin – 24x21cm£12.85Reusable semi-transparent silicone mould suitable for craft resin creations like coasters and decorative objects.
- "Silicone Circle Mould" – For Creating with Epoxy Resin, Ø 20cm£12.85Flexible silicone mould suitable for making decorative resin items and artistic pieces with a 20cm diameter.
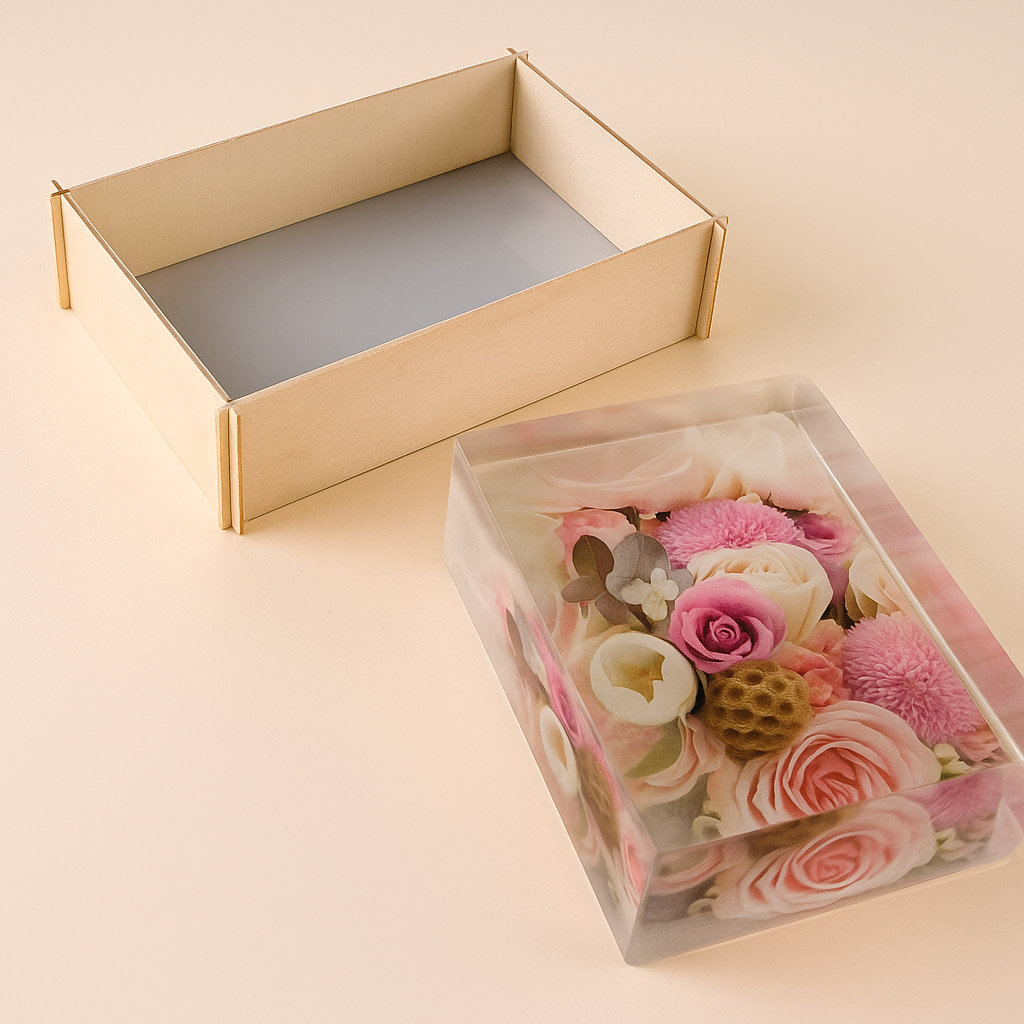 "Rectangular Mould" – Silicone Formwork 19.5×13.5cm£10.85Formwork in professional silicone designed to create square-shaped resin pieces, suitable for this crafting theme.
Frequently Asked Questions
How do I avoid bubbles when making silicone moulds?
Mix slowly and pour silicone in a thin stream. You can gently tap the container or use a vibrating surface to help bubbles escape.
Should I use a release agent for my mould?
Release agents are useful for models made from porous or textured materials to prevent sticking. They are usually not needed for non-porous objects.
How long does silicone rubber take to cure?
Most platinum-based silicones like Pure Mould cure in 3–8 hours. Always refer to the product’s guidelines for best results.
Can I reuse my silicone moulds?
Yes, high quality silicone moulds are reusable for multiple resin casts if handled carefully and cleaned properly.
What can I cast in my home-made moulds?
You can cast epoxy resin, polyester, cement, urethane resin, wax, and even plaster, depending on the mould and the release agent used.
How do I clean and store silicone moulds?
Wash with mild soap and warm water. Store dry and flat, away from direct sunlight for longer mould life.