 Free shipping on orders over £29,85


How to embed a real poppy in resin
Step-by-step guide for beautiful, long-lasting resin keepsakes


Preserving a real poppy in resin is a wonderful way to immortalise the beauty of this delicate flower. Whether you’re creating meaningful jewellery, a commemorative keepsake, or decorative art, correctly embedding a poppy in resin lets you enjoy its natural charm for years to come. This guide walks you through each essential step, from preparing your flower to presenting a flawless, crystal-clear finish.
What You’ll Need
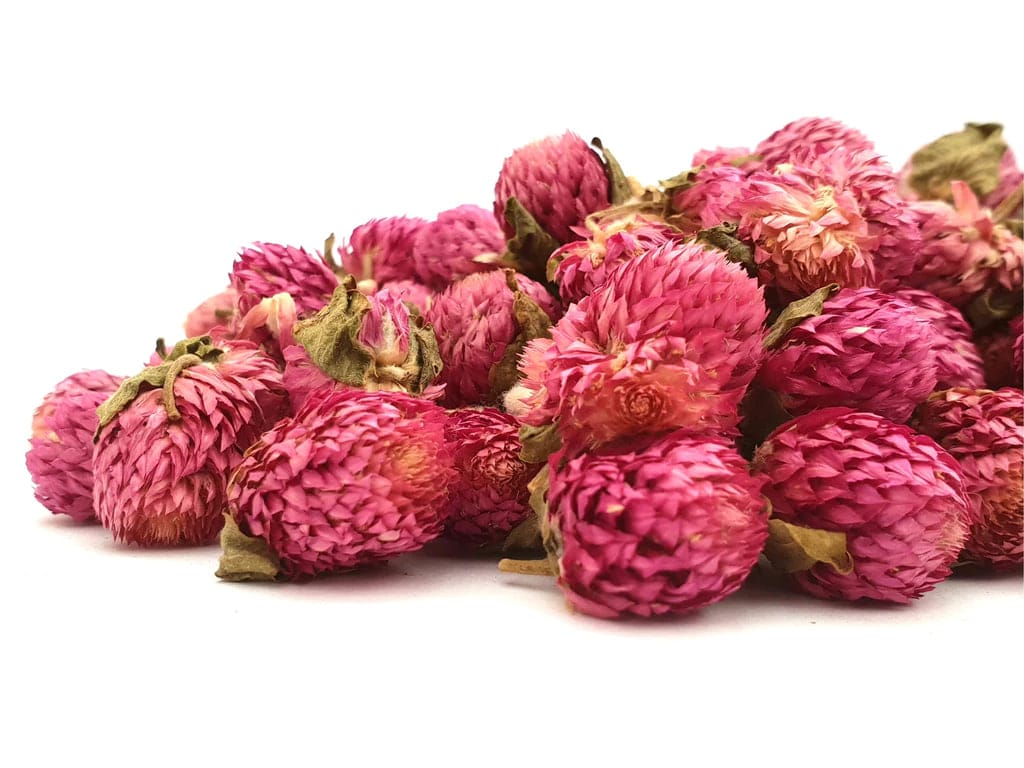
- Natural Dried Flowers for Art Projects and Epoxy Resin Casting – use a real, thoroughly dried poppy for best results.
- “Trasparente” – Multipurpose Clear Epoxy Resin for Casting – Up to 2cm – suitable for most poppy embedding projects.
- Protective gloves and apron
- Mixing cups and sticks
- Small silicone mould (shape of your choice)
- Pipette or small brush (optional for repositioning)
- Toothpick or thin stick (for bubble removal)

Featured Materials and Workspace Inspiration
See inspiring examples of dried poppy resin projects and explore workspace setups to spark your creativity. Plan your layout and ingredient placement in advance for best results.

Step 1: Prepare and Dry Your Poppy
Choose a poppy that is in good condition, free from blemishes and moisture. Ensure your poppy is fully dried and moisture-free before embedding. Pressed poppies are best, as residual moisture can cause discolouration or decay within the resin. Dry your poppy between absorbent paper weighted by books for several days if necessary.
Avoid using fresh flowers, as trapped moisture leads to cloudiness or unwanted reactions in the resin. When the poppy feels crisp and the colour holds well, it is ready to use.
Step 2: Set Up Your Workspace Safely
Work in a well-ventilated area and cover your work surface to protect against spills. Always follow safety precautions when handling epoxy resin—wear gloves, avoid skin contact, and keep the space dust-free. Ensure all your materials and tools are within easy reach to streamline the process.
Step 3: Mix and Pour the Epoxy Resin
Measure out the resin and hardener according to the instructions for your chosen product. For projects up to 2 cm thick, “Trasparente” – Multipurpose Clear Epoxy Resin for Casting – Up to 2cm is ideal; for smaller, intricate pieces, you might consider alternatives such as “Icrystal” – Clear Epoxy Resin – Odourless Formula – Up to 1.5cm or “One-2-One” – Epoxy Resin for Handcraft, 1:1 Mixing Ratio. Stir thoroughly but gently to avoid creating bubbles.
Pour a thin base layer into your mould. Allow it to partially cure until tacky, which helps anchor the poppy and minimise floating or trapping excess bubbles.
Step 4: Embed the Poppy and Finish the Pour
Once the base layer is tacky, place your dried poppy gently onto the surface using tweezers or a pipette for precision. Carefully pour additional resin over the flower to completely cover it. Work in thin layers to avoid bubbles—multiple pours may be required for thicker items. Use a toothpick to nudge any trapped bubbles toward the edge and pop them.
If you see floating petals, lightly press them down with a clean stick. Avoid overhandling, as dried poppies are fragile and can tear easily.

Step 5: Cure, Demould and Finish
Let the resin cure undisturbed for the recommended time (usually 24–48 hours, depending on product and room temperature). Once fully hardened, gently remove your piece from the mould. Handle with care when demoulding to protect the embedded poppy from cracks or scratches.
Sand any sharp edges with fine-grit sandpaper if necessary for a smooth finish. Your real poppy is now beautifully preserved in resin, ready for jewellery making, mounting, or gifting.
Tips and Common Mistakes
- If using commercial dried flowers, check the packaging for dryness and integrity before embedding.
- Temperature and humidity affect curing—work in a stable environment for best clarity.
- Avoid rushing: insufficient curing time before demoulding can lead to surface marks or deformations.
- Trapped air is the most common issue; pour slowly and use a toothpick to remove bubbles.
- If unsure about which resin to use, select based on your mould size and the desired clarity.
Resin Art Showcase & Finishing Techniques
Browse unique poppy resin art to discover finishing touches—from smooth sanding to creative mounting. Take your time on the final steps for a polished, professional look.

- Natural Dried Flowers for Art Projects and Epoxy Resin CastingPrice range: £5.45 through £7.85Natural Dried Flowers are prepared for immediate use and suitable for embedding in resin, reflecting a natural aesthetic for creative projects.
 "Trasparente" – Multipurpose Clear Epoxy Resin for Casting – Up to 2cmPrice range: £8.45 through £948.85"Trasparente" offers a clear, scratch-resistant finish suitable for DIY and woodworking projects up to 2cm thickness.
 "Icrystal" – Clear Epoxy Resin – Odourless Formula – Up to 1.5cmPrice range: £11.65 through £954.85"Icrystal" Clear Epoxy Resin offers high transparency and is easy to use for creating fine craft and artistic projects.
 "One-2-One" – Epoxy Resin for Handcraft, 1:1 Mixing RatioPrice range: £14.85 through £56.85"One-2-One" epoxy resin offers a medium viscosity and clear finish, suited to beginners and experienced crafters embedding real poppies.
Frequently Asked Questions
Can fresh flowers be embedded in resin successfully?
Fresh flowers usually contain moisture, which leads to discolouration and decay. Always dry your poppy completely before embedding in resin.
How do I prevent bubbles when embedding flowers?
Pour resin in thin layers and use a toothpick to move bubbles to the surface. Allow a partial cure before embedding the poppy.
Which resin is best for poppy embedding projects?
Clear epoxy resins with suitable layer thickness, such as "Trasparente" and "Icrystal", are ideal for poppy embedding.
How long should I let resin cure before demoulding?
Refer to your resin’s instructions but typically allow 24–48 hours for a full cure before removing from the mould.
Do dried poppies change colour in resin over time?
Quality epoxy resins with UV filters help preserve colour, but some natural fading can occur with time.
Can I use any mould shape for poppy resin keepsakes?
Yes, choose a silicone mould size and shape that fits your poppy and intended final product.
Is special sealing needed for flowers in resin?
If your poppy is thoroughly dried, extra sealing isn't necessary. For added security, use a thin resin layer as a base.