 Free shipping on orders over £29,85


How to make coloured resin for painting?
Step-by-step guide to vibrant resin pigments and custom shades

Creating coloured resin for painting allows artists and hobbyists to produce vibrant, custom art, jewellery, and unique home décor. Mastering the colouring technique puts you in full control of your artistic projects, ensuring your resin creations are rich in colour and perfectly suited to your design vision.
What You’ll Need
- “Colourfun Set” – Liquid Epoxy Resin Colourant Set for Solid Colour Effects – for intense, blendable pigment pastes
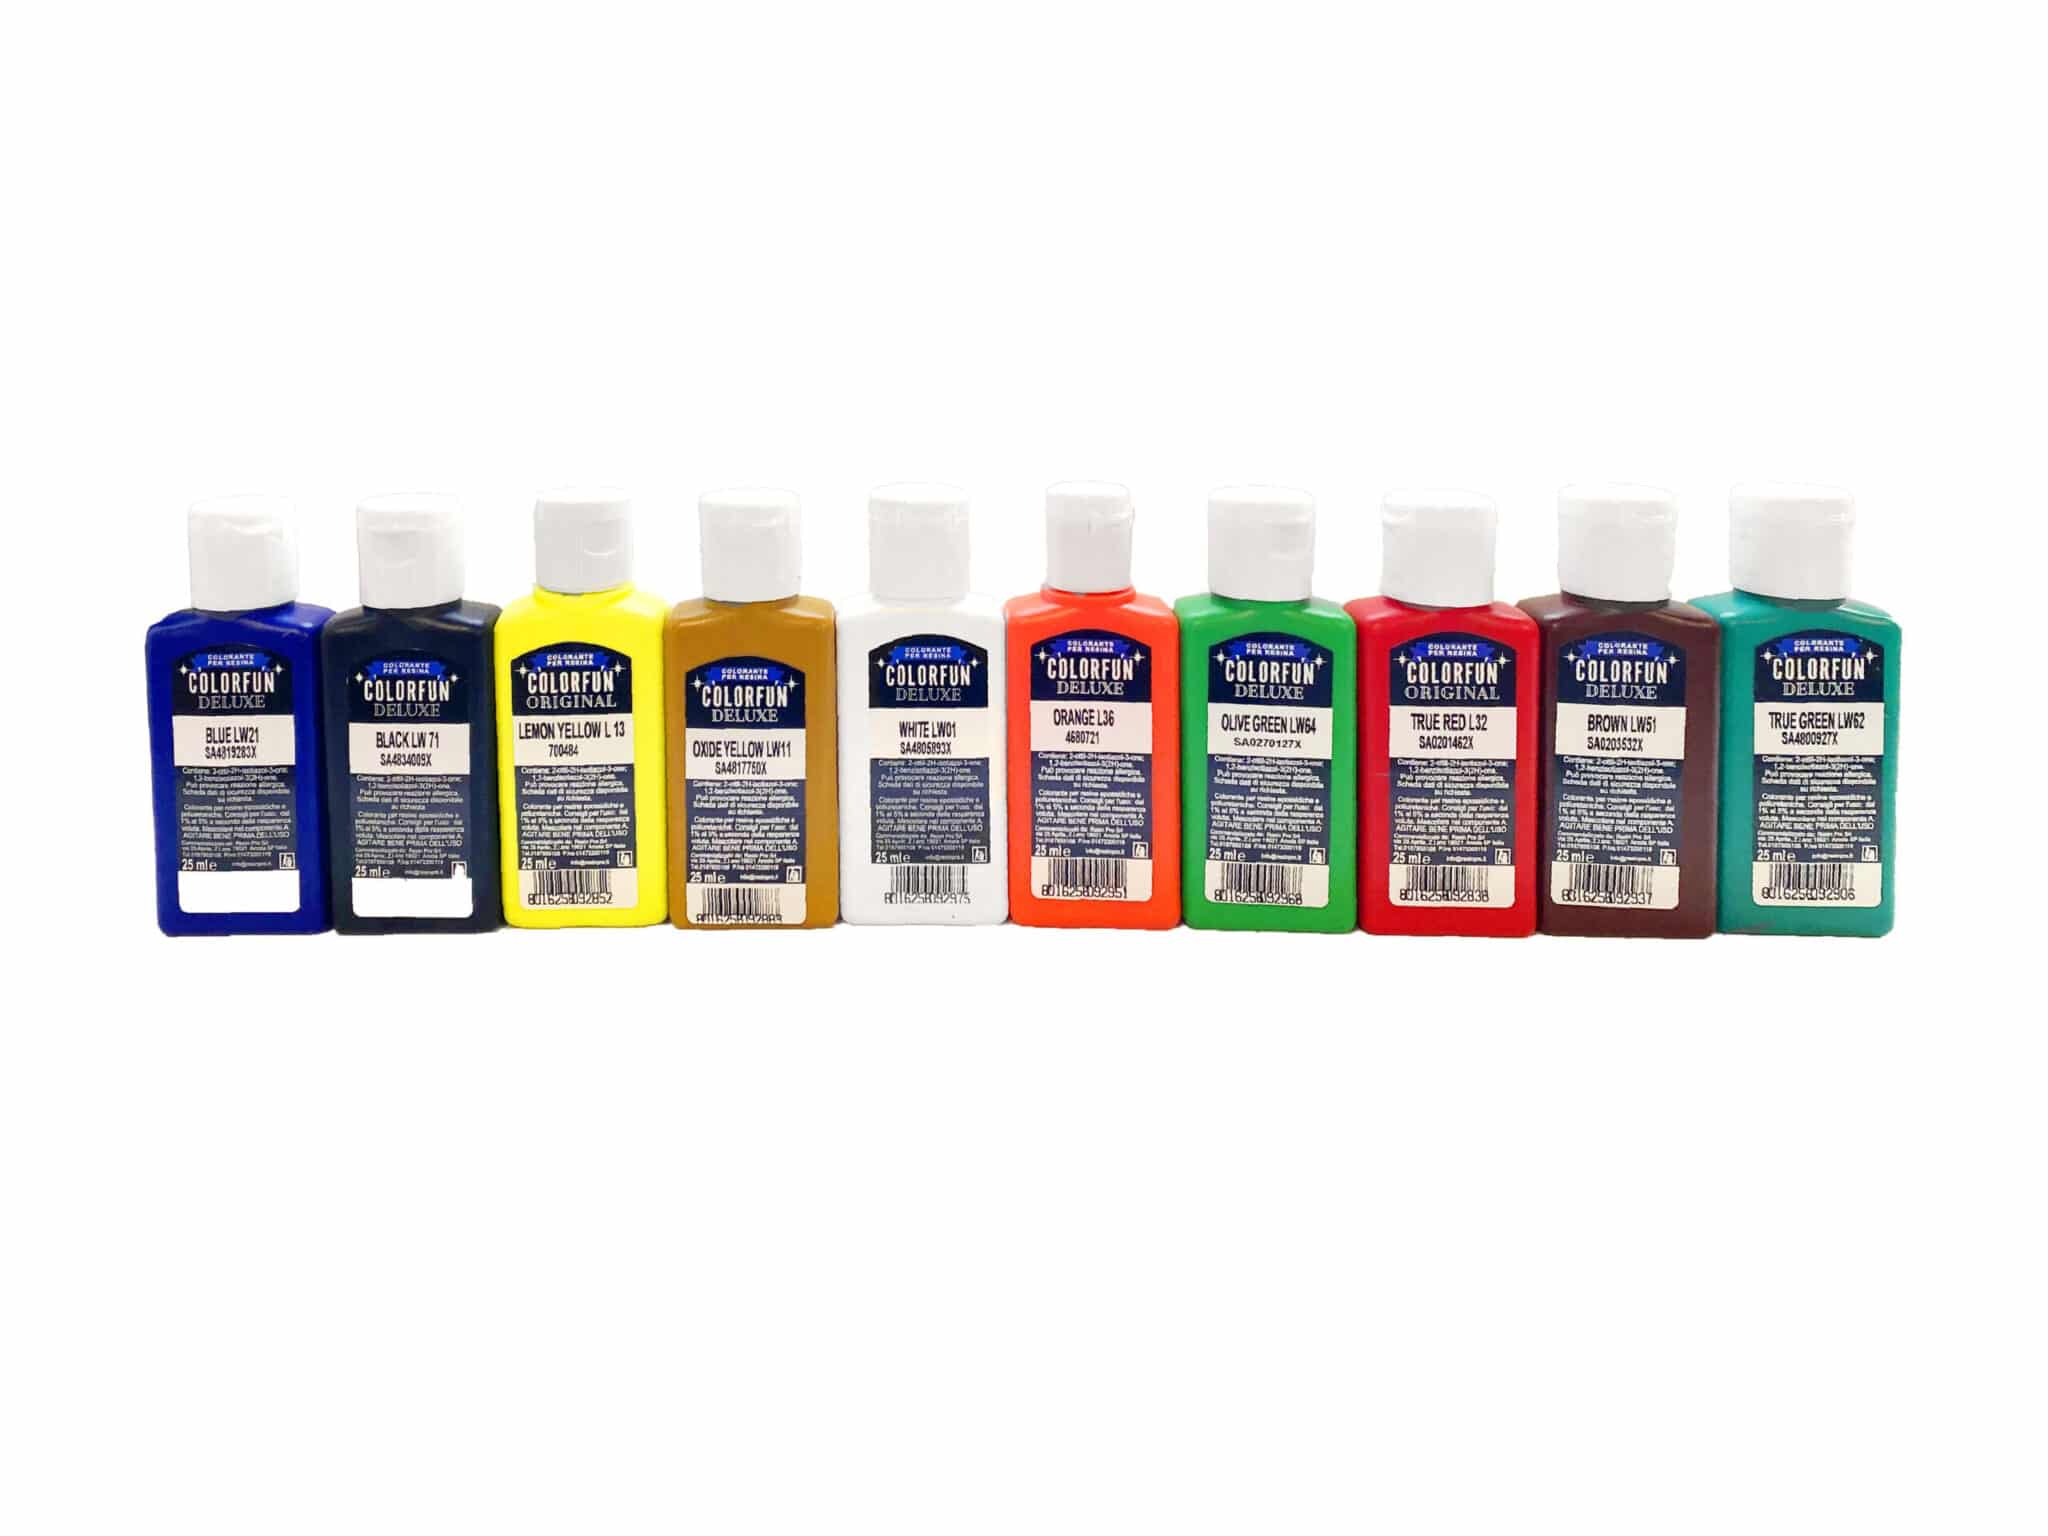
- “Colourfun” – Liquid Epoxy Resin Colourant 25-100ml – High coverage – for vivid opaque or stained-glass effects
- “Magic Crystal” – Transparent Resin Colour 45ml – for glass-like, transparent colour effects
- Protective gloves and apron
- Mixing cups and stir sticks
- Epoxy resin system suited for painting
- Art board or painting surface

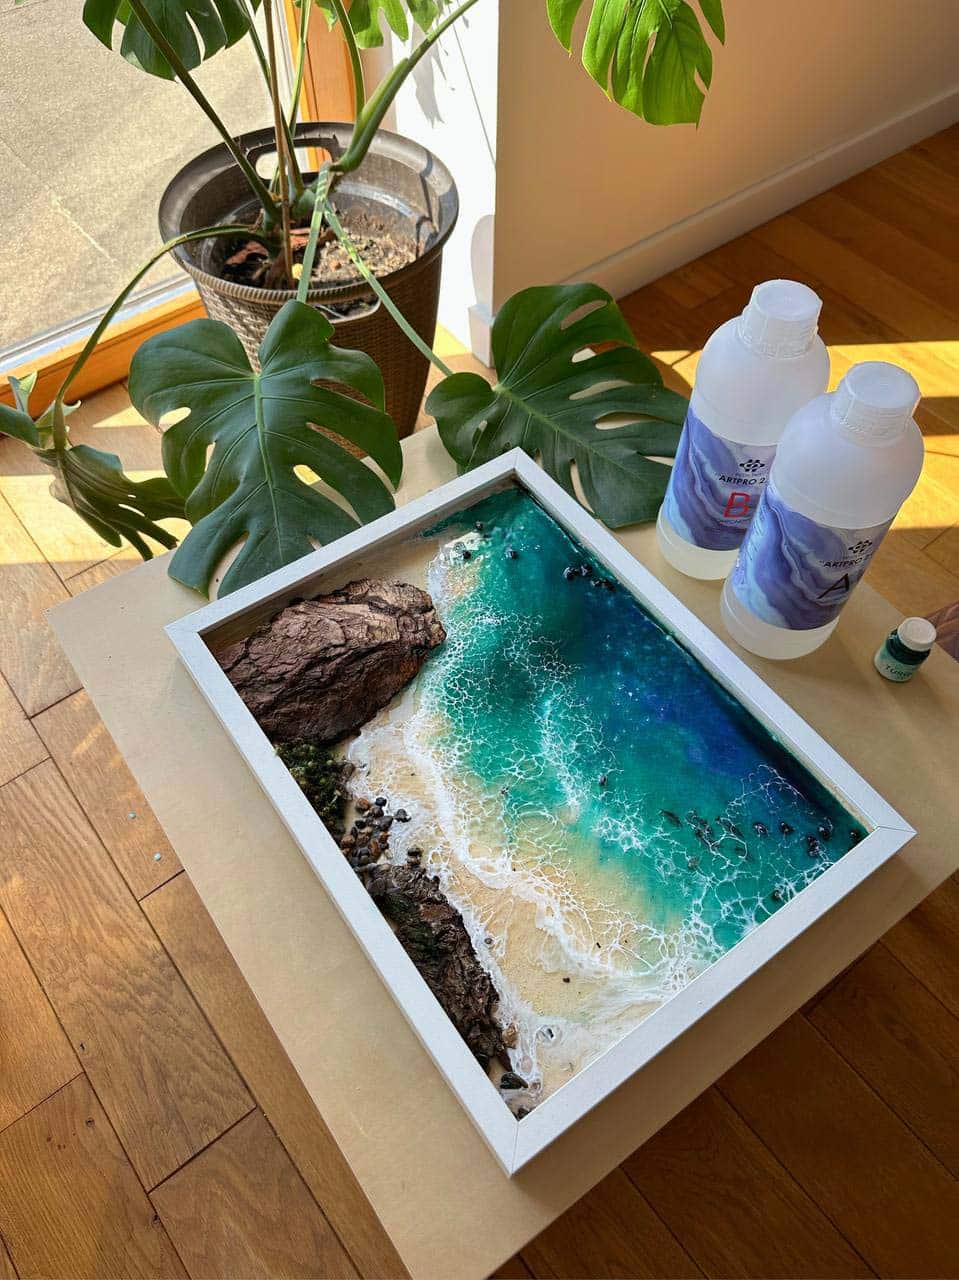
Visual Inspiration: Resin Colour Effects
See real projects showcasing transparent sea-blue resin art, deep opaque pours, and gemstone-inspired creations. Observe colour layering and blending for painting and art board effects.
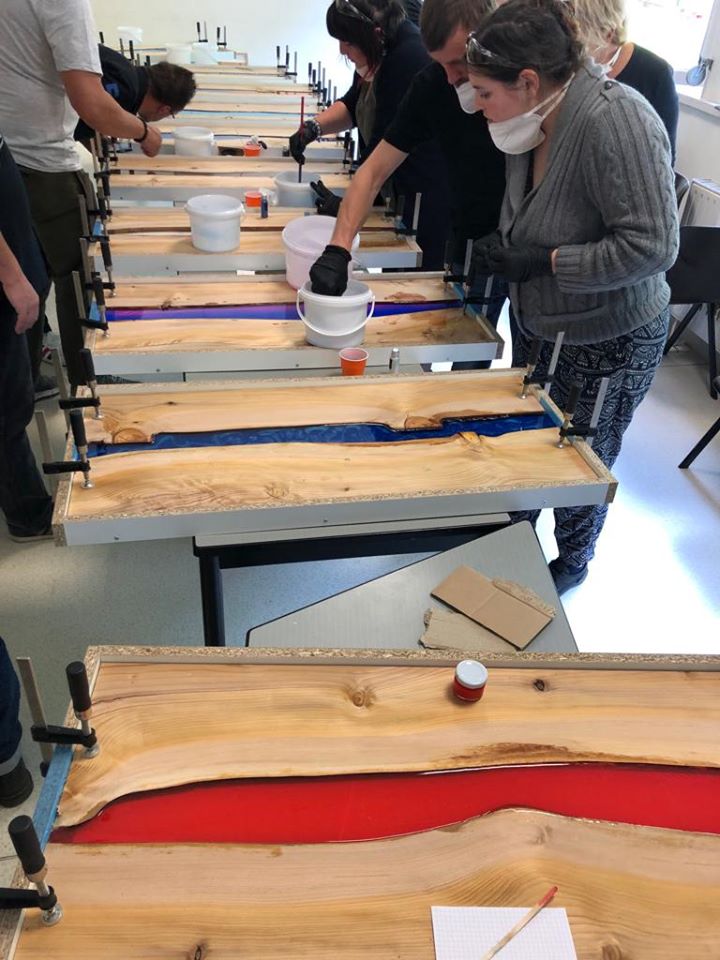
Step 1: Choose the Right Resin and Workspace
Start by selecting an epoxy resin that is known for clear curing and suitable for art applications. Ensure your workspace is dust-free, well-ventilated, and at a consistent room temperature, as drafts and particles can affect clarity and curing.
Set out all materials in advance. Use gloves and protective aprons to keep your workspace tidy and safe.
Step 2: Select and Prepare Your Colourant
Decide whether you want a translucent or opaque look. For bright, transparent effects such as glass or seascape art, choose transparent resin dyes. For solid or highly pigmented finishes, opt for pigment pastes or concentrated colourants formulated for epoxy resin, such as a “Colourfun Set” or “Magic Crystal”.
Ensure the selected colourant is compatible with your resin to prevent improper curing or dullness. Prepare a small portion of resin to test your chosen pigment if you are mixing new shades.
Step 3: Mix Resin and Add Colour
Carefully measure and mix the resin and hardener according to the manufacturer’s instructions; improper ratios can compromise curing and final finish. Once combined, add your chosen colourant slowly. Build up the colour in small increments for control over opacity and intensity.
Mix thoroughly but gently to avoid introducing too many bubbles. Most pigment pastes and liquid dyes, like those in the Colourfun range, require just a few drops per 100g of mixed resin for vivid or translucent effects.
Step 4: Test and Adjust the Colour
Before committing to your full project, pour a small amount of coloured resin onto a testing surface to view the colour and transparency as it will appear when cured. Note that some colours deepen slightly as resin sets.
If you want to adjust intensity, add more pigment bit by bit and remix. For custom shades, blend two or more compatible dyes, ensuring a consistent mix throughout. Transparent colours such as “Magic Crystal” are ideal for testing crystal effects or layering.
Step 5: Apply, Cure, and Finish
Pour the final coloured resin mixture onto your prepared painting surface or into your mould. Use a spatula or mixing stick to spread evenly if creating artwork. Keep the piece level and allow it to cure undisturbed, away from dust and movement, for the resin’s recommended cure time.
Once cured, you can add additional coloured resin layers for effects like waves, marbling, or highlights. Sand edges and finish your piece as desired for maximum impact and brilliance.
Tips and Common Mistakes
Always use pigment pastes and transparent dyes designed for epoxy resin. Alternatives like acrylic paint or cheap dyes can lead to improper curing or dull finishes. Mix slowly and thoroughly to avoid streaks and microbubbles. Test your blend on a disposable surface before starting your main project. If adding multiple colours, pour from separate cups to prevent unwanted colour mixing or muddy effects.
Gallery of Resin Painting Results
Examine completed coloured resin pieces with brilliant solid and translucent shades. Explore Colourfun Set and Magic Crystal effects for your next project.
- Free Step-by-Step Resin Ocean Art Lesson by Natalia NatirumOriginal price was: £99.00.£0.00Current price is: £0.00.A free video tutorial by Natalia Natirum guiding on creating resin ocean art with suitable materials for painting.
- "Colourfun Set" – Liquid Epoxy Resin Colourant Set for Solid Colour EffectsPrice range: £13.45 through £48.15The "Colourfun Set" offers translucent colouring pastes designed for transparent epoxy resin projects, supporting effects like sea water and river…
 "Magic Crystal" – Transparent Resin Colour 45ml£4.65"Magic Crystal" transparent resin colour is designed for creating vibrant, glass-like effects with clear tones suitable for coloured resin painting.
 "Colourfun" – Liquid Epoxy Resin Colourant 25-100ml – High coveragePrice range: £3.65 through £9.85Liquid epoxy resin colourant offering intense pigments for vivid or translucent effects in resin art and professional castings.
Frequently Asked Questions
What kinds of colourants are best for colouring resin in paintings?
Use pigment pastes or liquid dyes formulated for epoxy resin to ensure even mixing and vibrant colour. Transparent dyes work best for glass-like effects.
How can I avoid streaks or unmixed pigment in coloured resin?
Mix the pigment or dye slowly and thoroughly into the resin. Avoid adding too much at once and use a clear cup to check evenness.
Why does my coloured resin turn cloudy or lose brightness?
Non-compatible pigments or overuse can cause dullness. Stick to dyes and pastes intended for epoxy resin, and add pigment gradually.
How can I make my resin colour more intense or more transparent?
Increase pigment for opacity and intensity, or use less for a translucent effect. Always add bit by bit to control the final result.
Is it possible to layer different coloured resin in one painting?
Yes, let each layer partially cure before pouring the next to prevent mixing and achieve separate coloured bands or effects.
Can I use acrylic paints to colour resin for painting?
Acrylic paints are not recommended as they may affect curing or appearance; use resin-compatible colourants for best results.