 Free shipping on orders over £29,85


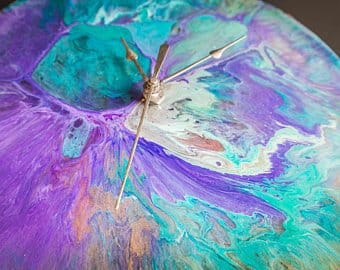
how to make paintings with resin
Unlock a world of bold colours and glossy finishes with resin painting. This guide walks you through the essential steps for creating professional-quality resin paintings at home, covering everything from setup and mixing to creative pouring effects and finishing. Whether you are a novice or looking to refine your technique, discover key methods for brilliant, lasting art on canvas or board.
Step-by-step guide to vibrant, professional resin artworks

What You’ll Need
- “Raphael Kit” – Pour Paint & Resin Art Set with Neon Pigments and Canvas: Kit for bold pours, neon effects, and all basics.
- “Art Pro Deluxe” – Ultra-High Viscosity Epoxy Resin for Artists: For precise line control in detailed work.
- “Art Pro” – Clear Epoxy Resin for Artists and Surface Coating: Suitable for glossy, durable finishes and broader pours.
- Heat tool or small chef’s torch (for bubble removal)
- Mixing cups, paddles, and nitrile gloves
- Protective sheeting/tape for workspace
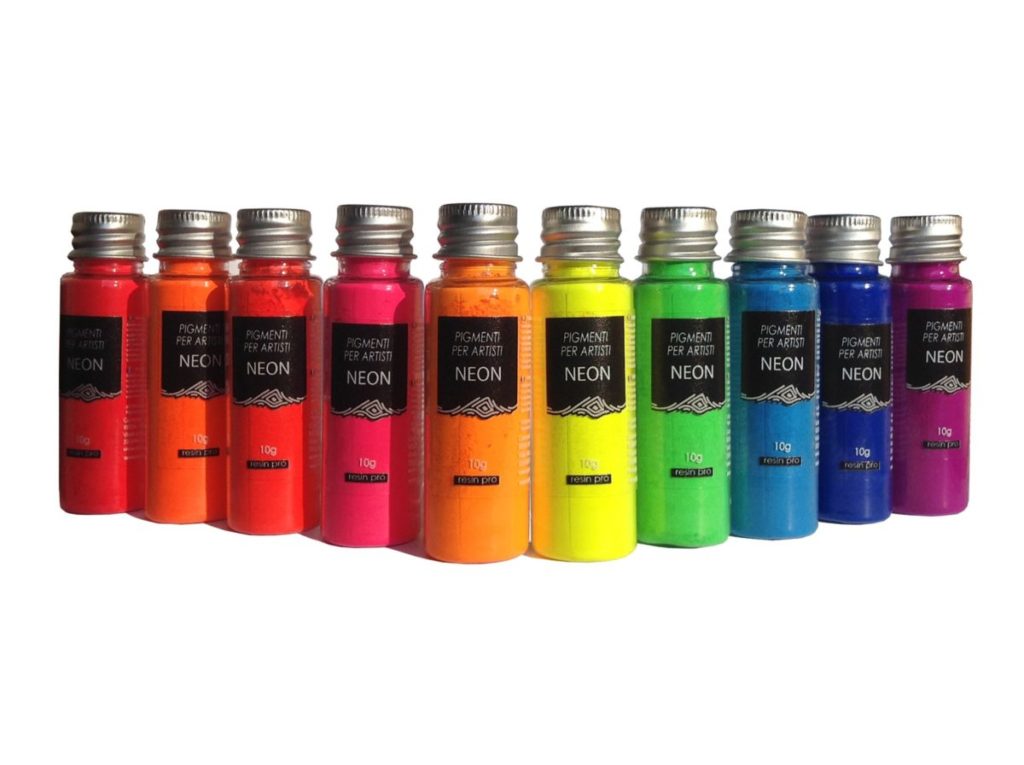
- Resin-friendly pigments (neon, mica, or paste pigments)
- Canvas, wood board, or MDF art panel

Key Materials for Stunning Resin Art Results
Premium resin kits, neon pigments, and reliable mixing tools empower you to achieve professional results in resin painting. Select products provide clarity and vibrant colour, while dedicated tutorials reveal new techniques tailored to both beginners and advanced artists. Using quality materials ensures less bubble formation, easier mixing, and long-lasting shine for your creations.
Step 1: Prepare Your Workspace and Surface
Complete your painting in a dust-free, well-ventilated space to ensure a flawless finish and safe working conditions. Lay down protective sheeting, and use tape to mask edges you wish to keep clean. If working with canvas, ensure it is taut and supported underneath. For wood or MDF, sand gently and make sure the surface is dry and grease-free before starting – a clean base is essential for strong resin adhesion.
Mask your workspace and wear gloves to protect your hands and surroundings from spills. Nitrile gloves are preferred, as included in the “Raphael Kit” – Pour Paint & Resin Art Set with Neon Pigments and Canvas.
Step 2: Measure and Mix Your Resin
Carefully read the instructions for your chosen resin – ratios vary between products. Pour resin and hardener into clean mixing cups as directed. Mix resin and hardener slowly to minimise bubbles, scraping the sides and bottom of your container. Some resins, like “Art Pro Deluxe” – Ultra-High Viscosity Epoxy Resin for Artists, require a slow, thorough mix to maintain clarity and viscosity for precise pours.
After fully blending, separate your resin into smaller cups for colouring. Add your chosen pigment powders or pastes, and mix just until even for vibrancy and minimal bubbles.
Step 3: Pour, Layer, and Manipulate
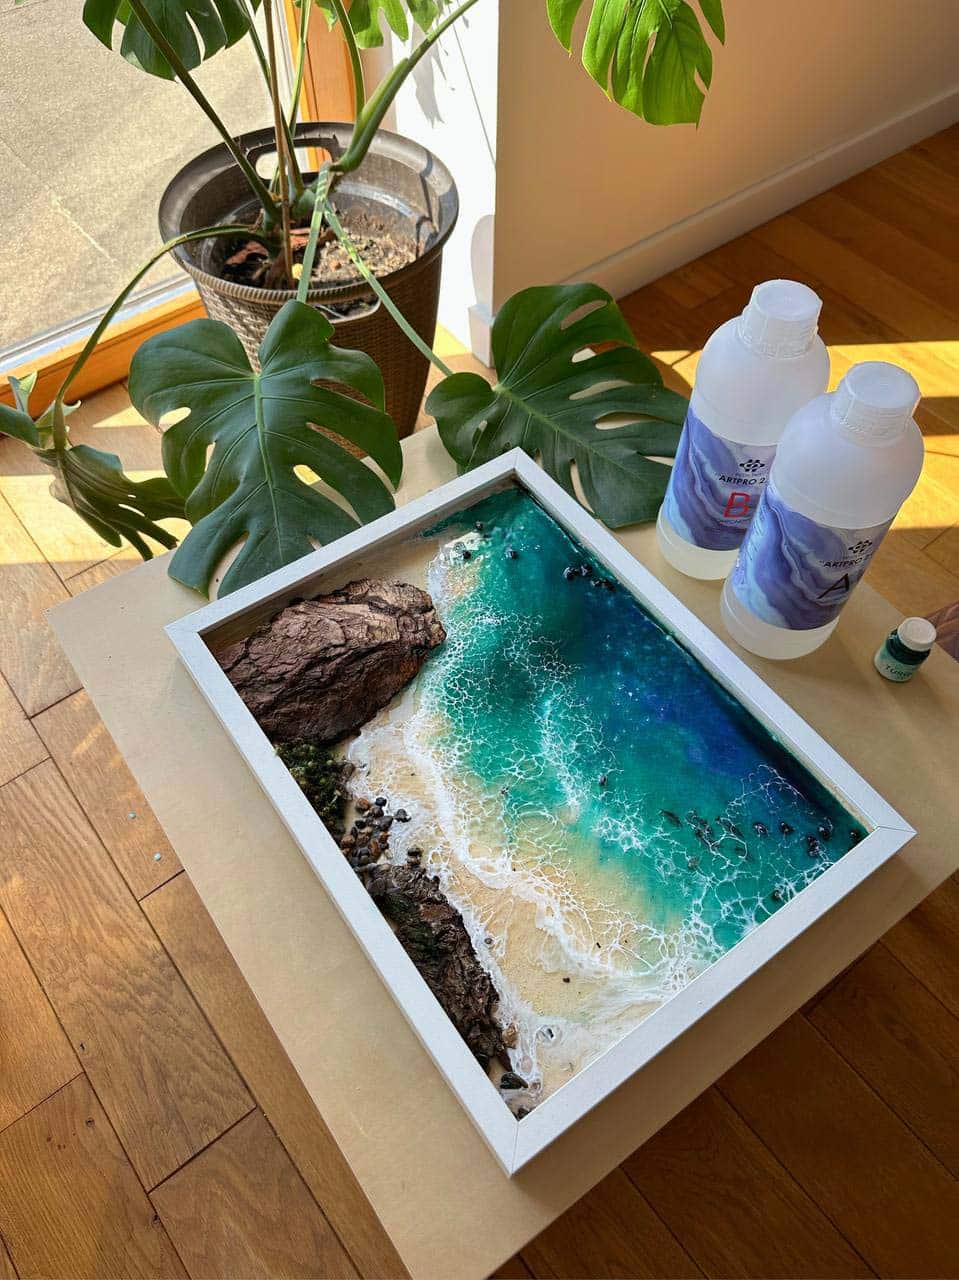
This is where creativity shines. Pour resin in thin, even layers to avoid excess heat buildup. Experiment with simple puddle pours, dirty pours, or swipe techniques by tilting the canvas or using spatulas. Ultra-high viscosity resins such as “Art Pro Deluxe” – Ultra-High Viscosity Epoxy Resin for Artists are ideal for crisp lines and ocean wave effects, while the kit resins in “Raphael Kit” – Pour Paint & Resin Art Set with Neon Pigments and Canvas are excellent for learning bold colour techniques.
Move the board or canvas to spread resin. Use spatulas, sticks, or gloved hands to create patterns – but avoid over-mixing or the colours will blur. For advanced techniques like the ocean look, reference the Free Step-by-Step Resin Ocean Art Lesson by Natalia Natirum.
Step 4: Remove Bubbles and Finish the Layer
As soon as the resin is poured, inspect for trapped air. Gently use a torch or heat gun to remove surface bubbles – sweep quickly and do not linger to avoid scorching. This will give your painting its glass-like clarity.
If you want to add further elements, like ink lines or glitter details, wait 1–2 hours for the resin to thicken slightly, then apply. Let the first layer cure as per product guidelines (usually 12–24 hours) before proceeding to any further layers.
Step 5: Curing, Demoulding, and Final Touches
Let each layer cure fully before adding further details or moving your artwork – premature handling can distort the finish. Once cured, check edges for drips and sand gently if needed. Apply a clear topcoat for maximum depth and gloss using a resin like “Art Pro” – Clear Epoxy Resin for Artists and Surface Coating for final shine and protection.
Display your work horizontally for 48 hours to ensure all resin fully sets. Resin art can be hung as-is or framed for added impact.
Tips, Common Mistakes, and Troubleshooting
Always measure and mix resin precisely for optimal curing; use digital scales if available. Avoid pouring too thick at once to prevent overheating and unwanted cloudiness. If surface dimpling or unevenness occurs, most often it’s due to insufficient levelling or excess dust settling during curing – keep your space covered and away from foot traffic.
If bubbles persist, use the torch technique methodically and wait 10–20 minutes between passes. Sticking to products with a reputation for clarity, such as “Art Pro Deluxe” – Ultra-High Viscosity Epoxy Resin for Artists, will make a noticeable difference in your final result.
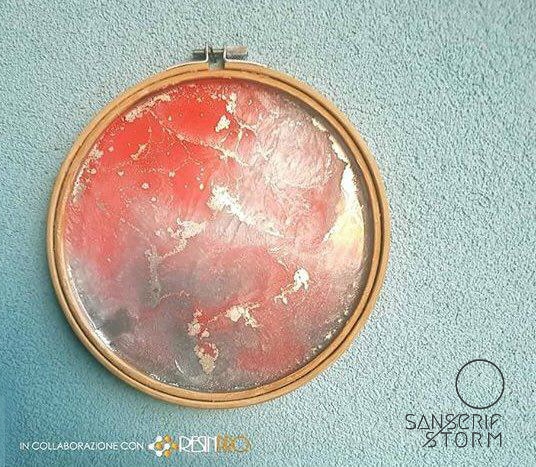
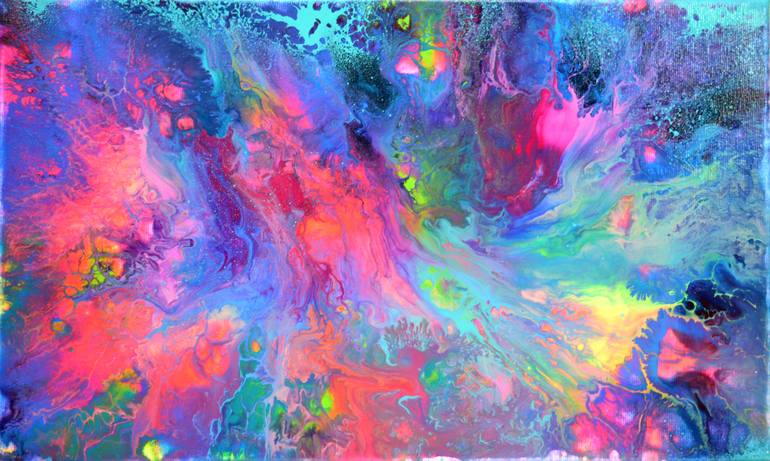
Creative Possibilities with Resin Painting Techniques
Resin painting unlocks effects from vivid gradients to elegant glassy finishes. Try layering neon pigments, swirling colours, and incorporating texture for unique art pieces. Practise control over viscosity for clean lines or dynamic blending based on the resin choice. Let your style evolve as you explore pouring, swiping, and wave creation for truly original results.
- "Raphael Kit" – Pour Paint & Resin Art Set with Neon Pigments and CanvasOriginal price was: £48.85.£37.85Current price is: £37.85.This kit includes clear resin, neon pigments, and a 30×30 cm canvas for resin paintings suited to beginners and professionals.
- Free Step-by-Step Resin Ocean Art Lesson by Natalia NatirumOriginal price was: £99.00.£0.00Current price is: £0.00.This free tutorial explains how to create resin ocean art using recommended materials.
- "Art Pro Deluxe" – Ultra-High Viscosity Epoxy Resin for ArtistsPrice range: £33.85 through £287.85Art Pro Deluxe resin offers ultra-high viscosity with crystal-clear, self-levelling finish suitable for precise control in resin art projects.
 "Art Pro" – Clear Epoxy Resin for Artists and Surface CoatingPrice range: £31.15 through £388.85Art Pro is a clear epoxy resin designed for artists offering durable, scratch-resistant, glass-like finishes with UV protection.
Frequently Asked Questions
Can I use both canvas and wood panels for resin paintings?
Yes, both can be used but make sure surfaces are clean, stable, and well-supported for the best adhesion and a smooth result.
How do I avoid bubbles in my resin art?
Mix slowly, use a heat tool after pouring, and ensure materials are at room temperature for the clearest result.
Which resin is best for sharp details and ocean effects?
Ultra-high viscosity resins help keep lines crisp and make techniques like waves easier to achieve.
Do I need special pigments for resin painting?
Resin-friendly pigments, such as mica, neon, or paste pigments, offer the best colour dispersion and intensity.
Can I add another resin layer before the first is fully cured?
It’s best to wait until the first layer has finished its initial set to avoid colour bleeding or surface imperfections.
Is protective wear needed for resin art?
Yes, always wear gloves and protect your workspace to prevent direct skin contact and accidental spills.
How do I display or frame my finished resin paintings?
Let the artwork cure flat for 48 hours, then mount or frame as desired to showcase your glistening surface.