 Free shipping on orders over £29,85


how to make wooden and resin pendants
Unlock the magic of combining natural wood with brilliant resin for unique handmade pendants. This guide is for crafters, jewellery makers, and anyone interested in turning simple materials into striking, wearable art. You’ll learn the full process from wood preparation to final assembly for a pendant that blends organic textures with vivid, glass-like colour.
Create eye-catching jewellery combining natural wood and resin artfully.


What You’ll Need
- “Evershine Collection” – Artisan Jewellery Epoxy Resin Kit with 100+ Accessories – A complete starter kit providing resin, pigments, moulds, and jewellery findings suitable for pendants.
- Set of 10 Open Metal Bezels for Jewellery Making and UV Resin Projects – Ideal for casting resin into neat pendant shapes or framing small wooden inclusions.
- “UV–Creation” – Fast Acrylic Resin, 3 Minute UV Cure – Useful for quick-cure small elements or when layering effects are needed inside bezels.
- “One-2-One” – Epoxy Resin for Handcraft, 1:1 Mixing Ratio – Dependable 1:1 epoxy for bubble-free, crystal-clear pours in larger wooden-resin pieces.
- Fine sanding paper (320–600 grit), mixing cups, wooden sticks, disposable gloves, and a UV lamp (for UV resin only).
- Sliced or shaped pieces of dry hardwood for pendant bases.
- Protective surface cover and mask (especially when sanding or working with fine dust).

See Wooden and Resin Pendant Inspiration
Explore unique wooden and resin pendants crafted by real makers. Notice the interplay between textured wood and luminous resin for style ideas. Each piece starts with thoughtful material selection and careful finishing—use these examples for design cues or as a springboard for your own creativity.
Step 1: Prepare the Wood Base
Begin by selecting and shaping your wood piece. Choose quality, dry wood for your base piece—hardwood offcuts or laser-cut shapes work beautifully. Sand all surfaces smooth with fine sandpaper, rounding sharp edges for comfort and aesthetics. Clean the dust away with a soft brush or tack cloth before moving on.
Seal the wood to prevent moisture leaching into your resin, which can cause cloudiness or poor cures. Simple clear varnish or a thin layer of mixed epoxy (such as the ready-to-use resin in the “Evershine Collection” – Artisan Jewellery Epoxy Resin Kit with 100+ Accessories) makes an excellent wood sealer. Allow the sealant to dry thoroughly.
Step 2: Set Up Your Mould or Bezel
Decide on your pendant shape and choose a silicone mould or open metal bezel. Open bezels, like the Set of 10 Open Metal Bezels for Jewellery Making and UV Resin Projects, can frame your wood and resin creatively while keeping casting tidy. Place your wooden element snugly inside the chosen mould or bezel, ensuring it lies flat and is properly positioned for the final piece.
Secure the arrangement on a level surface and prepare your workspace with newspaper or silicone mats to catch any spills.
Step 3: Mix and Pour the Resin
Measure and mix your resin according to package instructions. If using a standard two-part epoxy like “One-2-One” – Epoxy Resin for Handcraft, 1:1 Mixing Ratio, combine equal parts A and B by volume, stirring slowly to minimise air bubbles. For intricate or quick projects, a UV-cure resin such as “UV–Creation” – Fast Acrylic Resin, 3 Minute UV Cure allows single-component, direct pouring.
You may add pigments, dried flowers, or glitter as desired. Pour resin slowly to avoid air bubbles, covering the wood and filling the bezel evenly. For layered looks, let each layer thicken or cure before adding the next.

Step 4: Curing and Demoulding
Place your mould or bezel somewhere it will not be disturbed. Curing time depends on resin type—UV resin cures in minutes under a lamp, while epoxy may need 24–48 hours at room temperature. Avoid touching or moving the piece during this time, as ripples or fingerprints can mar the finish.
Allow full curing before adding hardware like bails, jump rings, or chains. Once solid, gently demould the pendant and inspect the edges; small flash lines can be sanded and polished as needed.

Step 5: Finish and Assemble Your Pendant
Check your pendant for any sharp edges and lightly sand if necessary. To achieve a glassy polish, finish with fine sanding and a soft cloth. Attach jewellery findings—many starter kits offer a selection, such as the bails and chains in the “Evershine Collection” – Artisan Jewellery Epoxy Resin Kit with 100+ Accessories.
Your handmade wooden and resin pendant is now ready to wear or gift.
Tips and Common Mistakes
- Always use well-dried wood; moisture causes resin clouding or poor adhesion.
- Mix resin thoroughly but gently to prevent bubbles settling in your final piece.
- Check for dust or hair before curing to avoid imperfections on the cured surface.
- Do not rush the curing process—patience yields crystal-clear, professional results.
- Experiment with small test pieces to fine-tune your design or technique.
Finishing Touches for Professional Results
Polishing, sanding, and careful assembly set your pendant apart. Consider buffing with progressively finer grit, then using a microfibre cloth for a final shine. Neatly attach your chosen bails or chains, and always inspect under good light to ensure every edge is smooth and flawless.

- "Evershine Collection" – Artisan Jewellery Epoxy Resin Kit with 100+ Accessories£20.85A comprehensive kit for jewellery makers featuring 500g crystal-clear 1:1 epoxy resin and over 100 accessories for creative design.
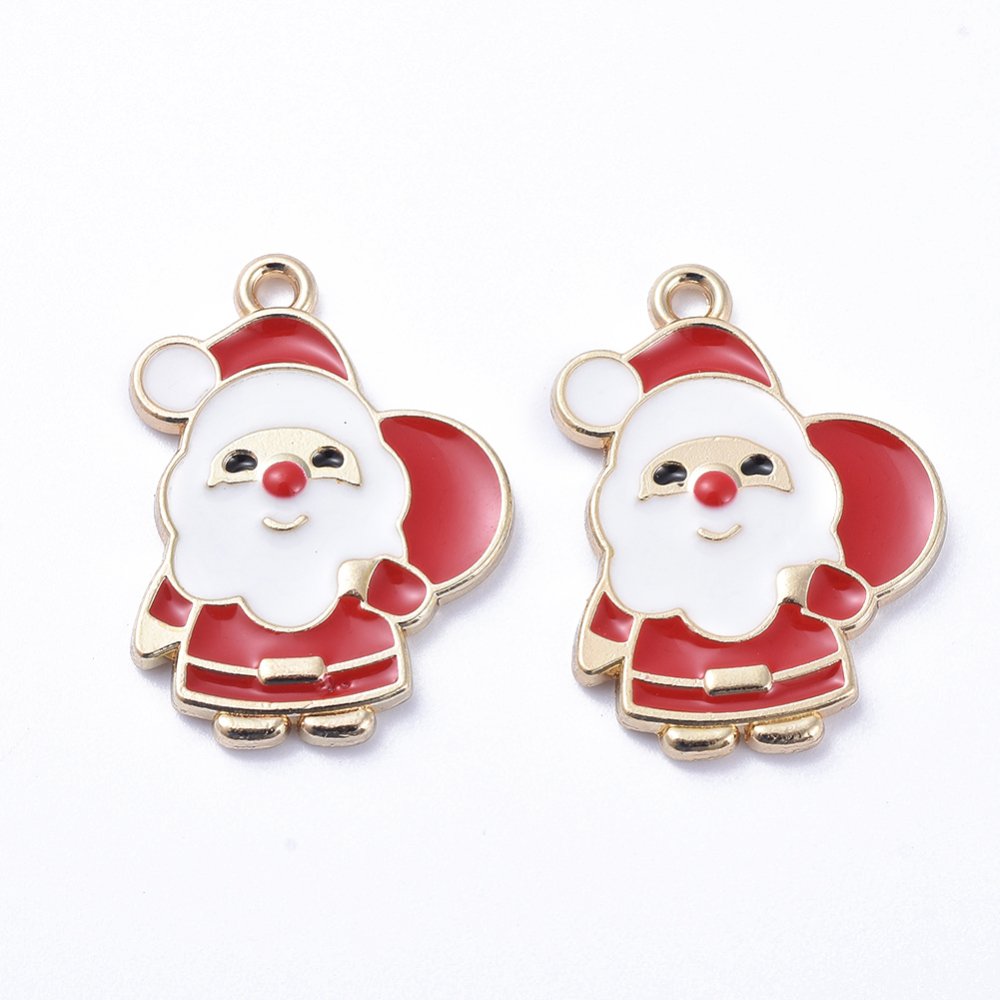
- Set of 10 Open Metal Bezels for Jewellery Making and UV Resin ProjectsOriginal price was: £8.45.£6.85Current price is: £6.85.A set of 10 open metal bezels designed for resin pendant making and personalised keepsakes in a festive theme.
- "UV–Creation" – Fast Acrylic Resin, 3 Minute UV CurePrice range: £7.85 through £59.85"UV–Creation" Fast Acrylic Resin cures rapidly under UV light, suitable for jewellery makers aiming for a clear, glossy finish.
 "One-2-One" – Epoxy Resin for Handcraft, 1:1 Mixing RatioPrice range: £14.85 through £56.85"One-2-One" epoxy resin is a medium viscosity, easy to mix resin suitable for jewellery and decorative crafts.
Frequently Asked Questions
What’s the best resin for wooden and resin pendants?
Epoxy resin with a 1:1 mixing ratio offers clarity and is easy for beginners, while UV resin is best for thin, fast-cured projects.
How long does resin take to cure in wooden and resin pendants?
Epoxy resins may take 24–48 hours to fully cure. UV resins can cure in just a few minutes under a UV lamp.
Should I seal wood before adding resin?
Yes, sealing prevents moisture from affecting the resin, resulting in a clearer finish and better adhesion.
Do I need bezels or moulds to make resin pendants?
Bezels or silicone moulds help shape and contain the resin, giving your pendant a crisp, professional edge.
How do I prevent bubbles in my resin pendants?
Mix resin slowly and pour in thin layers. Let bubbles rise and pop before curing, or briefly warm the surface to release trapped air.
How do I get a glossy, glass-like finish on my wooden and resin pendant?
Finish by sanding up to a fine grit and then polishing with a microfibre cloth for maximum shine.