 Free shipping on orders over £29,85

How to measure resin and catalyst
Step-by-step guidance for flawless resin project mixing every time


Ensuring the right proportions of resin and catalyst is crucial for achieving strong bonds, optimal curing, and a professional finish in any crafting or repair project. This guide walks you through the essential steps to measure resin and catalyst accurately, helping you avoid common pitfalls and produce consistent, high-quality results every time—whether you’re casting art, making jewellery, or carrying out repairs.
What You’ll Need
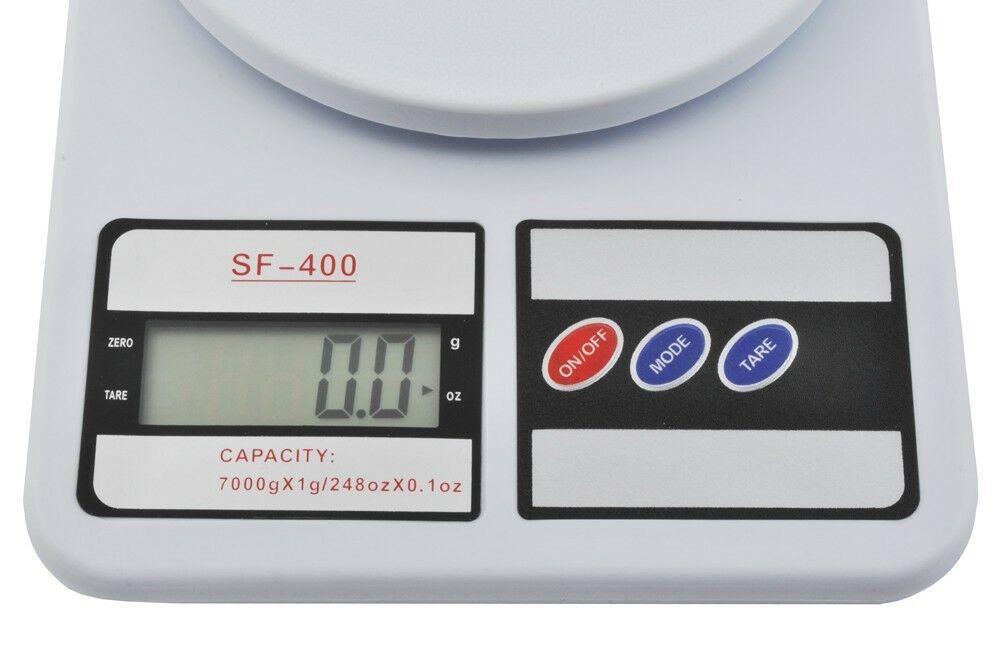
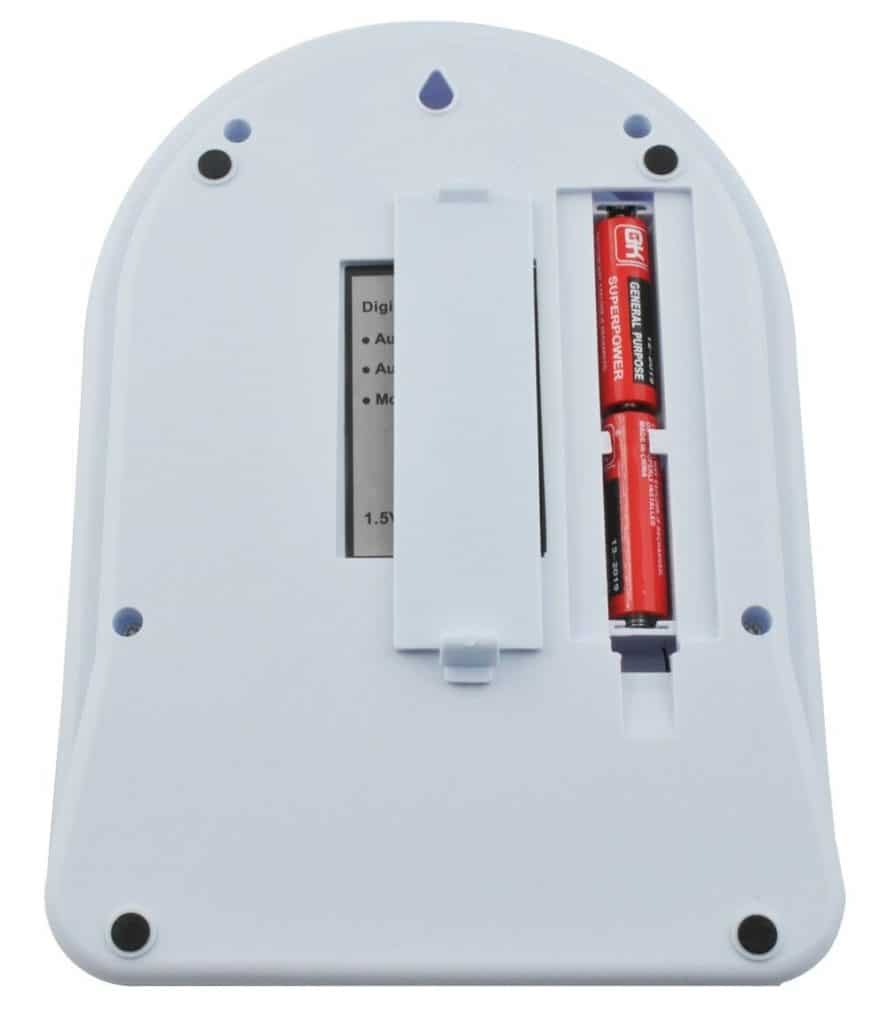
- Precision Digital Scales for Resin and Crafting, 1g–7kg – for precise measurements by weight.
- 2L Graduated Measuring Cup for Resin – Precise Epoxy Dosing Tool – ideal for measuring resin or catalyst by volume.
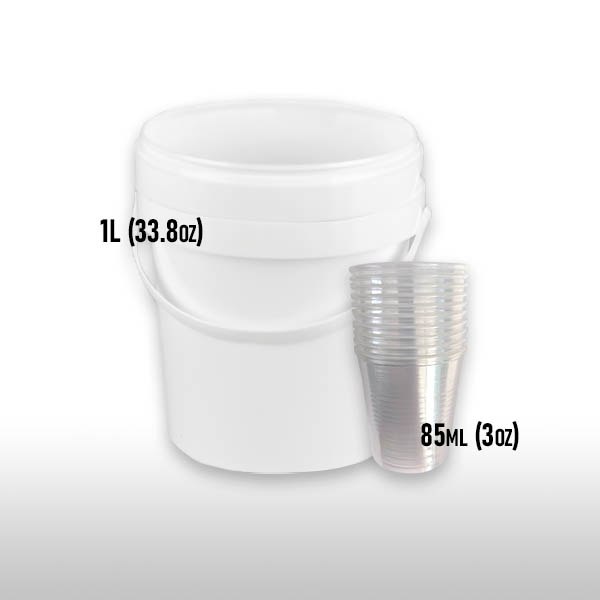
- Mixing Buckets Kit for Epoxy Resin Art – Easy Clean Flexible Design – suitable for mixing your measured solutions.
- “Klebfix” – Two-Component Fast Epoxy Glue 2K, 25g Syringe – for applications requiring precise proportioning with a syringe dispenser.
Visual Guide to Resin Measurement Tools
See the difference between digital scales and measuring cups in real resin projects. Our examples showcase when to weigh and when to measure by volume, plus practical workspace setups for safe, mess-free mixing. Browse all dosage, measuring & mixing tools here.
Step 1: Read and Understand the Mixing Ratio
Accurate measurement is key to resin success. Before you start, identify the recommended mixing ratio for your resin system—this is typically provided as a weight or volume percentage (e.g., 100:50 or 2:1). Mixing ratios differ by product, so always refer to the manufacturer’s instructions included with your resin or catalyst.
Be sure to know whether the manufacturer refers to ratios by weight or by volume, as using the incorrect method can lead to soft curing or stickiness. Double-check the product label if uncertain and ensure both components are compatible.
Step 2: Prepare Your Workspace and Tools
Choose a clean, level surface free of dust or moisture. Set out all your measuring and mixing tools in advance so you can work efficiently once you start weighing or pouring. You’ll want paper towels nearby and gloves for safety, as most resins can be sticky or irritating to the skin.
If you are measuring by weight, ensure your Precision Digital Scales for Resin and Crafting, 1g–7kg are calibrated and placed on a stable surface. For volume-based systems, select a 2L Graduated Measuring Cup appropriate to your batch size.
Step 3: Measure Each Component
Start with the resin base. Tare your digital scale or set your measuring cup to zero before pouring. Pour or weigh slowly, stopping just before the target value, and then adjust drop by drop until you reach the perfect amount. Next, measure the catalyst (or hardener) according to the specified ratio.
For precision in small-quantity bonding or repairs, such as with epoxy glue, opt for a product with a dispensing system—like the “Klebfix” – Two-Component Fast Epoxy Glue—which guarantees an exact 1:1 mix directly from a syringe.
Double-check measurements before combining both components. It’s better to take an extra moment now than risk wasting material later.
Step 4: Combine and Mix Thoroughly
Transfer your measured resin and catalyst into a clean container. If you’re making a large batch, a dedicated Mixing Buckets Kit is highly beneficial—its flexible design makes unmoulding cured resin much easier and reduces cross-contamination between mixes.
Mix steadily and methodically for the recommended time, ensuring all product along the sides and base is thoroughly incorporated. Avoid under-mixing or over-mixing as both can affect cure and finish.
Tips, Common Mistakes, and Troubleshooting
Always check your product’s mixing ratio. Not all resins use the same proportions. Clean tools prevent cross-contamination and inaccurate results. Never estimate by eye—small errors can lead to soft spots or incomplete curing. If in doubt, mix a small test batch first.
If your mixture remains tacky after curing, revisit your measuring and mixing process; a repeated error in ratio or technique is often the cause. Remember to promptly clean all reusable tools to extend their lifespan and ensure accuracy next time.
Mistake-Proof Your Resin Projects
Learn what separates perfect mixes from problem pours. Our in-depth visuals dissect flawed results caused by measurement slip-ups and demonstrate tried-and-tested fixes to keep your resin curing perfectly every time.
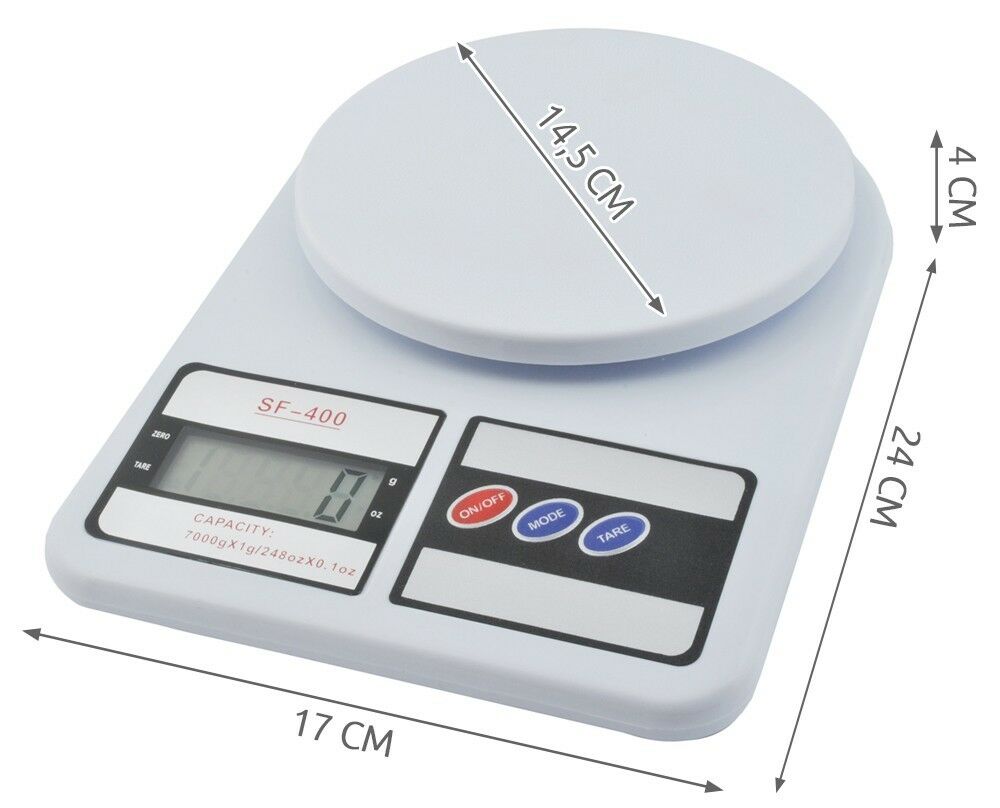
- Precision Digital Scales for Resin and Crafting, 1g–7kgPrice range: £7.85 through £22.85Digital scales designed for precise resin weighing and crafting, supporting accurate and careful mixing.
- 2L Graduated Measuring Cup for Resin – Precise Epoxy Dosing Tool£3.85A 2L measuring cup designed for accurate resin dosing with graduations from 100ml, suitable for precise epoxy measurement.
- Mixing Buckets Kit for Epoxy Resin Art – Easy Clean Flexible DesignPrice range: £1.95 through £8.35Mixing Buckets Kit designed for epoxy resin art, enabling easy cleaning and flexible use for standard measuring and mixing tasks.
 "Klebfix" – Two-Component Fast Epoxy Glue 2K, 25g Syringe£22.85The Klebfix 2K Fast Epoxy Glue is designed for fast, strong bonding of multiple materials using a simple 1:1 dosing method.
Frequently Asked Questions
How do I find the correct mixing ratio for my resin and catalyst?
Check your resin packaging or technical datasheet. Manufacturers always specify if the ratio is by weight or volume.
Should I measure resin and catalyst by weight or volume?
Follow the manufacturer's recommendation. Most modern resins require measurement by weight for accuracy.
What is the advantage of using a digital scale for measuring resin?
Digital scales ensure precise, repeatable measurements—preventing errors common with a visual estimation.
How do I avoid mixing errors and soft curing?
Measure carefully, mix thoroughly, and always follow the specified ratio and technique for consistent curing.
What happens if I over-mix or under-mix resin and catalyst?
Under-mixing can leave uncured areas; over-mixing may introduce bubbles or shorten working time.
Why is my resin sticky after curing?
This usually results from inaccurate measurements or incomplete mixing. Review your process to prevent repetition.
How should I clean reusable measuring and mixing tools?
Clean immediately after use with suitable solvents; non-stick buckets allow cured resin to be peeled away easily.