 Free shipping on orders over £29,85

How to catalyse resin?
If you’re aiming for flawless resin creations—crystal-clear, durable, and bubble-free—understanding how to correctly catalyse resin is essential. This guide covers how to mix, measure, and cure various resins to achieve exceptional results, whether you’re a beginner or looking to refine your technique. Safety and timing matter, so follow each step for a smooth, trouble-free process.
Essential steps for curing resin safely and efficiently every time

What You’ll Need
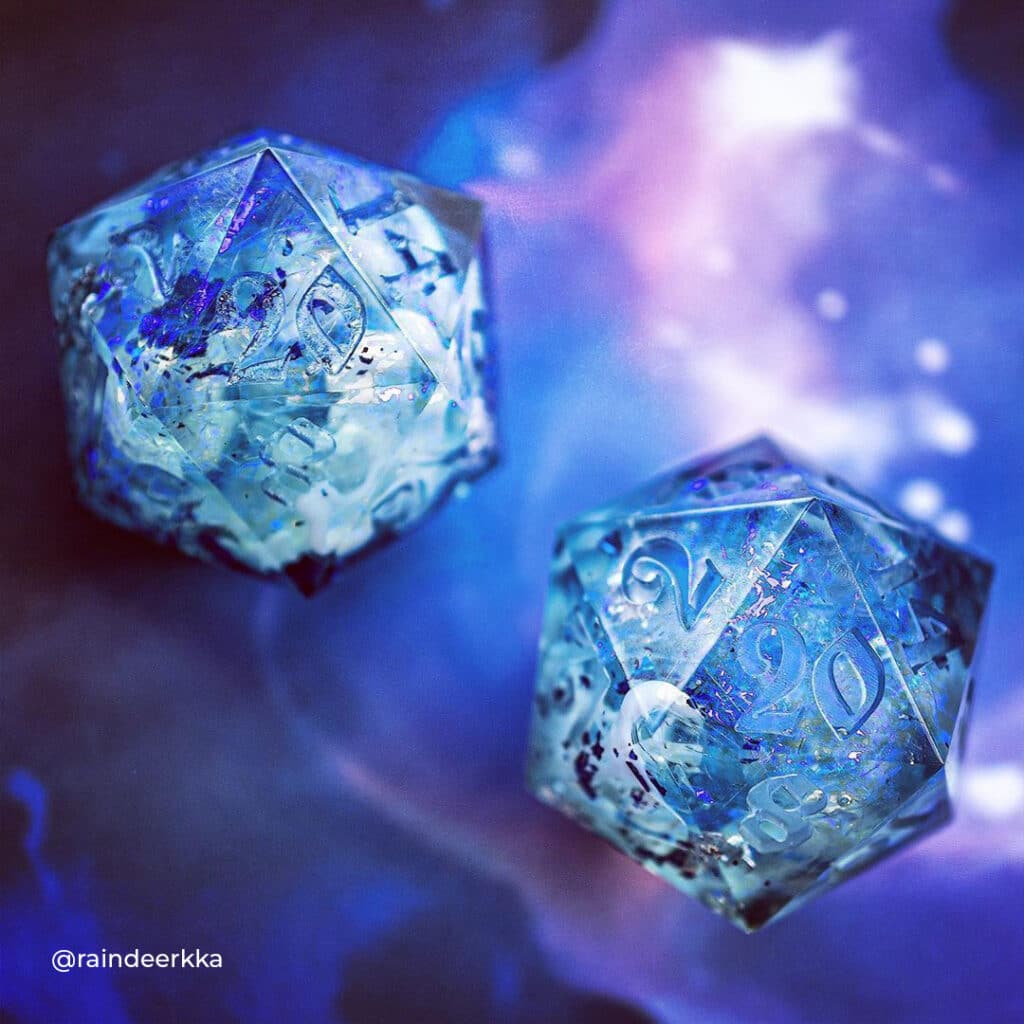
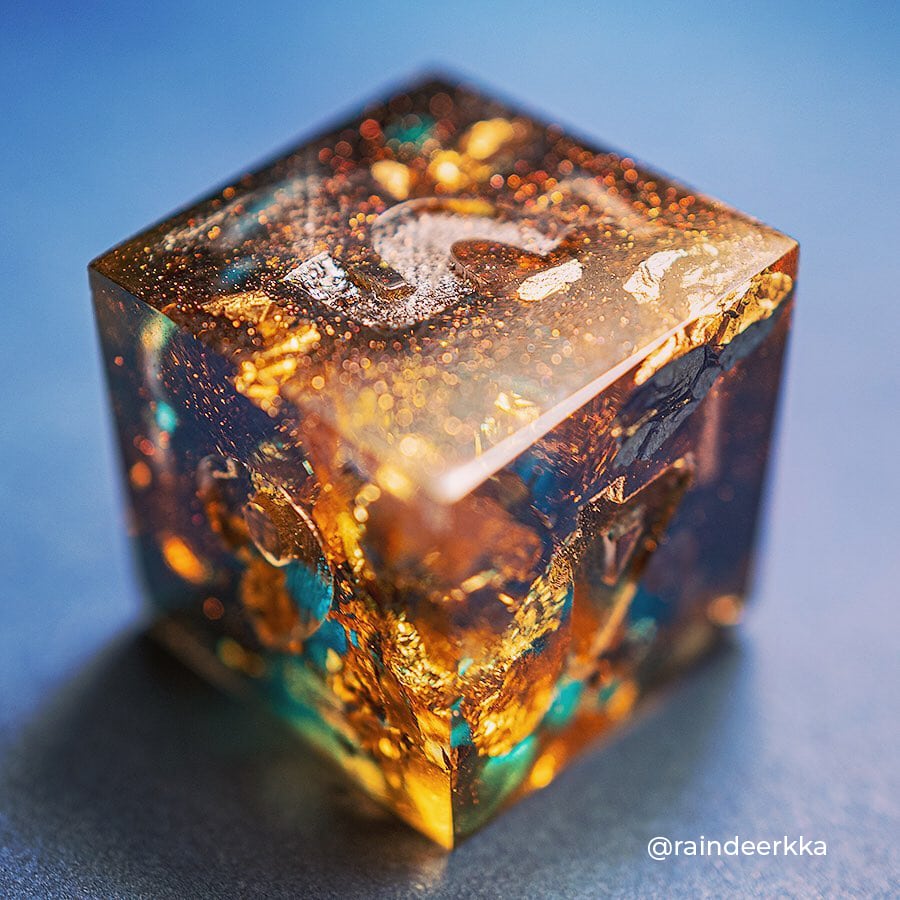
- “ICreation” – Fast Epoxy Resin, 6h Demoulding, Transparent Gloss Finish – for rapid demoulding and glossy artwork
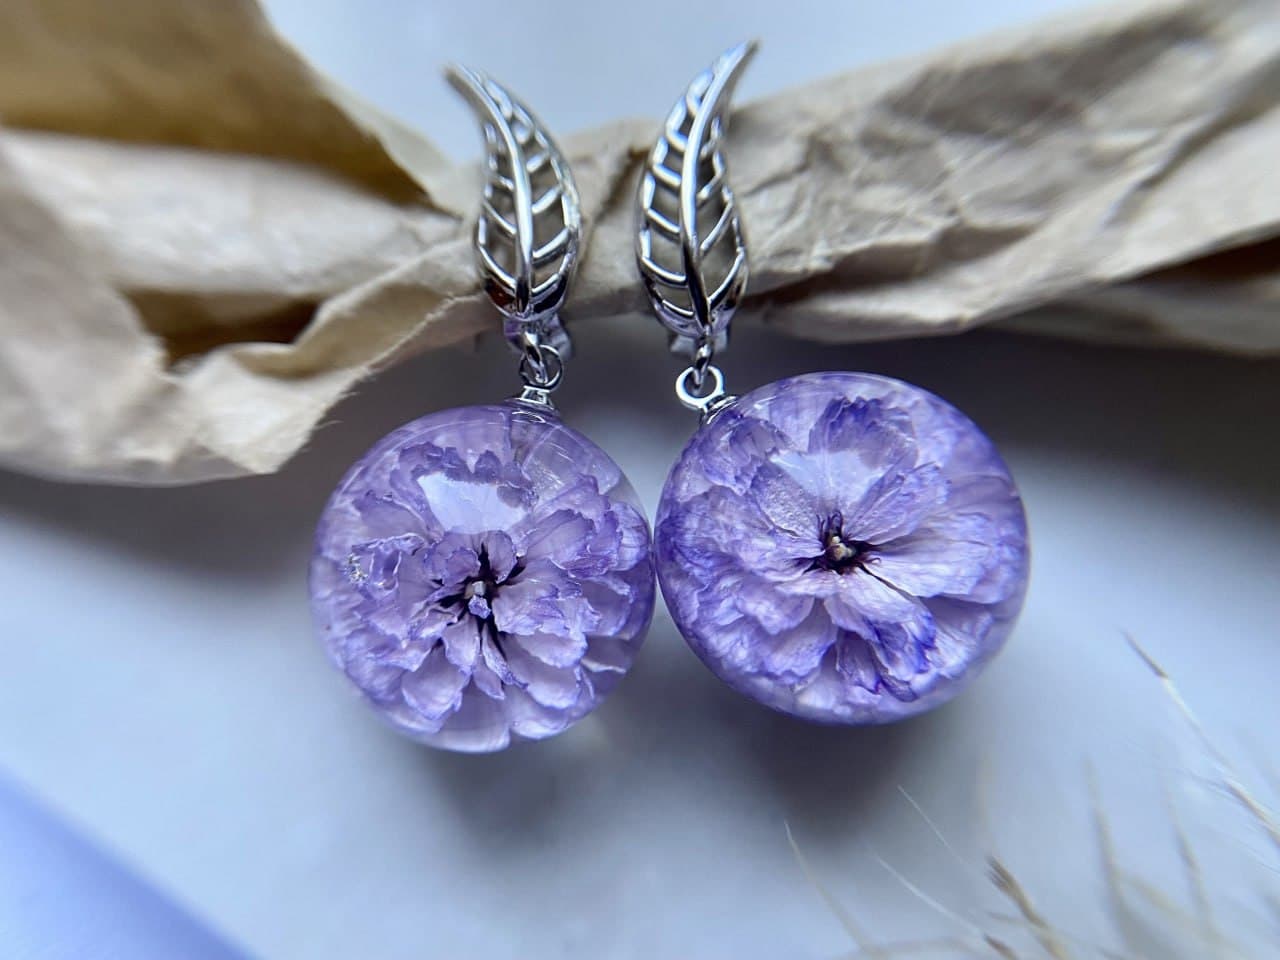
- “UV–Creation” – Fast Acrylic Resin, 3 Minute UV Cure – perfect for instant, light-cured applications and jewellery
- “Epoxytable 10-Ten” – Deep Pour Epoxy Resin for Tables, Up to 10cm Casting – suited for deep, clear pours and large projects
- “EpoxyTable 5-Five” – Deep Pour Epoxy Resin for Tables and Large Projects – Up to 5cm – for moderately deep pours and furniture work
- Mixing cups, stirrers, gloves, protective eyewear, digital scales, clean workspace, UV lamp (for UV resin)

Visual Guide to Safe Resin Preparation
Lay out your workspace with all materials separated and labelled before mixing. Personal protection and cleanliness are vital for clean, professional outcomes.

Step 1: Prepare the Workspace and Materials
Choose a well-ventilated, dust-free workspace with a stable temperature (ideally 18°C–25°C). Lay out all necessary tools and materials, and protect surfaces with plastic sheeting or disposable covers. Wear gloves and eye protection at all times. Pre-read the instructions for your specific resin. This preparation will keep contaminants out of your resin and ensure a safe, smooth workflow.
Step 2: Accurately Measure and Mix Your Resin
For two-part systems, precise measurement is critical. Use a digital scale for weight-based ratios, or marked cups for volume ratios, depending on your resin. Always mix resin and hardener according to the manufacturer’s recommended ratio (such as 2:1 or 100:55). Vigorous hand stirring for several minutes is key to even catalysis, scraping the sides and bottom of your mixing vessel.
Mix resin and hardener accurately for best results. For example, “ICreation” – Fast Epoxy Resin requires a straightforward 2:1 mixing ratio, making it easy for both beginners and advanced users to blend accurately and quickly.
Step 3: Avoid Common Catalysing Pitfalls
Never estimate ratios by eye—precision is essential to prevent tackiness or incomplete curing. Avoid under- or over-catalysing to prevent curing issues. In cold weather, resin may thicken and not cure efficiently, so only work above 18°C. Large, deep pours (as with “EpoxyTable 5-Five” – Deep Pour Epoxy Resin for Tables and Large Projects – Up to 5cm) may require multiple layers and slower catalysis to prevent overheating or cracking.
Step 4: Cure Under the Correct Conditions
After pouring, allow the resin to self-level and degas bubbles. Place your project on a flat surface away from direct sunlight and dust. For two-part epoxies, curing typically takes several hours to days, depending on product and thickness. For UV systems, such as “UV–Creation” – Fast Acrylic Resin, 3 Minute UV Cure, use a strong UV lamp and cure for 2–3 minutes for a solid, clear finish. Use a UV lamp for instant curing of UV resin.
Curing temperatures and timings are critical, with products like “Epoxytable 10-Ten” expressly formulated to handle deep pours at controlled rates, ensuring clear results without overheating.

Step 5: Post-Curing and Demoulding
Once cured, most epoxies can be safely demoulded in 6–24 hours (products like “ICreation” – Fast Epoxy Resin demould in as little as 6 hours). Avoid rushing, as premature demoulding can lead to surface imperfections or warping. If further hardening is needed, allow the piece to post-cure at room temperature for another 12–48 hours, away from moisture and UV light, unless post-curing is specifically required by your resin.
Work at the recommended temperature range for successful catalysis.
Tips, Common Mistakes, and Troubleshooting
Always mix small, manageable batches when learning to catalyse resin, and never deviate from recommended ratios. Trapped bubbles can be reduced by pouring slowly and using a heat gun sparingly. If the surface stays tacky or soft after curing, reassess your mixing ratio, temperature, or curing time. UV resins are sensitive to the intensity of your lamp—ensure enough exposure for full curing.
Real-World Curing Examples
See how professional makers demould pieces in just a few hours or achieve bubble-free deep pours overnight using the right ratios and conditions. Explore deep pour projects and time-lapse results from different resin types.
- "ICreation" – Fast Epoxy Resin, 6h Demoulding, Transparent Gloss FinishPrice range: £19.40 through £52.85ICREATION fast epoxy resin offers a clear, glossy finish with 6-hour demoulding time ideal for rapid resin projects and crafting.
- "UV–Creation" – Fast Acrylic Resin, 3 Minute UV CurePrice range: £7.85 through £59.85UV–Creation resin cures quickly under UV light, suitable for jewellery makers needing ready-to-use resin with a clear, glossy, non-yellowing finish.
 “Epoxytable 10-Ten” – Deep Pour Epoxy Resin for Tables, Up to 10cm CastingPrice range: £33.85 through £334.85“Epoxytable 10-Ten” is a low viscosity epoxy resin designed for deep table castings up to 10cm with UV resistance and long working time.
 "EpoxyTable 5-Five" – Deep Pour Epoxy Resin for Tables and Large Projects – Up to 5cmPrice range: £16.85 through £1,099.85"EpoxyTable 5-Five" is designed for tables and large projects needing deep pour resin up to 5cm with UV resistance and scratchproof surface.
Frequently Asked Questions
What is the best mixing ratio for fast epoxy cure?
Always follow the manufacturer's recommended ratio, such as 2:1 for ICreation Fast Epoxy Resin, for optimal results.
How long does UV resin take to cure under a lamp?
With the right UV lamp, UV–Creation Fast Acrylic Resin cures in just 2 to 3 minutes.
Why is my resin still sticky after curing?
Stickiness is often due to inaccurate mixing ratios, insufficient curing time, or low working temperatures.
Can I speed up epoxy curing by heating?
Gentle warmth can help, but overheating risks bubbles and defects. Use heat cautiously and within product guidelines.
How should I catalyse resin for deep pours?
Use dedicated deep-pour resins and pour in layers if needed. Allow proper curing time between each pour.
What’s the difference in catalysing UV and epoxy resin?
Epoxy requires mixing and time to cure, while UV resin cures instantly under a UV lamp without mixing.