 Free shipping on orders over £29,85

How to paint resin?
A practical guide for painting resin surfaces and art projects


Painting resin opens up creative possibilities for artists, crafters, and DIY enthusiasts. Whether you are decorating resin art, renewing a resin table top, or finishing a 3D printed model, the right techniques ensure smooth, vibrant colour and a durable result. This guide walks you through the process, common pitfalls, and the tools to achieve a professional finish.
What You’ll Need
- 12-Piece Artists Paint Brush Set for Epoxy Resin Art & DIY Projects – For fine details and even coverage in resin art or small surface painting.
- 5-Piece Disposable Paint Brush Set for Art, Crafting & DIY Projects – Handy for precise touches, edges, or where clean-up is a concern.
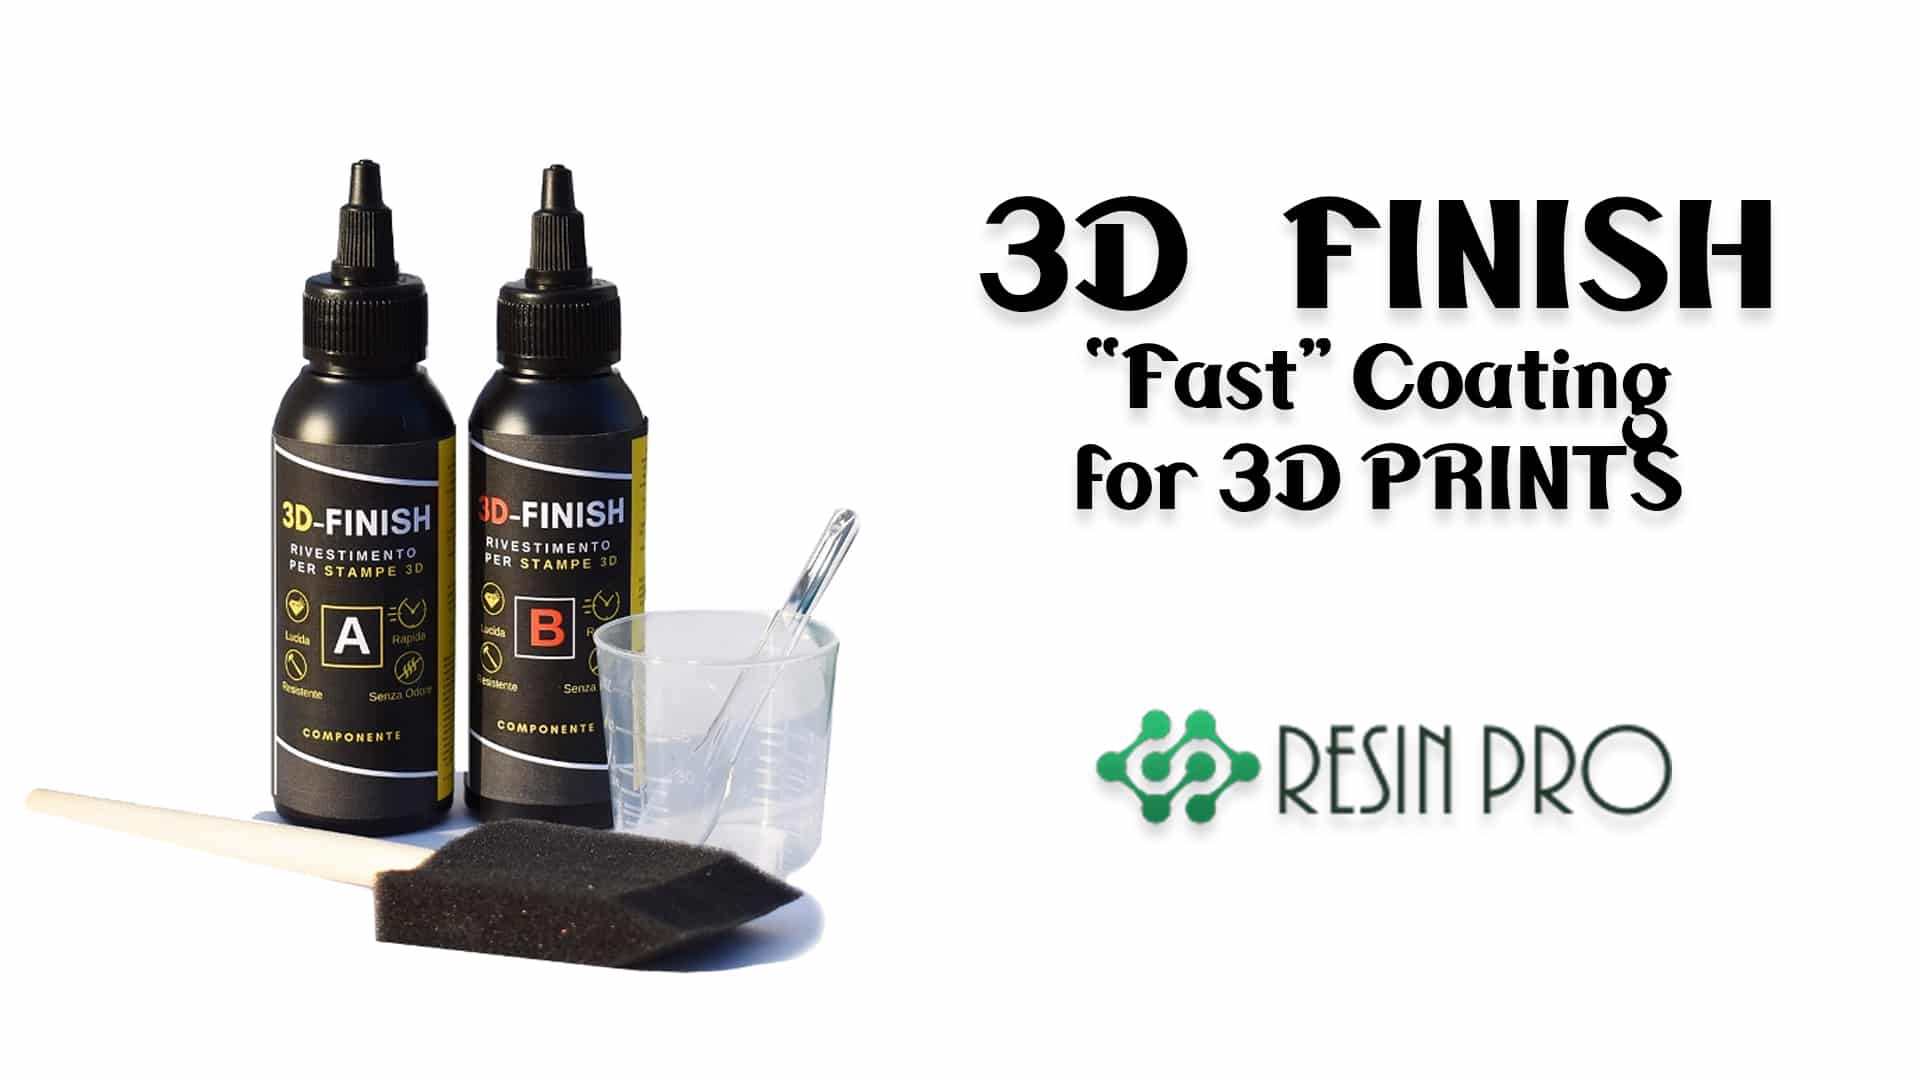
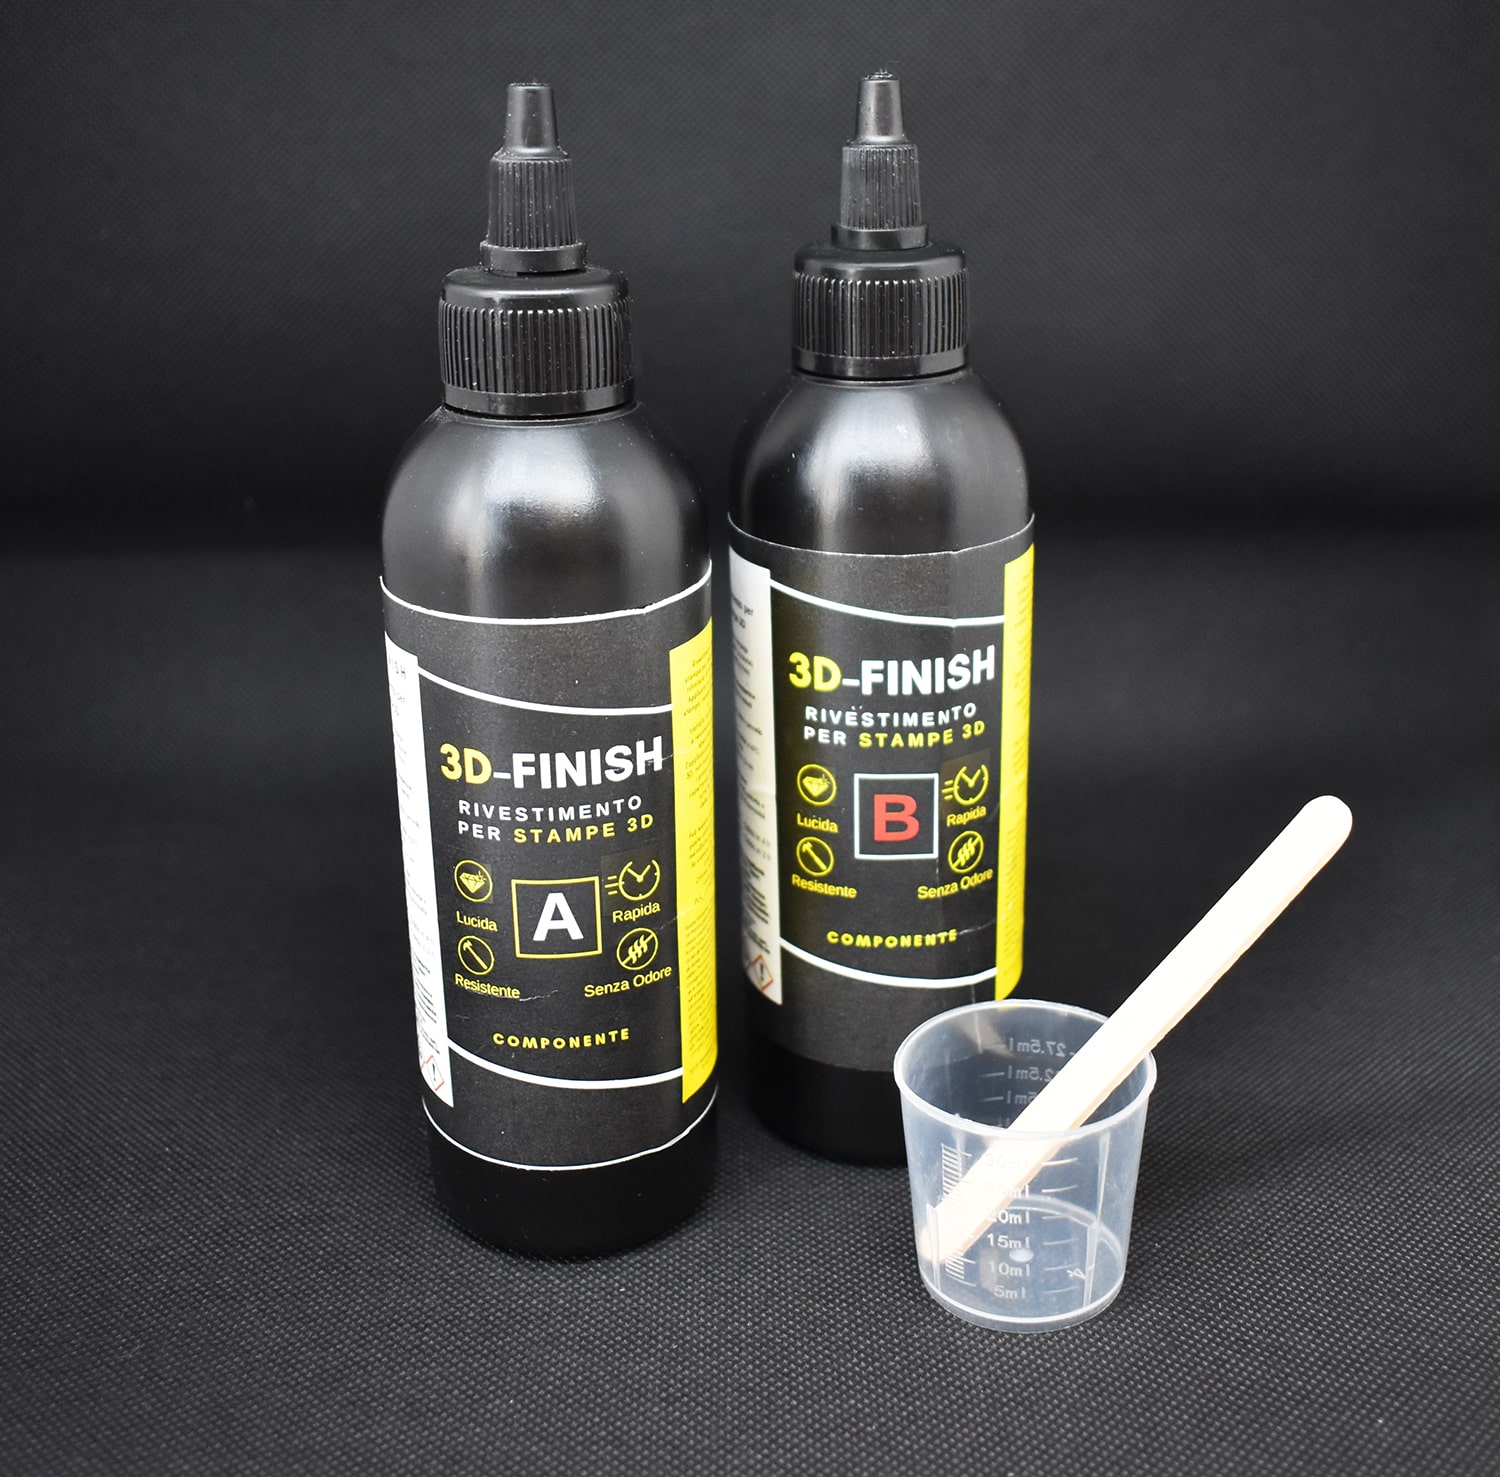
- “3D Finish” – Fast Coating Epoxy Resin for 3D Prints – To prime and smooth 3D printed resin before painting.
- Resin & Paint Application Rollers – Short-Pile, Large, and Sponge Types – Suitable for larger flat resin surfaces or quick coverage jobs.
- Sandpaper (400-600 grit for smoothing, 800-1200 for finishing)
- Mild detergent and soft cloth
- Your chosen paint (acrylic works well for most resin applications)
- Optional: Varnish or clear coat for extra durability

Key Tools for Successful Resin Painting
Selecting quality brushes or rollers ensures even paint application and fewer brush marks. Epoxy-specific brush sets and rollers allow you to work comfortably and adapt to fine or broad surfaces. Look for synthetic bristles designed to resist shedding for best effect.

Step 1: Clean and Prepare the Resin Surface
Begin by thoroughly cleaning your resin item to remove dust, fingerprints, or oil. Any contamination may prevent the paint from adhering correctly. Use mild detergent and a soft cloth, then allow the resin to dry fully. Never skip this stage, as even invisible debris can affect the paint’s performance.
Clean thoroughly before painting – this is essential for lasting results. If you are working with a freshly cast piece, let it cure completely before attempting to paint.
Step 2: Sand to Create a Key for Paint
Resin surfaces are naturally smooth and non-porous, which is why sanding is crucial. Use fine sandpaper, such as 400–600 grit, to lightly roughen the surface. This step creates micro-scratches that help paint to grip. Wipe away any sanding dust with a clean, damp cloth after sanding.
If you’re finishing a 3D printed model, a primer coating such as “3D Finish” – Fast Coating Epoxy Resin for 3D Prints can be brushed on to both fill layer lines and create a smooth, easily paintable surface once cured.


Step 3: Choose the Right Brush or Roller
Select your painting tool based on surface size and detail. For small items or intricate patterns, use a 12-Piece Artists Paint Brush Set for Epoxy Resin Art & DIY Projects to access various brush shapes for both precision and coverage. For broader surfaces, a Resin & Paint Application Roller ensures even application and speeds up the process. For single-use or tricky edges, try the 5-Piece Disposable Paint Brush Set for Art, Crafting & DIY Projects and simply dispose of them after your project.
Choose the right brush or roller to suit your resin piece and painting technique – this influences both finish and efficiency.
Step 4: Apply Paint in Thin, Even Coats
Apply your chosen paint in thin, even coats. Work methodically, painting in one direction and avoiding overworking the same spot to prevent streaks and brush marks. Allow each layer to dry fully before adding the next; this will help you achieve solid, smooth colour without runs.
Apply paint in thin coats – several light layers yield a stronger and more professional look. If you notice imperfections, you can gently sand between coats with very fine sandpaper (800-1200 grit).
Step 5: Seal for Protection and Durability
Once your paint is completely dry, consider sealing the surface with a clear varnish, resin, or specialist topcoat. This final layer guards against scratches, UV rays, and moisture, preserving your work over time. Apply according to manufacturer instructions and let cure undisturbed for the recommended period.
Seal for protection and durability – it’s particularly important for pieces exposed to regular handling, sunlight, or wear.
Tips and Common Mistakes When Painting Resin
Allow all layers (base, paint, and seal) to dry or cure as per manufacturer’s guidance to avoid smudges or tackiness. Avoid painting too thickly—thick coats can bubble or peel later. Always use the right type of paint for your resin, and test your technique on a scrap piece first when working on valuable projects. Ventilate your workspace whenever handling paints or sealers for safe, solvent-free results.
Technique and Safety in Resin Painting
Take care with ventilation and personal safety when sanding or sealing resin surfaces. Wear a mask when creating dust and always read product labels for specific drying times or compatibility notes. Small test areas can help prevent surprises before you commit to the final piece.

- 12-Piece Artists Paint Brush Set for Epoxy Resin Art & DIY Projects£6.95This 12-piece brush set provides versatile shapes and durable bristles for use in epoxy resin art projects.
- 5-Piece Disposable Paint Brush Set for Art, Crafting & DIY Projects£6.45A set of five durable brushes suited for detailed painting tasks, including resin projects.
- "3D Finish" – Fast Coating Epoxy Resin for 3D PrintsPrice range: £13.95 through £19.95"3D Finish" epoxy resin provides a fast-curing, detail-preserving coating designed for 3D prints in a painting context.
 Resin & Paint Application Rollers – Short-Pile, Large, and Sponge TypesPrice range: £3.62 through £5.09Rollers designed for accurate epoxy resin application, suitable for both detailed and broad resin surfaces.
Frequently Asked Questions
Can you paint directly onto resin?
It's possible, but sanding or priming the surface first will significantly improve paint adhesion and durability.
What kind of paint works best on resin?
Acrylic paints are commonly used for resin. They offer good adhesion, vibrant colour, and fast drying times.
Should I sand resin before painting?
Yes, sanding creates a textured surface for the paint to grip, resulting in a much more durable finish.
Is it necessary to seal resin after painting?
Sealing is highly recommended, especially for frequently handled or displayed items, to protect paint from scratches and fading.
Can I paint over models coated with 3D Finish epoxy?
Yes, once fully cured and lightly sanded, 3D Finish epoxy creates an ideal surface for painting.
What are common mistakes in painting resin?
Skipping surface prep or applying paint too thickly can make the finish uneven, flaky, or less durable than intended.