 Free shipping on orders over £29,85


How to Pot Electronics?
Step-by-step instructions for safely sealing electronic components


Potting your electronics is a reliable way to safeguard circuits against moisture, dust, and mechanical shock, extending the operational life of your devices. This guide explains exactly how to achieve a professional finish, whether you are working on hobbyist projects or commercial prototypes.
What You’ll Need
- Pure Isopropyl Alcohol 99.9% – 1000ml Bottle for Epoxy Resin Projects & DIY – For thorough cleaning and surface preparation
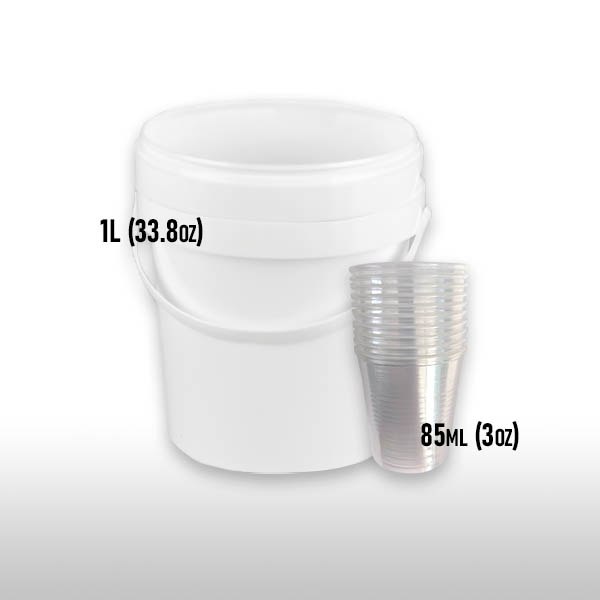
- Mixing Buckets Kit for Epoxy Resin Art – Easy Clean Flexible Design – To ensure a well-mixed resin for pouring
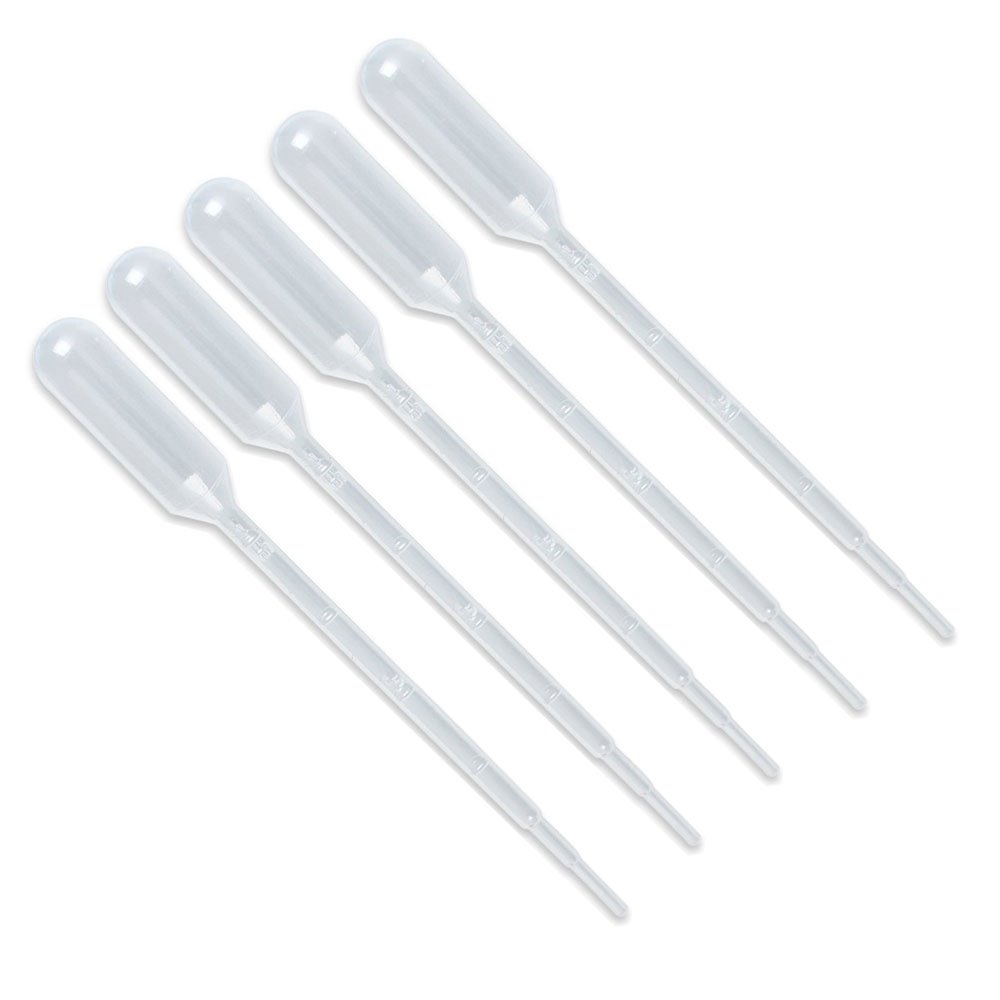
- 3ml Silicone Dropper Pipettes – for Precision Crafting and Epoxy Resin – For controlled dispensing and detail work
- Protective gloves, goggles, and a dust-free workspace
- Suitable resin or potting compound for electronics (epoxy or silicone as appropriate to your application)

Preparing Your Workspace and Components
Organisation and cleanliness set the foundation for a successful potting process. Remove any unnecessary tools, keep your area clear of dust, and ensure all parts are dry and oil-free before progressing.
Step 1: Prepare the Electronics and Workspace
Thorough cleaning is essential to remove grease, solder flux, and contaminants from electronic parts, as any residue can prevent proper adhesion of your potting compound. Use Pure Isopropyl Alcohol 99.9% – 1000ml Bottle for Epoxy Resin Projects & DIY with lint-free wipes to clean circuit boards and enclosures, ensuring everything is completely dry before proceeding.
Work in a dust-free, well-ventilated area, and protect sensitive parts from accidental knocks or movement.
Step 2: Mix the Resin or Potting Compound
Follow the manufacturer’s instructions for your chosen resin. Use a Mixing Buckets Kit for Epoxy Resin Art – Easy Clean Flexible Design to combine resin and hardener thoroughly. Stir with a clean tool, scraping the sides and base to prevent unmixed portions.
Mix slowly to avoid introducing extra air, which can lead to unwanted bubbles inside the cured potting matrix.
Step 3: Pour and Encapsulate the Components
Arrange the components in your chosen mould or enclosure. Pour gradually and evenly, starting from one side and allowing the resin to flow and spread naturally around the electronics. This minimises trapped air and ensures uniform coverage.
For precision or to fill intricate areas, a 3ml Silicone Dropper Pipettes – for Precision Crafting and Epoxy Resin can be invaluable for careful placement and controlling small amounts of resin.

Step 4: Degas and Allow to Cure Properly
Monitor the initial cure stage for bubbles. Gently tapping the enclosure can help raise trapped air to the surface. If any bubbles appear, you may carefully remove them or use a fine mist of isopropyl alcohol across the resin’s surface to help them disperse (if compatible with your chosen resin system).
Leave the potted electronics undisturbed for the full recommended curing time. Do not rush curing, as moving or handling prematurely can compromise the physical and protective properties.

Step 5: Inspect and Finalise
Verify the resin has fully set and check for any missed areas. Seal entry points to avoid leaks and trim away overflow where necessary. Once cured, the electronics are ready for use in demanding conditions, protected from humidity, vibration, and contaminants.
Potting Tips and Common Mistakes
- Avoid mixing excess resin to reduce waste and limit the chance of mistakes.
- Never use water or household cleaners; only isopropyl alcohol is suitable before potting.
- Temperature extremes may affect curing—pot at moderate temperatures and avoid drafts.
- Double-check polarity and final assembly before encapsulation; fixing mistakes is difficult once cured.
Tips for Seamless Resin Potting
Focus on even coverage and air exclusion for the best results. Take your time during pouring and allow the resin to level naturally around components, checking for trapped bubbles as you go.
- Pure Isopropyl Alcohol 99.9% – 1000ml Bottle for Epoxy Resin Projects & DIYPrice range: £10.45 through £20.95Pure Isopropyl Alcohol 99.9% is a highly pure solution suitable for removing bubbles and cleaning in epoxy resin projects.
- "Klebfix" – Two-Component Fast Epoxy Glue 2K, 25g Syringe£24.00"Klebfix" 2K epoxy glue provides strong bonding for various materials with rapid setting and waterproof finish, suited to How to Pot Electronics?…
- Mixing Buckets Kit for Epoxy Resin Art – Easy Clean Flexible DesignPrice range: £2.05 through £8.95Mixing buckets designed for ease of use hold up well for epoxy resin art and crafts, suited for careful mixing and cleaning.
- 3ml Silicone Dropper Pipettes – for Precision Crafting and Epoxy ResinPrice range: £3.00 through £8.453ml Silicone Dropper Pipettes offer flexible and semi-transparent design suitable for precise epoxy resin crafting.
Frequently Asked Questions
Do I need a special resin for electronics potting?
Yes, use potting compounds or resins designed for electronics, such as certain epoxies or silicones, for the right protection and electrical properties.
How do I remove bubbles from potted electronics?
Pour resin slowly, tap the enclosure gently during the initial cure, and use isopropyl alcohol on the surface to help bubbles escape.
Can I pot an electronic device without cleaning first?
No, residue or dust will prevent proper resin adhesion and compromise the seal. Always meticulously clean with isopropyl alcohol first.
How long should I leave electronics to cure?
Follow the resin manufacturer’s guidelines for curing. Typically, this ranges from several hours to a full day for best results.
What if I encapsulate a component by mistake?
Unfortunately, removing cured resin is difficult. Double-check orientation and assembly before pouring to avoid this issue.
Is potting reversible or temporary?
Potting forms a permanent seal. Removal often damages the electronics, so only encapsulate when the assembly is final.