 Free shipping on orders over £29,85


How to prepare the sheet metal for applying epoxy primer?
Get sheet metal perfectly primed for epoxy with step-by-step surface prep.


Properly preparing sheet metal before applying an epoxy primer is a crucial step to ensure durable protection, lasting adhesion, and a flawless final appearance. This guide will walk you through the professional process of prepping metal surfaces, highlighting common pitfalls and effective techniques for both experienced DIY enthusiasts and those new to working with epoxy products. Follow these steps closely and your primer—and the paint on top—will provide lasting results.
What You’ll Need
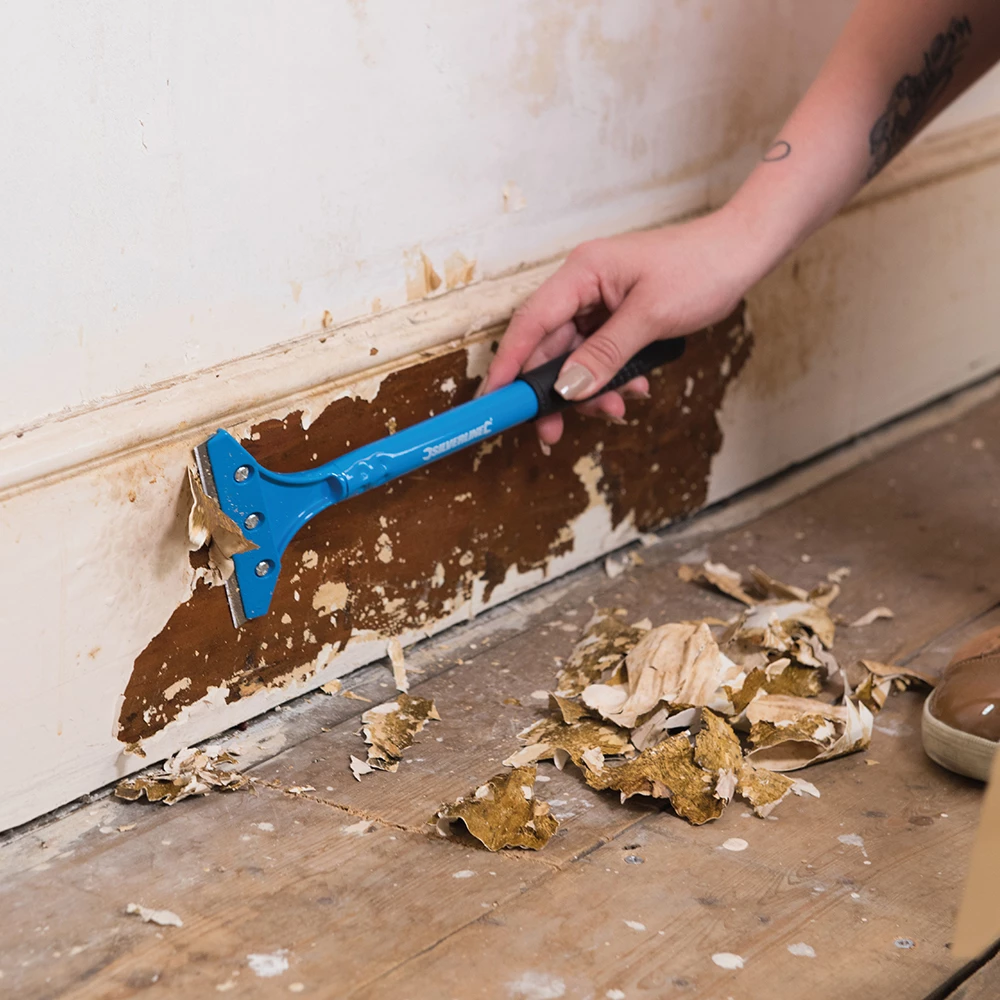
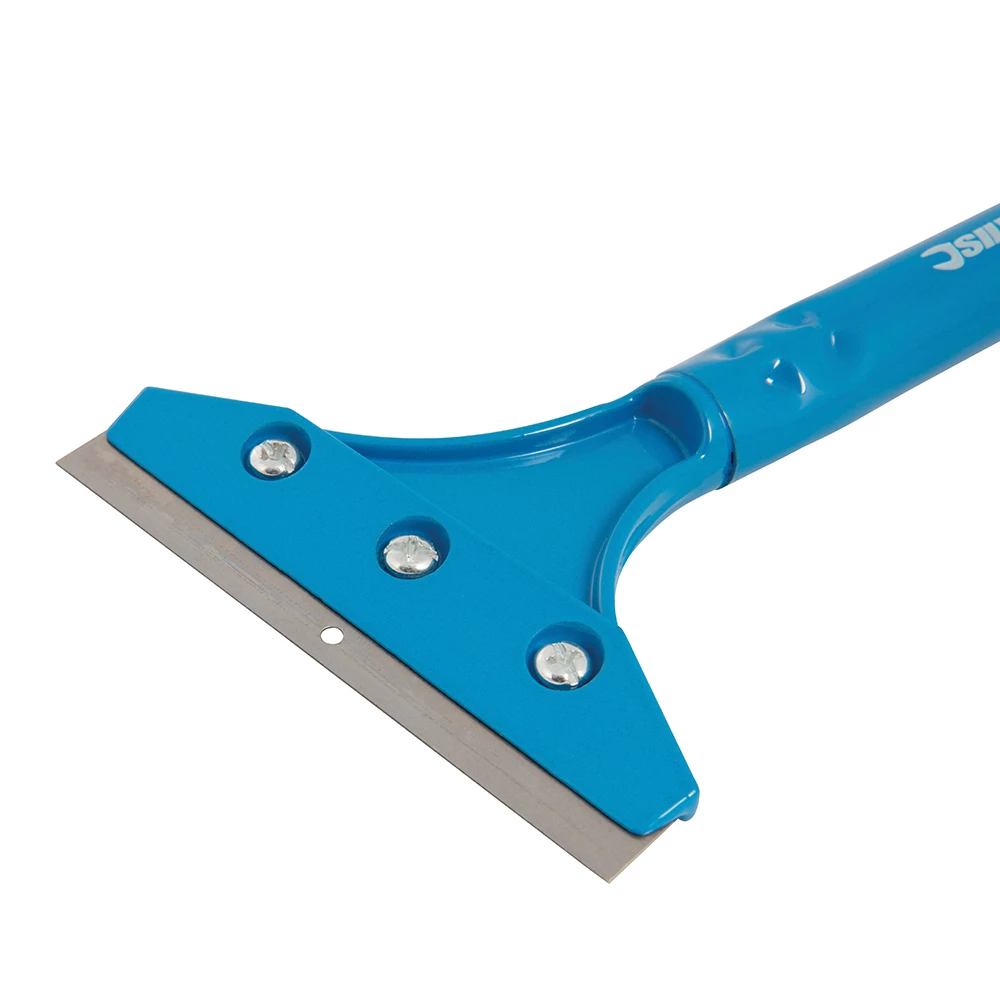
- Heavy Duty Scraper for Paint and Epoxy Resin Removal — A reliable tool for efficiently stripping away stubborn paints or surface debris.
- CROP 2K Fiberglass Putty – 750 ml + Hardener — Essential for filling and smoothing dents, cracks or imperfections in the metal after old coatings are removed.
- 1500W Heat Gun for Crafting and Epoxy Resin Projects – Two Heat Settings or Gas Heat Gun for Epoxy Resin – Precision Tool for Bubble Removal and Finishing — Useful for paint removal and ensuring surfaces are fully dried before priming.
- Clean cloths, degreasing agent, sanding tools, PPE (gloves, mask, goggles).

Visual Guide: Sheet Metal Preparation Tools
See essential tools for professional sheet metal prep—from scrapers to heat guns—before applying epoxy primer. These ensure every surface is clean, dry, and defect-free.
Step 1: Remove Rust, Old Paint and Contaminants
A flawless primer coat starts with a completely clean substrate. Begin by clearing away any surface residue—rust, old paint, grease, or dust—using a combination of dry brushing, mechanical sanding, and scraping.
For stubborn or thick layers, a Heavy Duty Scraper for Paint and Epoxy Resin Removal is ideal. Its lightweight, sharp design ensures efficient removal without causing unnecessary fatigue. Carefully work across the metal’s surface, focusing on edges and corners where debris often collects. Using a dedicated scraper also reduces the risk of damaging the metal’s structure compared to harsh abrasives.
If previous paint is difficult to remove, a heat gun may be used. Apply gentle, even heat with either the 1500W Heat Gun or the Gas Heat Gun to soften layers, then immediately scrape off loosened material. Always ventilate the area sufficiently and wear PPE to protect against dust and fumes.
Step 2: Degrease and Clean Thoroughly
Once debris and flaky coatings are removed, wash the surface with a degreasing agent to eliminate oils and fingerprints that can prevent adhesion. Thorough surface cleaning is critical for adhesion. Use lint-free cloths soaked in degreaser, and wipe down the sheet metal several times. Ensure that any cleaning residue is also wiped away.
Never skip degreasing, even if the metal looks clean, as invisible contaminants can cause primers to lift or bubble after curing. Allow the surface to air dry fully or use a heat gun on a low setting for rapid drying. Check for any remaining marks or residue—if present, repeat cleaning until the surface is pristine.
Step 3: Correct Imperfections and Smooth the Surface
After cleaning, inspect the metal for dents, cracks, or holes. These flaws can undermine the final finish if left unaddressed. For deeper imperfections, use CROP 2K Fiberglass Putty – 750 ml + Hardener. This polyester putty is fibreglass-reinforced, making it ideal for strengthening damaged areas before priming.
Mix the putty with its hardener as per instructions, apply generously to affected areas, and allow to cure fully. Once set, sand the surface lightly to blend patches with the surrounding metal. Aim for a continuous, smooth finish. Always remove dust and residue before priming—sanding debris is easily overlooked but can cause visible defects in the primer coat.
Step 4: Final Surface Preparation Before Primer
With repairs complete, lightly sand the entire sheet metal surface to create a subtle profile for the epoxy primer to bond to. Use a fine-grit abrasive and sand in a uniform direction, being careful not to score or gouge the metal.
Wipe away sanding dust with a clean, dry cloth. For maximum adhesion, the surface must be entirely residue-free, dry, and slightly textured. Only once you’re satisfied should you proceed to mix and apply your chosen epoxy primer immediately, following the product’s specific recommendations for best results.
Tips and Common Mistakes When Preparing Metal for Epoxy Primer
Use a dedicated scraper for stubborn paints or rust, as makeshift tools can damage or scratch the substrate. Always wear protective equipment—metal preparation can generate hazardous dust and sharp fragments.
Common mistakes include rushing the cleaning or drying process. Patience pays off; ensure each layer of contamination is fully removed, and let fillers cure and surfaces dry thoroughly before priming. Double-check all edges and seams for hidden residue. If possible, apply preparations in a dust-free, dry environment with stable temperatures.
Spotlight: Finishing Touches That Matter
Attention to detail delivers outstanding results. Ensure fillers are fully cured and surfaces thoroughly dusted before priming to avoid visible defects or adhesion failures.

- CROP 2K Fiberglass Putty – 750 ml + Hardener£15.85CROP 2K Fiberglass Putty is designed for bodywork repairs and preparing surfaces before epoxy primer application.
- Heavy Duty Scraper for Paint and Epoxy Resin Removal£8.95Heavy Duty Scraper offers a lightweight and precise tool for removing paint and coverings, suitable for various renovation tasks.
 1500W Heat Gun for Crafting and Epoxy Resin Projects – Two Heat Settings£29.45The 1500W Heat Gun is designed for epoxy resin projects, supporting bubble removal and delivering finishes suited to crafting needs.
 Gas Heat Gun for Epoxy Resin – Precision Tool for Bubble Removal and FinishingPrice range: £4.45 through £14.95The Gas Heat Gun offers precision heating for epoxy resin projects, aiding bubble removal to support a smooth and professional finish.
Frequently Asked Questions
How do I remove old coatings before epoxy priming?
Use a heavy duty scraper and, if necessary, a heat gun to lift paints or rust. Always ensure surfaces are smooth and clean.
What is the best way to fill dents before priming?
Use a fibreglass-reinforced polyester putty on cleaned metal, then sand smooth after curing for a seamless surface.
Is degreasing the metal really necessary?
Yes. Even clean-looking metal may have residue that prevents primer adhesion, so always use a degreasing agent.
Is sanding necessary before applying epoxy primer?
Sanding creates a key for primer to bond, especially after filling or to smooth out small imperfections. Use fine grit for best results.
How long should metal dry after cleaning?
Ensure the surface is visibly dry; drying times vary with temperature, but a heat gun can speed things up for immediate application.
What protective gear should I use?
Wear gloves, goggles, and a dust mask to protect from particles, fumes, and chemicals during all preparation steps.