 Free shipping on orders over £29,85


How to remove epoxy floor?
Step-by-step guide for epoxy floor removal and clean-up

Epoxy floor coatings deliver durability and a sleek appearance, but when it is time to refresh your space or repair damage, removal can be challenging. This guide shows you how to safely and effectively remove epoxy flooring from concrete, tiles, or other surfaces — whether in a home garage, workshop, or commercial setting. Proper removal techniques help preserve the subfloor and prepare it for new finishes, ensuring the best results for your next project.
What You’ll Need
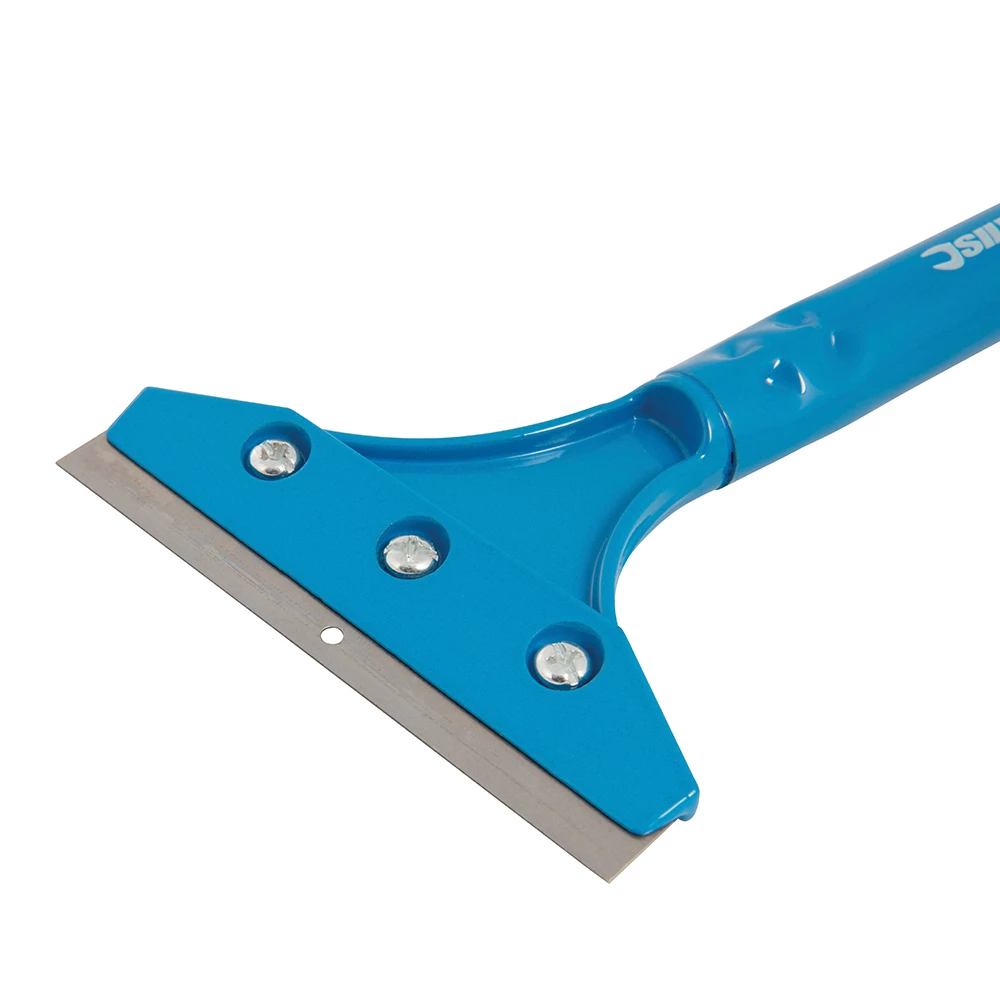
- Heavy Duty Scraper for Paint and Epoxy Resin Removal – Ideal for manually scraping up epoxy layers
- “Ebonite Abralon” – Sanding Pads 360-4000 Grit for Resin and Wood – For smoothing or finishing small leftover patches
- Protective gear (gloves, goggles, dust mask)
- Broom, dustpan, and vacuum
- Optional: Heat gun (for stubborn sections)
- Garbage bags for debris
Set Up Safely Before You Start
Assess the workspace before any removal activity. Remove valuables and delicate items from the area, and use dust sheets to protect adjacent spaces from debris. Ensuring a tidy, open environment minimises tripping risks and helps contain dust.

Step 1: Prepare the Area and Yourself
Clear the room of any furniture or obstructions to ensure safe access to the entire floor. Ventilate the space well, opening windows or doors to prevent inhalation of dust or fumes. Don adequate protective equipment: heavy-duty gloves shield your hands from sharp flakes and tools, while safety goggles and a dust mask protect against airborne epoxy dust. Skipping protection can lead to skin irritation and potential respiratory issues, so never overlook safety.
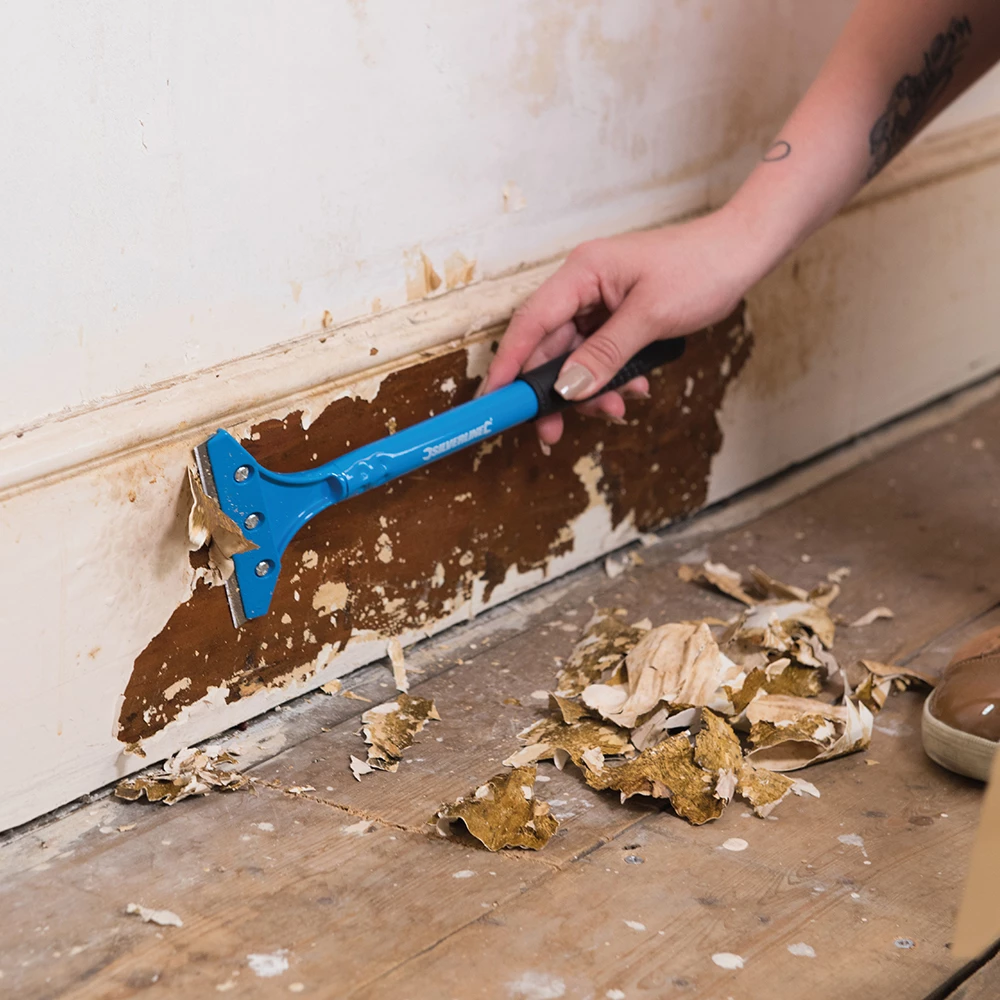
Step 2: Begin Mechanical Removal
The primary method for removing epoxy flooring involves breaking the coating’s bond with the subfloor. Start at an edge or seam to work a corner loose. Use a quality scraper for mechanical removal, such as the Heavy Duty Scraper for Paint and Epoxy Resin Removal, which offers a razor-sharp blade and comfortable grip to help lift and peel epoxy efficiently. Apply firm, even pressure, pushing the blade beneath the coating and leveraging smaller sections at a time. Persistence is key, especially for thicker or older epoxy layers. For stubborn patches, gently heating the area with a heat gun can soften the resin, making scraping more manageable.
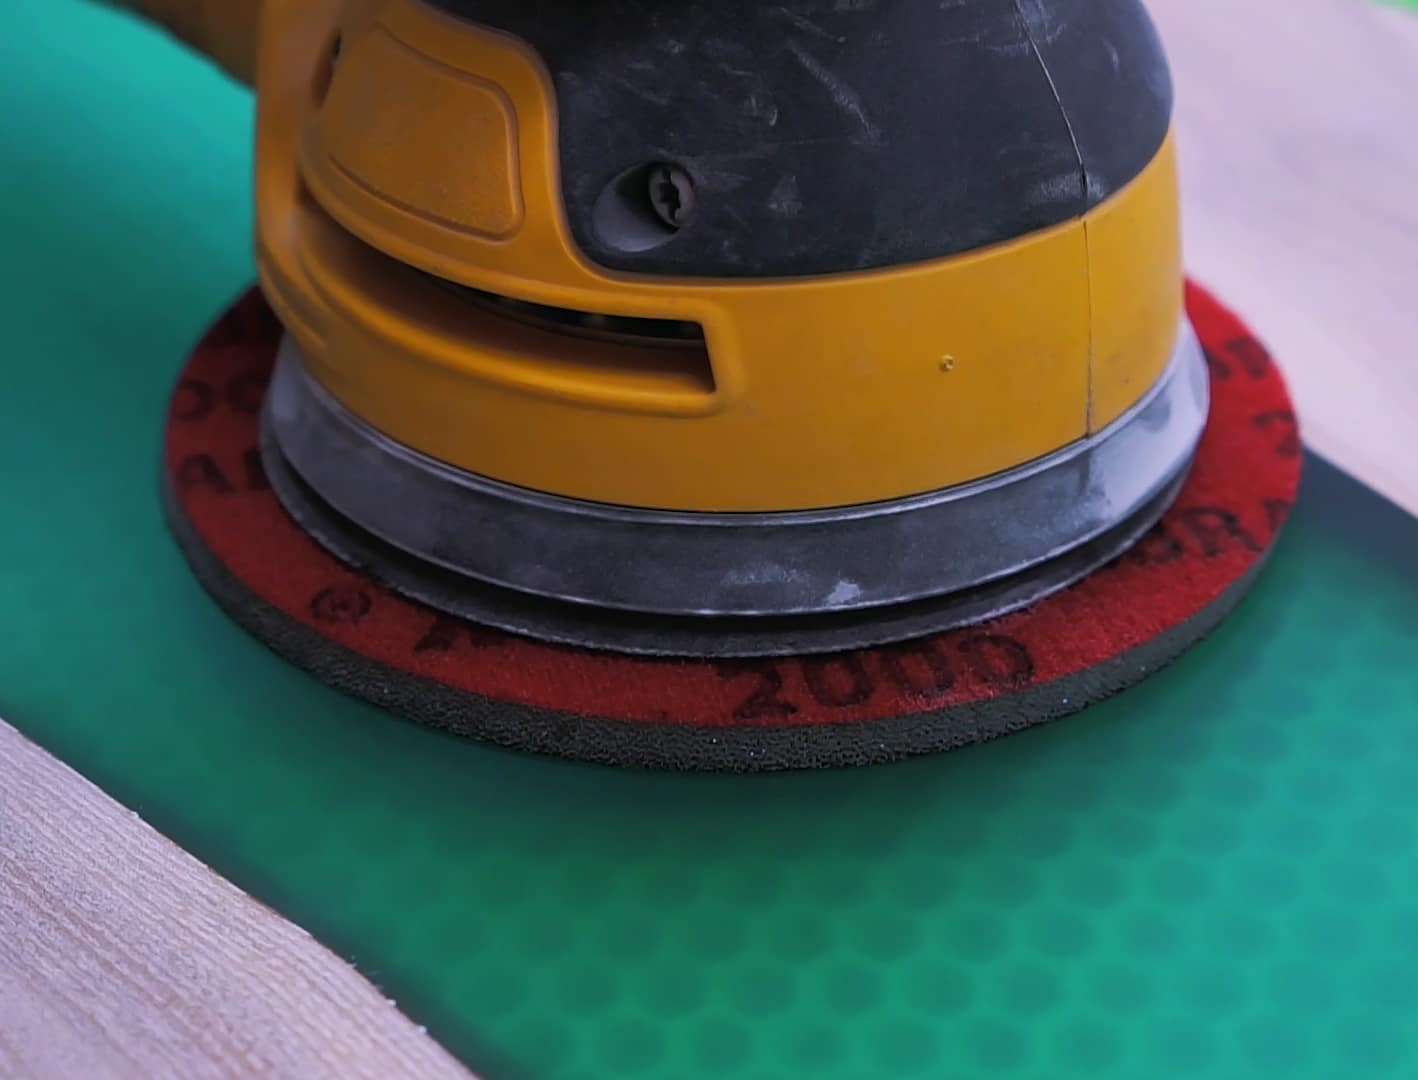
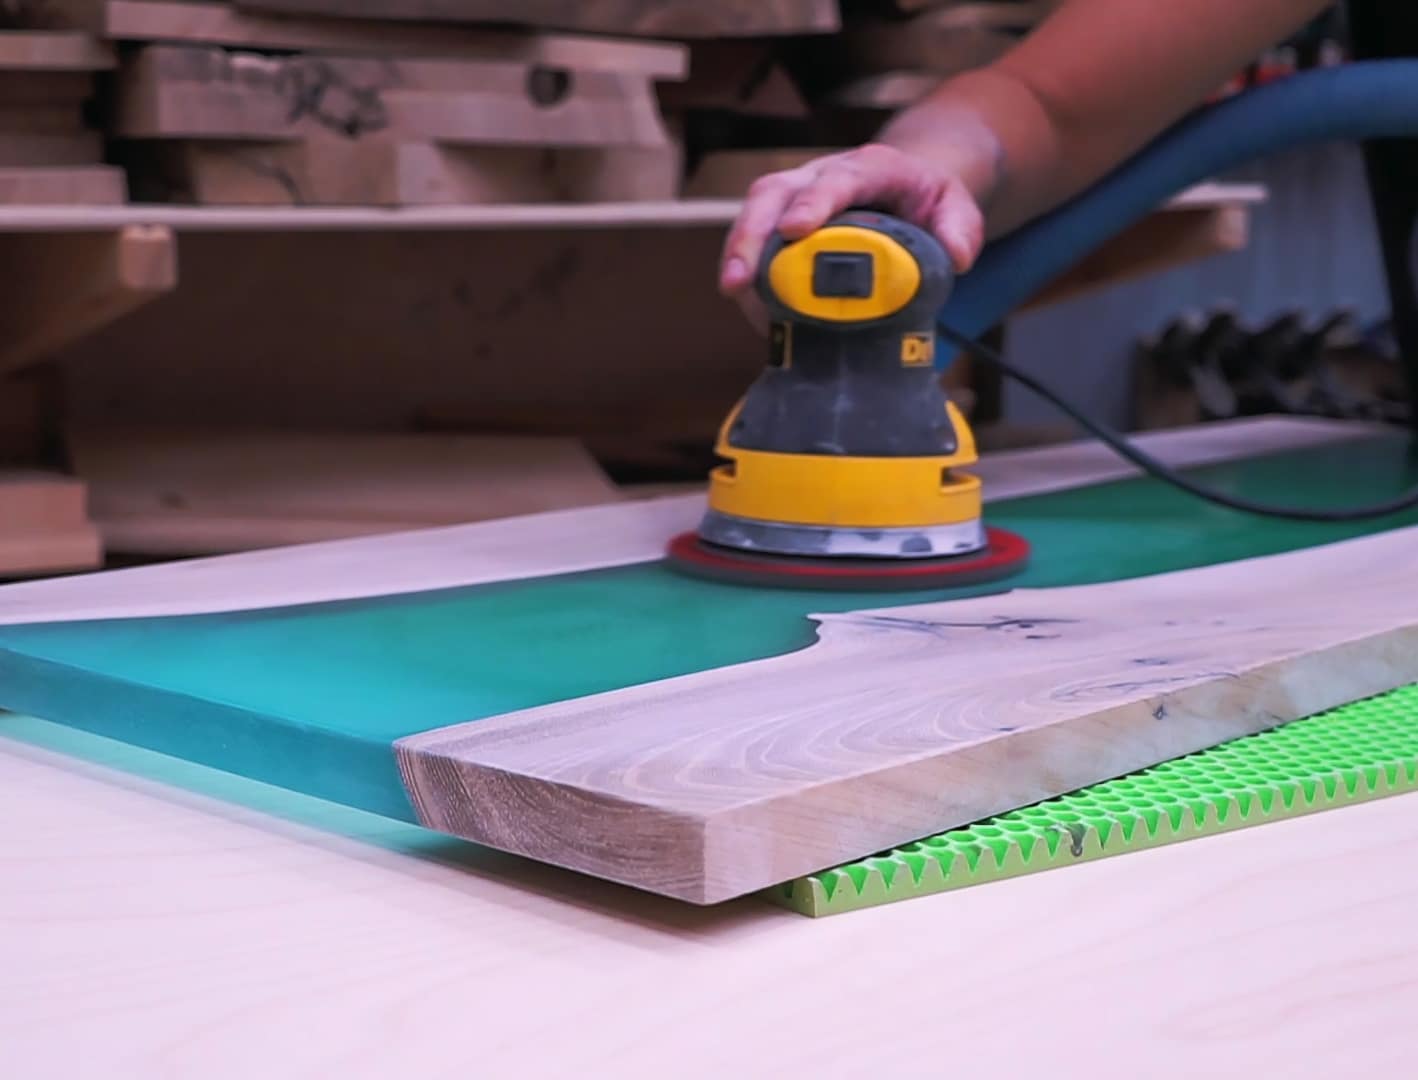
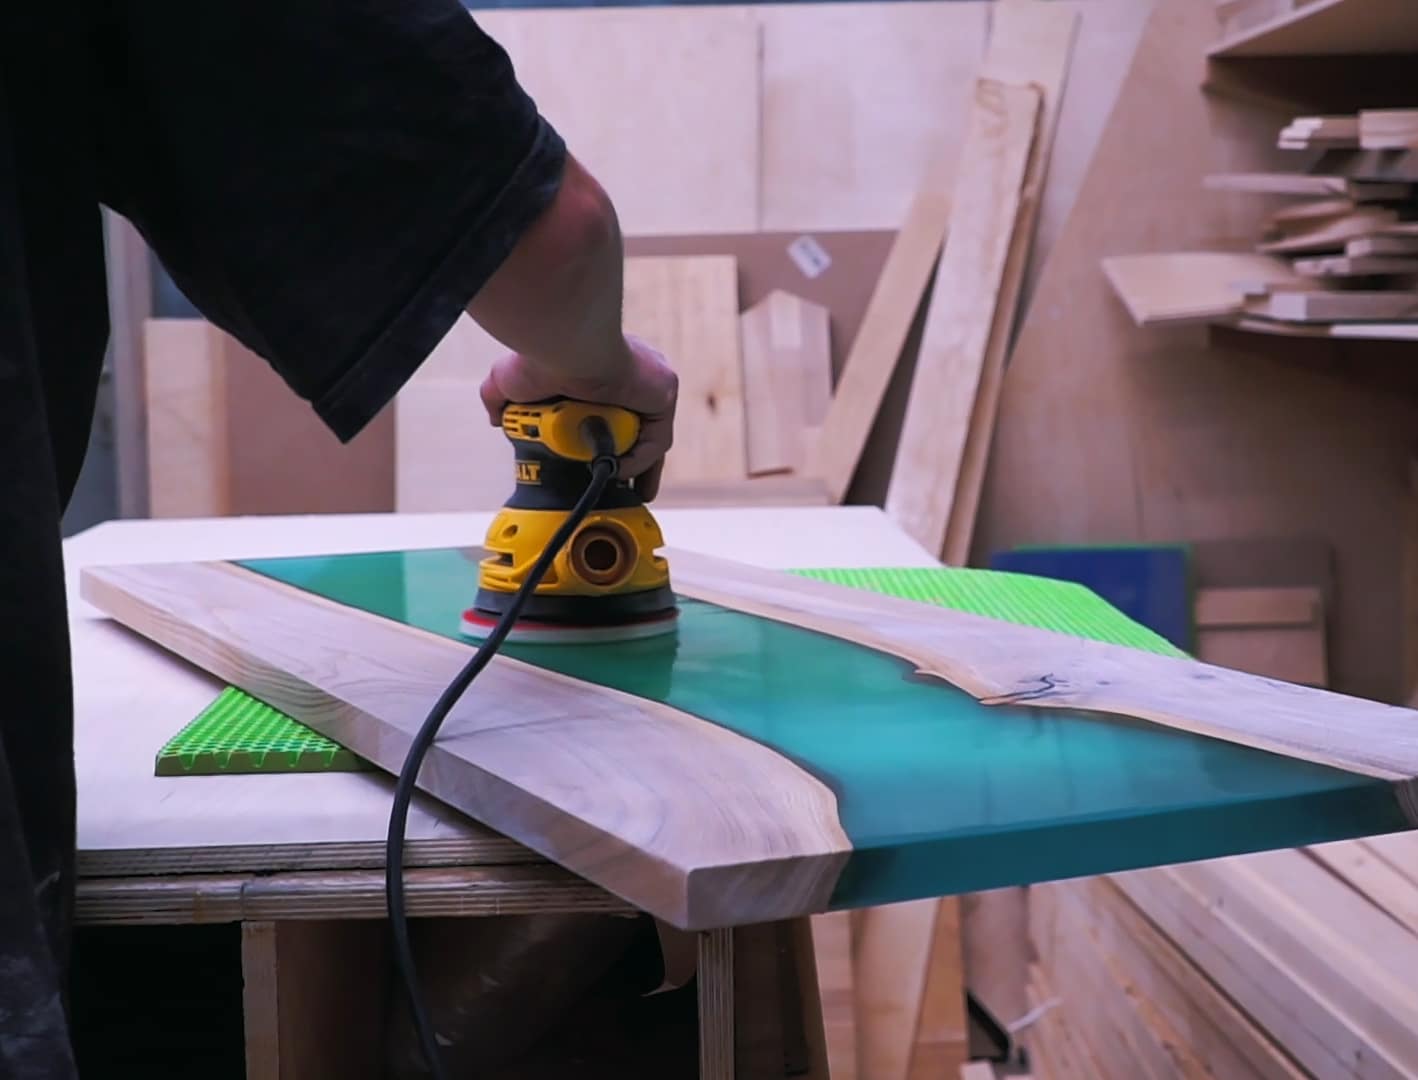
Step 3: Sand and Smooth Remaining Residue
Once the bulk of the epoxy has been scraped up, some stubborn fragments may remain. Sand these patches with a fine abrasive to achieve a flat, even surface, avoiding unnecessary gouging of the subfloor. The “Ebonite Abralon” – Sanding Pads 360-4000 Grit for Resin and Wood work well for detailed finishing on concrete or wood, providing precise control and a refined finish. Begin with a coarse grit if needed, moving to higher grits for a smoother result. Always check that all dust is collected between each sanding pass.
Step 4: Clean Up and Inspect
Sweep away and dispose of debris, then vacuum thoroughly to eliminate microscopic dust created by scraping and sanding. Any remaining particles could interfere with adhesion if a new finish is applied. Clean the surface thoroughly before refinishing or proceeding to repairs. Inspect the subfloor for cracks, chips, or stubborn stains—you may need extra treatment before starting the next stage of your flooring project.
Tips and Common Mistakes
Always prioritise safety with goggles and a mask, as epoxy dust is abrasive and potentially irritating. Work in small sections to avoid damaging the subfloor and fatigue. Avoid using excess force, which could gouge concrete or wood beneath the epoxy layer. For time efficiency, focus on steady, consistent progress rather than rushing. If the epoxy is particularly thick, patience pays off — steady scraping and proper sanding will yield the best finish for your next flooring solution.
When Professional Help May Be Needed
If your epoxy floor covers a large area or shows extreme adhesion, consider contacting a professional removal service. Professionals have access to powerful machinery and advanced safety gear, saving time and protecting sensitive subfloors in complex environments.
- Heavy Duty Scraper for Paint and Epoxy Resin Removal£8.95Heavy Duty Scraper offers a lightweight design and razor-sharp blade for efficient removal tasks in the theme of How to remove epoxy floor?
- "Ebonite Abralon" – Sanding Pads 360-4000 Grit for Resin and Wood£4.15"Ebonite Abralon" sanding pads offer precise grit options for finishing epoxy resin and wood surfaces, suited for polishing tasks relevant to the…
Frequently Asked Questions
How can I remove an epoxy floor without damaging the subfloor?
Work patiently in small sections using a proper scraper, and avoid excessive force to preserve the underlying surface.
What is the safest way to remove epoxy flooring?
Ventilate the area, wear gloves and goggles, then use mechanical methods such as scraping and sanding while minimising dust.
How do I remove tough epoxy residue left on the floor?
Use fine sanding pads for small patches and re-clean the area to ensure no dust or loose debris remains.
Is epoxy floor removal a DIY job?
Yes, with the right scraper, sanding tools, and safety equipment, most homeowners can tackle epoxy floor removal.
Do I need special safety gear for removing epoxy floors?
Protective gloves, safety goggles, and a dust mask are strongly recommended due to dust and sharp flakes.
How should I prepare the subfloor after removal?
Clear all residue and dust, inspect for damage, and repair before applying any new finish or coating.
Can I use machines instead of hand tools to remove epoxy flooring?
For large areas or extremely hard coatings, mechanical floor grinders or professionals may be more efficient.