 Free shipping on orders over £29,85

How to remove marks from a resin table?
Restore your resin table surface with simple step-by-step methods.


Resin tables are known for their striking, glossy appearance—but over time, daily use can lead to unwanted scratches, stains, and surface dullness. This guide explains how to safely and effectively remove marks from a resin table, so you can bring back its show-stopping finish and protect your investment. Whether your goal is regular maintenance or restoring a much-loved centrepiece, these methods will help you achieve professional results at home.

What You’ll Need
- Strong Technical Degreaser for Resin Projects – 100% Natural Formula: For gentle and effective cleaning of residue and surface contaminants.
- Microfibre cloths: For cleaning and buffing.
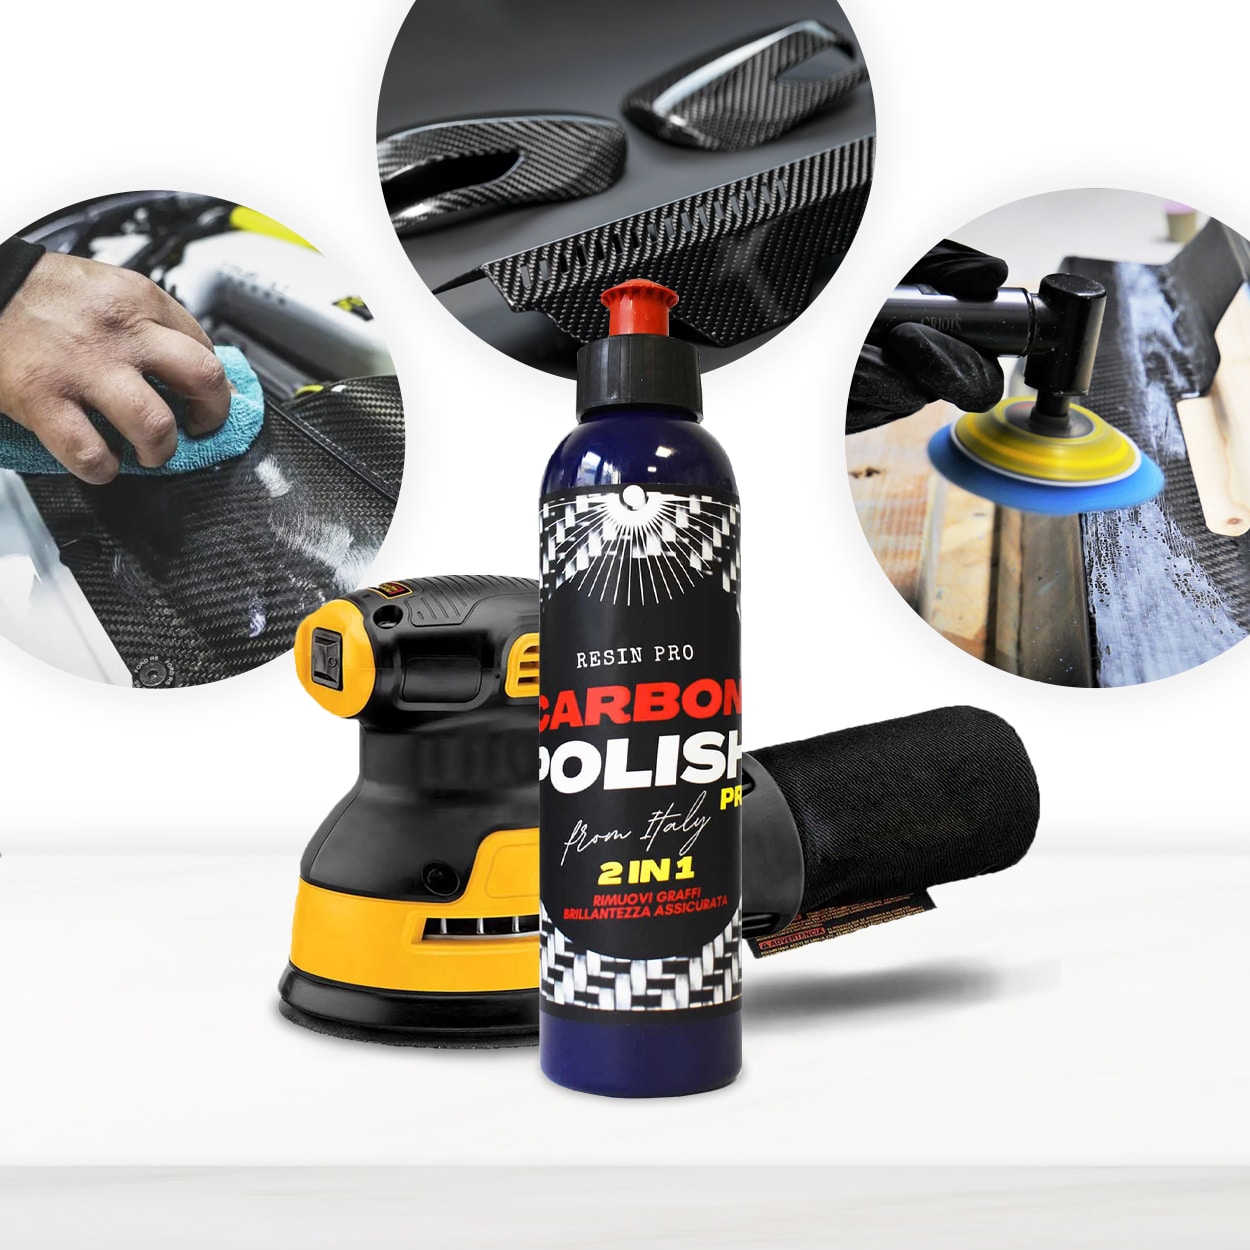
- Polishing pads or a rotary polisher: Essential for best polishing results.
- “Epoxy Polish” – Epoxy Resin Polishing System: Removes fine scratches and restores high-gloss finish to resin tables.
- “Carbon Polish” – Polishing System for Dark and Black Surfaces, 250ml: Especially suitable for dark or black resin tabletops.

See the Difference: Cleaning and Polishing Resin Tables
Proper cleaning is the essential first step for restoring your resin table’s clarity. Removing grease and dust ensures polishes work their magic and prevents new marks from forming. The transformation from a dull, marked table to one with a radiant, glass-like finish is possible with safe cleaning and professional polishes.
Step 1: Clean the Surface Thoroughly
Begin by removing any loose dust, crumbs or sticky residue from the resin table. Use a clean, soft microfibre cloth to gently sweep away debris. This initial clean prevents grit from scratching the surface when you move on to deeper cleaning or polishing.
For stubborn stains, fingerprints or grease, spray a natural degreaser such as the Strong Technical Degreaser for Resin Projects – 100% Natural Formula onto the table. Wipe with a damp cloth, then buff dry with a fresh microfibre towel. Allow the table to air dry completely before proceeding.
Never use harsh chemicals, scouring pads or abrasives at this stage, as these can create further marks on the resin.

Step 2: Assess the Type of Marks
Examine your table in good lighting to determine the nature and severity of the marks. Minor swirls and dullness may just need a light polish, while deeper scratches could require more intensive treatment. Hold a torch or position the table near a window to make subtle scratches more visible.
If you notice only surface haze, proceed directly to polishing. For gouges or chips, further repair may be needed beyond the scope of basic mark removal.
Step 3: Polish to Remove Scratches and Restore Shine
Once clean and dry, you can begin to address dull areas or superficial scratches using a specialist epoxy resin polish. Apply a small amount of “Epoxy Polish” – Epoxy Resin Polishing System to a polishing pad or microfibre cloth. For best results, use a rotary polisher, working in small, circular motions until the mark is no longer visible.
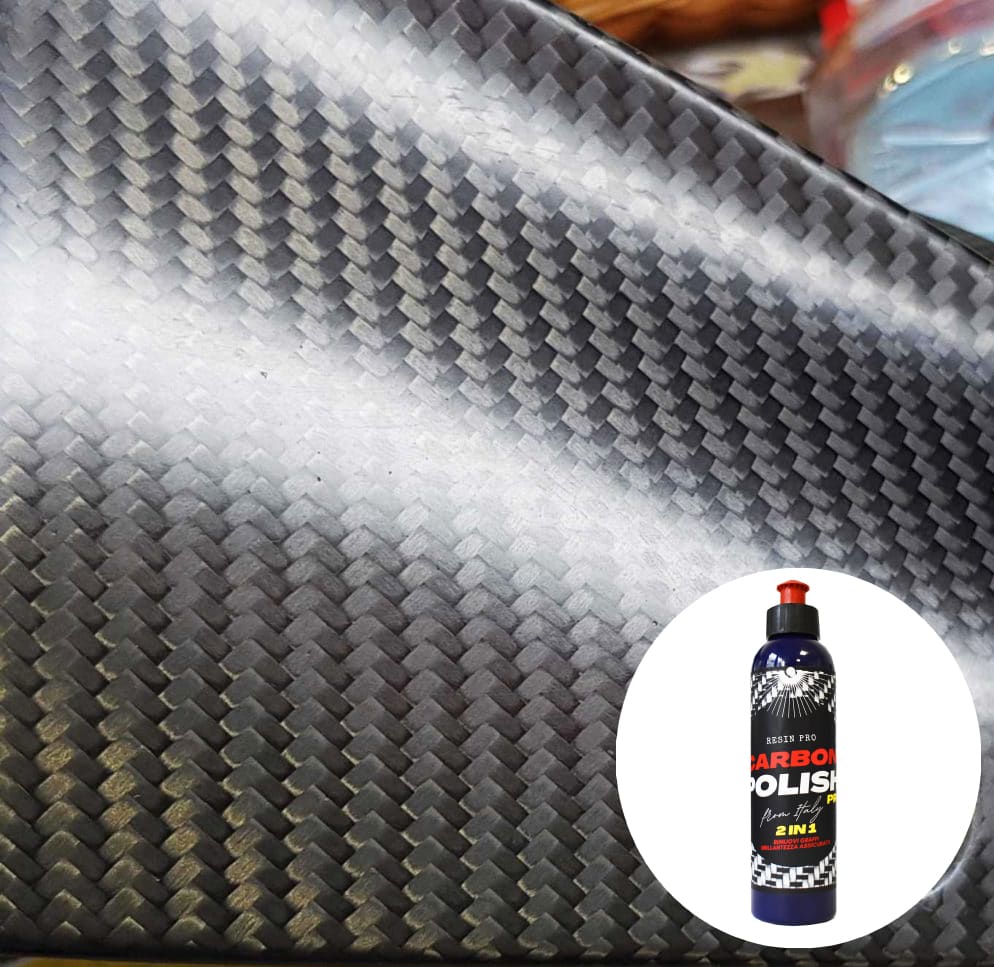
If your resin table has a dark or black finish, switch to “Carbon Polish” – Polishing System for Dark and Black Surfaces, 250ml to ensure even gloss and avoid white residue. Buff thoroughly and inspect under light until a uniform, high-gloss effect is achieved.
Repeat the process as needed. Always follow the product’s instructions and never exceed the recommended application pressure, as excessive buffing may damage the resin’s clarity.

Step 4: Final Buff and Ongoing Maintenance
After polishing, gently buff the surface again using a clean, dry microfibre cloth to remove any remaining polish residues. Inspect the table from multiple angles to ensure an even finish and that no marks remain.
For regular upkeep, avoid dragging heavy objects or using abrasive cleaners, and dust frequently with a soft cloth. Occasional gentle polishing will keep your resin table gleaming for years to come.
Tips, Common Mistakes and Troubleshooting
- Do not use harsh abrasives or apply excessive pressure when polishing. This can scratch or dull the resin beyond repair.
- Test products on a small, hidden area first when using any cleaner or polish.
- Always clean the table first to remove dust and grease before polishing. Otherwise, you risk working contaminants into the surface.
- If haziness occurs after polishing, re-buff gently with a soft pad or revisit the polishing process with less product. Slow, even pressure gives better results than rushing.

Real Results: Mark-Free and Glossy Resin Surfaces
A successful resin table restoration leaves your surface looking like new—free of marks, rich in gloss and ready to take centre stage in any room. High-quality polishes and careful handling make all the difference for durable, beautiful results.

- "Epoxy Polish" – Epoxy Resin Polishing SystemPrice range: £18.95 through £47.45"Epoxy Polish" is an epoxy resin polishing system designed for removing marks and restoring a glossy finish with ease.
- "Carbon Polish" – Polishing System for Dark and Black Surfaces, 250mlPrice range: £18.95 through £47.45Carbon Polish Black is designed for finishing dark and black surfaces like epoxy resin, avoiding white residue and suitable for hand or power tool…
- "River-Table" – Complete Kit for Creating Your First Epoxy Resin TablePrice range: £198.45 through £467.45"River-Table" kit includes resin, sealant, polishing kit and pigments with instructions for resin table projects.
 Strong Technical Degreaser for Resin Projects – 100% Natural FormulaOriginal price was: £10.95.£9.45Current price is: £9.45.A natural, gentle degreaser designed for use on epoxy resin and multiple surfaces, suitable for cleaning without damage.
Frequently Asked Questions
How can I remove fine scratches from a resin table?
Polish lightly with a dedicated resin polish and a polishing pad. Avoid harsh abrasives and buff until the scratch blends in.
Are resin table cleaners safe for food contact areas?
Use natural, solvent-free degreasers and rinse thoroughly. Always check product safety information before use on food surfaces.
Can I use normal furniture polish on a resin table?
Standard polishes may leave residues or affect shine. Use products designed for epoxy resin for best results.
How often should I polish my resin table?
Polish occasionally or when you notice dullness or minor scratches. Over-polishing can reduce surface clarity, so only as needed.
How can I fix a cloudy or streaky resin table?
Buff the area with a microfibre cloth and a specialist polish. Persistent cloudiness could require repeat cleaning and gentle re-polishing.
What if marks do not come off after polishing?
Stubborn marks may require repeat treatment or a deeper repair kit. Avoid aggressive techniques to prevent further damage.