 Free shipping on orders over £29,85


How to replace softener resin?
A practical, stepwise guide for resin system renewal at home


Replacing the resin in a water softener is essential to restore system efficiency and maintain water quality. Over time, softener resin beads degrade, leading to reduced performance and harder water. This guide walks you through each stage of the replacement process, highlighting crucial safety tips and proven techniques for a successful resin change at home. Whether you’re a hands-on homeowner or a facilities manager, you’ll be equipped to tackle this common maintenance task.
What You’ll Need
- Strong Technical Degreaser for Resin Projects – 100% Natural Formula – for cleaning tank surfaces and removing any possible grease or residues
- Protective gloves and safety glasses
- Large bucket or tub for old resin removal
- Funnel or scoop for adding new resin
- Replacement softener resin (ensure compatibility with your model)
- Clean water supply for rinsing and flushing

Replacement essentials for resin tanks
Gather all necessary materials before starting to replace your softener resin. Clean tools and an effective degreaser will streamline the process and help you avoid accidental contamination of your new resin bed.

Step 1: Prepare and Isolate the System
Begin by turning off the water supply to your softener unit and relieve any pressure by opening a nearby tap. Disconnect the unit from the plumbing following the manufacturer’s instructions—this ensures safe removal of the resin tank. Set aside all connections and take care not to lose any small fittings. A clean, organised workspace makes the entire process smoother.
Thorough preparation prevents contamination of your new resin and preserves the performance of your whole water softening system.
Step 2: Empty Out the Old Resin
Carefully remove the tank lid. The softener resin beads are now accessible; scoop or gently pour them into a bucket. Dispose of the old resin according to local regulations—never flush large amounts down the drain. Rinse any remaining beads from the tank using plain water. Take extra care not to disturb or damage the riser tube inside the tank.
Avoid getting old resin beads in the plumbing, as this can cause blockages or reduce system efficiency.
Step 3: Clean the Tank and Components
Before introducing new resin, clean the inside surfaces of the tank fully to remove mineral deposits, scale, or greasy residues. Use a soft brush or rag for scrubbing, making sure the riser tube and any screens are free of debris and intact.
For stubborn grime, a product like the Strong Technical Degreaser for Resin Projects – 100% Natural Formula can be used to ensure surfaces are perfectly clean without introducing harsh chemicals into your system. Rinse thoroughly afterwards to avoid any diluted cleaner from contacting the new resin.

Step 4: Add the New Resin and Reassemble
Fit the funnel or scoop over the tank opening and slowly introduce the correct amount of replacement resin. Pour steadily to avoid spilling. Centre the riser tube, then replace the screens and other internal fittings as needed. Seal the tank securely with its lid, and reconnect the system according to the manufacturer’s directions.
Wear gloves and eye protection when working with resin compounds to protect skin and eyes from dust or splashes.

Step 5: Flush and Restart the System
With the tank reassembled, gradually turn the water supply back on and check for leaks. Most manufacturers recommend flushing the system: run water through the softener for several minutes to remove any loose resin beads or dust. This step helps prime the new resin and prevents cloudy water at your taps. Once flushing is complete, monitor the softened water output for clarity and performance.
Always flush the system thoroughly before using softened water to ensure safety and optimum results.
Tips and Common Mistakes
Work in a well-ventilated area and ensure all tools are clean. Avoid overfilling the resin tank, which can restrict flow and reduce the softener’s effectiveness. Double-check the compatibility of replacement resin with your specific model before starting, and always handle plumbing fittings and seals with care to prevent leaks. If you encounter persistent issues—like water remaining hard after replacement—it could indicate another fault such as valve blockages or incorrect installation.
Achieve a flawless resin softener swap
Planning, careful removal, and thorough rinsing are key. Taking time at each stage prevents potential headaches and ensures a smooth, efficient operation for your water softening system.

- Strong Technical Degreaser for Resin Projects – 100% Natural FormulaOriginal price was: £10.95.£9.45Current price is: £9.45.This natural cleaner is designed for use with epoxy resin projects and various surfaces, supporting cleaning without harsh chemicals.
- Resin Fibreglass Repair Kit – Complete Polyester Resin and Hardener SetResin Fibreglass Repair Kit offers a waterproof and impact-resistant polyester resin repair solution with fibreglass mat for composite structures.
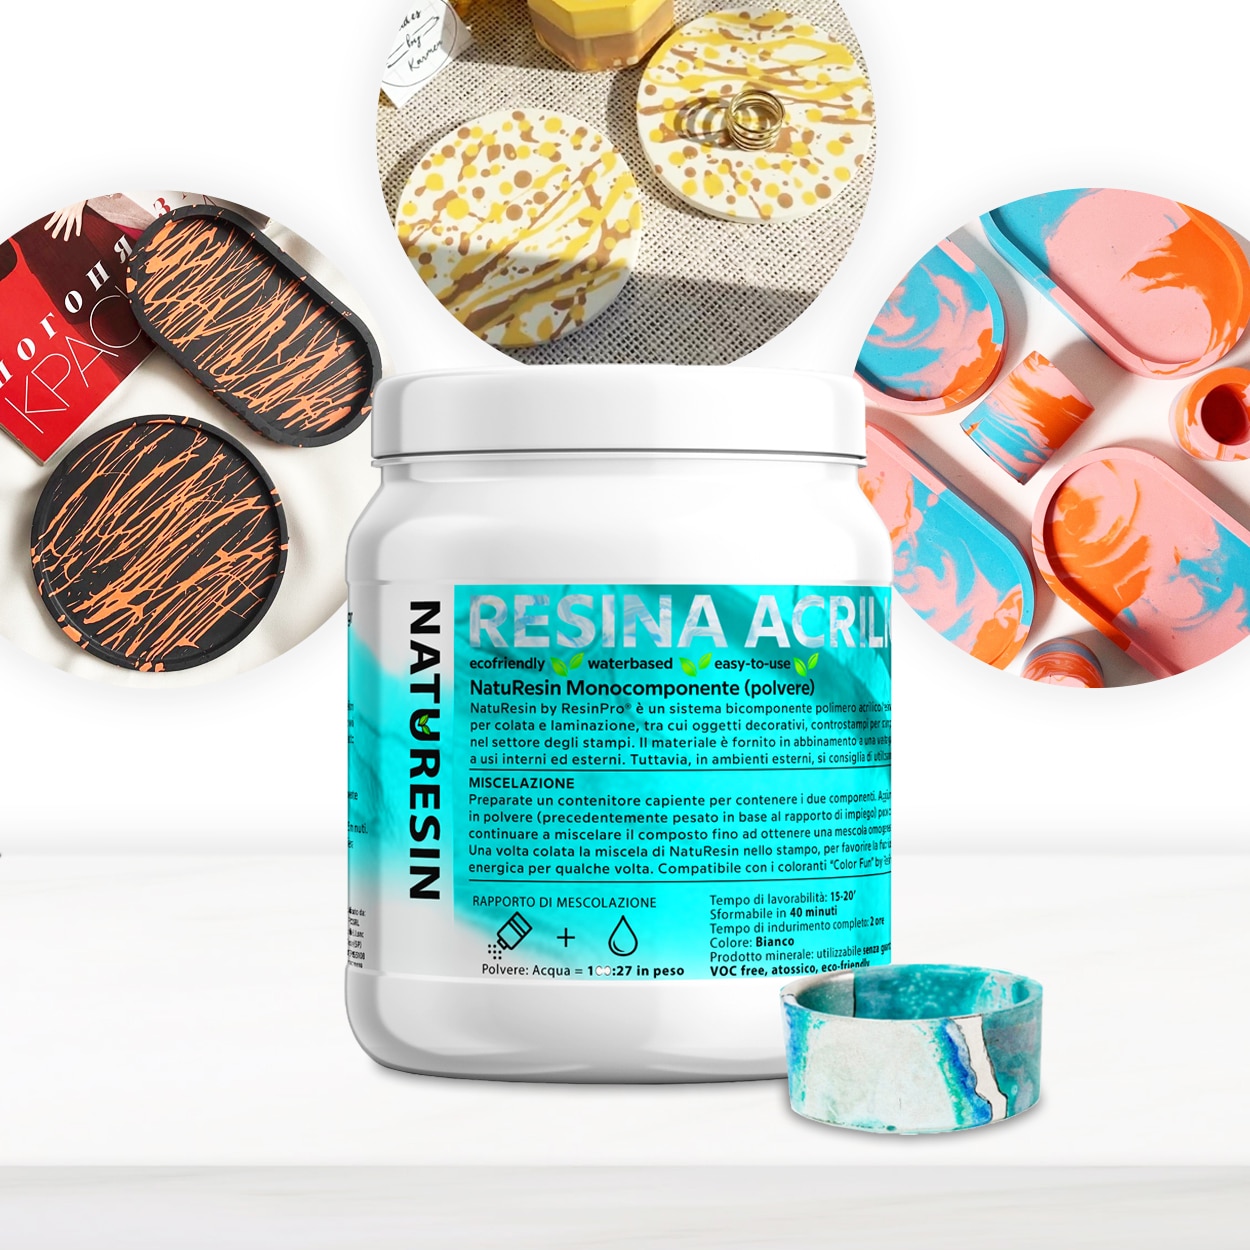 “NatuResin” – Mineral Resin & Water System for Creative Casting and CraftsPrice range: £18.95 through £104.95NatuResin is a single-component mineral resin mixed with water, designed for creative casting and crafts with an eco-friendly and non-toxic approach.
 "Carbon Resin" – Epoxy Resin for Carbon Fiber & Fiberglass CoatingPrice range: £19.95 through £37.95"Carbon Resin" is an epoxy resin designed for carbon fibre and fibreglass coating, suitable for technical fabrics with a smooth application and…
Frequently Asked Questions
How often should I replace water softener resin?
Most resins last 10–15 years under normal use. Shorter life is possible with high iron or chlorine content in water.
Can I use any resin in my softener tank?
No, always use resin rated as compatible with your softener model for best performance and safety.
Do I need a plumber to replace resin?
Most handy homeowners can replace resin themselves, but professional help is recommended if you are unsure or the plumbing is complex.
How do I dispose of old softener resin?
Dispose of old resin in accordance with local waste regulations. Never flush large amounts into drains.
Why is my water cloudy after replacing the resin?
Cloudiness usually results from incomplete flushing. Run water for several minutes to clear out fine particles.
New resin isn’t softening water – what went wrong?
Check that resin amount and installation are correct, and inspect for possible faults with valves or plumbing.