 Free shipping on orders over £29,85

← Back to How to create the wave effect with resin?
Maintaining crisp, defined colours in resin wave art is a common challenge. Over-blending can cause pigments to merge and lose the striking wave effect. There are reliable techniques and product choices that help you keep colours distinct for impressive results.
Choose the Right Resin and Additives
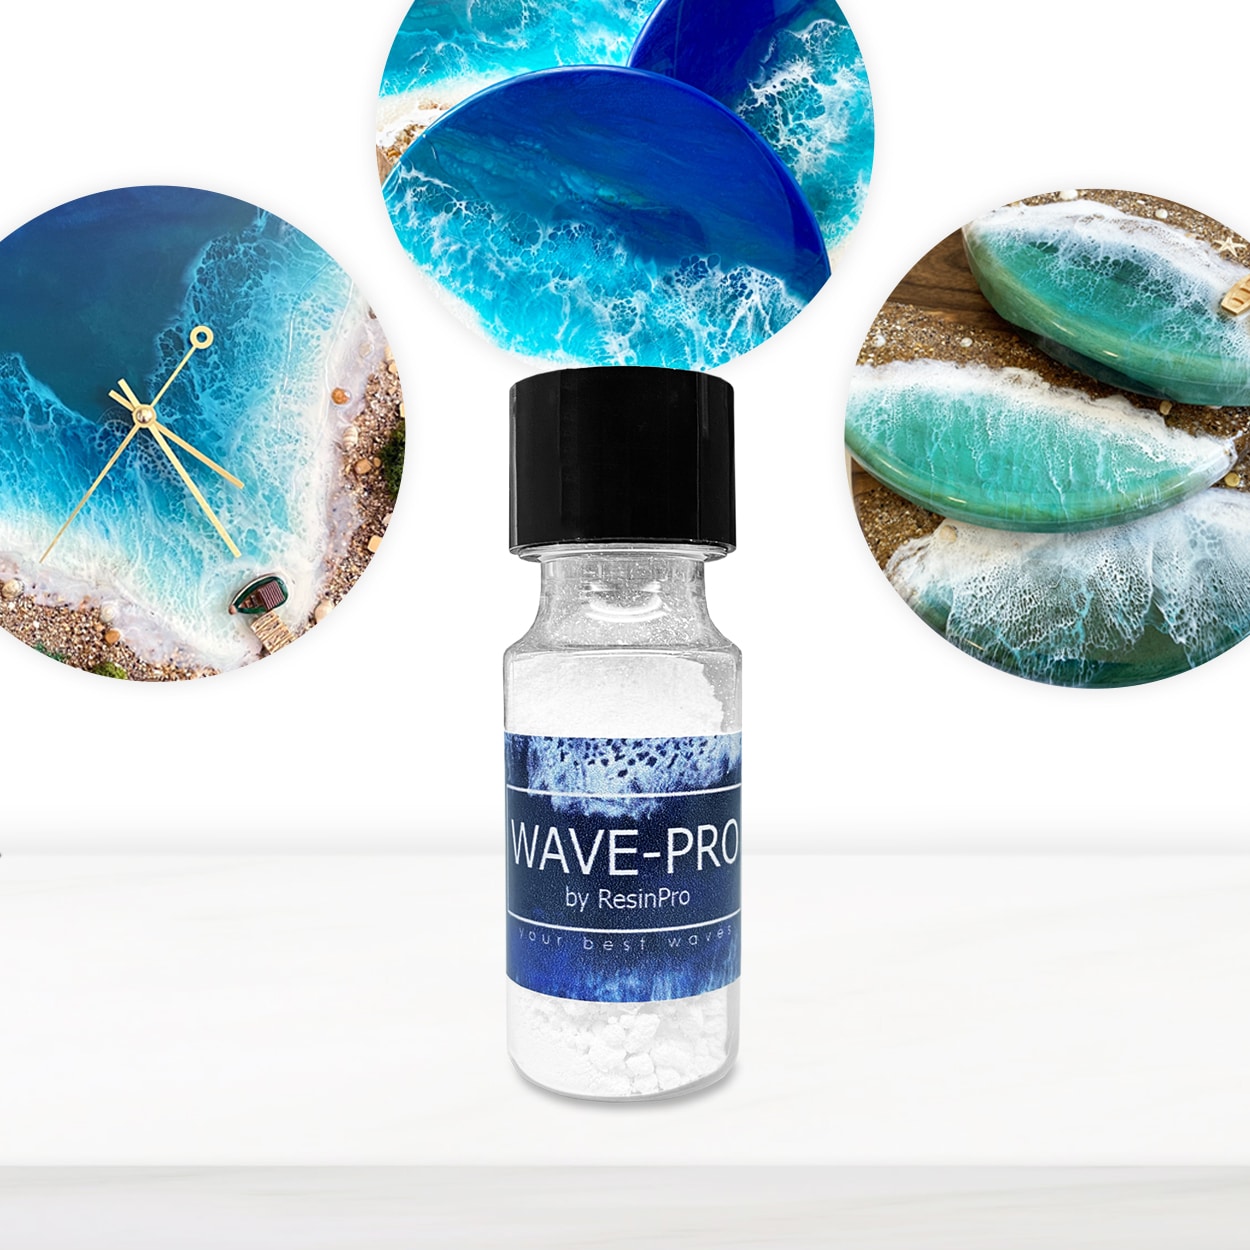
Starting with a high-viscosity resin can make a big difference. Thicker formulas, such as Art Pro Deluxe, resist pigment movement so you can control lines and forms. For pronounced wave detailing, try a specialist additive such as Wave-Pro—this helps to physically disperse and hold wet resin, enhancing separation between colours and adding realistic, foamy effects.
Work in Thin Layers
Pouring your resin in thinner layers is key to minimising unwanted mixing. Each layer helps set the colours in place. Allow your resin to partially cure (usually when it’s tacky but not fully hardened) before adding another sweep of pigment—this locks in shapes and boundaries. This method is effective for building up depth while keeping details sharp.
Practical Tips for Crisp Wave Effects
- Pour lighter or white pigment last to create the illusion of wave crests without blending into darker base colours.
- Use gentle, precise manipulation with a stick or spatula, avoiding overworking the design after application.
- Try all-in-one kits, like the Sea – Resin Kit, which include thick resin and the right additives for controlled layering and authentic ocean effects.
When This Matters Most
These techniques are essential when your project calls for vivid wave segmentation, intricate foam, or multiple colour transitions—ideal for ocean art, seascapes, and decorative trays.
Related products
Related guides
By combining high-viscosity resin, thin layering, and reactive additives, you can stop unwanted pigment mixing and achieve those striking, professional wave effects. For more insights, see our full guide on how to create the wave effect with resin.