 Free shipping on orders over £29,85


How to use wood resin?
Step-by-step guide for restoring or decorating wooden surfaces

Wood resin unlocks a world of possibilities for restoring damaged timber, waterproofing outdoor fixtures, or crafting unique decorative pieces. This guide explains how to apply wood resin correctly—whether you are tackling furniture repairs, enhancing wood artistry, or simply experimenting with creative home décor. With careful preparation and knowledge of proper application, anyone can achieve professional-quality results that enhance the look and durability of wooden surfaces.

What You’ll Need
- “EpoxyWood” – Wood Restoration Epoxy Resin for Deep Penetration and Waterproofing – for deep repair, waterproofing, and structural strengthening
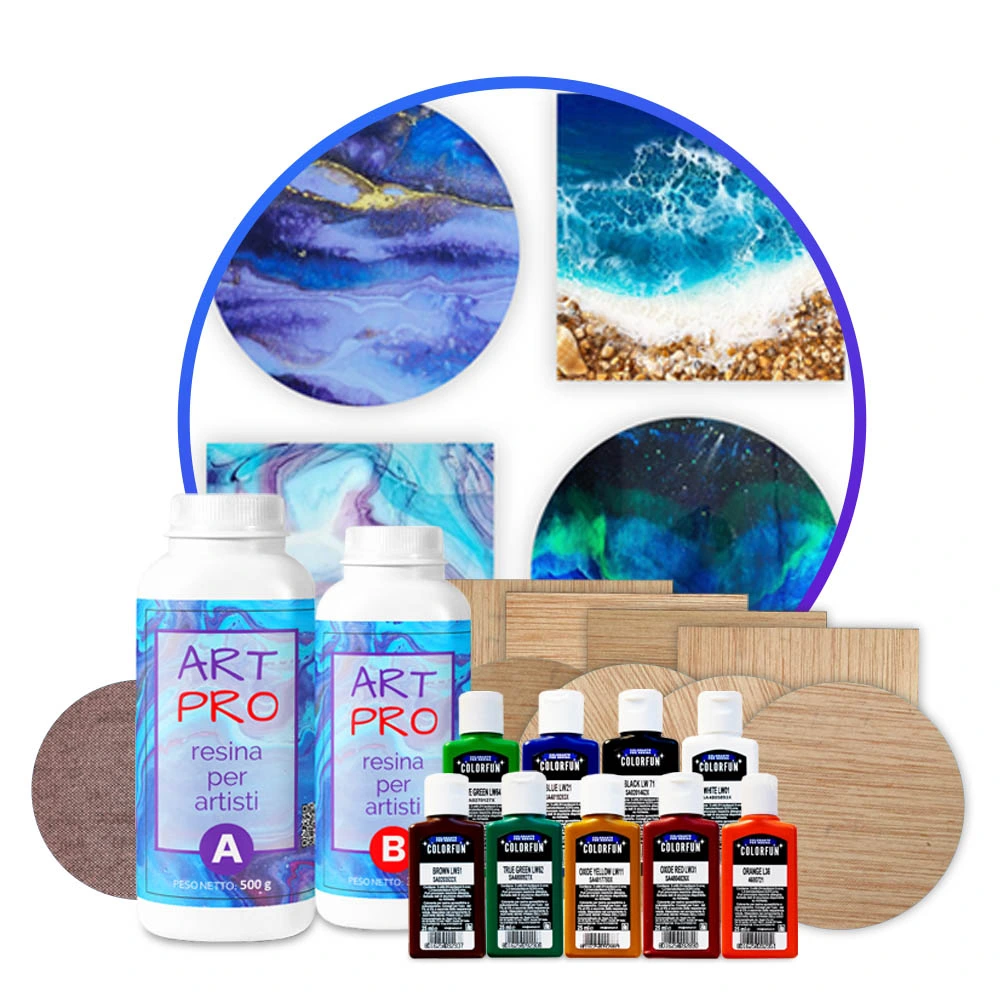
- “Forest Glow” – Resin Art Kit with Wood Slices, Pigments, and Epoxy Resin – for crafting decorative art using wood and resin
- Wooden Resin Coaster Starter Kit – Create Beautiful Handmade Coasters at Home – for easy-to-make coaster projects
- “Trasparente” – Multipurpose Clear Epoxy Resin for Casting – Up to 2cm – for clear casting, embedding, or protective finishes
- Sandpaper (various grits)
- Clean cloths and gloves
- Mixing containers and stirring sticks
- Protective covering for your workspace

Visual Inspiration: Wood Resin Projects
See finished wood repairs and resin art—restored vintage furniture, unique coasters and artistic wood slice panels—creatively brought to life with professional wood resins. Whether you’re aiming for subtle waterproofing or bold tinted effects, the results transform ordinary timber into lasting, functional, and decorative pieces.
Step 1: Prepare the Surface Thoroughly
Proper preparation is essential for successful wood resin application. Begin by ensuring your wood is completely dry—any trapped moisture can interfere with adhesion and cause bubbling. Sand the surface with progressively finer grits (start with coarse, finish with fine) to remove old finishes and roughness. Pay special attention to cleaning dust and debris with a dry, lint-free cloth.
Prepare the surface thoroughly as this will help the resin penetrate deeply and adhere securely. If working with reclaimed or soft woods that are porous or have cracks, consider sealing these areas with a thin coat of resin to prevent excessive absorption during your main pour.


Step 2: Choose the Right Resin Formula for Your Project
Evaluate the needs of your specific project before mixing any resin. Restoration jobs—such as reinforcing, filling rot, or waterproofing—are best handled with deep-penetration formulas. For creative projects like coasters or decorative art, choose a resin designed for clear or coloured casting.
For deep wood repair, “EpoxyWood” – Wood Restoration Epoxy Resin for Deep Penetration and Waterproofing offers ultra-low viscosity to soak completely into wood fibres, creating a strong waterproof bond. For artistic pours onto prepared wood slices, a medium-viscosity system like the one included in “Forest Glow” – Resin Art Kit with Wood Slices, Pigments, and Epoxy Resin gives controlled, creative results. Always review kit instructions if using a starter set—like the Wooden Resin Coaster Starter Kit – Create Beautiful Handmade Coasters at Home—to match the materials to your intended finish.
Choose the right resin formula for your project to ensure best results, durability, and visual appeal.
Step 3: Mix Resin Carefully to Avoid Bubbles
Precision in mixing epoxy is key. Read all manufacturer guidelines for mixing ratios and measuring by volume or weight. Pour the hardener into the resin (or as directed), and mix steadily but slowly using a clean stick or paddle. Scrape the sides and bottom to ensure even blending—unmixed portions will not cure properly and can leave sticky patches.
Work in a dust-free, well-ventilated space. If your kit includes pigments (such as the “Forest Glow” or resin colourants from the coaster starter kit), add these according to instructions after the resin is fully blended. Mix resin carefully to avoid bubbles; slow, deliberate movements reduce air entrapment.


Step 4: Apply Resin Evenly and Monitor Curing Conditions
Pour or brush the resin onto the prepared timber, starting from the centre and moving outward for an even coat. For best results, pour in thin layers—especially with clear casting products like “Trasparente” – Multipurpose Clear Epoxy Resin for Casting – Up to 2cm. Use a brush, spreader, or stick to work the resin into any natural grains or contours for deep penetration.
Monitor the environment for temperature and humidity, as extremes can affect curing. Cover your work to keep out dust during the cure phase. Apply resin evenly and monitor curing conditions to avoid surface imperfections or incomplete hardening.
Tips, Common Mistakes, and Troubleshooting
Seal unfinished wood to prevent absorption issues—especially important for highly porous surfaces. Always wear gloves and protect the workspace to avoid spills and skin contact. If bubbles rise to the surface after pouring, pass a heat gun or small torch lightly across the wet resin to burst them. Remove bubbles as soon as they appear for a smooth, glossy finish.
Take your time with each step; rushing the curing process or skipping preparation will cause flaws. If desired, lightly sand cured resin between layers to achieve a flawless build-up. For decorative art projects, experiment with techniques like swirling pigments or embedding natural elements, but avoid over-mixing which can muddy colours.

Technique Close-Ups: From Repair to Artistry
Repairing splits, building layers, and pouring resin on prepared coasters all require patience and precision. Focus on the quality of surface preparation and even pouring for both structural and decorative wood resin work. Explore clear and coloured epoxy resins for creative versatility across home and craft projects.

- "EpoxyWood" – Wood Restoration Epoxy Resin for Deep Penetration and WaterproofingPrice range: £27.95 through £41.95EpoxyWood is designed for repairing and protecting wood with deep penetration and a natural finish for woodworking and restoration projects.
- "Forest Glow" – Resin Art Kit with Wood Slices, Pigments, and Epoxy Resin£31.45"Forest Glow" resin art kit includes wood slices and pigments for wood resin projects within the theme of how to use wood resin.
- Wooden Resin Coaster Starter Kit – Create Beautiful Handmade Coasters at Home£50.85Starter kit for making wooden resin coasters with epoxy resin and colourants, suitable for beginners under the theme 'How to use wood resin?'.
- "Trasparente" – Multipurpose Clear Epoxy Resin for Casting – Up to 2cmPrice range: £8.95 through £397.95"Trasparente" is an ultra-clear resin for detailed castings and woodworking, delivering a glossy, self-levelling finish up to 2cm depth.
Frequently Asked Questions
How should I prepare wood before using resin?
Sand the wood well, remove any dust or debris, and ensure the surface is completely dry. Good preparation guarantees resin adhesion and a smooth finish.
Which type of resin is best for my wood project?
For repairs, use a deep-penetration wood epoxy. For art or décor, choose clear or coloured casting resin made for wood. Kit instructions help match resin type to your goal.
How do I remove bubbles from resin on wood?
Pass a heat gun or torch lightly over the poured resin. This brings bubbles to the surface where they pop, resulting in a smoother final layer.
Can I use wood resin for food-safe items?
Not all resins are food safe. Only use products specifically certified for contact with food if you plan to make items like serving boards or utensils.
How long does it take wood resin to cure?
Curing time ranges from a few hours to several days, depending on thickness, resin formula, and ambient temperature. Always follow the manufacturer's recommendations.
What should I do if my resin stays tacky?
Tacky surfaces usually mean incorrect mixing or measuring. Apply a fresh, properly mixed coat after sanding away the tacky layer.