 Free shipping on orders over £29,85


How to use X glue gun for epoxy?
Achieve precise, mess-free epoxy application with expert tips.


Applying epoxy resin with a glue gun can save time and ensure even distribution for repairs and craft projects. This step-by-step guide explains the complete process, from preparation through to finishing, so you achieve strong, reliable bonds every time.

What You’ll Need
- “Mixer Nozzle” – For Mixing Epoxy Glue, 50ml, Araldite 2000 Series Compatible – attaches to suitable cartridges for accurate mixing
- “Klebfix” – Two-Component Fast Epoxy Glue 2K, 25g Syringe – for quick-setting repairs
- “FixExpress” – Two-Component Epoxy Glue 500g – ideal for larger or multi-material applications
- Anti Bubble Mixer for Epoxy Resin – Reusable Mixing Tool – to ensure a smooth, bubble-free mix

Video: Loading and Using an Epoxy Glue Gun
Watch how to fit a cartridge, attach the mixer nozzle, and dispense epoxy with professional control—ideal for DIY and craft projects.
Step 1: Prepare Surfaces and Equipment
Proper preparation is crucial for a lasting epoxy bond. Clean the surfaces you intend to bond by removing dust, oil, and debris using a lint-free cloth and a suitable solvent, such as isopropyl alcohol. Dry thoroughly. Set up your workspace in a well-ventilated area and lay down protective covering if needed.
Work in a ventilated area and always wear appropriate safety equipment, including gloves and eye protection. Assemble your glue gun, and ensure it is compatible with the type of epoxy cartridge you plan to use. Always read the cartridge and glue gun instructions before starting.


Step 2: Load the Epoxy Glue Cartridge
Check that the epoxy glue cartridge is suitable for your glue gun model. If you use 50ml Araldite 2000 series cartridges, ensure they’re fitted with the correct “Mixer Nozzle” – For Mixing Epoxy Glue. Insert the cartridge securely into the gun, following manufacturer guidance to avoid leaks or poor flow.
For alternatives like Klebfix or FixExpress, check for special adapters or nozzles if needed. Check cartridge and nozzle compatibility to ensure correct mixing and delivery.
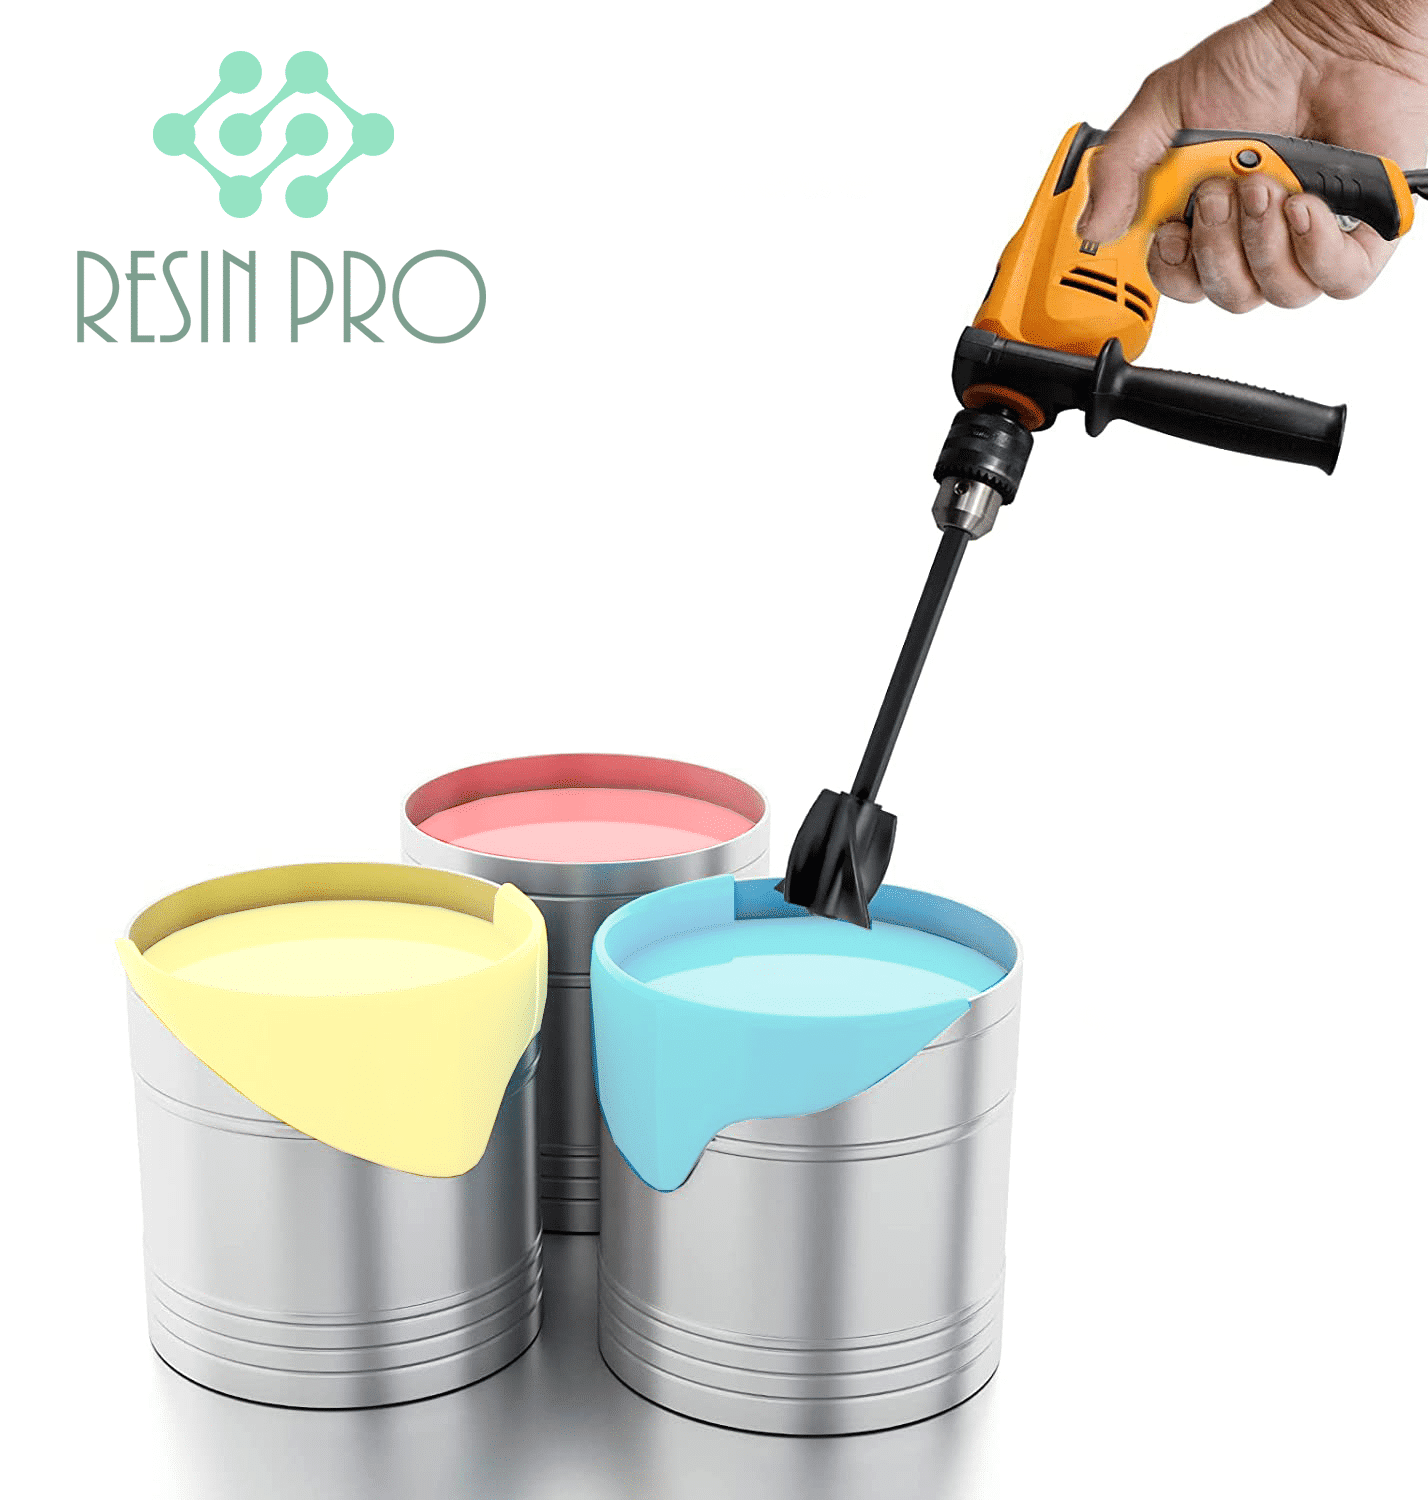
Step 3: Mix and Dispense the Epoxy
With the cartridge and mixer nozzle in place, trigger the glue gun gently to start dispensing epoxy. The static mixer nozzle automatically combines the resin and hardener at the correct ratio as it passes through, ensuring optimal curing. Mix components directly before application to maximise performance.
If using a bulk adhesive or for finer detail, a Anti Bubble Mixer for Epoxy Resin is recommended to prepare material before it is loaded into a glue gun. Work steadily to avoid air bubbles and wastage.
Step 4: Apply Epoxy and Secure the Bond
Align the nozzle, then dispense a steady bead or dots of epoxy along one of the surfaces to be joined. Maintain consistent pressure on the trigger for an even application. Quickly press the parts together, ensuring precise alignment, as many fast-cure epoxies offer only 2–5 minutes of working time.
Hold or clamp the assembly as recommended, until the epoxy sets. Avoid disturbing the bond during curing, as this can weaken results. If any resin is squeezed out, remove excess promptly.
Step 5: Clean Up and Store
Always clean unused epoxy from the gun and tools straight away. For mixer nozzles and disposable cartridges, dispose of them as directed. For reusable mixing tools such as the Anti Bubble Mixer for Epoxy Resin, wash thoroughly with suitable solvents before the resin hardens.
Clean up uncured epoxy immediately to prevent equipment damage. Store epoxy products with their caps on, in a cool, dry place, and keep your glue gun maintained for future use.
Tips and Troubleshooting for Epoxy Glue Gunning
Test the system on a scrap material before applying epoxy to your final piece—this helps you adjust pressure and detect flow problems in advance. Mix only as much epoxy as you need, since working times are short and leftover batches can harden in the gun or nozzle. Watch for air bubbles, as they can affect bond strength; using a mixer nozzle or anti-bubble stirrer will help minimise this.
If the epoxy is too thick or difficult to extrude, check for nozzle blockage or expiry of materials. Inconsistent bonding can result from uneven mixing, applying too little pressure, or surfaces not being clean and dry.
Step-by-Step Demo: Mixing and Application Techniques
See close-ups of correct mixing, applying epoxy with the glue gun, and simple tips for preventing bubbles and ensuring strong adhesion.

- "Mixer Nozzle" – For Mixing Epoxy Glue, 50ml, Araldite 2000 Series Compatible£1.52The "Mixer Nozzle" is designed for use with Araldite 2000 series epoxy cartridges, supporting 50ml bayonet cartridges.
- "Klebfix" – Two-Component Fast Epoxy Glue 2K, 25g Syringe£24.00"Klebfix" Two-Component Fast Epoxy Glue offers professional-strength bonding for demanding repairs with a transparent, BPA-free formula.
- "FixExpress" – Two-Component Epoxy Glue 500g£26.95FIX EXPRESS is a two-component epoxy glue for swift repairs and reliable bonds on various materials, suitable for the theme 'How to use X glue gun…
- Anti Bubble Mixer for Epoxy Resin – Reusable Mixing ToolPrice range: £4.95 through £12.45The Anti Bubble Mixer supports epoxy resin projects with gentle stirring to reduce bubbles and is reusable for multiple uses.
Frequently Asked Questions
Which types of epoxy cartridges can I use with a glue gun?
Always check your glue gun’s compatibility. Many work with 50ml bayonet-type cartridges like Araldite 2000 series, but confirm before use.
Is a mixer nozzle essential when using epoxy in a glue gun?
For two-component epoxies, a static mixer nozzle ensures proper combination of resin and hardener before dispensing.
How do I reduce air bubbles when using a glue gun with epoxy?
Use anti-bubble mixing tools and mix slowly before application. Ensure steady squeezing for an even flow.
What’s the best way to clean a glue gun and mixer after using epoxy?
Clean up uncured epoxy immediately with suitable solvent, and wash reusable tools before the resin cures for easiest maintenance.
Are all epoxy adhesives suitable for glue gun application?
No, only cartridges designed for glue gun dispensing should be used. Some products are more suited to manual mixing and application.
What is the typical working time for epoxy applied with a glue gun?
Most quick-setting epoxies allow around 2–5 minutes working time. Prepare surfaces and position parts before dispensing.
How can I fix a poor or failed epoxy bond applied by glue gun?
Remove old adhesive, clean surfaces thoroughly, and repeat with fresh epoxy, ensuring even application and proper clamping if required.