 Free shipping on orders over £29,85

← Back to What should you put in the grinder to get more resin?


If you want your resin projects to look pristine and professional, minimising air bubbles is essential. Bubbles can cloud the finish, especially on fine jewellery, art, or thick pours, but there are proven ways to reduce them for clearer results.
Why Do Air Bubbles Form in Resin?
Air bubbles can appear during the mixing process, when the resin and hardener are blended, or as you pour the resin into a mould or onto a surface. Sometimes, intricate moulds or rapid mixing trap extra air. Even the viscosity of your resin—the way it flows—plays a role: thicker resins make it harder for bubbles to escape naturally.
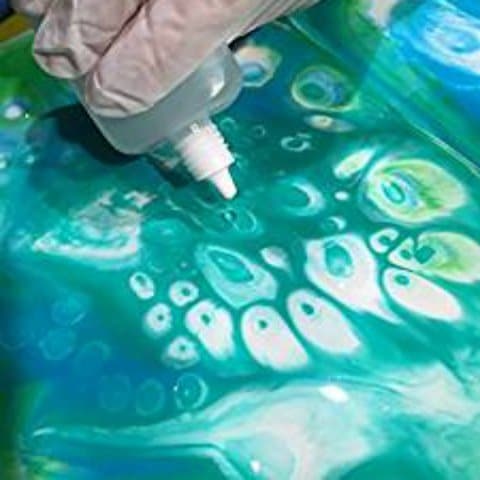
Practical Techniques for Reducing Bubbles
- Mix gently: Stir resin and hardener slowly to introduce less air.
- Warm your components: If suitable, gently warming resin and moulds can help bubbles rise out more easily.
- Rest before pouring: Letting the mixed resin sit for several minutes can encourage bubbles to surface and pop.
- Use a low-viscosity resin: Products like Liquidissima are specifically formulated to flow well and release air efficiently.
- Apply heat carefully: A quick pass with a craft torch or heat gun over wet resin can pop surface bubbles, just avoid overheating.
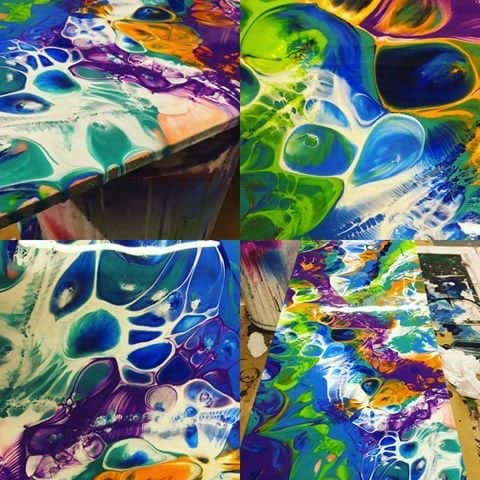
When This Matters Most
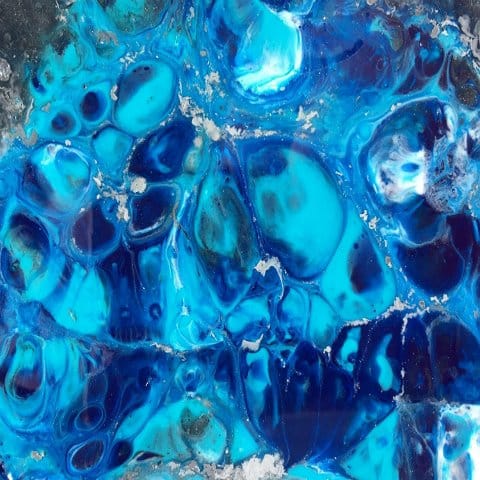
Minimising air bubbles is crucial for detailed pieces like jewellery or art pours where clarity and surface smoothness matter. For deep casting or table resin projects, larger bubbles can also undermine strength or appearance, so special care pays off.
Related products
Related guides
Clear, bubble-free resin work is possible with the right technique and product choices. Whether you’re making intricate jewellery or bold, deep-pour tables, choosing a suitable resin and taking a few key steps helps your projects shine. For more resin art guidance and to explore the best resins for your needs, see our main advice on maximising resin results.