 Free shipping on orders over £29,85


← Back to How to Make Resin Pots
Once your resin pots are fully cured, you can add colour and creative flair using paints, embellishments, or finishing products for a truly unique effect. Customising resin pots opens up a wide range of design possibilities.
Preparing Resin Pots for Decoration
Before you start painting or decorating, it’s essential to ensure your resin pot has completely cured—this can take from 24 to 72 hours depending on the resin used. Lightly sand the surface with fine-grit sandpaper to help paints and other finishes adhere better. Wipe away dust with a clean, dry cloth to create a smooth, ready-to-work surface.
Choosing the Right Paints and Finishes
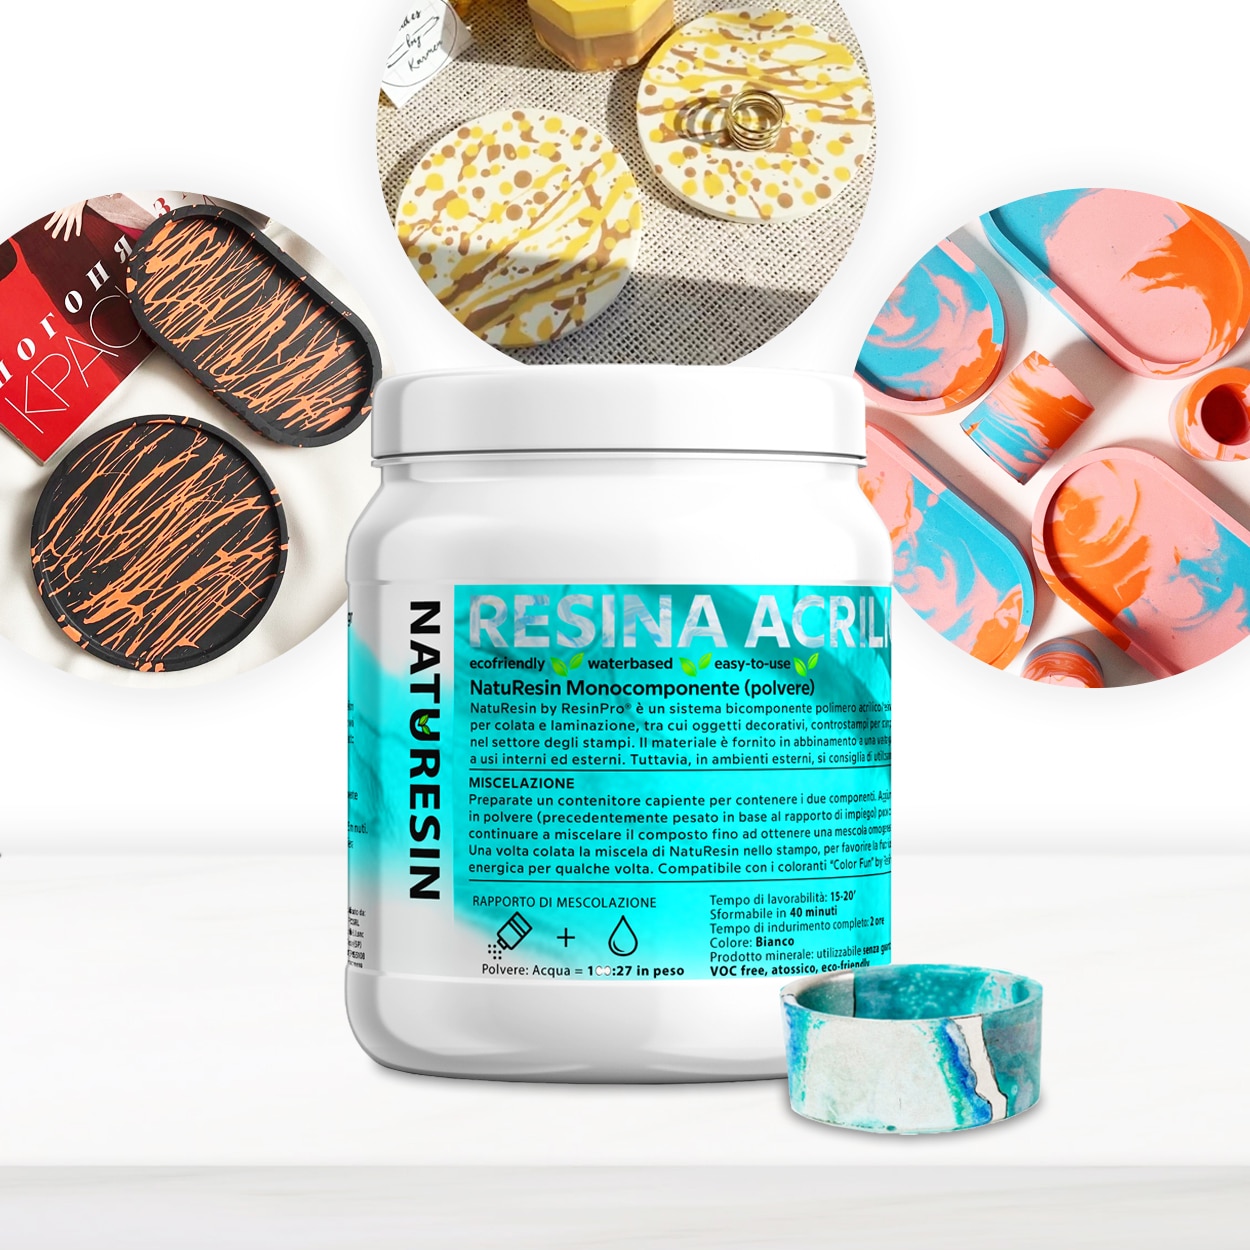
Most acrylic paints adhere well to cured resin. For extra durability, you can use specially-formulated paints or resin pigments. For a shimmering look, try mica powders, as provided in the “Vase” Resin Art Kit. Allow each layer to dry thoroughly before adding designs or sealants. A clear acrylic spray or resin topcoat can increase resistance to wear and protect your designs.
Creative Embellishment Ideas
Personalising your resin pots goes beyond paint. Add interest with stencilled patterns, metallic leaf flakes, or decoupage. For more artistic effects, layering different dyes—as found in the Tray Resin Kit—can create marbled or ocean-inspired looks. Experimentation is encouraged to achieve your preferred style.
When This Matters
Painting and embellishing is ideal when you want your resin pots to complement your home décor, or to add personal touches for gifts and special occasions. Whether indoors or out, a custom finish ensures your creation stands out.
Related products
Related guides
Decorating your cured resin pots is a rewarding step that transforms basic forms into bespoke pieces. For more ideas or pot making tips, explore our main guide on how to make resin pots.