 Free shipping on orders over £29,85


← Back to How to make a knife handle from resin?
Demoulding a resin knife handle is a crucial final step to ensure your handle looks crisp and professional. Rushing the process can result in cracks or unwanted surface defects, so a careful approach is best.
Wait for Full Cure
Before attempting to remove your resin handle from the mould, it’s essential to ensure the resin is fully cured. Most resin handles are best released within 12 hours when using a silicone mould, but always refer to your resin’s instructions and factor in temperature and thickness. Waiting for the right cure time gives the handle strength and makes release far more successful.
Safe Demoulding Techniques
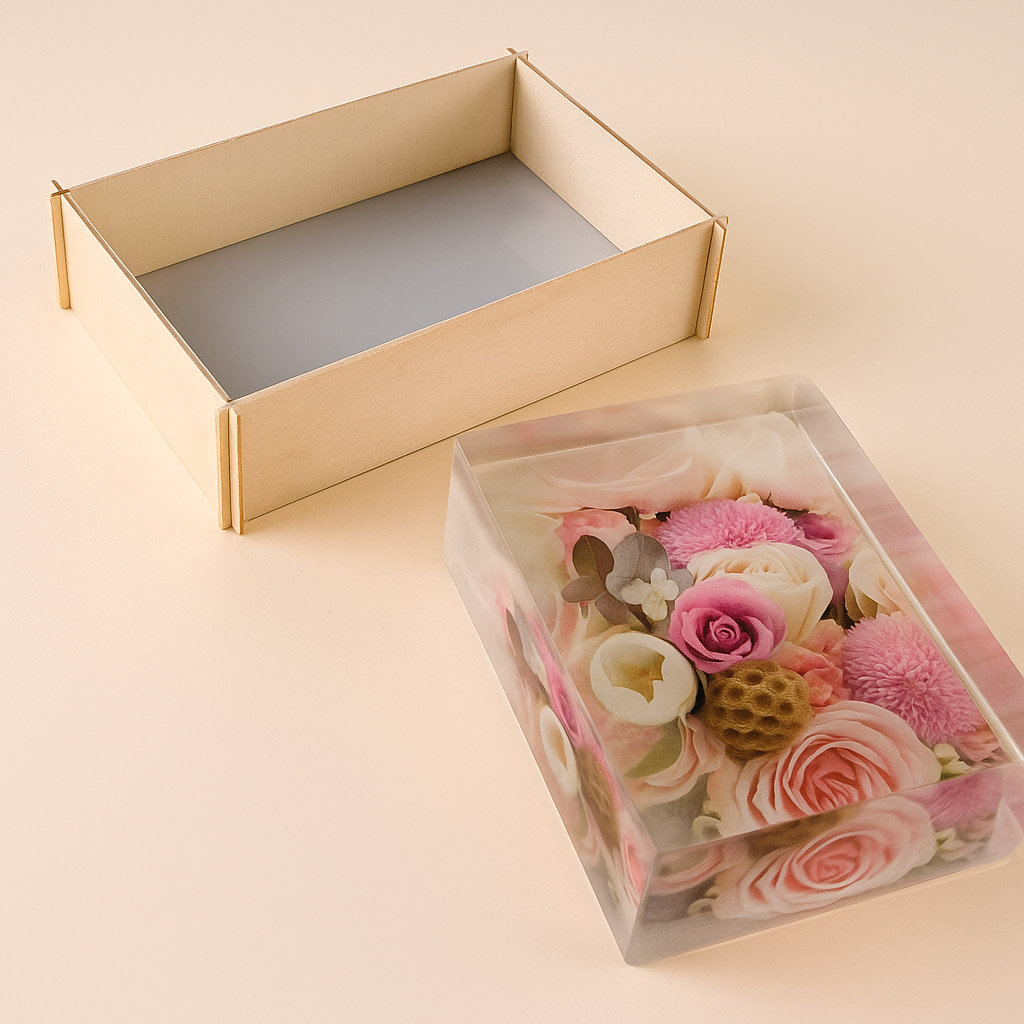
When the resin has cured, start by flexing the sides of the silicone mould gently to release the edges of the handle. Avoid using sharp tools that can scratch or chip your resin. If the handle feels stuck, gradually work around the perimeter instead of forcing a single side. For stubborn moulds, you can try a short spell in the freezer—cold causes the mould and resin to contract, making release easier, though this isn’t always necessary with quality silicone products like the Rectangular Mould.
When This Matters Most
Attention to demoulding is especially important for knife handles with intricate detail or embedded materials, as rough removal could break the surface or disturb inlays. Proper demoulding ensures your handle is ready for sanding and finishing without needing patch repairs.
Related products
Related guides
Taking the time to remove your resin handle carefully results in a clean, flawless blank for your next crafting stage. For more comprehensive guidance on every step of knife handle creation, return to our main guide: How to make a knife handle from resin.