 Free shipping on orders over £29,85


← Back to How to use eyeshadows in resin?


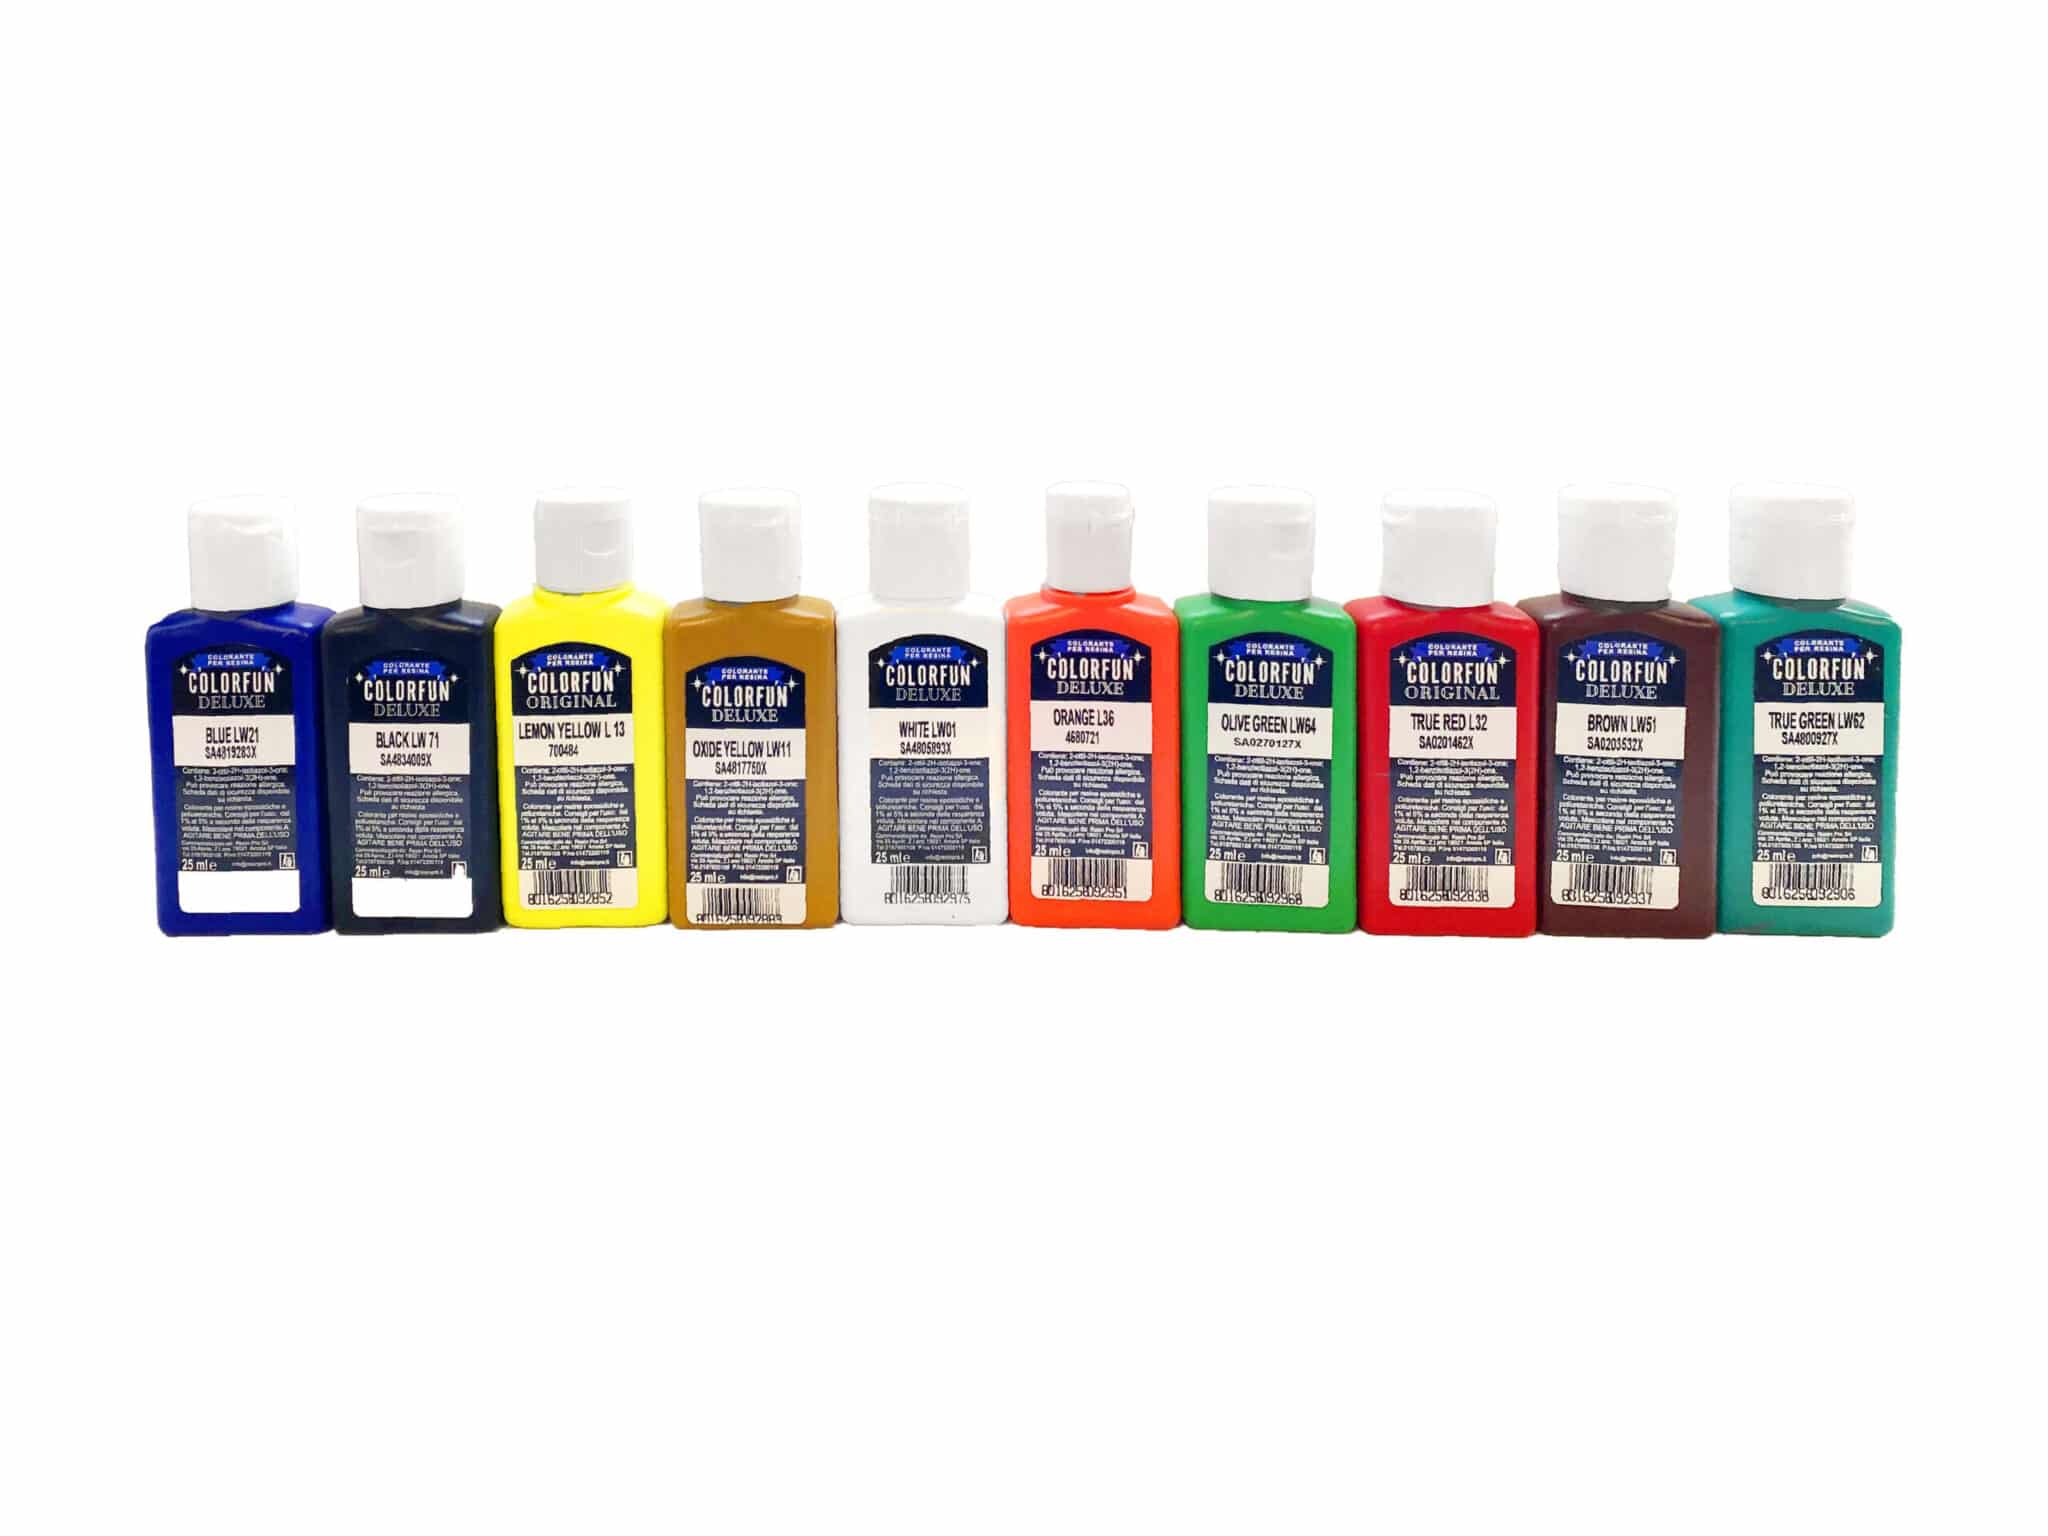
When you’ve created a piece with rich, eye-catching colours in resin—whether from eyeshadows, powder pigments, or liquid colourants—sealing the surface gives your creation lasting vibrancy and a polished look. This guide explores why sealing matters and how to do it for best results.
Why Seal Your Resin Surface?
Sealing your resin project acts as a protective barrier over decorative layers. Without a clear coat, surface pigments or mica may wear away or lose intensity from handling and exposure. A proper seal helps maintain the boldness and sparkle of your chosen colours, enhances the finish’s depth, and makes cleaning easier.

Practical Steps for Sealing
- Choose a Quality Resin Top Coat: Use a clear epoxy resin designed for surface coatings, such as Art Pro, which offers outstanding clarity and protection.
- Mix and Apply Carefully: Prepare your resin following the manufacturer’s ratio for best results. Pour or brush a thin, even layer over the cured, coloured piece on a dust-free surface.
- Remove Bubbles: After pouring, use a heat gun or torch briefly to dispel surface bubbles and ensure a flawless finish.
- Allow Full Cure: Let the sealed piece sit undisturbed to fully harden as recommended—typically 12–24 hours.
When This Matters Most
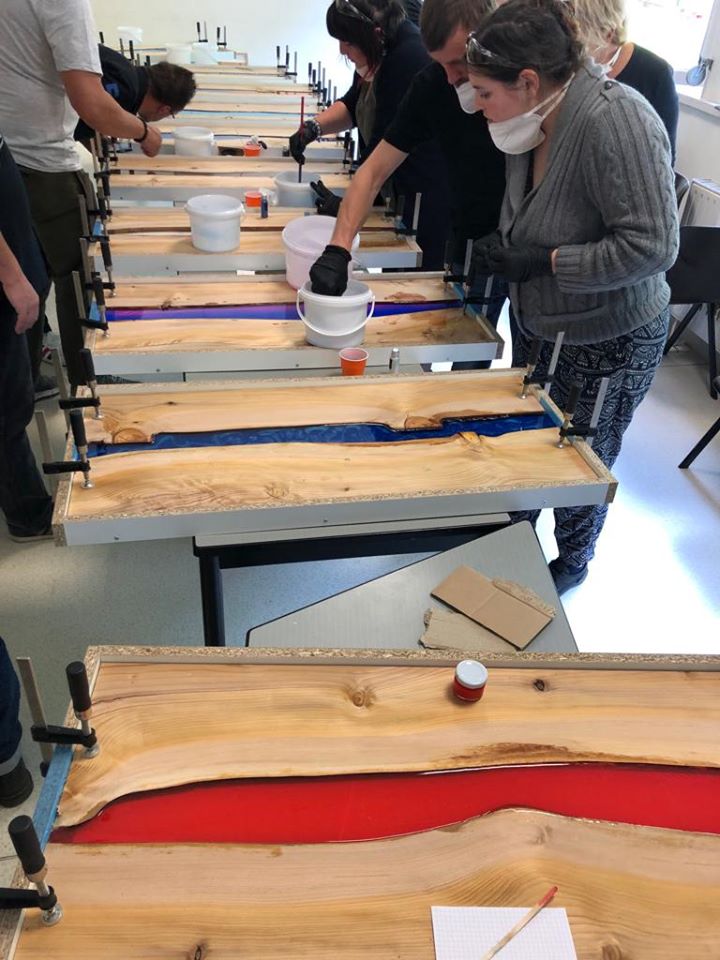
Sealing is especially important for pieces subject to frequent handling, such as jewellery, coasters, or tabletops. If your design includes lightweight powders like eyeshadow, a durable clear coat prevents smudging and maintains a smooth, high-gloss surface.
Related products
Related guides
Sealing your resin ensures your colourful designs remain as vibrant as the day they were made. For more tips on getting beautiful results with unique pigments, visit our main guide on using eyeshadows in resin.