 Free shipping on orders over £29,85


← Back to How to produce indoor resin?

Producing indoor resin projects can be enjoyable and straightforward with the right approach and materials. Here’s a clear step-by-step guide to help you achieve professional results safely at home.
1. Choose the Right Resin for Indoor Use
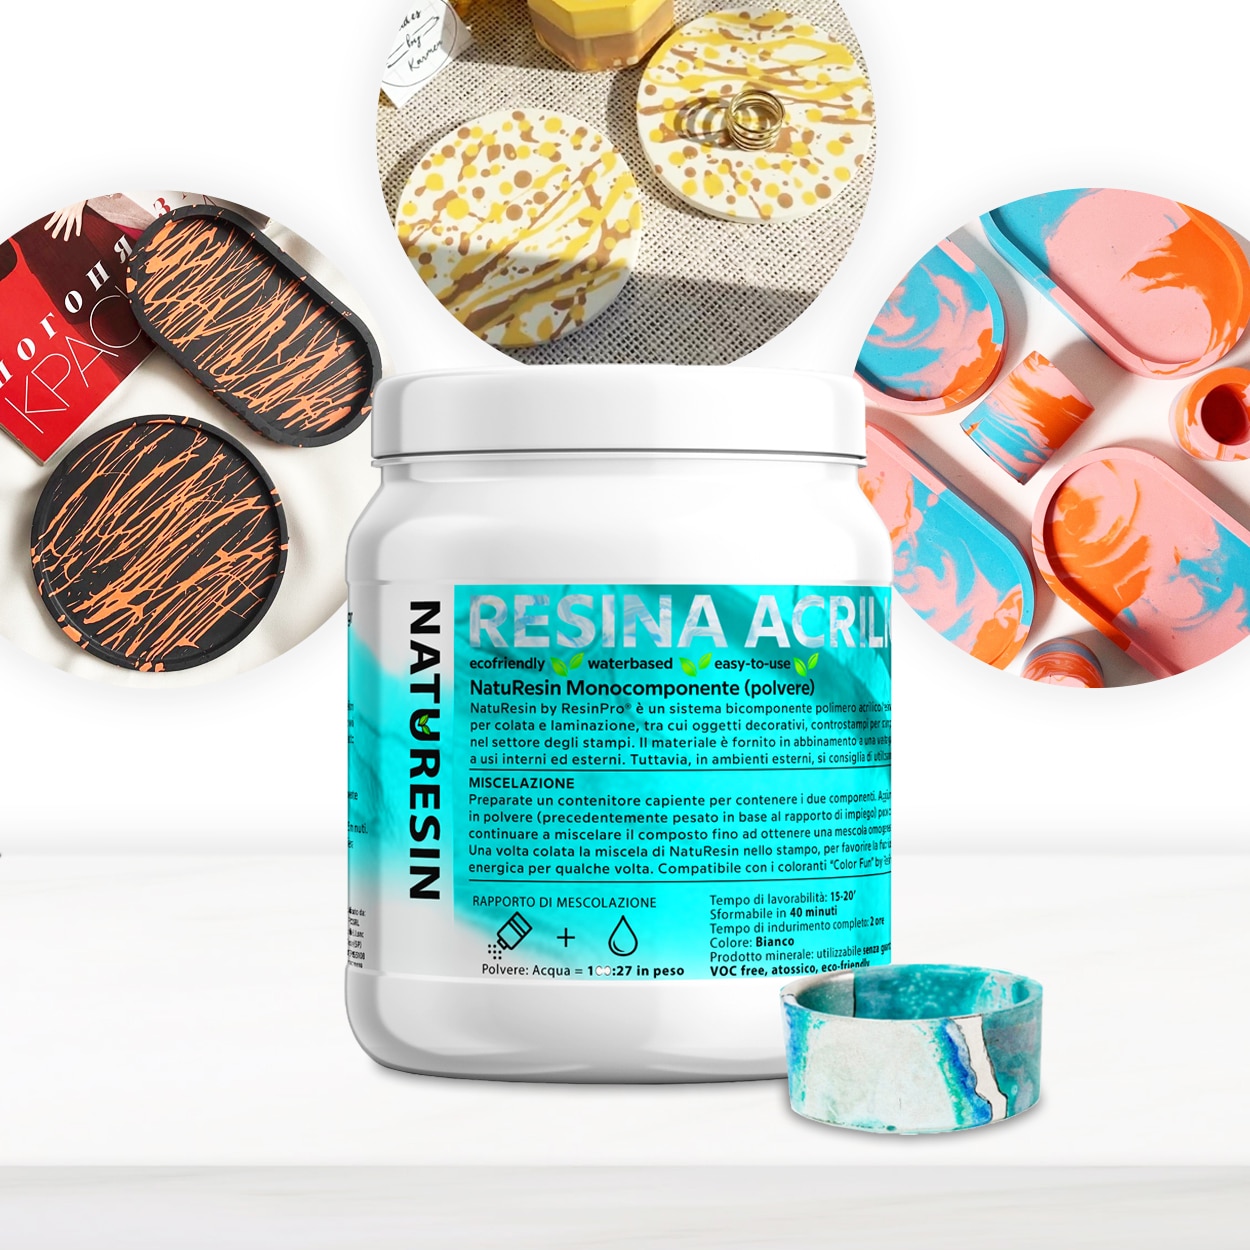
Begin by selecting a resin formulated for safe indoor use—ideally non-toxic, low-odour, and VOC-free. Options such as NatuResin mineral resin are water-based and very comfortable to handle indoors, while epoxies like “Icrystal” provide a clear, durable finish. Always check product safety information and choose resins that can be used comfortably without special ventilation for casual home crafting.


2. Prepare Tools and Workspace
Set up a clean, level surface and organise your moulds, mixing tools, pigments, scales, and protective gear if needed. For mineral resin, you’ll generally only need tap water and kitchen scales for accurate measurement. If using pigment or glitter, have these ready to create your desired effects. Ensure all equipment is dry and free of dust to avoid imperfections.
3. Mixing, Pouring, and Curing
- Mixing: Accurately combine resin and hardener according to instructions, or in the case of water-based mineral resins, mix with water in the specified ratio. Blend until the mixture is smooth and homogenous.
- Pouring: Pour the resin slowly into moulds, tapping gently to release air bubbles. Customise by adding suitable pigments. Note that alcohol inks are not always suitable, especially for UV resin—use dry pigments or glitter instead.
- Curing: Allow the resin to cure fully. Mineral resins typically set within a few hours, while UV resins can harden in minutes under a UV lamp, and epoxies may require overnight curing. Avoid moving the project until the resin is set to prevent warping or imperfections.

Related products
Related guides
Following these simple steps will help you produce attractive and durable indoor resin crafts with confidence. For more detailed advice and techniques, return to our main guide on how to produce indoor resin.