 Free shipping on orders over £29,85


← Back to how to level dry resin
Achieving a flawless, level finish on cured resin is critical for both function and aesthetics. Using a line level is a straightforward way to ensure your resin surfaces are perfectly flat and smooth during finishing.
Why Choose a Line Level for Levelling Resin?
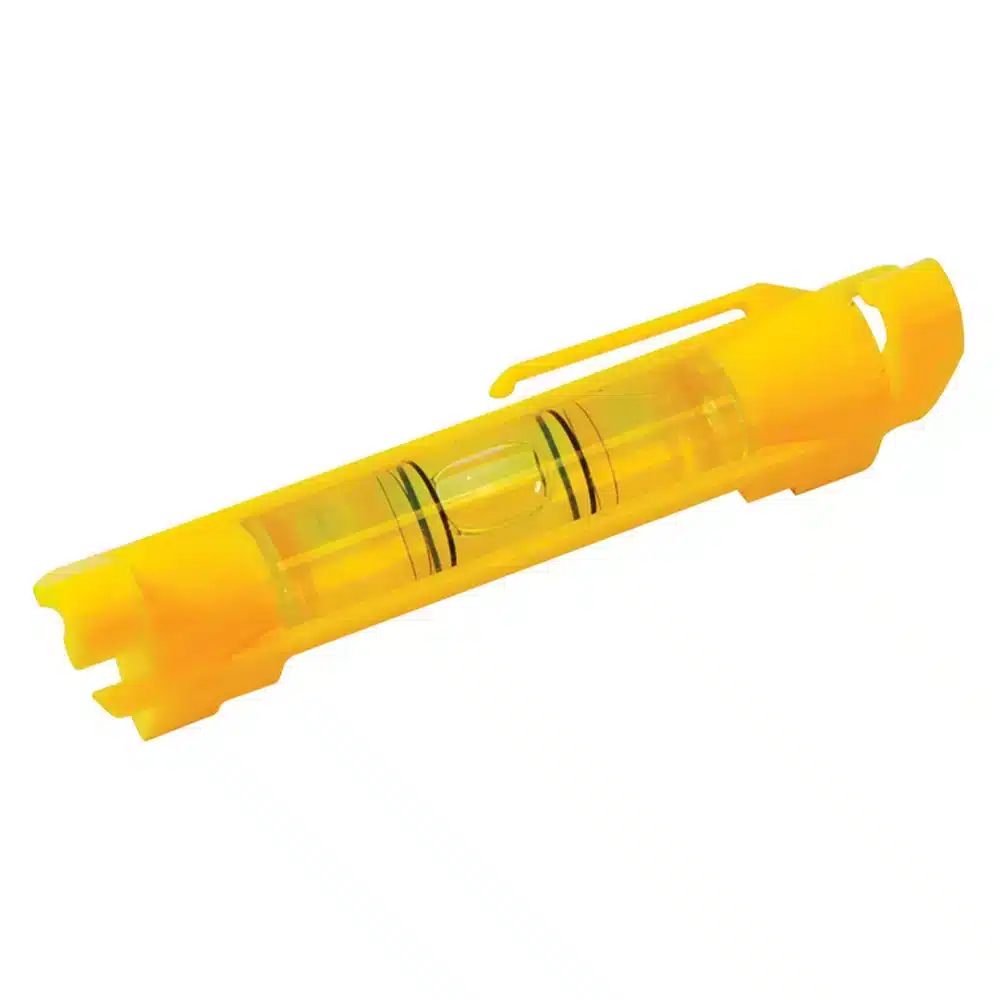
A line level provides quick, accurate checks across wide or awkward areas. Its compact and lightweight form minimises sag in the line, offering clear bubble visibility so you can spot uneven spots easily. This makes it highly useful for resin work, where surface accuracy ensures both beauty and practicality.
- Essential for identifying high or low spots before sanding or polishing
- Lightweight, UV-resistant, and durable for repeat use on multiple projects
How to Use a Line Level on Dry Resin Surfaces
Begin by stretching a length of string tightly over your resin piece, ensuring the ends are secure and the line is above the surface you wish to check. Clip the Compact Line Level for Epoxy Projects onto the string and observe the vial. The bubble’s position lets you know instantly if your surface is level. Mark or note any uneven spots before continuing with sanding or polishing steps, such as using an epoxy resin polish kit for the final finish.
When Precision Levelling Matters Most
Using a line level is especially important when preparing tabletops, art panels, or trays where even a slight unevenness can impact use. This technique is also handy before applying clear coats or protective resin layers—ensuring crisp, smooth results every time.
Related products
Related guides
Proper levelling, with tools like a compact line level, is a simple but vital step in perfecting dry resin surfaces. For more expert guidance on resin finishing, see our main how to level dry resin guide.