 Free shipping on orders over £29,85


how to level dry resin
Achieve mirror-smooth resin surfaces with the right technique


Levelling dry resin is essential if you want a professional, mirror-smooth finish for artwork, coasters, tabletops, or decorative pieces. In this guide, learn how to restore uneven cured epoxy surfaces, remove minor imperfections, and regain that glossy, showpiece look—whether you’re a first-time creator or seasoned resin artist.
What You’ll Need
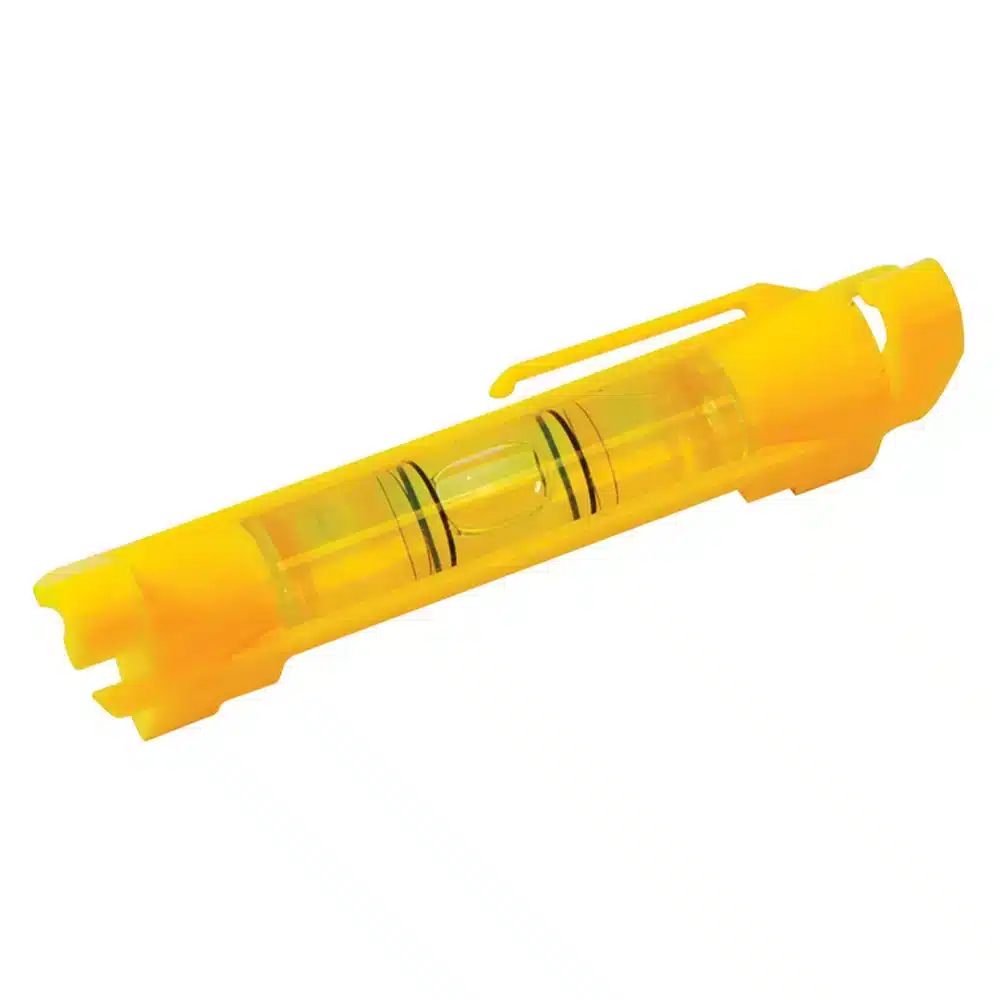
- Compact Line Level for Epoxy Projects for Accurate Surfaces – 75mm – for precise surface checks
- Scraper for Paint & Dry Resin Removal – 10 Double-Sided Blades – for removing high points or drips
- A selection of fine to coarse sandpaper sheets (wet/dry)
- Clean water for wet sanding
- Soft microfiber cloths
- “Epoxy Polish” – Epoxy Resin Polishing System – for final high-gloss shine
- Protective gloves and eye protection

Essential Tools for Resin Levelling Success
For best results, always use dedicated resin equipment. Precision levels, high-quality scrapers, and polishing kits make the difference between an average piece and a flawless, high-gloss finish. These reliable accessories are trusted by artists and professionals alike to restore cured epoxy surfaces efficiently.

Step 1: Assess and Clean the Resin Surface
Begin by thoroughly inspecting your project. Good lighting reveals dips, bumps, or raised drips on cured resin pieces. Run your hand gently across the top to feel for uneven sections. Carefully sweep off dust or loose debris using a dry, lint-free cloth, and if necessary, use a mild detergent solution to clean sticky spots. Allow the resin to dry fully before proceeding to the next stage.
Ensure your workspace is dust-free to prevent contaminating the resin during levelling and finishing steps.
Step 2: Scrape and Sand High Spots
If there are noticeable resin drips, blobs, or hardened overflows, these need careful removal before sanding. Gently use a Scraper for Paint & Dry Resin Removal – 10 Double-Sided Blades to shave down protruding areas without gouging into the piece. Work methodically and use light, even pressure—avoid aggressive scraping which can damage the surface below.
Once the highest points are removed, begin sanding. Start with coarser wet/dry paper (such as 400 grit) and work in small circular motions over uneven areas. Regularly dip the paper in water to keep the dust down and avoid clogging. Gradually switch to finer grits (800 up to 2000) for a smoother overall surface. Check your progress frequently by wiping with a damp cloth.
Maintain even pressure and avoid rushing—an uneven touch can reintroduce dips or scratches.
Step 3: Check for Level Using a Line Level
After initial sanding, it’s time to check your work. Lay a Compact Line Level for Epoxy Projects for Accurate Surfaces – 75mm across the resin surface. Assess from several directions to ensure the entire piece is even. For larger artworks or furniture, work in sections and move the level as you go. If you find further low or high areas, mark and return to spot-sand as needed for perfect flatness.
Always start with the lowest area when re-levelling, to avoid accidentally creating new high points elsewhere.
Use a line level for precision, even for smaller resin crafts, to spot subtle dips invisible to the naked eye.

Step 4: Polish for a Glossy Final Finish
With your resin surface now level and sanded through increasingly fine grits, restore shine with a high-quality polishing compound. Apply a small amount of “Epoxy Polish” – Epoxy Resin Polishing System directly to the surface. You can use a dedicated rotary polisher, a manual pad, or a soft microfiber cloth—always follow product recommendations for best results. Work in slow, overlapping circles until the entire area gleams.
Buff with a clean dry cloth to reveal the glassy finish. If desired, repeat with a fine polish for extra brilliance, especially on decorative display items.
Patience during sanding pays off—the smoother your prep, the quicker you’ll achieve that mirror-like polish.
Tips, Troubleshooting, and Common Mistakes
Dust particles, excessive hand pressure, or skipping sandpaper grits can all compromise your result. Never try to correct deep dips with extra polish alone—a mechanical levelling approach is vital. For persistent unevenness, consider applying a new thin layer of epoxy, such as “Art Pro” – Clear Epoxy Resin for Artists and Surface Coating, to flood and self-level minor flaws.
Remember, gradual sanding and frequent inspections make the process smoother and the finish more professional.
Professional Advice for Resin Artists
Work gently and intentionally—most mistakes happen by rushing through sanding or skipping vital steps. Smooth surfaces take patience and repeated checks. Always clean between each sanding stage to maintain clarity and brilliance in your resin work.

- "Epoxy Polish" – Epoxy Resin Polishing SystemPrice range: £17.85 through £44.85"Epoxy Polish" is a polishing system for resin projects designed to restore surfaces with a mirror-like shine, suited to the theme of how to level…
- Compact Line Level for Epoxy Projects for Accurate Surfaces – 75mm£1.15Compact Line Level designed to help achieve level surfaces in epoxy projects.
 Scraper for Paint & Dry Resin Removal – 10 Double-Sided Blades£4.65The scraper is designed for removing paint and dry resin from smooth surfaces, suitable for both professionals and DIY users.
 "Art Pro" – Clear Epoxy Resin for Artists and Surface CoatingPrice range: £31.15 through £388.85Art Pro offers clear, scratch-resistant epoxy resin with UV protection, suitable for artistic coatings and decorative surfaces.
Frequently Asked Questions
Can I level resin after it has dried?
Yes, dry resin can be levelled using careful scraping, sanding, and polishing techniques to remove high spots and achieve a smooth finish.
Why is even pressure important in sanding resin?
Uneven pressure during sanding can create new dips or scratches, making the resin surface harder to finish evenly.
How do I fix dips in a dry resin surface?
Shallow dips can sometimes be filled with a new thin coat of epoxy. For deeper dips, sand level first, then recoat as needed.
What is the best tool to remove hardened resin drips?
Use a scraper with sharp, double-sided blades to carefully remove drips, working gently to avoid scratching the surrounding area.
Can you polish resin by hand?
Yes, resin can be polished by hand using a polish and microfiber cloth, though a polishing pad yields faster, shinier results.
How do I prevent dust contaminating my resin during polishing?
Work in a clean, dust-free space and wipe down surfaces between sanding and polishing stages.