Free shipping on orders over £29,85


Introduction to Silicone Putty for Resin Mould Making
Silicone putty is a popular choice for making detailed resin moulds due to its ease of use and flexibility. In the UK, hobbyists and small workshop creators appreciate silicone putty for quick turnaround projects with minimal mess and fuss. This guide covers everything you need to know about using silicone putty for moulds, from basic application to choosing the right formula for your needs.
If you are new to mould making or looking to try alternatives to liquid silicone, this post will help you understand the practical differences and guide you towards suitable products, including the non-toxic “I–GUM” silicone putty range available in the UK.
Silicone Putty vs Liquid Silicone
The choice between silicone putty and liquid silicone depends on your project requirements and preferences. Below is a comparison table highlighting the main differences to consider:
| Feature | Silicone Putty | Liquid Silicone |
|---|---|---|
| Form | Two-part putty, hand mixable | Two-part liquid, needs measuring and stirring |
| Ease of Use | Simple 1:1 mix, no tools needed | Requires precise measuring and mixing tools |
| Working Time | Typically 5 to 20 minutes (varies with type) | Varies; often longer working times available |
| Detail Capture | Good for small detailed moulds and shapes | Excellent detail capture for complex moulds |
| Application | Pressed or modelled around the object | Poured over objects or into mould boxes |
| Mess & Cleanup | Less messy; no washing of tools needed | Requires cleaning of tools after use |
| Odour & Toxicity | Often low odour, some non-toxic variants | May contain stronger odours; some safe formulations exist |
| Cure Time | Fast options available (10 minutes to 2 hours) | Varies widely from fast to slow curing |
| Flexibility & Strength | Flexible, suitable for many materials | Usually very flexible and durable |
For users looking for simple small moulds with rapid turnaround, silicone putty is a practical option. Liquid silicone excels in complex or large mould projects but requires more care in handling.
Fast vs Slow Curing Silicone Putty — How to Choose
Within silicone putty options, cure time is a key factor affecting workflow. Here’s how to decide between fast and slow curing putty:
- Fast Curing Silicone Putty: With working times around 2-5 minutes and full cure within 30 minutes, fast putty suits quick small-batch runs or urgent projects. It requires swift mixing and application but reduces waiting time significantly.
- Slow Curing Silicone Putty: Offering longer working times up to 20 minutes and full cure times up to 2 hours, slow putty is more forgiving and easier to shape delicately. It’s ideal for intricate moulds or beginners who want more time to perfect shape and detail.
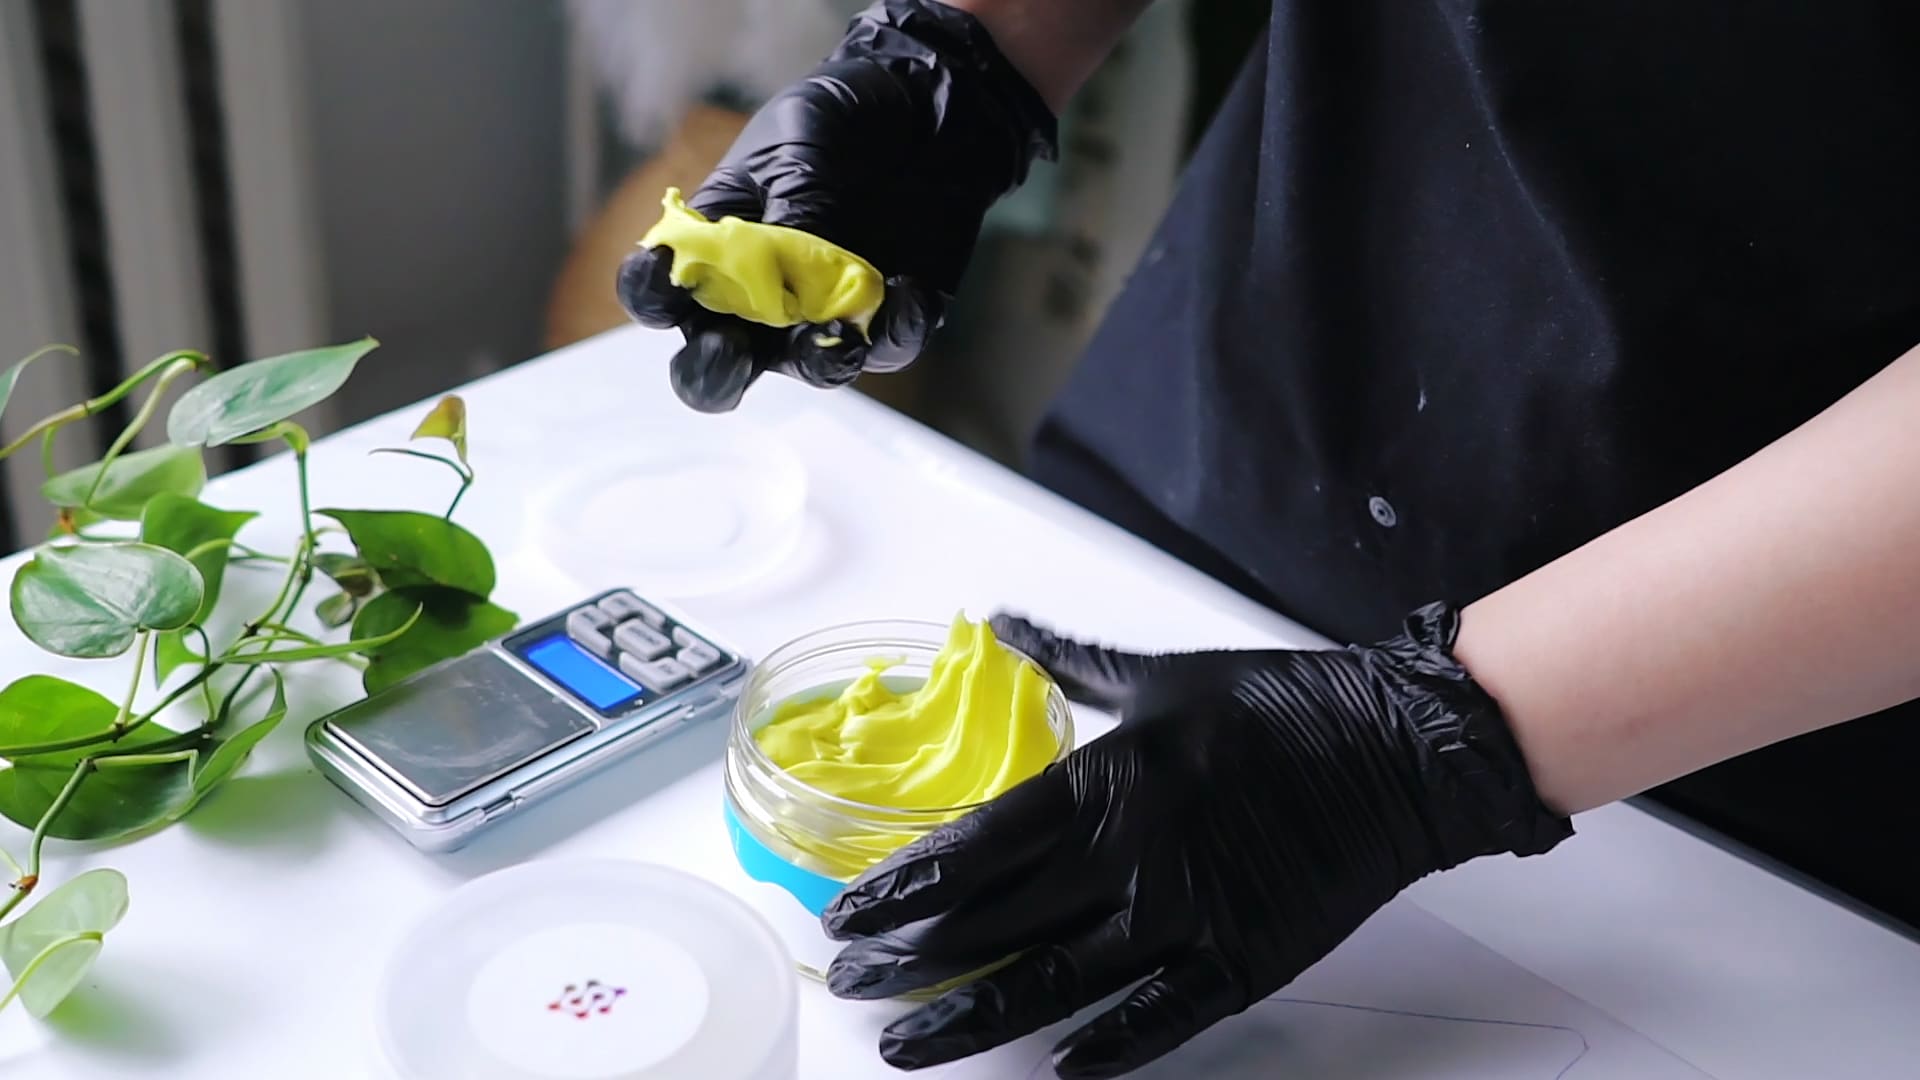
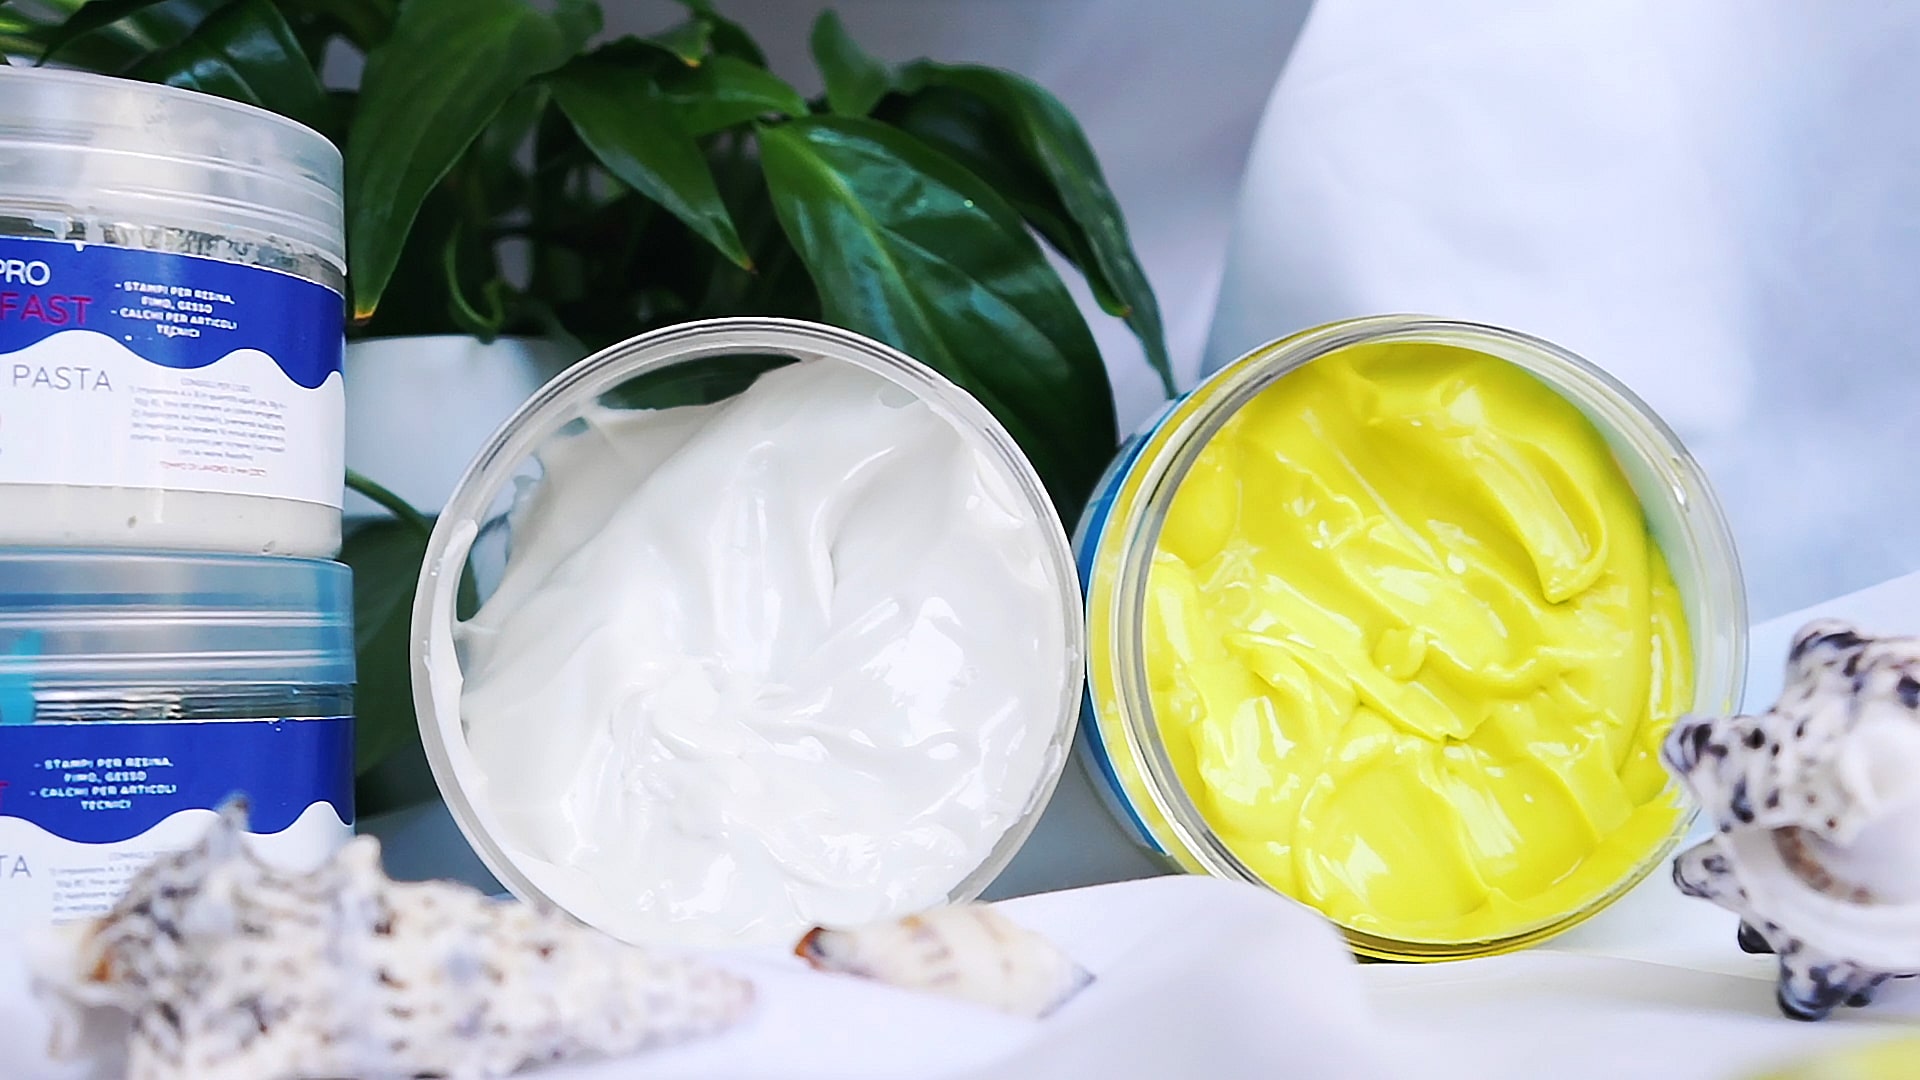
For UK hobbyists and home workshops, consider your project size and available working time. If you plan multiple small moulds in a session, fast curing silicone putty, like our “I-GUM Fast”, is perfect. For more detailed or carefully controlled projects, slow curing putty such as “I-GUM Yellow” offers the extra working time you need.
Which Silicone Putty is Best for Resin Moulds?
The “I–GUM” range is a non-toxic, low odour silicone putty set designed specifically for mould making with epoxy resin and other casting materials. Here’s why it’s an excellent choice for UK users:
- Mix ratio 1:1 by volume for practical and straightforward use
- Non-toxic formula allowing work without gloves in well-ventilated indoor spaces
- Long working time (up to 20 minutes for slow) and minimal odour, ideal for home workshops
- No need for additional release agents or washing of tools due to non-stick properties
- Two types available: Slow (I-GUM Yellow) and Fast (I-GUM Fast), with varying weights from 0.5kg to 4kg
- Suitable for making moulds of coasters, trays, decorations, and other resin art shapes with a smooth surface finish on plexiglass or base films
You can explore the full silicone rubbers category for alternatives, but the “I-GUM” brand strikes a balance of quality and practicality for UK craftspeople.
Common Mistakes When Using Silicone Putty
- Incorrect mixing ratio: Always mix components A and B in equal parts (1:1) by volume to ensure proper curing.
- Poor mixing: Inadequate mixing can cause uncured spots or brittleness. Mix until the putty is uniform in colour and texture.
- Applying too late: For fast curing types, apply quickly after mixing to avoid hardening before moulding.
- Too thin mould walls: Silicone moulds should have sufficient thickness (minimum 5mm recommended) to maintain strength and flexibility.
- Inadequate ventilation: Though “I-GUM” is low odour, ensure good room ventilation to avoid discomfort.
Safety & Handling Tips for Silicone Putty Use
- Work in a well-ventilated indoor area, especially if using fast curing putty with shorter working time.
- Although “I-GUM” is non-toxic, consider wearing gloves if you have sensitive skin or allergies.
- Store components in a cool, dry place away from direct sunlight.
- Dispose of mixed silicone waste responsibly; uncured putty can be disposed with general waste once cured.
- Keep mould-making area clean and tools ready before mixing to avoid rushed mistakes.
Practical Working Tips for UK Home Workshops
Many UK artists and hobbyists appreciate silicone putty for its low odour and suitability for indoor use in home workshops. The “I-GUM” range, being non-toxic and cruelty free, fits this need perfectly.
Thanks to its 1:1 mix ratio and hands-on application, you can create small batches quickly, without needing complex equipment or cleanup routines. Fast turnaround is possible with the fast curing variant, allowing multiple moulds in a session.
If you want to see the full resin casting process including mould making, check our detailed guide on how to make your own silicone mould in 5 steps.
Choosing the right silicone putty and resin combination ensures your projects come out smooth and detailed every time. Visit the silicone rubber category and resin categories to find the perfect supplies.
Examples