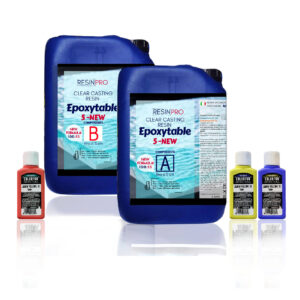


PROMO EPOXY RESIN – UNIQUE CASTINGS, UP TO 5 CM [1,96”]!!! FOR TABLES AND OTHER ARTISTIC CREATIONS!
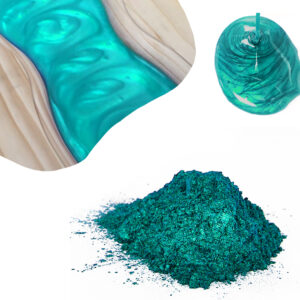
Free pigment “Colorfun original” 25ml as a compliment*!
*please, pay your attention, that free colorant is just a sample. For getting a solid color you need the next quantity –
9kg – 3pcs of 25ml (75ml)
18kg – 6pcs of 25ml (150ml)
You can add additional items here –
https://resin-pro.co.uk/product/pasta-colorante-colorfun-25-ml/
The Offer contains:
- 2 kits x 5.8 kg [11,9 lb] of resin (component A)
- 2 kits x 3.2 kg [7,9 lb] of hardener (component B)
Total: 18 kg
Technical data:
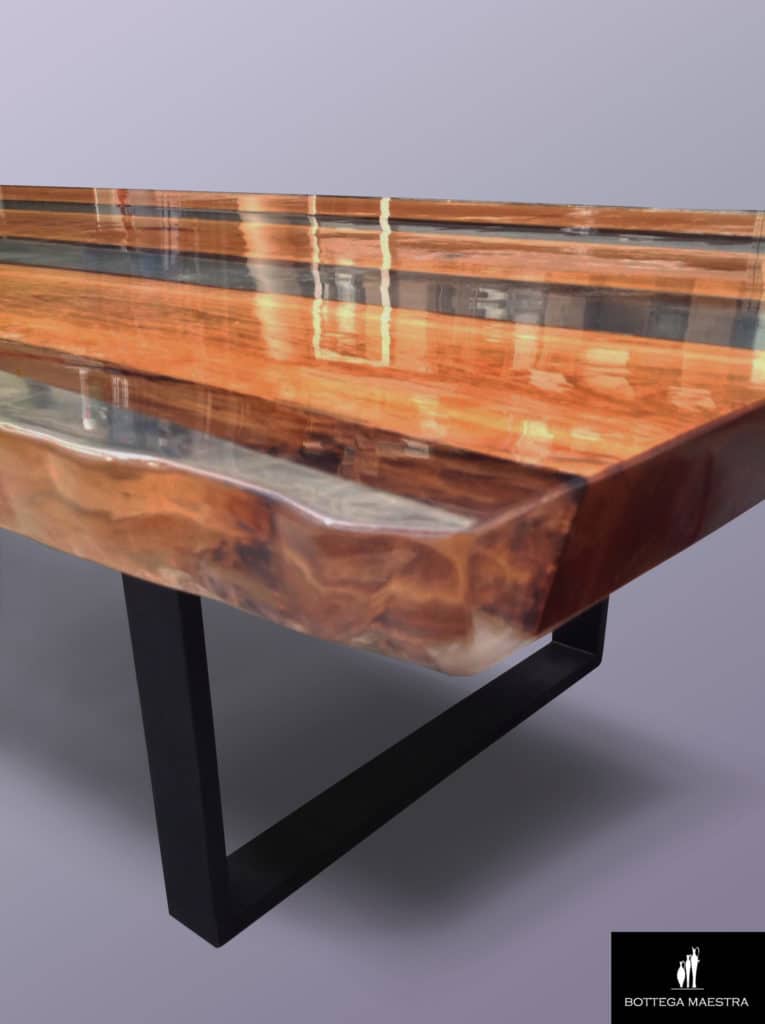
- ⚙️ 【RIVERTABLE, COUNTERTOPS AND DEEP COATING RESIN】 Ideal for the wood and deep river tables, countertops or for the creation of objects that require high thickness casting. Special low exothermic reaction and its low viscosity are perfectly to deep thickness castings, guaranteeing stability and resistance to your creations. Detailed instruction and gloves for free.
- 🧪 【HIGH QUALITY】Totally shiny, self-leveling and odourless epoxy resin. Easily polished. The added UV Anti-Yellowing Filters helps save transparency over time. The low density allows prevent the incorporation of air bubbles making it perfectly suitable for river tables and countertops. Compatible with silicone and wood, fabric, glass, paper or photographs. Complete catalysis ~ 5-7 days, but it will already be workable after about 72 hours.
- 🌿 【SAFE AND CERTIFIED】 All our resins are Certified Non-Toxic, Solvent-free, non-flammable, and totally safe.
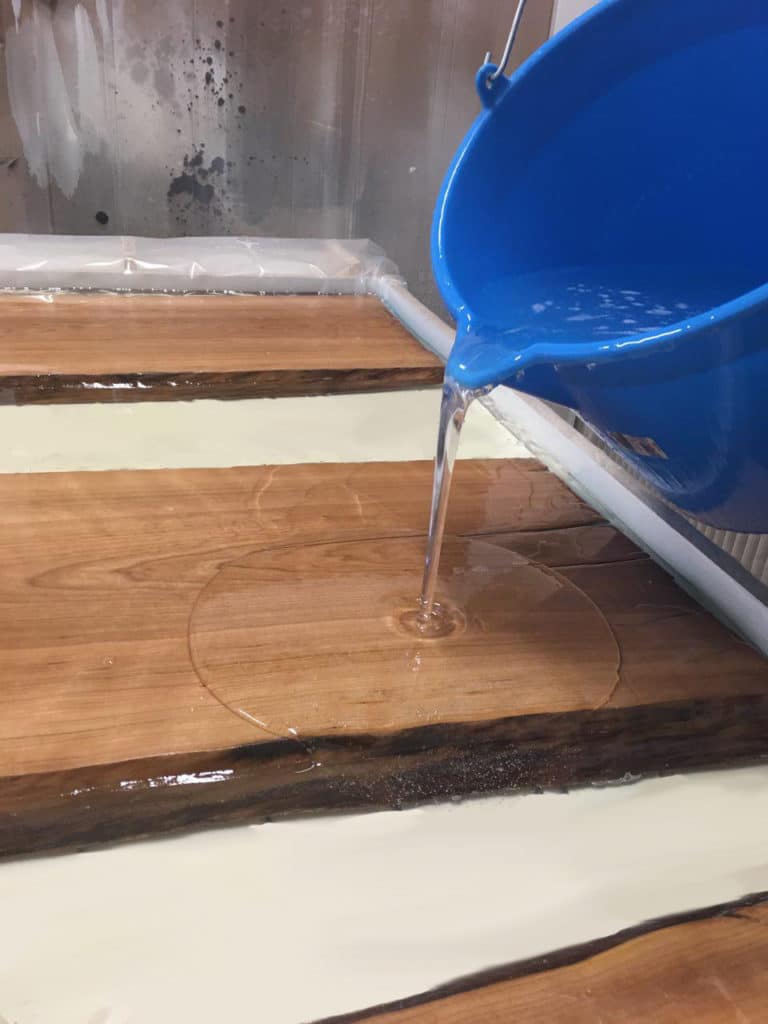
- 💧 【EASY TO USE】 The 3:2 mixing ratio makes this product very easy to use. Being a two-component resin, simply mix RESIN A + HARDENER B in the ratio indicated above the package and let it harden without the need for further additives. Can be coloured as desired.
- 📞 【FREE PROFESSIONAL ASSISTANCE SERVICE] Since we are directly a manufacturer, we have access to a professional laboratory that will happily help you with any complex project.
- 🇬🇧 【UK BASED TRUSTED COMPANY】 – RESIN-PRO team collect and send your order as fast as possible. We produce and realise epoxy resins since 2015. Just google our social media, where you find thousands of projects made with our products around the world.
____________________________________________________________________
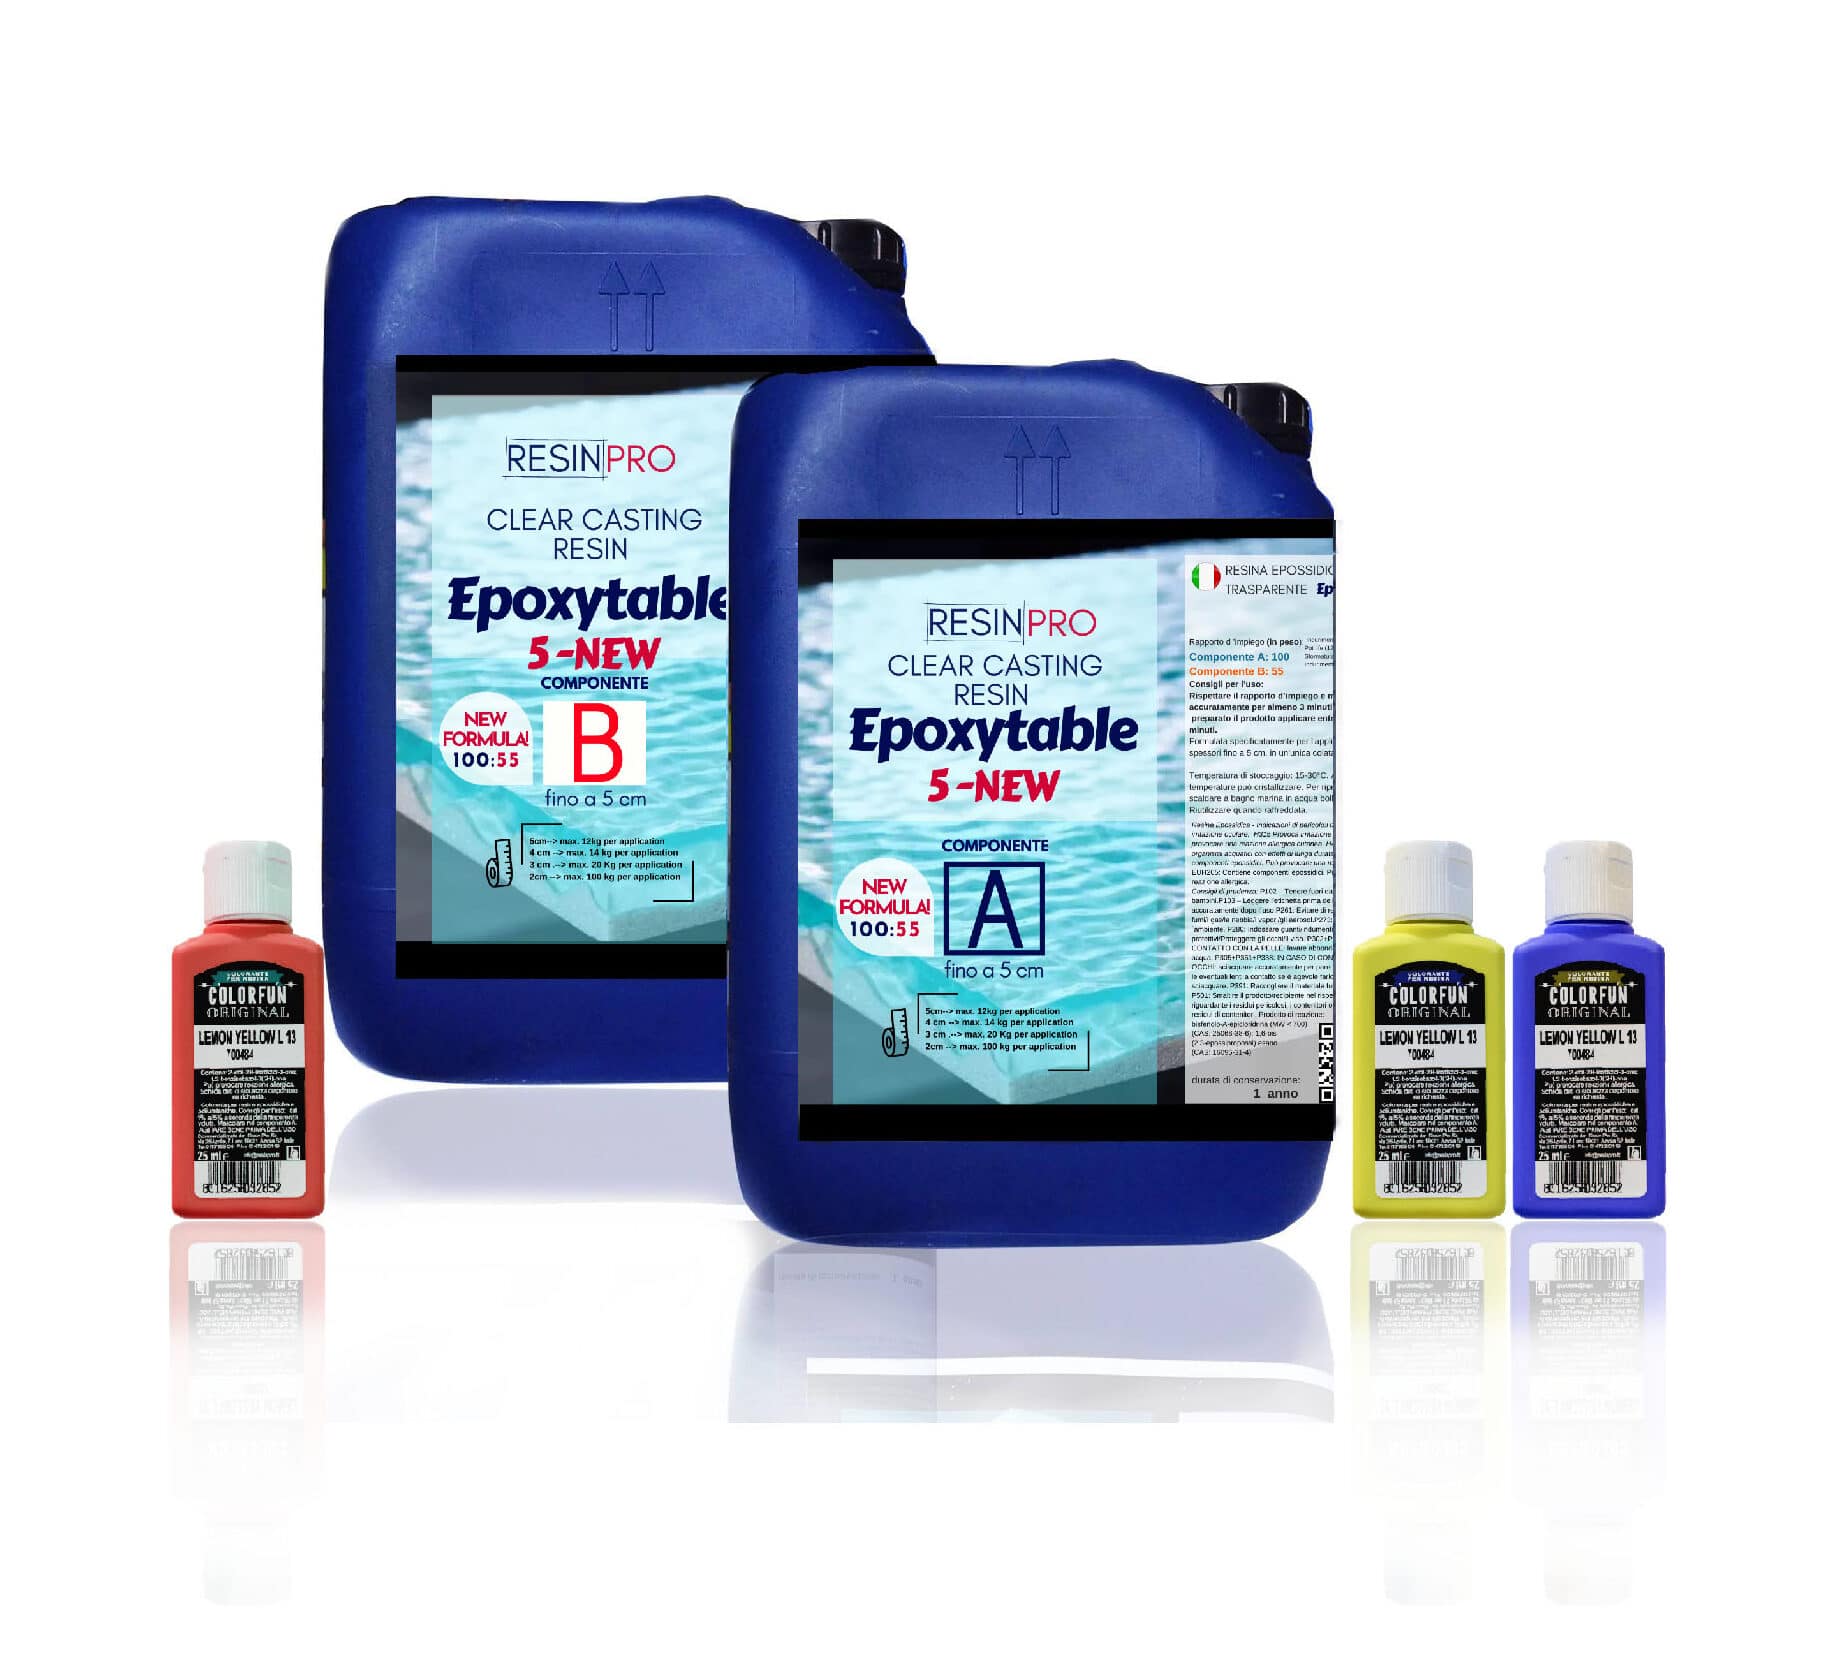
Finally, the ultimate product that allows high-thickness castings, non-yellowing and scratch-resistant.
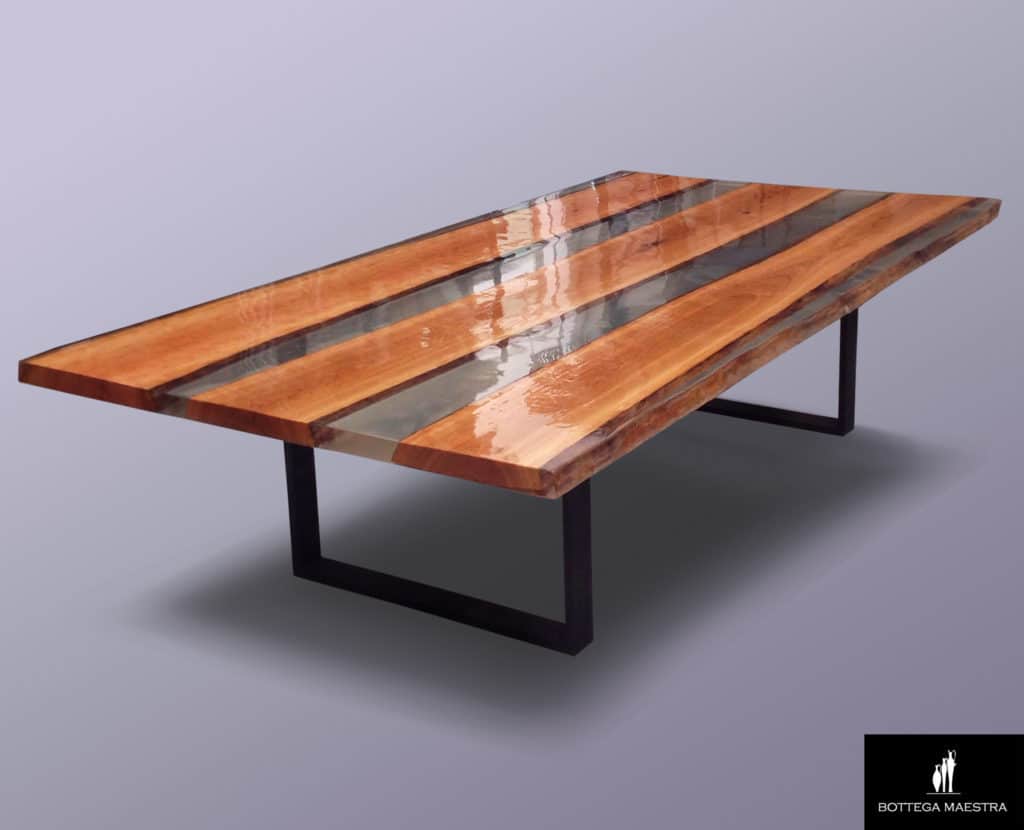
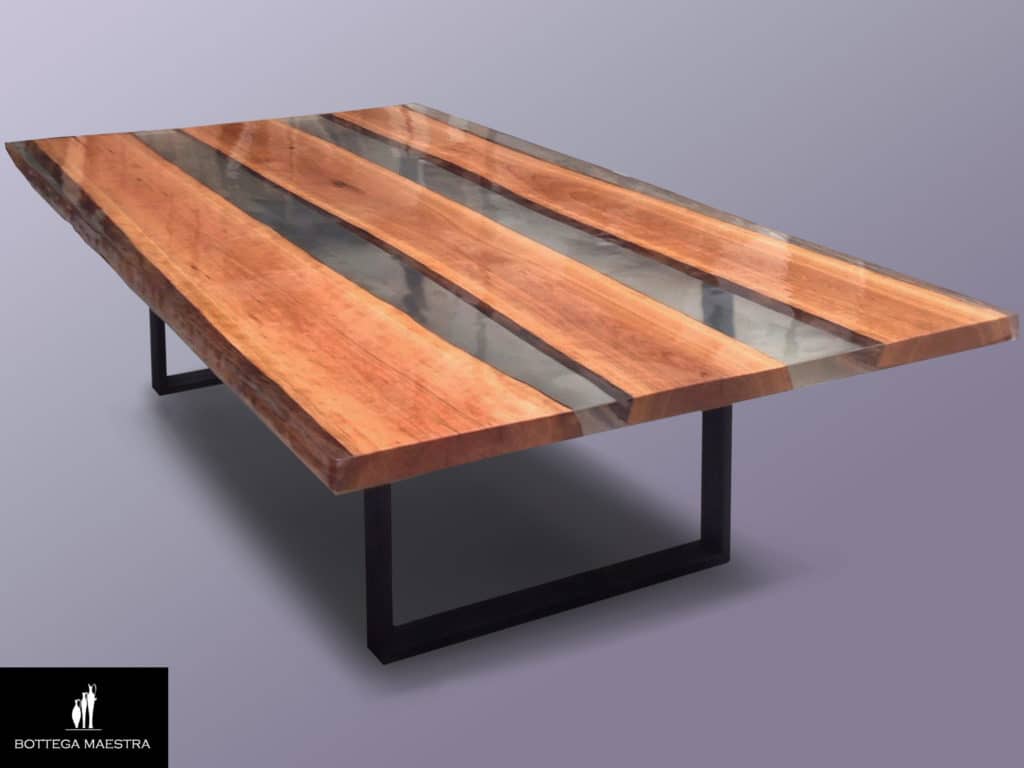
Specifically developed by RESIN PRO Team to provide its customers with the perfect product for the creation of wooden and resin tables!
Ultra-low exothermic reaction allows high-thickness castings WITHOUT OVERHEATING and WITHOUT DEFORMATIONS.
Perfectly TRANSPARENT and NON-YELLOWING. Specially designed to be used to create wooden and resin tables and for large castings for artistic works.
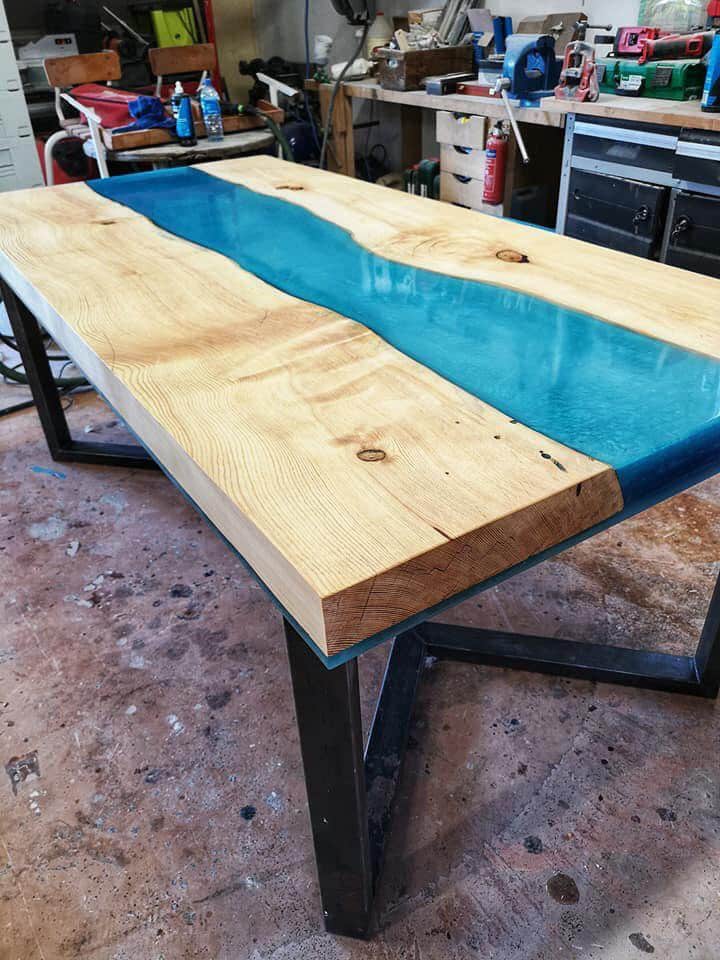
BESTSELLER FOR:
–Wood-working: Coating, Countertops and Tables, Lamps and Works of art;
–Restoration or surface coating: Wood, Concrete, Ceramics, Canvas, Glass fiber, Floors;
–DIY: Penny-floors, Jewellery making, Dynamic modelling and Artistic creations;
–Industrial: Boat care and maintenance; Impregnation of technical fabrics (fiberglass, carbon fibre, Kevlar).
Ideal for wood and resin tables thanks to its features:
- low exothermic reaction, for castings up to 5 cm [1,96”]!*
- with UV filters, non-yellowing guaranteed for 10 years;
- highly mechanical resistant surface, for maximum scratchproof properties!
- low viscosity to eliminate air bubbles;
- long working time, that permits to work on the project in order to correct any aesthetic defect.
- heat resistance – up to 70 C [158 F]
____________________________________________________________________
Attention!
If one of the sides of the project is more than 100cm or the total weight of pouring epoxy is more than 8kg we insistently recommend to do a casting in two and more layers! (waiting 6- 8 hours between them).
____________________________________________________________________
if you have not enough experience, we insistly suggest to make a small test before working with large project.
Epoxy resin is a complicated technical product, but if you follow the basic rules, you will get wonderful results! If you need any assistance, just call us – 07596 850968 or email us – info@resinpro.eu
With best regards, RESIN PRO TEAM😊
Check and tag our social media for inspiration! We are always happy to publish your art-work
![]()
__________________________________
VERY USEFUL ARTICLES FOR THIS EPOXY TYPE:
👉🏽 HOW TO USE EPOXY RESIN: TRICKS AND GENERAL GUIDE
👉🏽 EPOXY RESIN: PROBLEMS AND SOLUTIONS – THE 12 MOST COMMON PROBLEMS
👉🏽 3 IMPORTANT FEATURES YOU MUST KNOW BEFORE WORKING WITH RESIN
👉🏽 HOW TO BUILD A WOOD AND RESIN TABLE
👉🏽 PLANNING AND CREATION OF LARGE RESIN TABLES – MAIN ISSUES, GUIDELINES AND PRACTICAL ADVICE
👉🏽 HOW TO MAKE A RESIN AND WOOD RIVER TABLE AND COUNTERTOP (LIVE EDGE)
👉🏽 HOW TO BUILD A WOOD AND RESIN TABLE
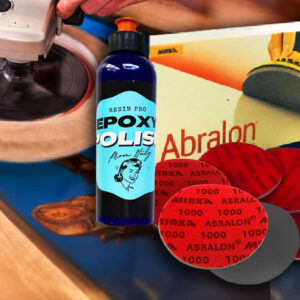
👉🏽 HOW TO POLISH YOUR PROJECT PROPERLY
Main features:
Mix ratio 100:55 (by weight)
| Component | Resin epoxy | Hardener | MIX | |
| State | Liquid | Liquid | Liquid | |
| Color Garder | 1 | 1 | 1 | |
| Viscosity | mPas | 1900 | 40 | 400 |
| Pot life (125g 25°) [0,27 lb 77 F] | 24h | |||
| Gel time (125g 25°) [0,27 lb 77 F] | 48h | |||
| demoulding | days | 2 | ||
| Full cure 7 days (25C) [77 F] |