 Free shipping on orders over £29,85
Polishing is definitely a fundamental step when it comes to finishing a resin surface. Although, in fact, the resin cures glossy by its nature, due to the problems arising from the humidity rate that is too high, annoying opaque halos may appear on your surface.
But don’t worry! Thanks to the RESINPRO POLISHING KIT, you will be able to finish your creations in a simple and direct way without the need for decades of experience in this field.

So here are the basic steps you will need to perform to make the most of this fantastic product.
1) PREPARATION OF THE PLAN
Start by putting the resin surface that you will have to polish under a damp cloth, to avoid sudden movements caused by the vibration of the orbital polisher. We also recommend that you keep a damp cloth at hand for rinsing between one grain and another.
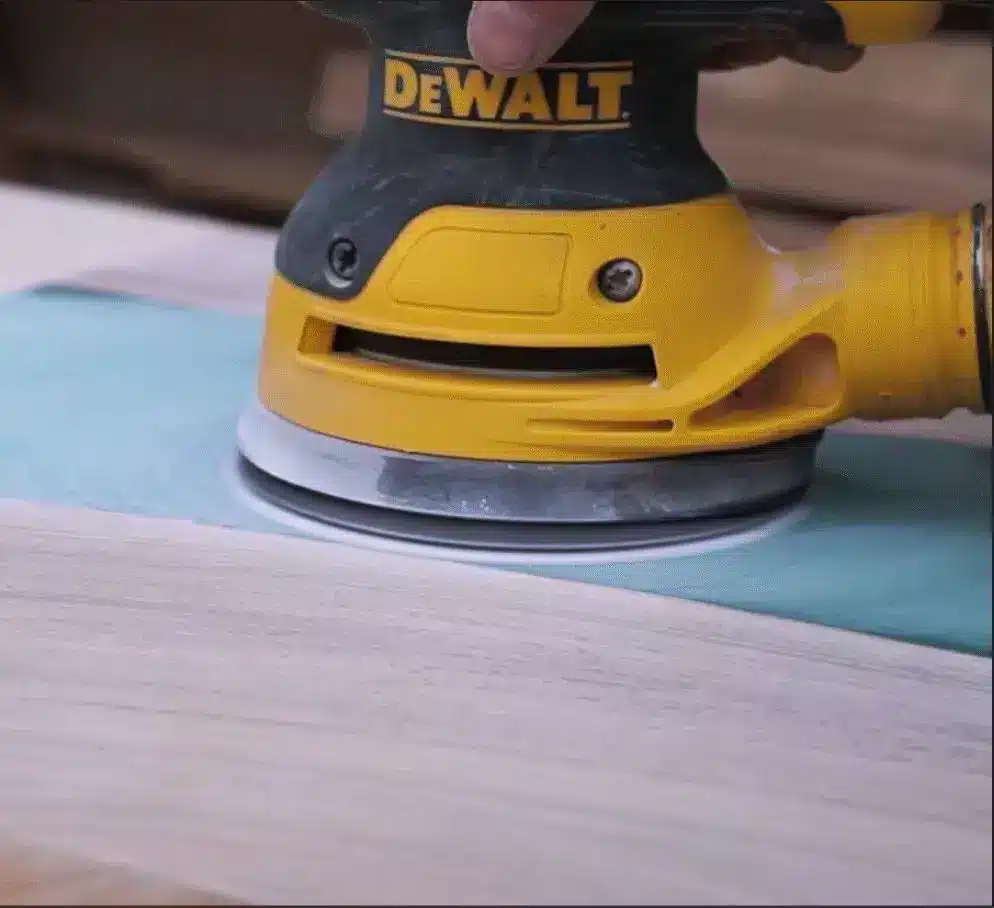
2) POLISHING
Starting with the lowest grain, place the disc on the polisher attachment and start working on your surface. It is very important to keep the polisher always in motion and try not to dwell on the same spot for more than 2-3 seconds. Move in a uniform and geometric way so as to cover all points of the surface without leaving any uncovered. Once you have finished the first step, wipe the damp cloth slightly wet with ethyl alcohol – the very common pink alcohol – on your surface before moving on to the next grain. Once you have reached the last grain (4000), it will be very important to wet the surface with a little water before using the polisher: in this way, all the marks left by the previous discs will be perfectly eliminated. Once the 4000 grit has also been used up, dry your surface and get ready to apply the Polish.

3) POLISH APPLICATION
After going through all the grits, your piece will already look shiny but not perfect yet. The time has come to finish everything by applying EPOXYPOLISH RESINPRO, the final product that will allow you to obtain a bright and lasting polish. Pour a little Epoxypolish on the appropriate pad and mount it on the orbital polisher and then start, always following a geometric and uniform movement, to pass it on your resin surface. Once the top has been polished, remove the excess polish using another pad or, if you do not have it available, a woolen cloth.
Now your table will shine perfectly and is ready to be used!
