 Free shipping on orders over £29,85


How to make resin lures?
Begin your lure making journey with clear resin casting techniques.


Making your own resin lures allows you to customise their look, experiment with colours, and achieve shapes not typically found in store-bought fishing lures. Whether you’re a keen angler or a crafting enthusiast, this hands-on guide will walk you through the essential steps to achieving durable, attractive resin lures.
What You’ll Need
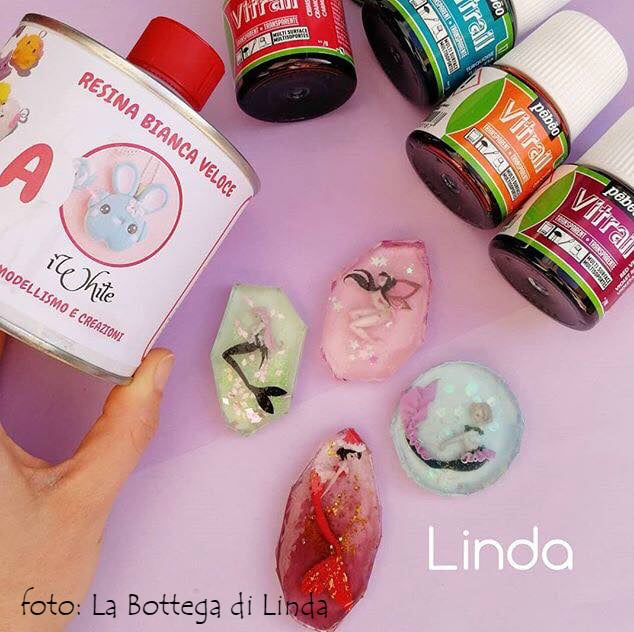
- “IWhite” – Polyurethane Casting Resin – White, Fast-Curing Two-Part System: A fast-curing, fluid polyurethane resin for rapid, detailed casting.
- “ICreation” – Fast Epoxy Resin, 6h Demoulding, Transparent Gloss Finish: Best for clear finishes and glossy effects in time-sensitive projects.
- “Trasparente” – Multipurpose Clear Epoxy Resin for Casting – Up to 2cm: For ultra-clear, durable lures with a smooth finish.
- “Trasparente” Epoxy Resin Kit 800g + Mica Powder 10g – 10 Colour Variations: Includes pigments for custom lure colouring and creative effects.
- Silicone lure moulds (commercial or custom-made)
- Pigments, glitters, or mica powders for coloured effects
- Protective gloves, mixing sticks, and a measuring cup
- Fine sandpaper and small files

Creative Colour and Design Inspirations
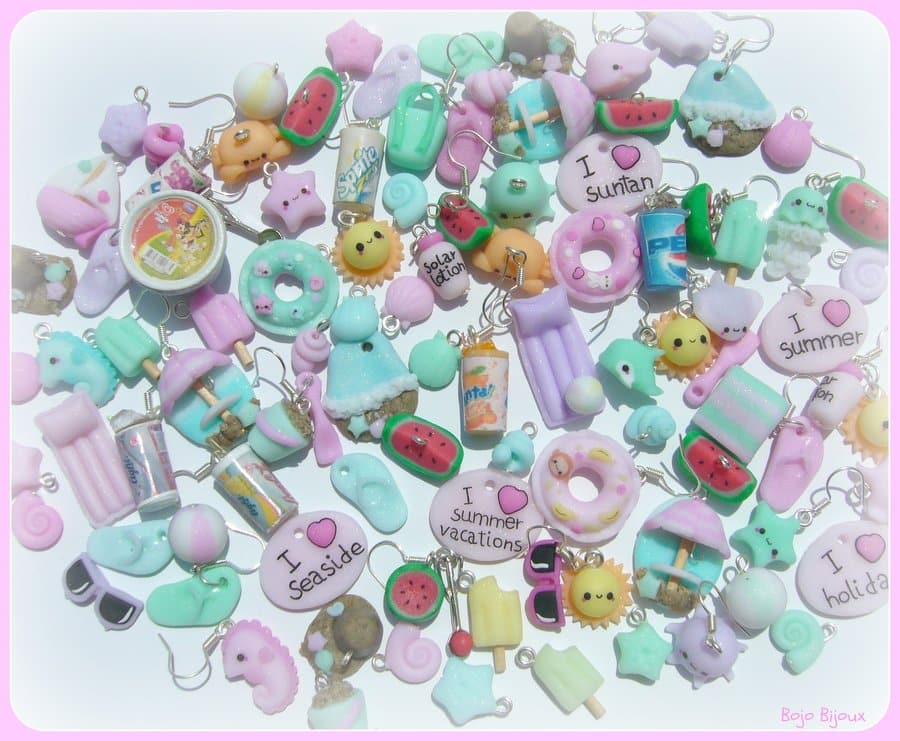
Experiment with layering pigments and mica in your resin to achieve eye-catching, realistic lure effects. Combine shimmering mica with transparent resin for scale-like finishes, or use bold pigment swirls for striking patterns.

Step 1: Prepare Your Moulds
Ensure your silicone moulds are clean, dry, and free from dust or residue. Thoroughly inspect the moulds for any imperfections, as these will transfer to your finished lure. Place them on a stable, level work surface protected with disposable covering for easy cleanup. If you’re using release agent, apply it now according to the instructions and allow it to dry.
Avoid touching the inside surface with your fingers after cleaning to prevent introducing oils or dust that could affect the finish of your lures.
Step 2: Mix Your Resin and Add Colour
Following the manufacturer’s instructions, measure and mix your chosen resin thoroughly, using slow, consistent motions to reduce bubbles. The type of resin affects work time and clarity:
If you want fast results and fine detail, “IWhite” – Polyurethane Casting Resin – White, Fast-Curing Two-Part System is a top choice thanks to its rapid curing and low viscosity. For lures with transparent or glossy finishes, opt for “ICreation” – Fast Epoxy Resin or “Trasparente” – Multipurpose Clear Epoxy Resin.
Add your colourants—such as pigment paste, mica powder, or glitters—mixing gently for even dispersion. For a starter kit with pigments included, the “Trasparente” Epoxy Resin Kit 800g + Mica Powder 10g – 10 Colour Variations makes custom colouring quick and easy.
Step 3: Pour and Cast Your Lures
Carefully pour the mixed resin into the lure moulds, starting from one corner to reduce bubble formation. Tap the mould gently on the surface to release any trapped air. If bubbles persist, briefly pass a heat gun or torch (at a safe distance) above the surface to help them rise and pop—but do this sparingly to avoid overheating and warping.
If your lure design uses inserts (such as wire forms or eyes), add these before the resin begins to gel. Monitor the thickness limits for your resin, especially with “Trasparente” – Multipurpose Clear Epoxy Resin for Casting – Up to 2cm, which is designed for layers up to 2cm thick.
Step 4: Demould and Finish Your Lures
Allow the resin to cure fully—timing depends on your resin type. Polyurethane cures like “IWhite” might demould in as little as 30 minutes, while most fast epoxies need at least 6 hours. Ensure the lures are solid before removing them; premature demoulding may cause deformation or stickiness.
Once demoulded, check for sharp edges or imperfections. Smooth and shape your lures with fine sandpaper and files as needed. If desired, hand-paint details or apply extra coats of resin for a high-gloss or protective finish.
Tips and Common Mistakes
- Mix your resin precisely: Inaccurate ratios can lead to tacky, uncured lures.
- Use high-quality moulds for definition: Poor-quality moulds can cause defects.
- Work in a dust-free environment to avoid particles embedding in the resin surface.
- Wear gloves and avoid direct skin contact with uncured resin for safety.
- Do not rush demoulding: Wait the full recommended cure time to prevent bending or breakage.
- Test small batches first when using colours or new resins to check curing and clarity.
Finishing Touches for Professional Results
Smooth your finished lures with fine sandpaper for a glassy surface, and hand-paint details for lifelike appeal. Seal with a clear coat of resin to maximise durability and shine.

- “IWhite” – Polyurethane Casting Resin – White, Fast-Curing Two-Part SystemPrice range: £22.85 through £34.85IWHITE White Polyurethane Casting Resin is a fast-curing two-part system suitable for detailed casting and rapid prototyping in modelling.
- "ICreation" – Fast Epoxy Resin, 6h Demoulding, Transparent Gloss FinishPrice range: £19.40 through £52.85ICreation fast epoxy resin is suitable for making jewellery and crafts where a transparent, glossy finish and quick curing are needed.
 "Trasparente" – Multipurpose Clear Epoxy Resin for Casting – Up to 2cmPrice range: £8.45 through £948.85"Trasparente" is a clear, multipurpose epoxy resin designed for up to 2cm layers, suitable for detailed casting and DIY woodworking projects.
 "Trasparente" Epoxy Resin Kit 800g + Mica Powder 10g – 10 Colour Variations£19.85"Trasparente" epoxy resin kit includes mica powder and is suitable for casting and DIY projects related to the theme How to make resin lures?
Frequently Asked Questions
Which types of resin are best for creating fishing lures?
Both fast-curing polyurethane and clear epoxy resins are suitable, depending on your desired cure time and finish.
What are common mistakes when making resin lures?
Incorrect mixing ratios, demoulding too early, and letting dust settle on the resin are frequent issues.
How can I minimise bubbles in my resin lures?
Pour slowly, tap the mould, and use a heat source carefully to release trapped air.
How should I add colour to resin lures?
Mix in mica powder, pigment paste, or glitter before pouring, ensuring even distribution.
When is it safe to remove resin lures from the mould?
Wait until the resin is fully cured, based on your product’s timings, to avoid distortion.
How do I finish resin lures after taking them out of the mould?
Use fine sandpaper for smoothing, and add hand-painted or clear resin details for a professional look.