 Free shipping on orders over £29,85

How to make resin jewellery?
Step-by-step guide for crafting unique resin pieces


Resin jewellery making is a creative way to produce unique and vibrant accessories that reflect your personal style. This comprehensive guide will show you how to create stunning resin jewellery from scratch, covering essential preparation, mixing, pouring, and finishing tips to ensure success for both beginners and seasoned crafters.
What You’ll Need
- “Evershine Collection” – Artisan Jewellery Epoxy Resin Kit with 100+ Accessories – All-in-one kit for beginners featuring clear epoxy resin, pigments, accessories, and moulds
- “One-2-One” – Epoxy Resin for Handcraft, 1:1 Mixing Ratio – Crystal-clear resin suitable for detailed jewellery projects
- “UV–Creation” – Fast Acrylic Resin, 3 Minute UV Cure – For rapid curing and instant demoulding
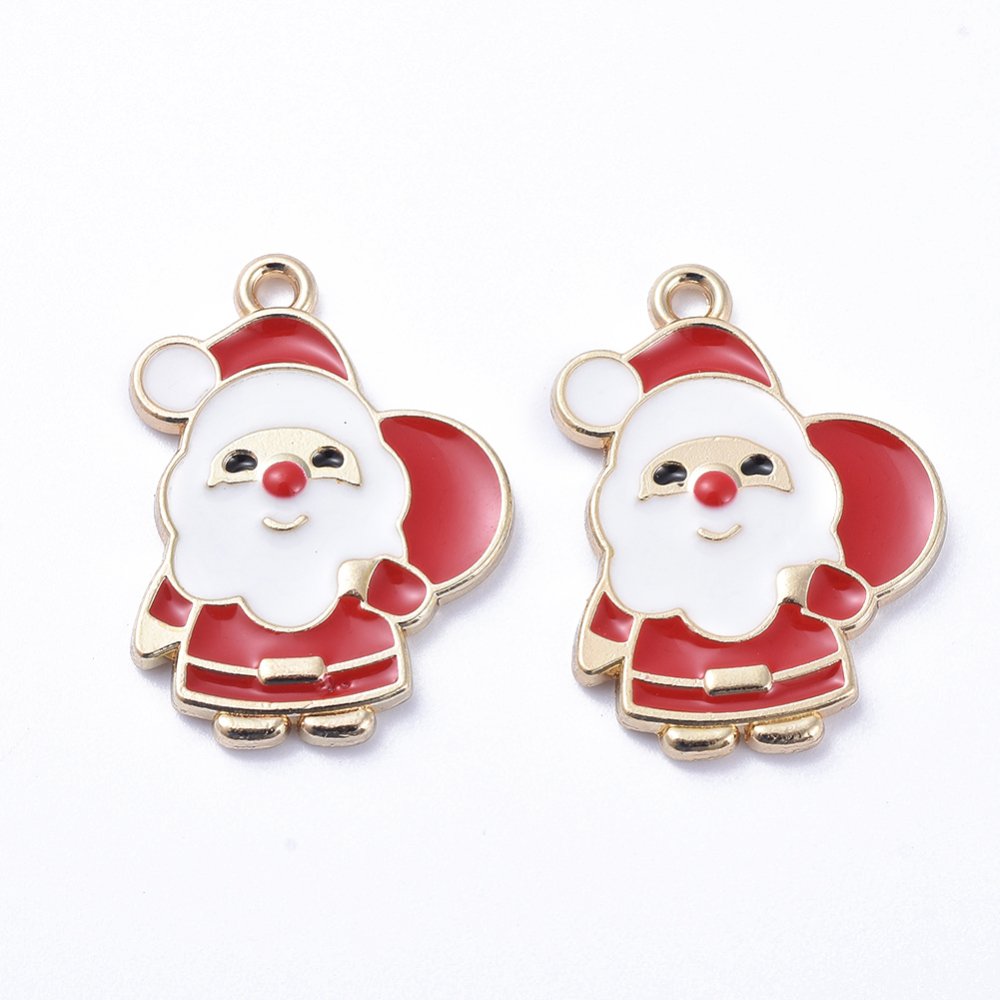
- Set of 10 Open Metal Bezels for Jewellery Making and UV Resin Projects – Ideal bases for unique pendants and festive designs
- Protective gloves, mixing sticks, and a flat workspace
- UV lamp (if using UV resin)

Get Inspired by Resin Jewellery Creations
Explore a variety of resin jewellery styles—from transparent pendants with dried botanicals to vibrant earrings crafted with pigments and glitter. Experiment with personalised bezels and silicone moulds to create bespoke gifts or statement pieces that reflect your personality.
Step 1: Prepare Your Workspace and Safety Gear
Start by selecting a clean, dust-free workspace with adequate ventilation. Lay down protective covers to guard against resin spills. Wear protective gloves and ensure good ventilation to safeguard your skin and lungs from resin fumes. Have disposable mixing cups, sticks, and paper towels within reach for a tidy and efficient process.
Step 2: Choose and Mix Your Resin
Pick a resin that is recommended for jewellery making. Traditional epoxy resins are mixed in a specific ratio, usually 1:1 by volume. Read familiarise yourself with the instructions for your chosen resin. “Evershine Collection” – Artisan Jewellery Epoxy Resin Kit with 100+ Accessories and “One-2-One” – Epoxy Resin for Handcraft, 1:1 Mixing Ratio both use a straightforward 1:1 ratio, which is ideal for beginners.
Measure the resin and hardener precisely to avoid sticky or soft results. Mix resin and hardener accurately for about 2–3 minutes, scraping the sides and bottom of the cup to ensure a uniform blend. For UV resin projects, such as those using “UV–Creation” – Fast Acrylic Resin, 3 Minute UV Cure, no mixing is required—simply pour and cure under a UV lamp.
Step 3: Pour Into Moulds, Bezels, or Settings
Select silicone moulds or open bezels as your base. If you wish to incorporate inclusions (like flowers, glitter, or photos), arrange them in the mould before pouring. Pour slowly in thin layers to avoid trapping air bubbles and to allow for embedding decorative items precisely. For open bezels, such as the Set of 10 Open Metal Bezels for Jewellery Making and UV Resin Projects, secure the base with tape to prevent leaks.
After pouring, gently use a toothpick to pop surface bubbles. You can also briefly pass a heat source, like a lighter or heat gun, over the surface (if safe to do so) to encourage bubbles to rise and burst.

Step 4: Cure and Demould Your Jewellery
Allow sufficient curing time as specified by your resin type: epoxy resins typically need 24–48 hours, while UV resins cure in minutes under UV light. Avoid touching or moving your projects while they are curing to prevent dust or fingerprints from ruining the finish. Once cured, carefully remove the pieces from moulds or bezels.
If needed, lightly sand rough edges with fine-grit sandpaper. Attach findings like earring hooks or necklace chains for a finished look.

Step 5: Experiment and Personalise
With the basics mastered, get creative by experimenting with different colour pigments, layering techniques, and decorative inclusions such as dried flowers, glitter, or metallic leaf. Experiment with moulds and inclusions to craft truly unique designs. Resin jewellery offers endless potential for personalisation, from monogram initials to one-of-a-kind statement pieces.
Tips and Common Mistakes in Resin Jewellery Making
To achieve the best clarity, ensure all tools and moulds are clean and dry before use. Be patient and precise with measurements—errors or rushing can result in soft, tacky, or cloudy pieces. If air bubbles persist, consider warming the resin slightly or pouring in thinner layers. Always work in a dust-free space and avoid overfilling moulds to prevent spillage.
Inspiration for Your Next Resin Project
Browse online galleries or join crafting communities to discover innovative resin jewellery ideas. All-in-one resin kits are a great way to try new techniques, colours, and shapes from the comfort of home.

- "Evershine Collection" – Artisan Jewellery Epoxy Resin Kit with 100+ Accessories£20.85A complete jewellery kit with 500g clear epoxy resin and 100+ accessories, designed for creative resin jewellery making.
- Set of 10 Open Metal Bezels for Jewellery Making and UV Resin ProjectsOriginal price was: £8.45.£6.85Current price is: £6.85.Set of 10 open metal bezels designed for resin jewellery making and UV resin projects with a festive theme.
- "UV–Creation" – Fast Acrylic Resin, 3 Minute UV CurePrice range: £7.85 through £59.85"UV–Creation" Fast Acrylic Resin cures quickly under UV light and is suitable for jewellery makers seeking a clear, glossy finish.
 "One-2-One" – Epoxy Resin for Handcraft, 1:1 Mixing RatioPrice range: £14.85 through £56.85"One-2-One" epoxy resin is a medium viscosity product with easy 1:1 mixing, suitable for jewellery and decorative crafting projects.
Frequently Asked Questions
Is resin jewellery suitable for beginners?
Yes, many resin kits and resins are designed for easy mixing and use, making them ideal for beginners looking to craft their own jewellery.
How long does resin jewellery take to cure?
Epoxy resin typically cures in 24–48 hours. UV resin can cure within 3–10 minutes under a strong UV lamp.
What bases or moulds can I use for resin jewellery?
Silicone moulds, open bezels, or custom settings can all be used as bases for resin jewellery, depending on the desired shape and effect.
How can I avoid bubbles in resin jewellery?
Mix resin slowly, pour in thin layers, and gently use heat or a toothpick to pop surface bubbles for a clear, bubble-free finish.
Is resin jewellery safe to wear?
Properly cured resin jewellery is safe to wear. Always ensure full curing and follow product safety instructions during the crafting process.